
How to Spray Water Based Topcoat- For Beginners.
Disclosure: This blog contains affiliate links. I will receive a commission for items purchased through these links at no extra cost to you. I appreciate your support. Please read all labels and follow all manufacturer safety recommendations when working with paints, stains, and other equipment
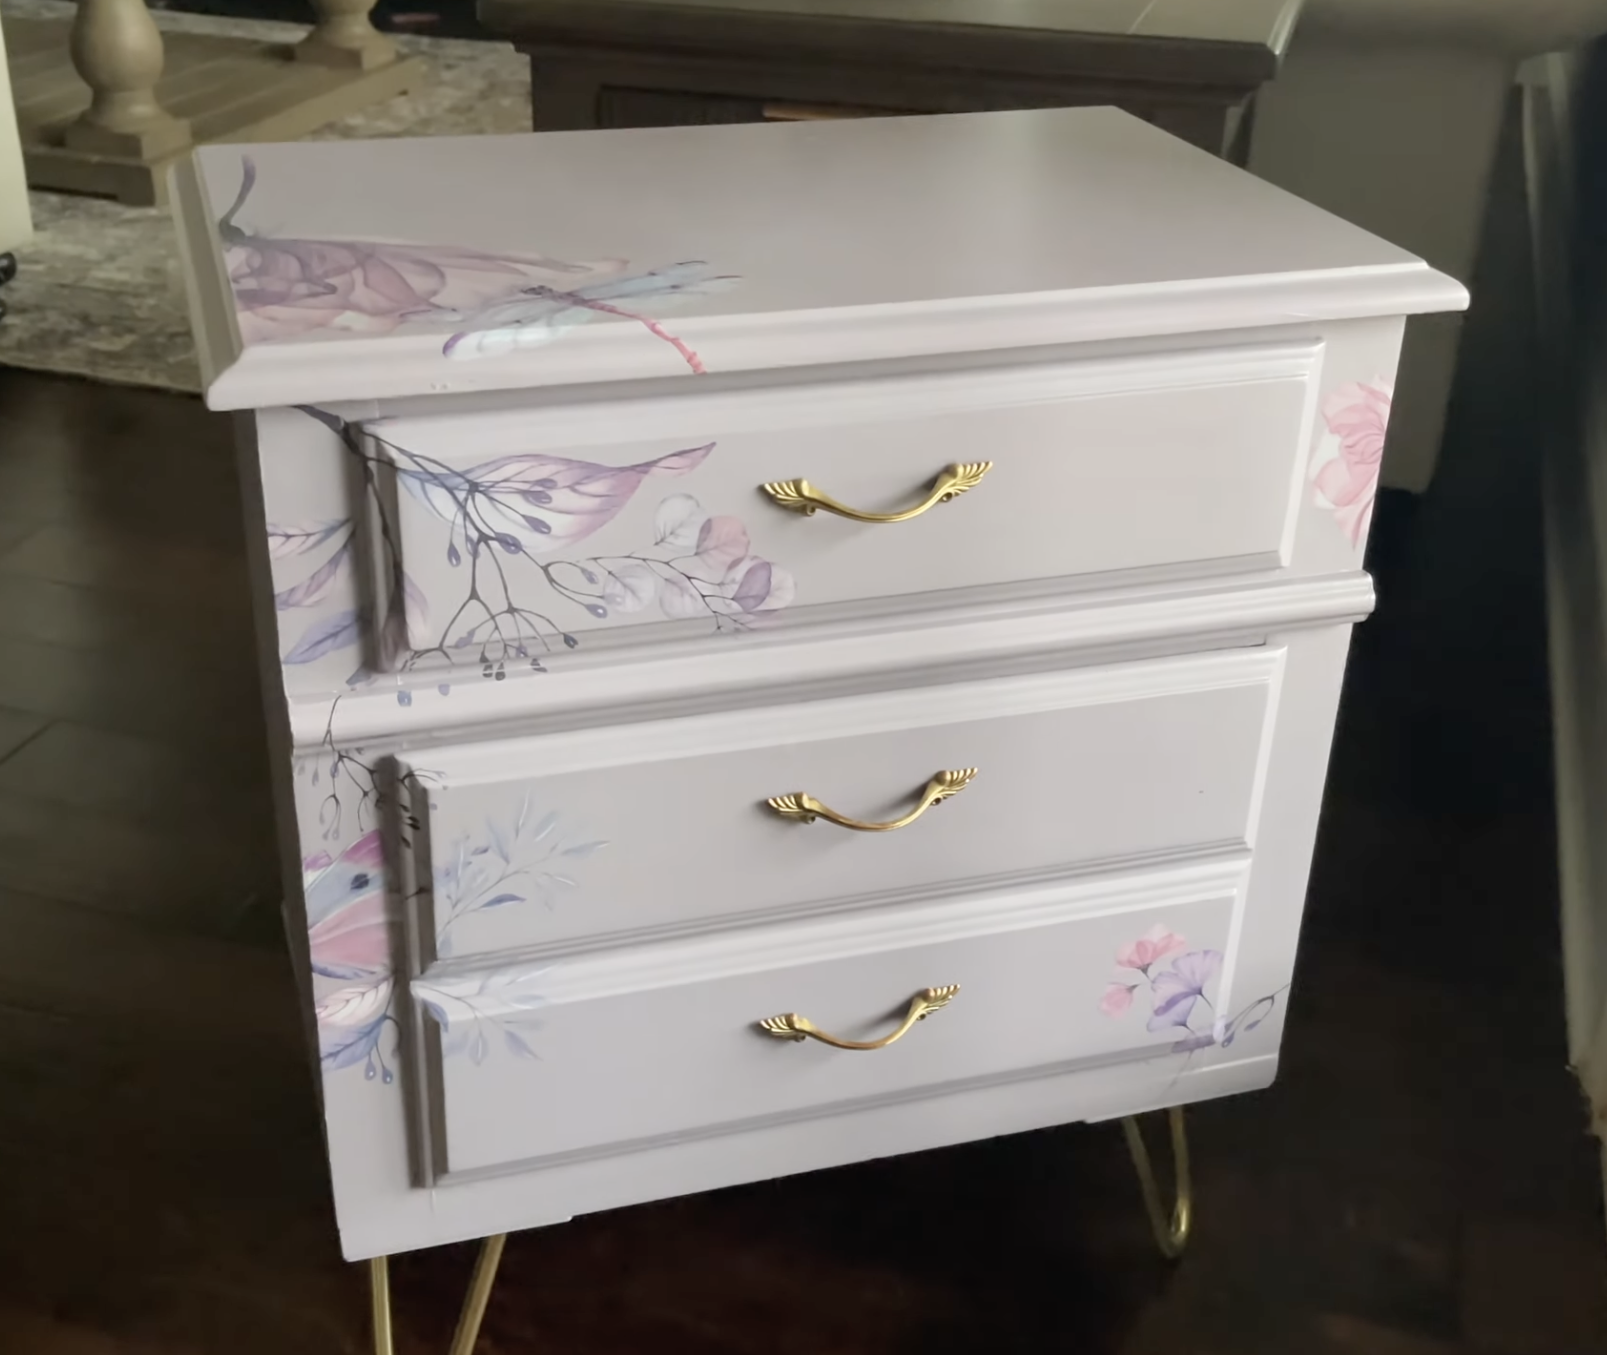
If you're anything like me, you know the satisfaction that comes from transforming tired old furniture into stunning pieces that breathe new life into your space. But let's face it, achieving that flawless finish can be a real challenge, especially when it comes to applying top coat by hand. That streaky, uneven look? It's a frustration we've all experienced.
That's why I'm here to tell you that it's time to make the switch to a paint sprayer for your furniture flips. I've got you covered with everything you need to know about spraying water-based polyurethane over your painted furniture.
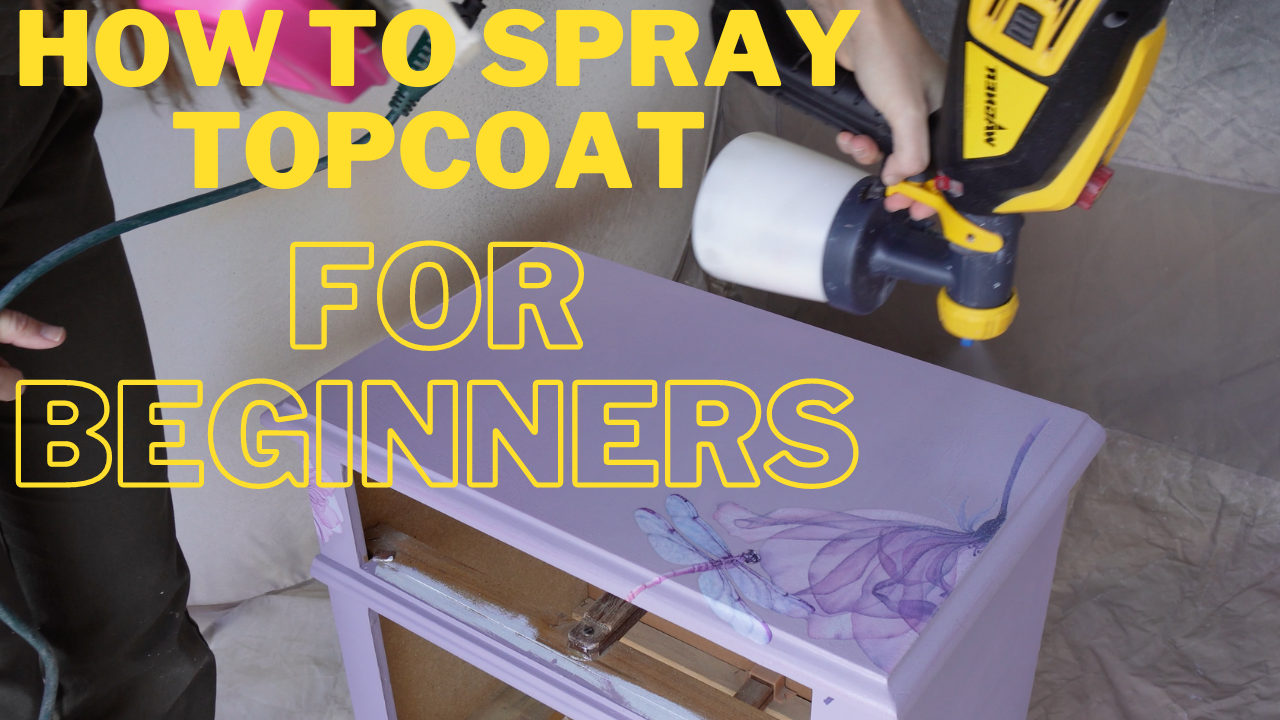
The number one complaint I hear about applying top coat by hand is the streaky finish it often produces. But fear not, my friends, because spraying is the solution. It's easier than you think, and even if you're new to the game like I once was, with a bit of practice, you'll be a pro in no time.
Supplies
Shop all my favorite topcoat products HERE.
Topcoat Tips and Best Practices
First things first, let's talk top coat. I prefer to use a water-based polyurethane for its ease of use, fast dry time, and ability to maintain clarity over time.

My go-to choice for topcoat is the Varathane Ultimate Polyurethane in satin sheen. Trust me, it sprays on smoothly and levels out like a dream.
Now, onto the sprayer itself. I swear by the Wagner Flexio 3500 for its affordability and ease of cleaning. It's perfect for furniture projects, thanks to its fine spray pattern and detail nozzle. But if you're looking for affordable alternatives, I've got you covered with a fantastic budget recommendation for you.


This HomeRight Paint Sprayer is a great budget friendly option for a beginner sprayer. If you are just getting started on your painting journey and want to invest in a paint sprayer- this is a great choice!
Once you've got your top coat and sprayer sorted, it's time to dive into the nitty-gritty of application. Remember to fully stir your top coat to ensure an even finish, and don't forget to strain it to remove any dried bits or debris. And here's a pro tip: adding a bit of water can help extend dry time and improve leveling.

Adjusting your sprayer settings is crucial for achieving that flawless finish. Play around with the flow and airflow until you find the perfect balance for your project. And don't forget to test your settings on a scrap piece before diving into your furniture flip.


When it comes to application, consistency is key. Maintain a steady speed and use overlapping passes for even coverage. And if you encounter any drips or sags, fear not—they can be easily fixed with a bit of sanding.

Speaking of sanding, don't forget to lightly sand between coats for optimal adhesion and smoothness. And remember, practice makes perfect. Don't be afraid to experiment and find what works best for you.

Once you're done, cleaning your sprayer is a breeze. Just a bit of mild dish soap and water, and you're good to go. Trust me, it's way easier than cleaning out paintbrushes.

And there you have it, folks. With the right tools and techniques, achieving a flawless finish on your painted furniture flips is totally achievable. So don't be afraid to dive in, experiment, and unleash your creativity. If you found this guide helpful, head on over to my YouTube channel to watch the full tutorial.
I’ll be back soon with another project!