
Furniture Painting for Beginners: Makeover Your Furniture in 5 Easy Steps
Disclosure: This blog contains affiliate links. I will receive a commission for items purchased through these links at no extra cost to you. I appreciate your support. Please read all labels and follow all manufacturer safety recommendations when working with paints, stains, and other equipment

If you've ever felt the urge to give a piece of furniture a fresh new look but didn't know where to start, you're not alone. The world of furniture makeovers can seem daunting, especially for beginners. But fear not, because I'm here to take you back to the basics and guide you through five easy steps to complete your first furniture makeover. In this blog post, I'll be sharing my recent experience transforming a thrift store nightstand into a stylish piece using simple techniques and readily available tools.
Supplies:
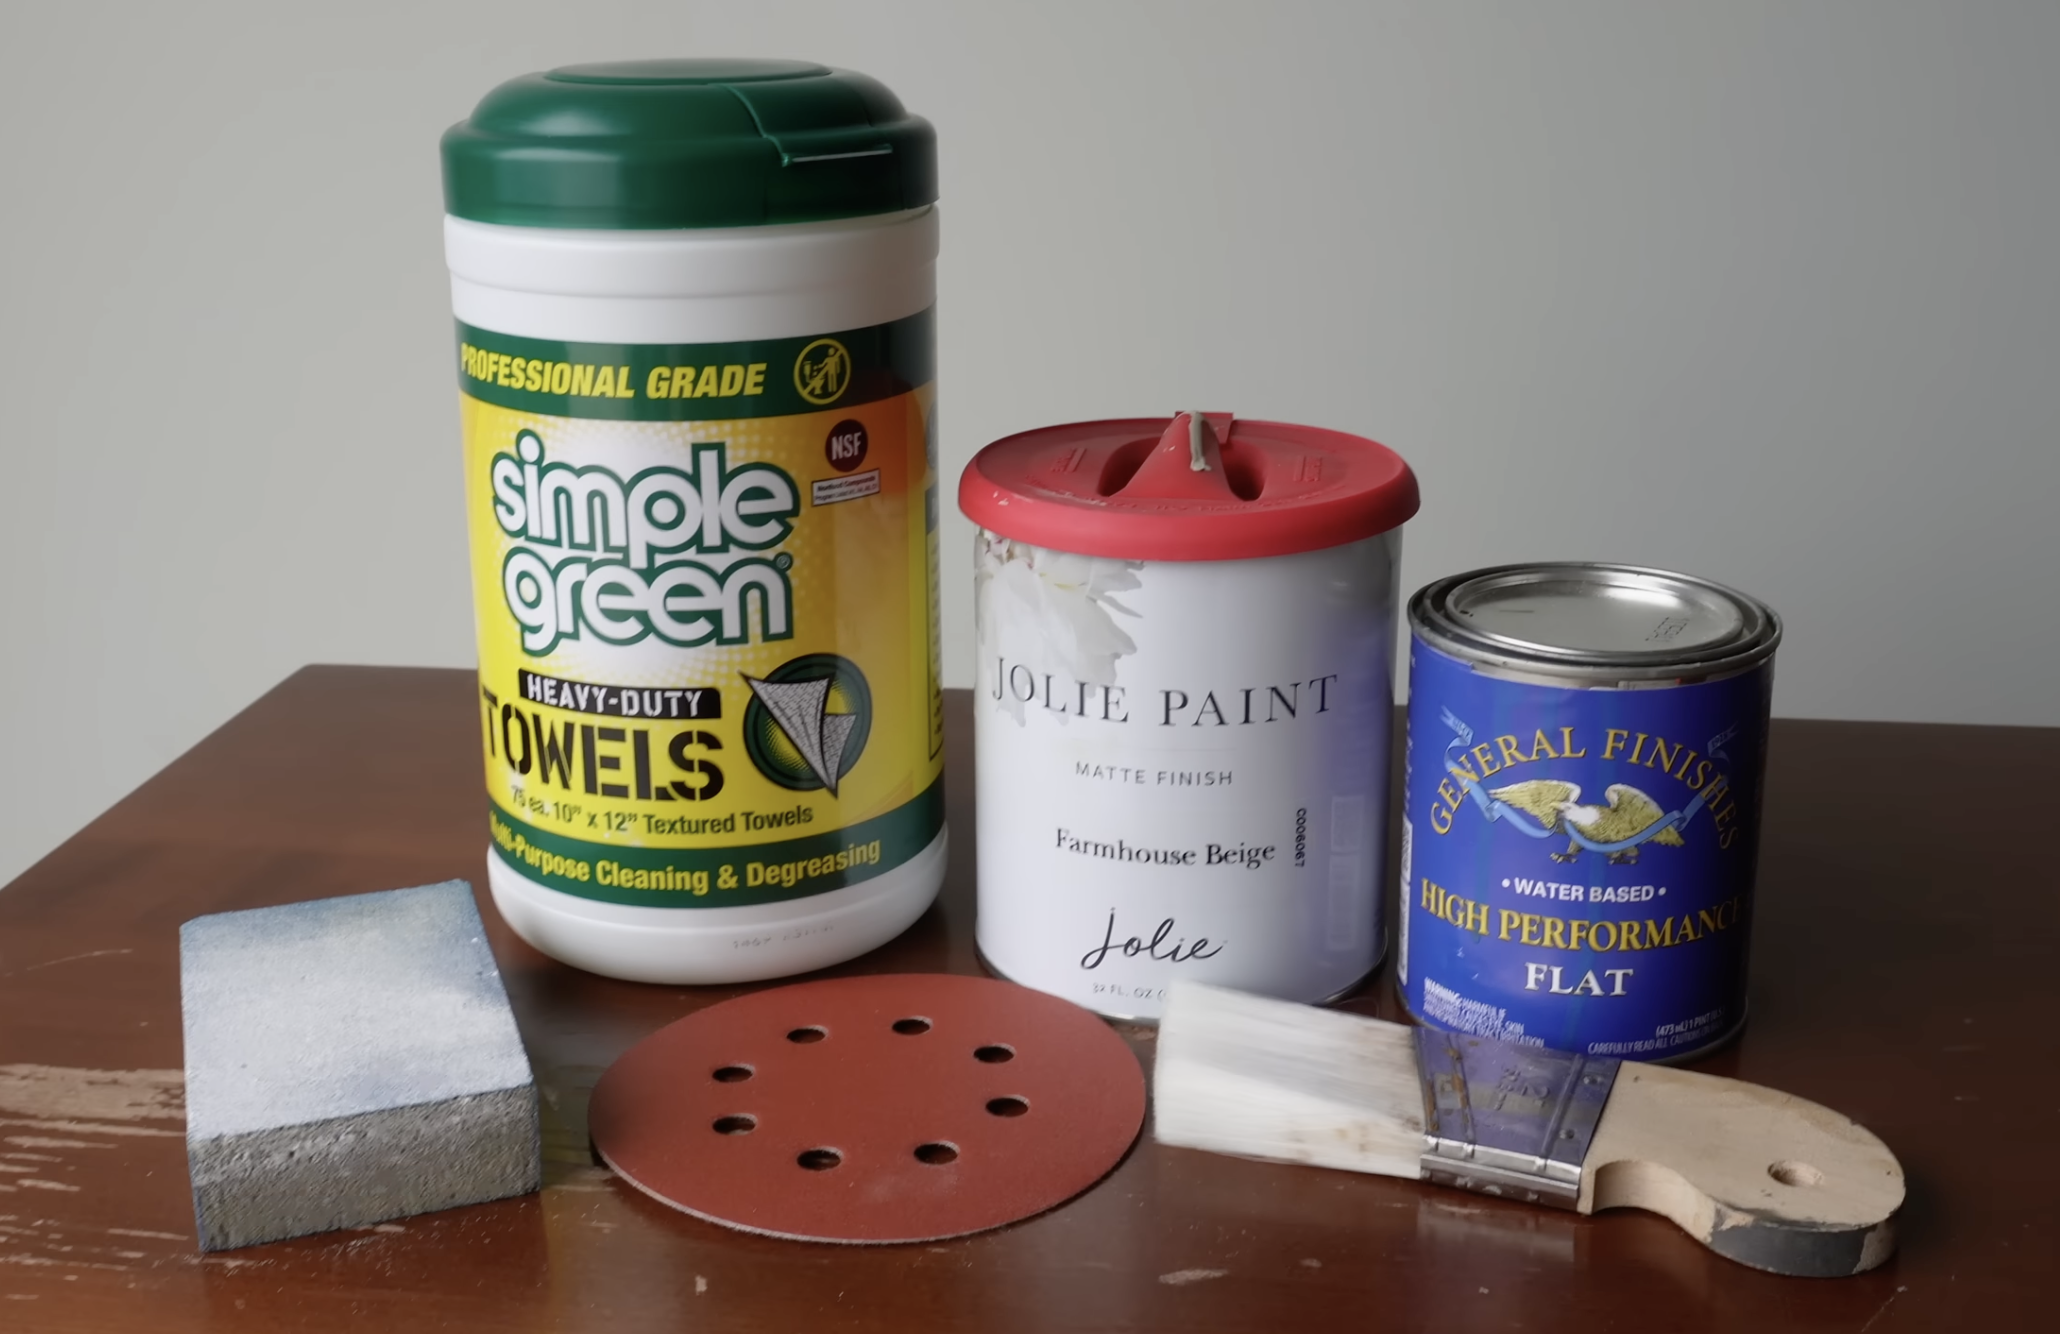
Shop all the products featured in this makeover on Amazon ➡️ https://urlgeni.us/amzn/simple
Step 1: Clean

The first and most important step in any furniture makeover is cleaning. Whether your piece has been sitting in a thrift store, garage, or attic, it's likely covered in dirt, grime, and grease. I recommend using Simple Green, to remove all the accumulated filth. In this case, I opted to use their heavy-duty towels, perfect for vigorous scrubbing on various surfaces. Cleaning sets the foundation for a successful makeover, ensuring that paint adheres smoothly to the surface of your furniture.


Look at all that dirt and grime that had accumulated on this nightstand! Now my paint has a clean surface to stick to, and my new finish will last longer because I didn’t skip this important step.
Step 2: Prep & Prime
Once your furniture is clean, it's time to inspect and prepare it for painting. If there are any holes or imperfections, use a wood filler to address them. In my case, I had to sand the top of the nightstand with my orbital sander to remove the failing finish. I also did a thorough scuff sanding on the body of the nightstand. This step again helps prepare the surface for painting and now the paint has something to stick to. If needed, you can also apply a primer for extra adhesion and stain blocking.


Step 3: Paint

Now comes the fun part – painting! Choose a paint made for painting furniture, like Jolie Furniture Paint. I opted for a neutral color called Farmhouse Beige, to achieve a modern look that blends well with different styles. Remember, painting furniture is like painting a wall, so don't overcomplicate it. Watch out for drip marks, especially around edges and corners. Take your time, and if needed, do multiple thin coats for a smoother finish.

Step 4: Protect

To ensure the longevity of your newly painted furniture, protect it with a good quality top coat. I recommend General Finishes High-Performance Flat, a water-based top coat that provides extra durability. Apply the top coat in thin, even coats, being cautious of potential drips. Allow each coat to dry thoroughly before applying the next one. This step adds an extra layer of insurance, ensuring your finish lasts for years to come.

Step 5: Hardware, Cure, and Clean
With the painting and protection complete, consider updating the hardware to give your furniture a modern touch. I opted for some matte gold knobs for this nightstand. You can always paint or just clean and reuse your original hardware, this is a personal preference, and also depends on your budget for the makeover. These knobs complement the color of the paint perfectly and really pop against the nightstand, giving it that modern touch. Just the vibe I was going for!


The Final Result
Once your piece is dry to the touch, it's tempting to start using it immediately. However, remember that the top coat needs time to cure fully. Be patient during the 21-day curing process, and avoid placing heavy objects on the surface during this time. Once cured, you can clean your furniture with a gentle cleaner, and it's ready to be styled and enjoyed. I always carefully style my furniture for these after pictures, and then quickly remove all the decor so the curing process can begin.

Transforming a piece of furniture doesn't have to be intimidating, and you don't need an a bunch of expensive tools. This beginner-friendly makeover serves as proof that anyone can tackle a furniture flip with a bit of guidance. Start small, build your skills, and who knows – you might discover a newfound passion for furniture transformations. You can watch the video tutorial for this makeover here.
Share your experiences in the comments and let me know if this blog post inspired you to take on your first furniture makeover.
I’ll be back soon with another project!