Real Milk Paint Company: Dresser Makeover
Disclosure: This blog contains affiliate links. I will receive a commission for items purchased through these links at no extra cost to you. I appreciate your support. Please read all labels and follow all manufacturer safety recommendations when working with paints, stains, and other equipment.
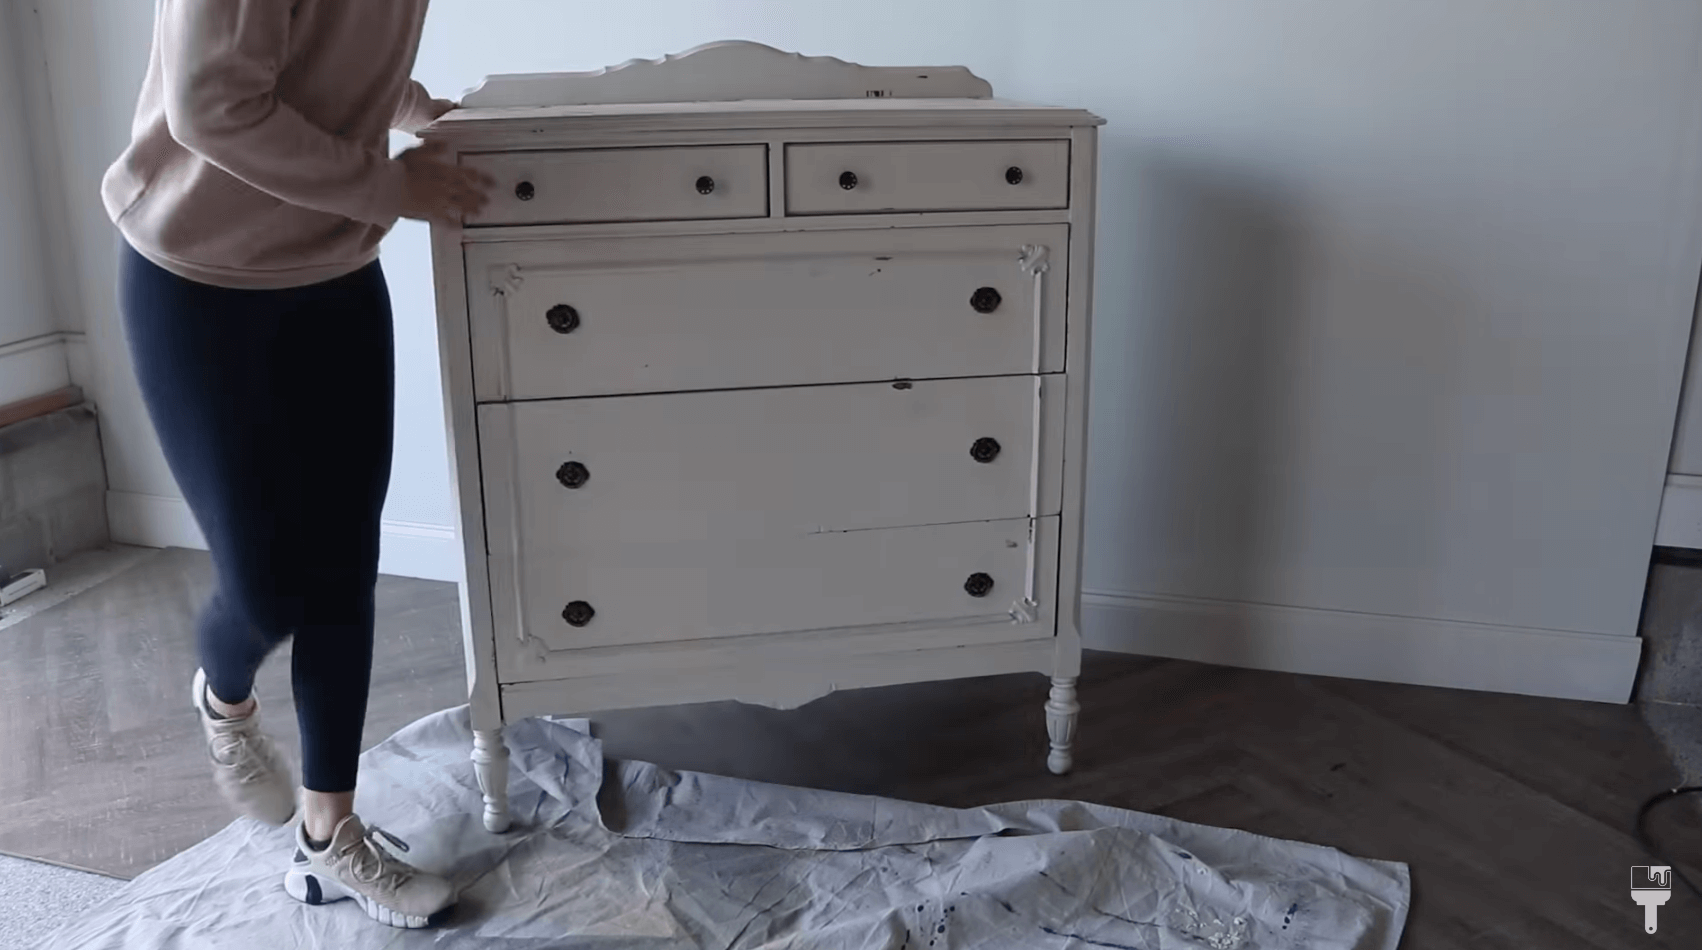
I have to start out by saying that this project was a doozy. I found a dresser that I loved for its bones and fun detail, but it had a terrible paint job that came along with it. So even though this project took me a week just to prepare, I think the results were worth it (although it didn’t feel that way when I was stripping the paint off for what felt like forever). I used the Real Milk Paint Company products and fell in love with how this little lady turned out.
Before we get into it, check out the dresser before I was able to get my hands on it.
Real Milk Paint Company Makeover Products & Tools
Strip Paint

As I mentioned, the paint job on this piece was really, really bad. Somebody just slapped some latex paint on here, and It took me a full week to strip it off. Before I got to work though, I did a lead test on it, which you should do if you’re working with really old furniture. And it passed the test, so I was ready to get to work.
Blue Bear Soy-Gel Paint Remover
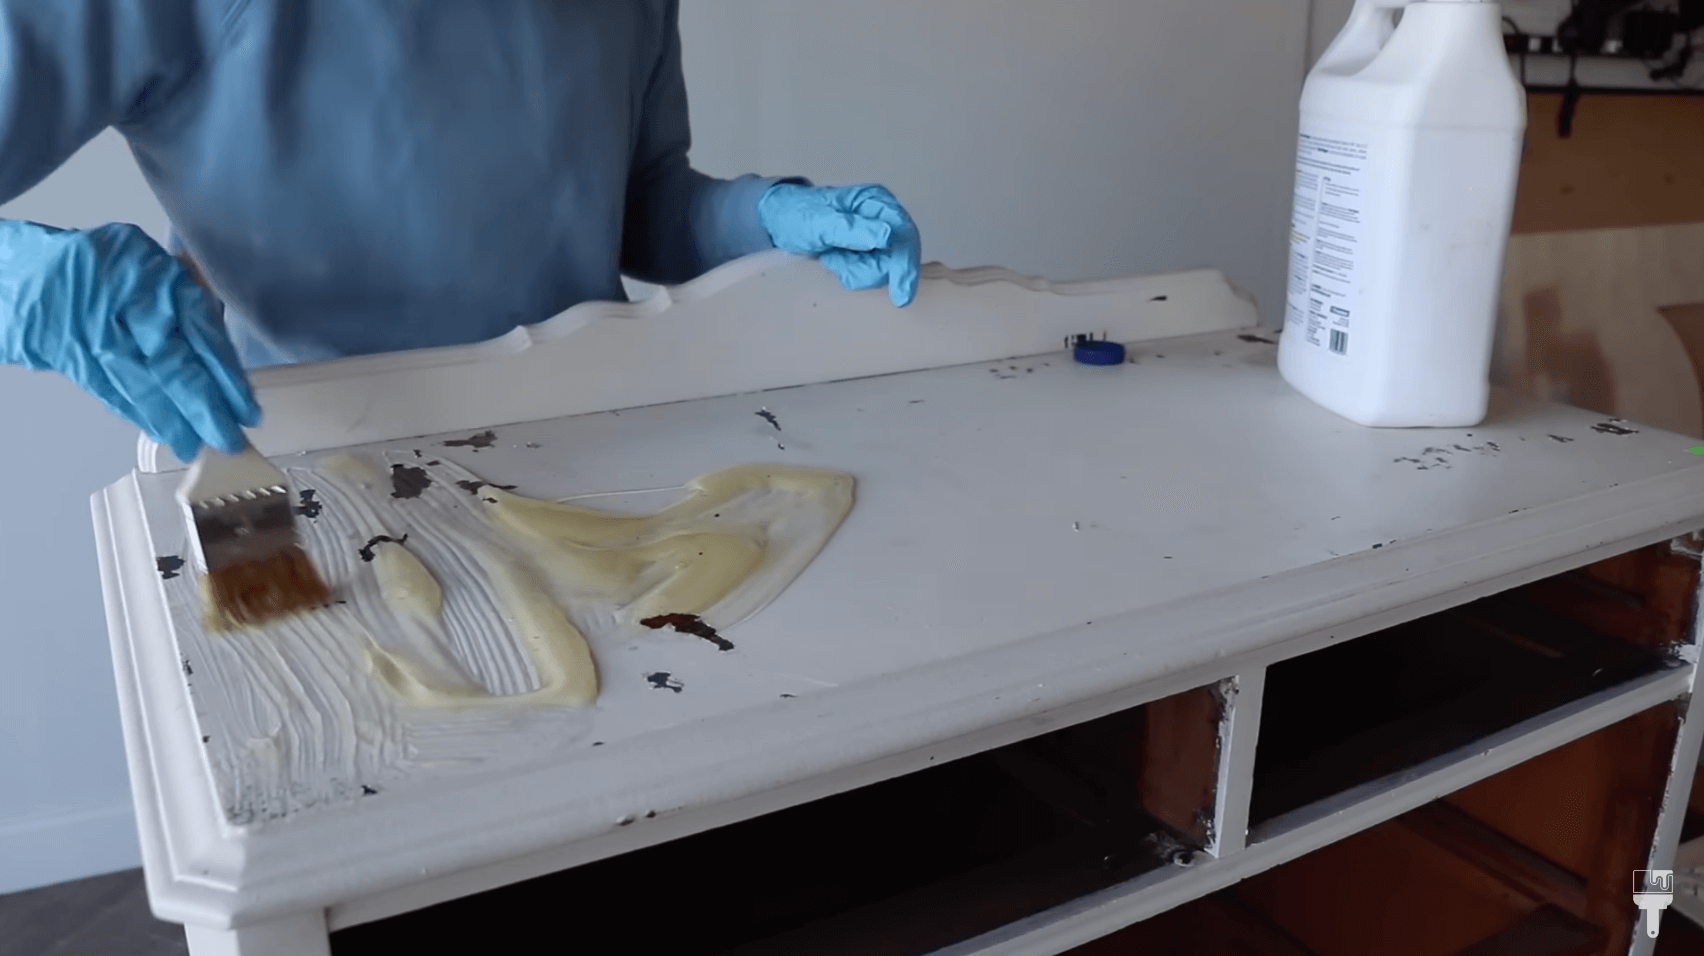
Stripping paint off furniture is very difficult. I'm starting off with this Blue Bear Soy-Gel Paint Remover that they sell on the Real Milk Paint Company website, and it's my favorite stripper.
If you've never worked with a paint stripper before, you want to lay it on real thick and use a chip brush to spread it out. You can use a cheap paint brush because you’ll throw it away afterwards.
I don't know about you but it never gets old watching the paint bubble up!

Every piece is different when it comes to stripping paint and varnish. In this case. the paint came off easily, but the varnish underneath is where I ran into some issues. It was so gooey and sticky, and that made me run into a lot of problems.
I pulled out all the stops when it came to stripping tools for the varnish: heat gun, sander, scrapper, steel wool, brass brush, and a lot of elbow grease.
No matter what method you use, it's gonna take a long time, and you just have to have a lot of patience in the process.
Sanding
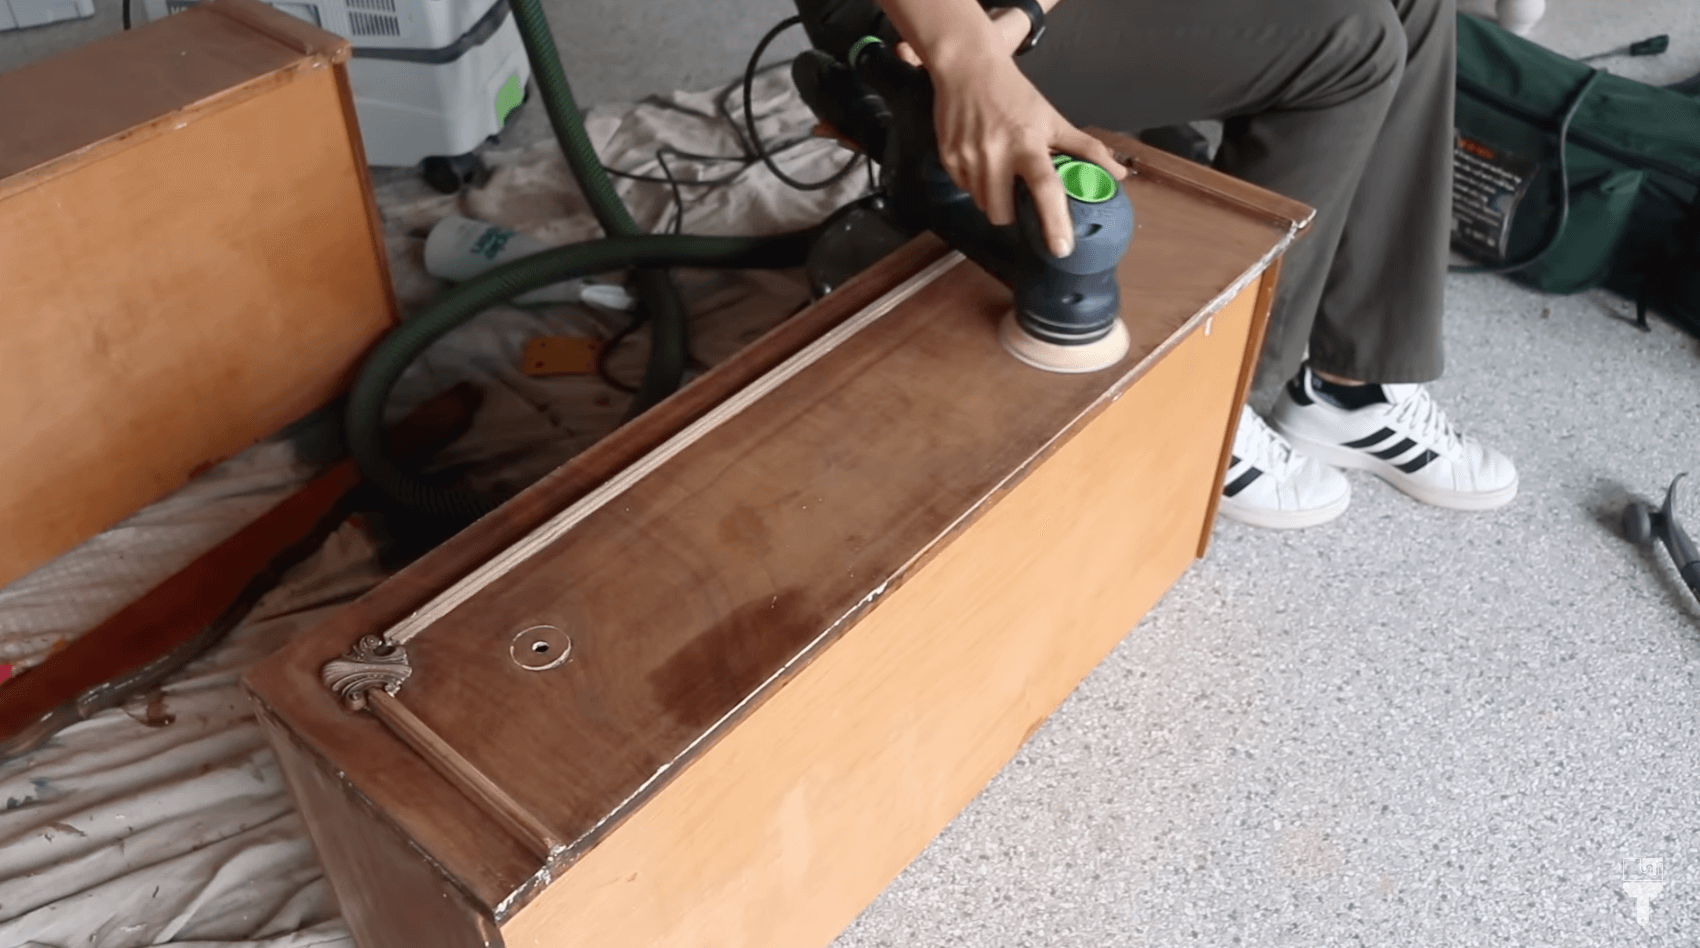
Once I got the majority of the paint off and varnish off, it was time to sand. I grabbed my Festool Rotex Sander and use a 120-grit sandpaper to smooth out all the surfaces. After I did that, I grabbed a 220 to smooth it out even further. The wood on the drawers and the top are really pretty. It's a tiger oak, so I planned on keeping them natural. One thing I really love about this sander is it has a detailed attachment that you can switch out on the head, and that helped me get into the details really well.
Real Milk Paint Company
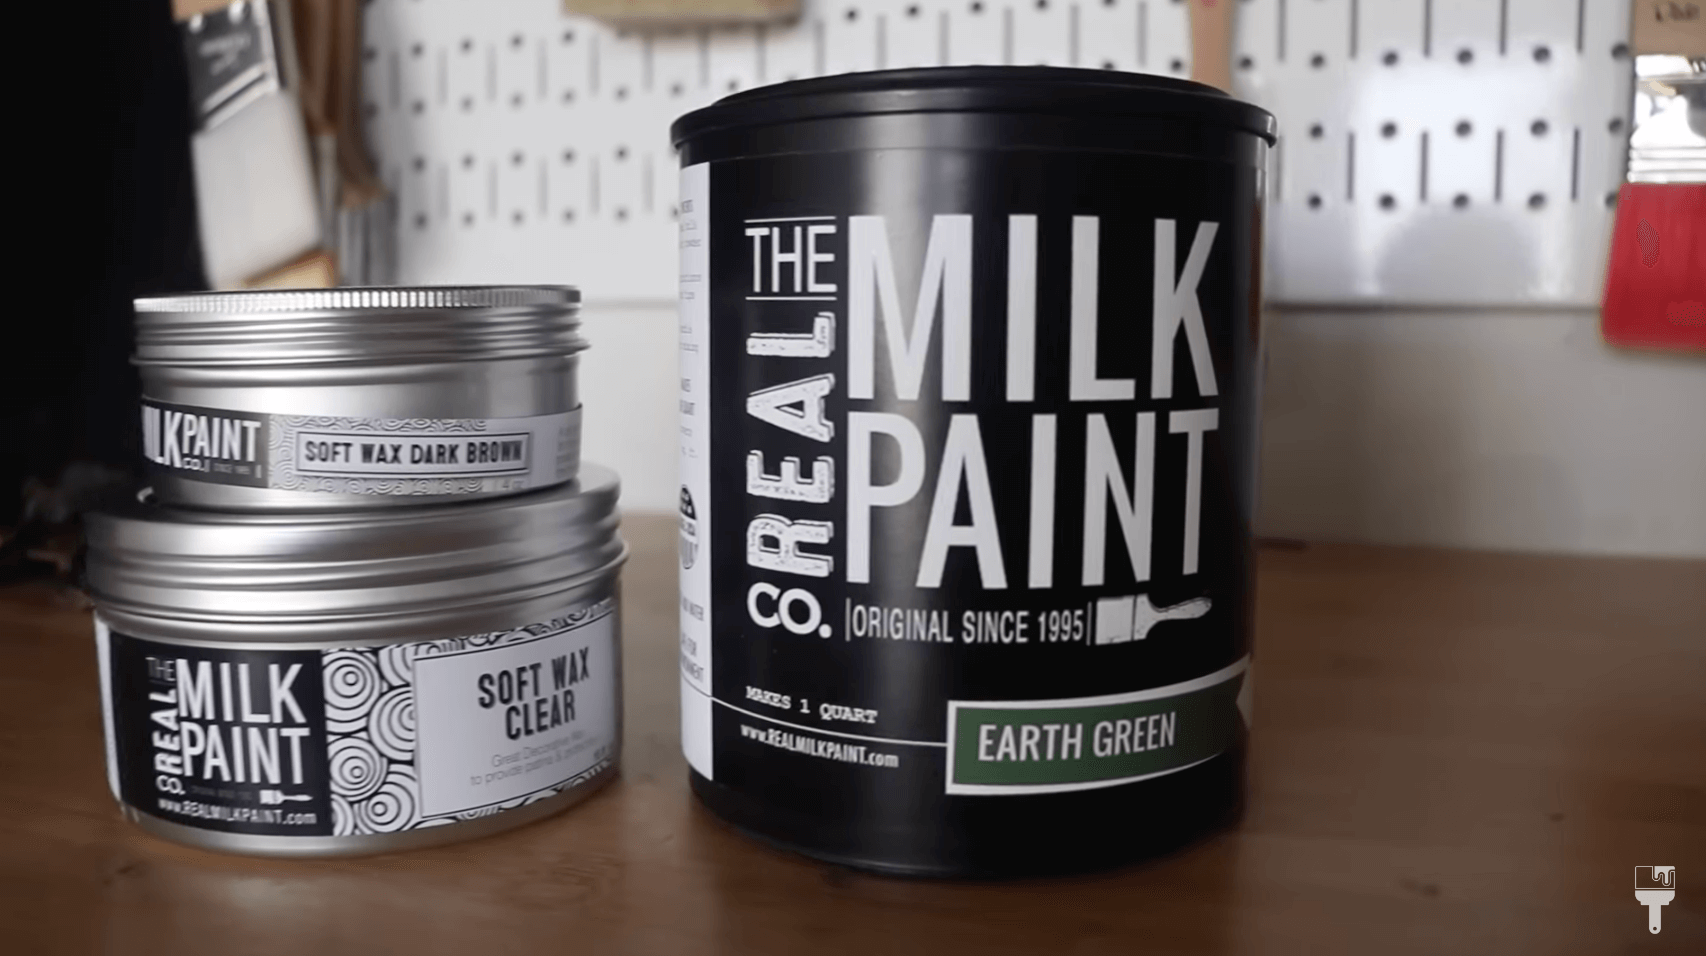
So after about a week of prep, I am finally ready to start painting. Today, I'm using the Real Milk Paint Company paint in Earth Green. Because I love the look of the tiger oak wood that I exposed, I’m only going to be painting the frame and the top two drawers. I covered the feet and the top with painter’s tape to protect it from my paint.
Mixing Real Milk Paint
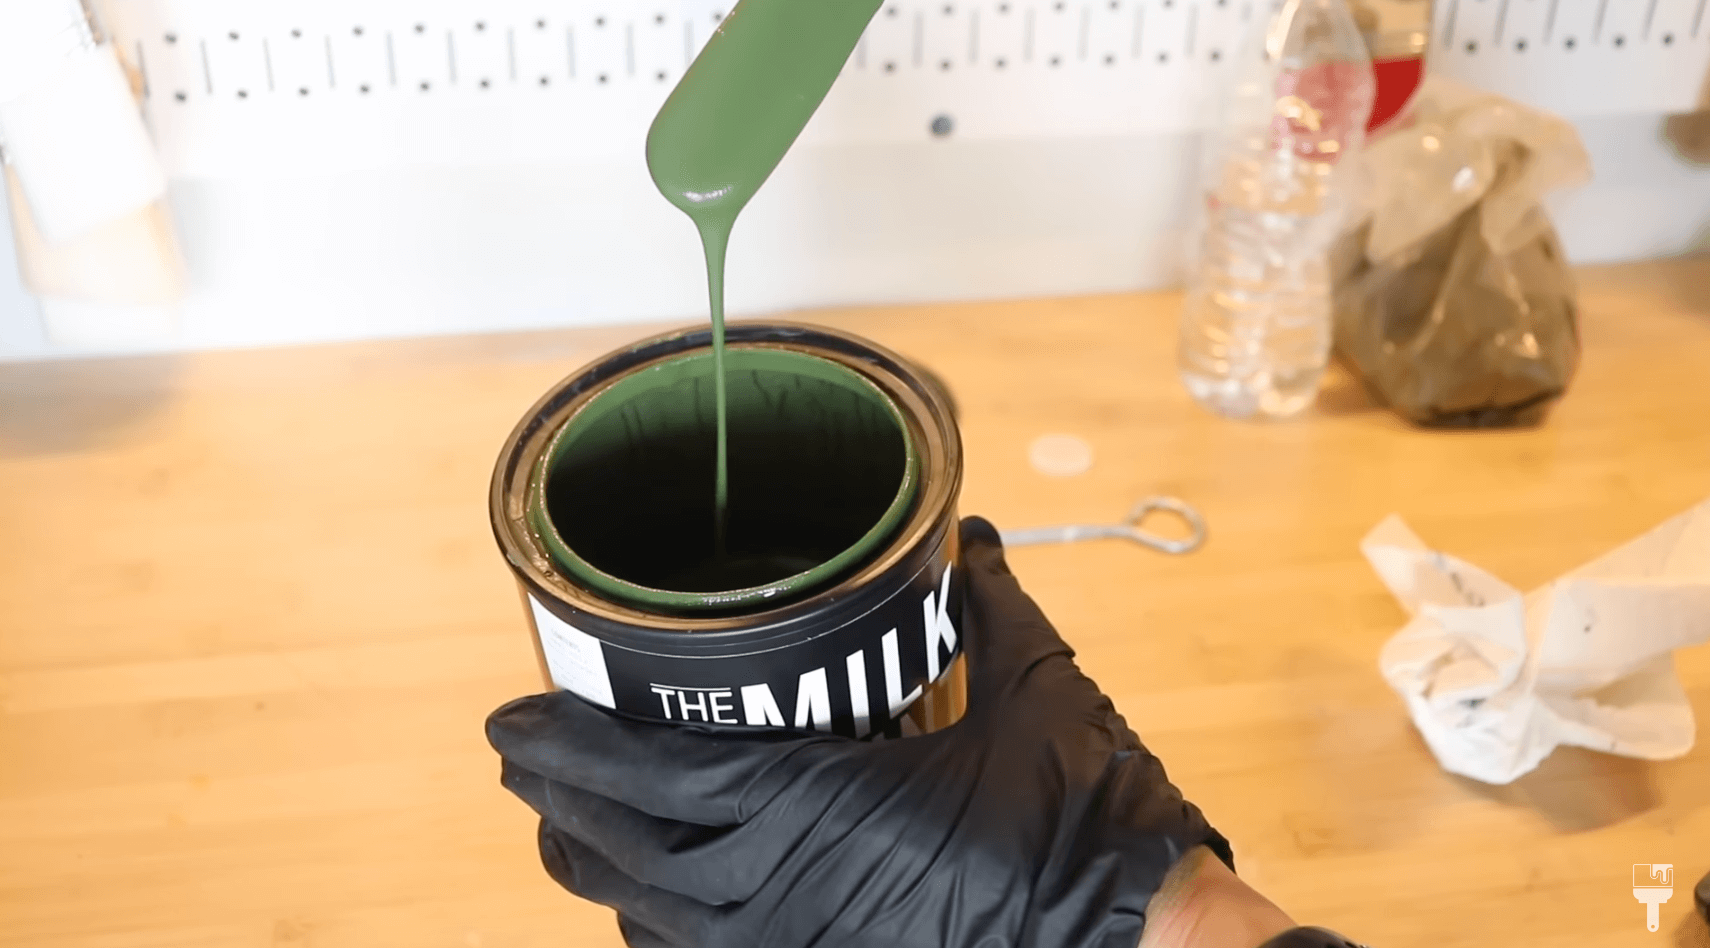
I’ve used the Real Milk Paint Company in the past and to prep it you have to mix it using a 1-to-1 ratio of powder and water. I used ¾ cup of water and ¾ cup of powder. You pour it back into the can, throw the marble in, and shake it for five minutes. After that, you’ll let it set for 20 minutes to get all of those pigments to disperse into the water. After it sets, open it up and stir! If you feel like your paint is too thick or thin, you can add a little more powder or water to get it the consistency you want. Mine’s perfect, so I’m ready to go.
More About the Real Milk Paint Company

A bit more about the Real Milk Paint Company. It is completely non-toxic is made of organic ingredients. This paint in particular is 100% organic. It has no odor to it at all, and it’s even biodegradable and compostable. So if you are an earth lover, this paint is definitely for you.
Painting with the Real Milk Paint Company

I used a synthetic brush to apply my milk paint, but you can use a natural bristle brush, a foam brush, or even a roller if you want. It's just up to you.
It's gonna be nice and smooth and just really absorb into that bare wood and look gorgeous.
I decided to paint the top two drawers as well. The wood on here was pretty, but it's not as pretty as the three decorative drawers and the wood that's on top of the furniture.
I decided to do a second coat, so I waited about two hours and went over it again.
Soft Wax in Dark Brown
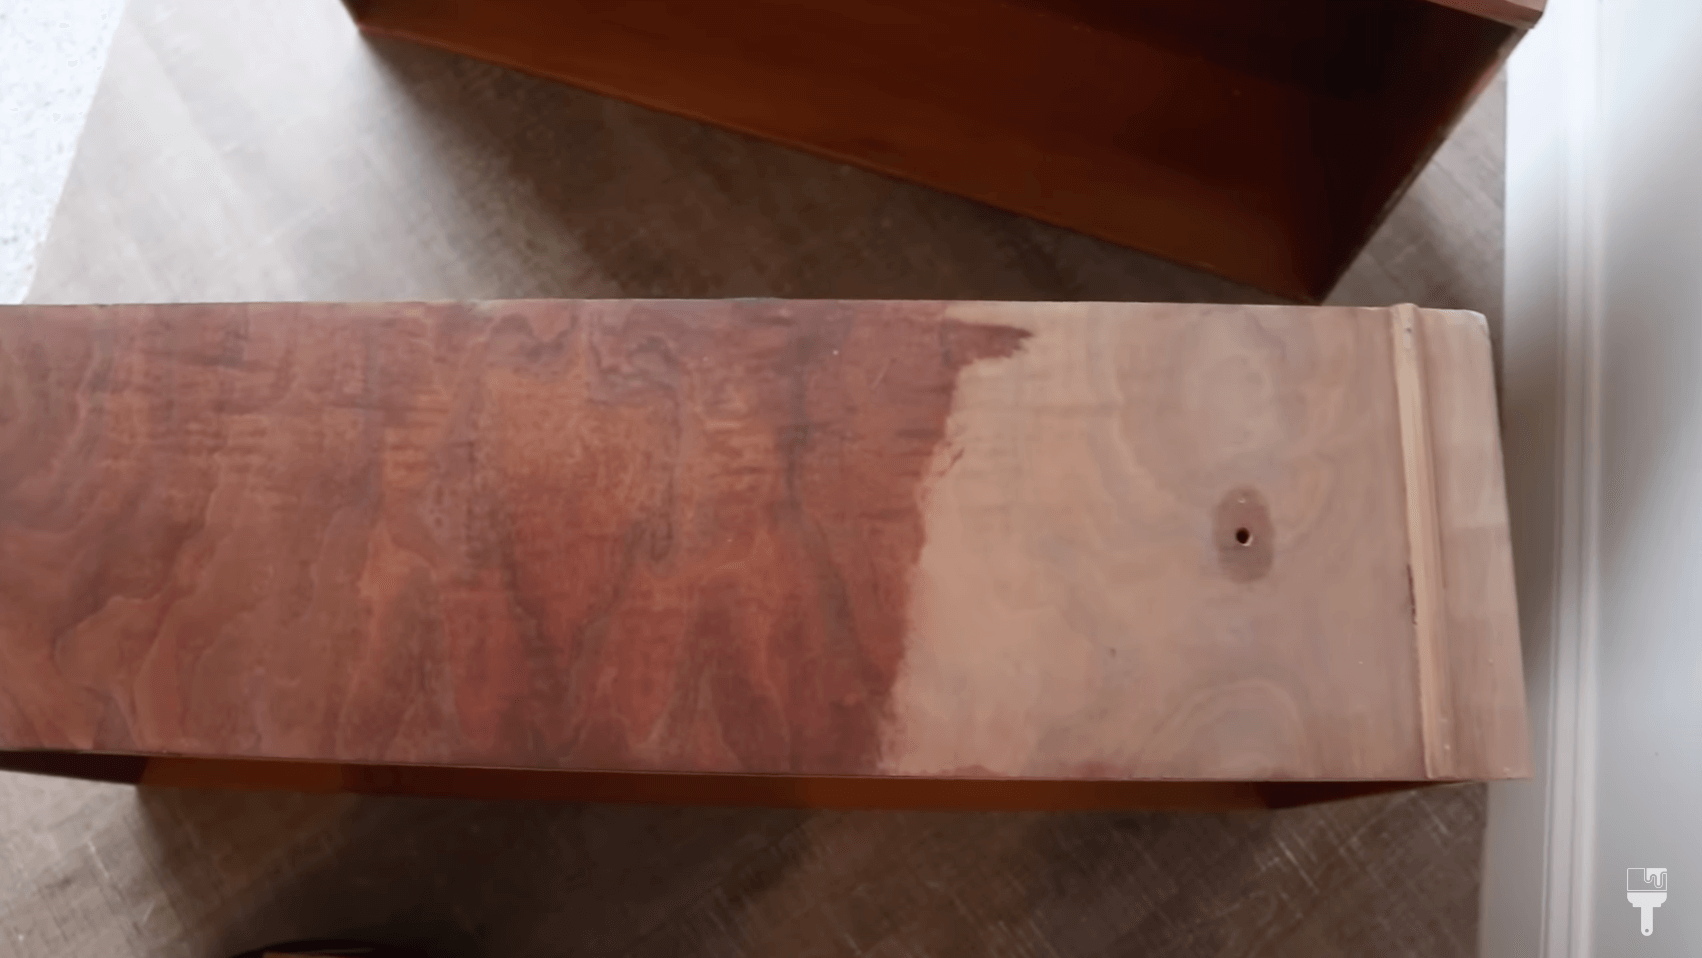
The natural wood is so beautiful, but we’re going to give it even more love and treat it with the Real Milk Paint Soft Wax in Dark Brown.
I'll be using this to seal the drawers, top surface, and the legs as well as bring out the beauty of this natural wood. And the brown is just going to give it a little bit of a deeper finish as opposed to using a clear coat. I love using this feature on natural wood.
I'm using a natural bristle wax brush, but you can use any lint-free rag or cloth to put this on as well.
Soft Wax in Clear
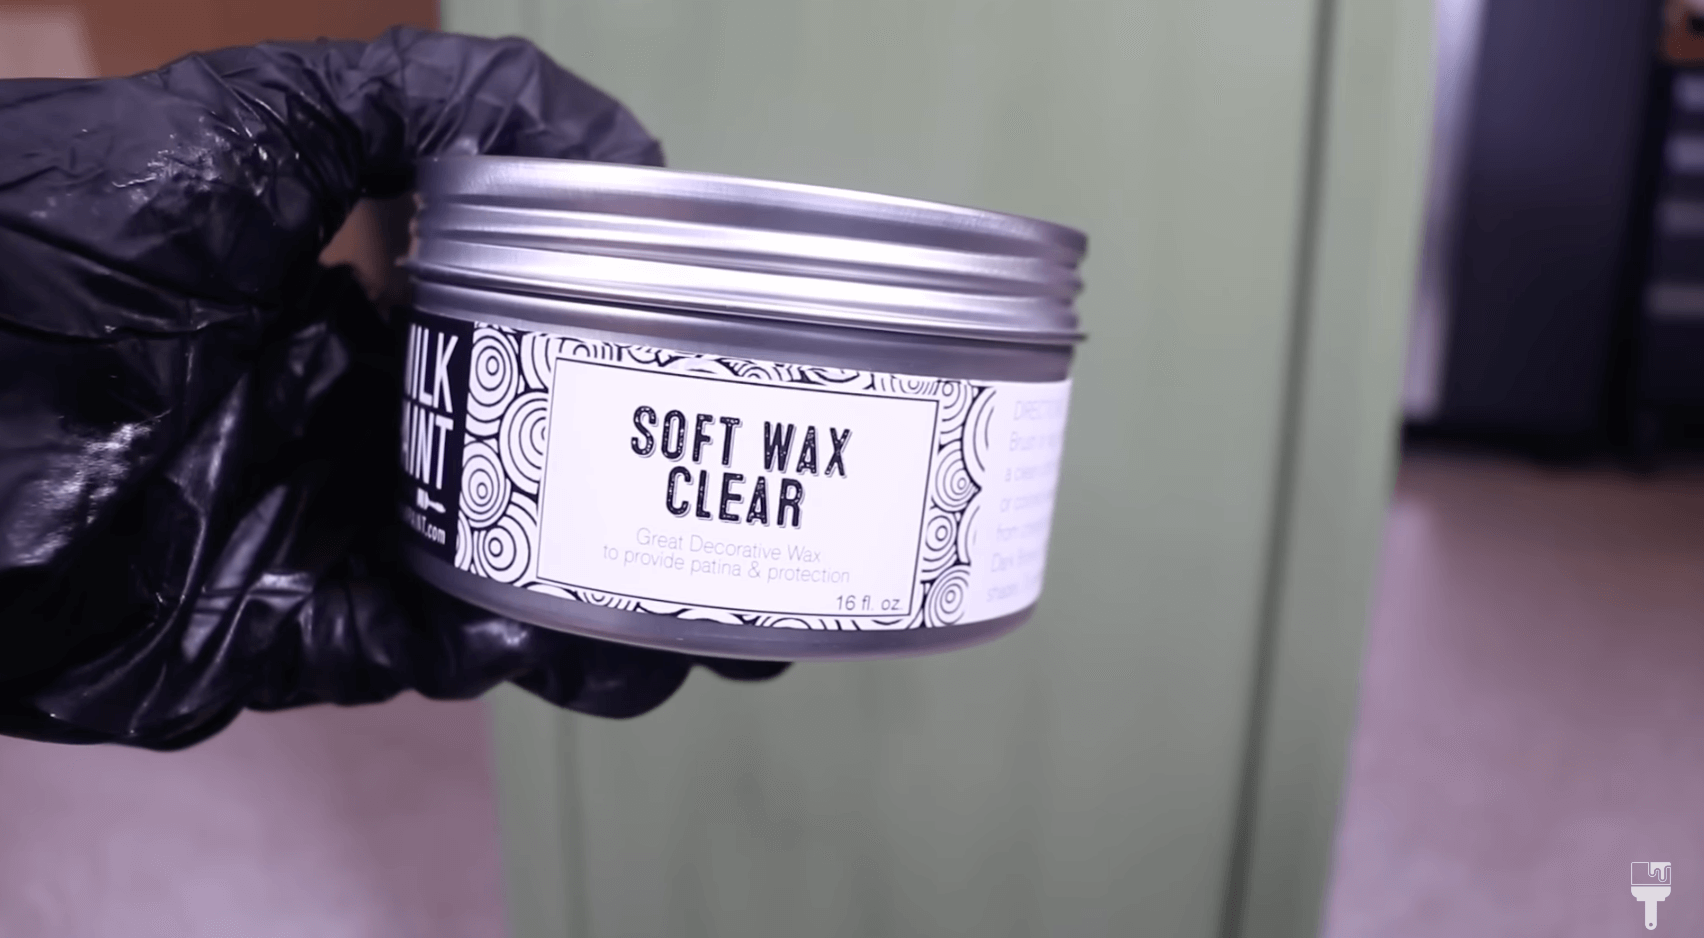
The soft wax also comes in gray, white, ebony, and clear. I’ll be using the clear to seal in my paint. I applied this in the same way I did the dark brown soft wax with a natural bristle wax brush. After you let your wax set for about 10-15 minutes go back with a lint-free cloth to wipe away any excess.
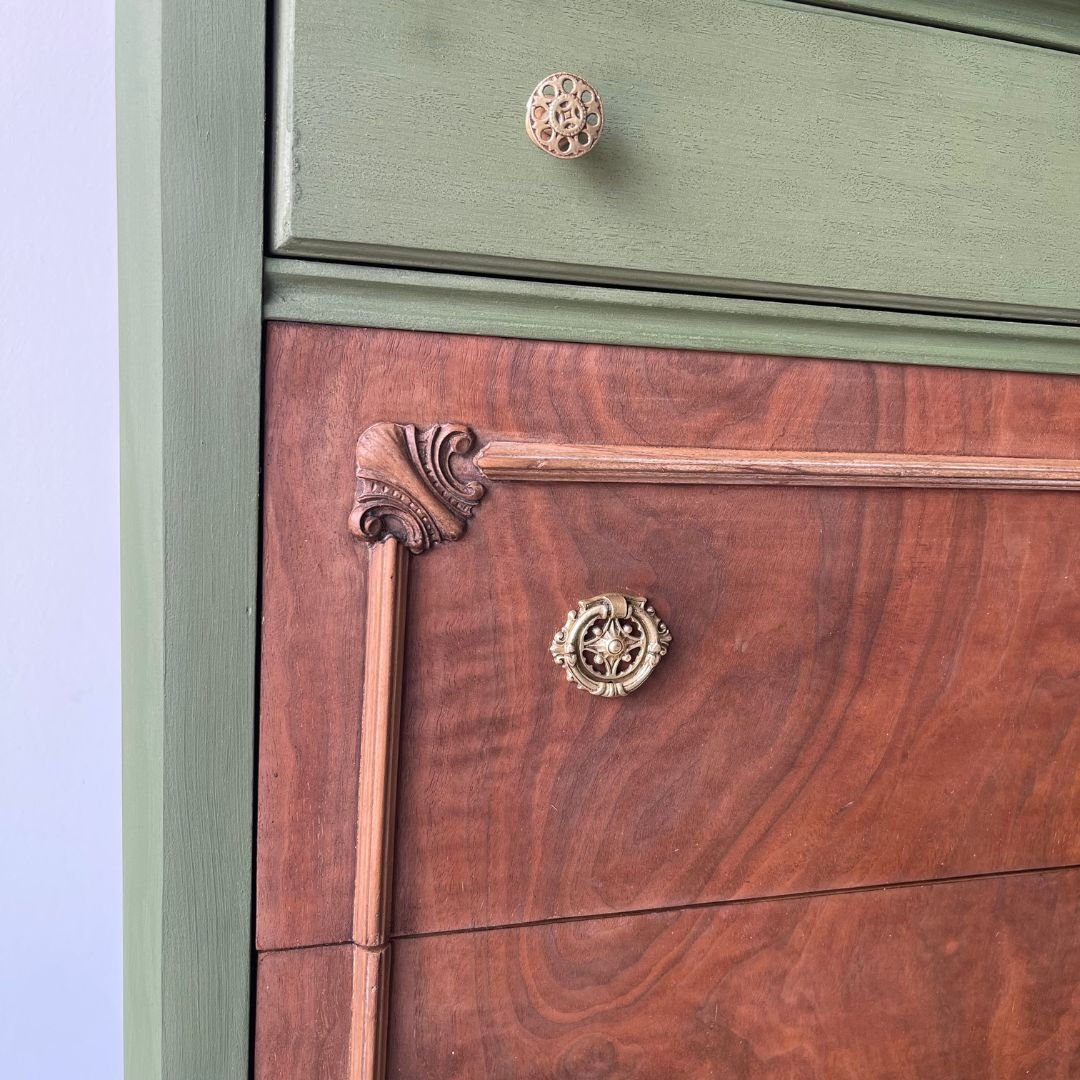
Clean the Hardware

I am using the original hardware for this piece. I just needed to clean them up, so I boiled vinegar and water, let the hardware boil for 10 minutes, and let them cool off. After that, I grabbed some very fine steel wool and buffed them up to their original brass beauty. I’m always so shocked at how well this works! Look at the difference!
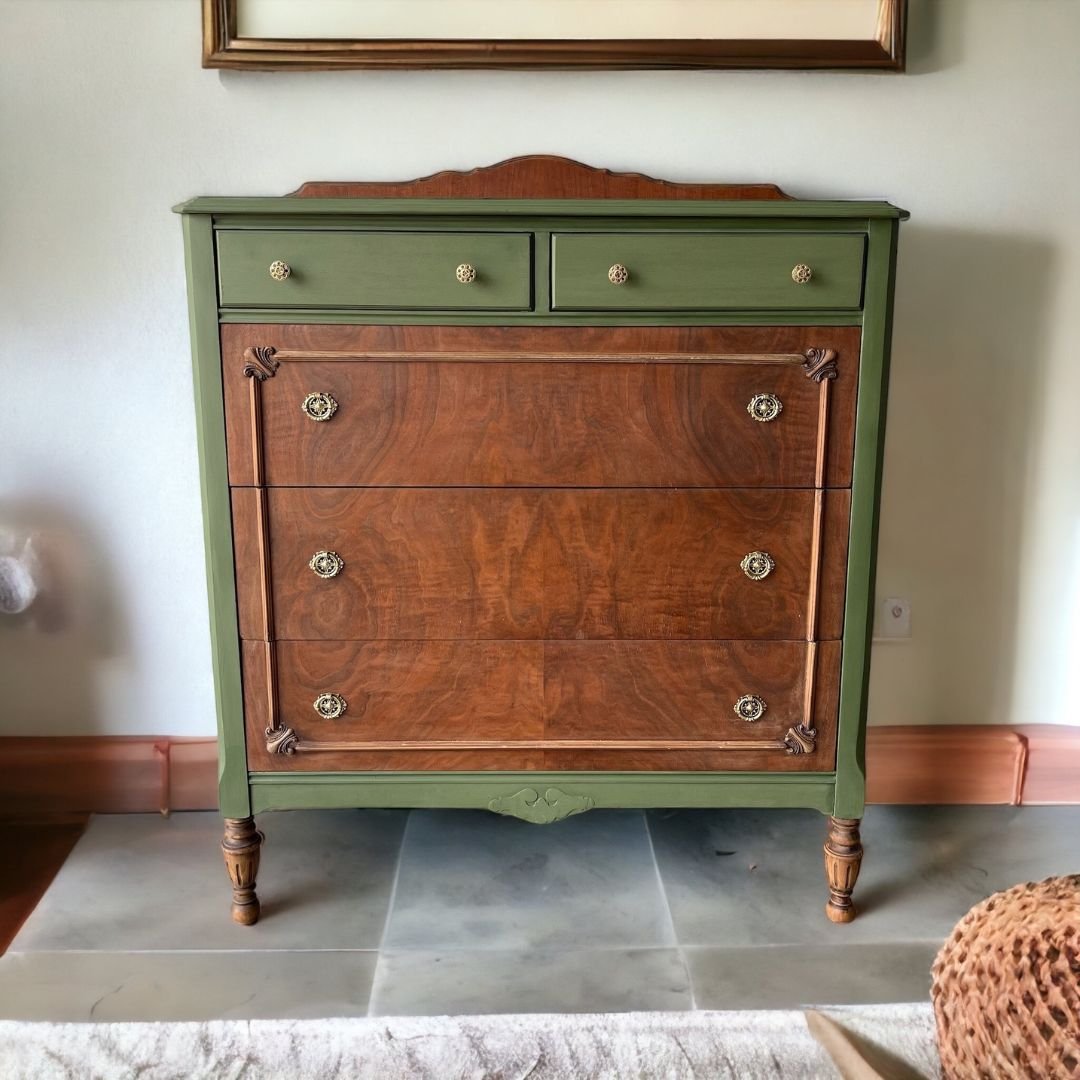
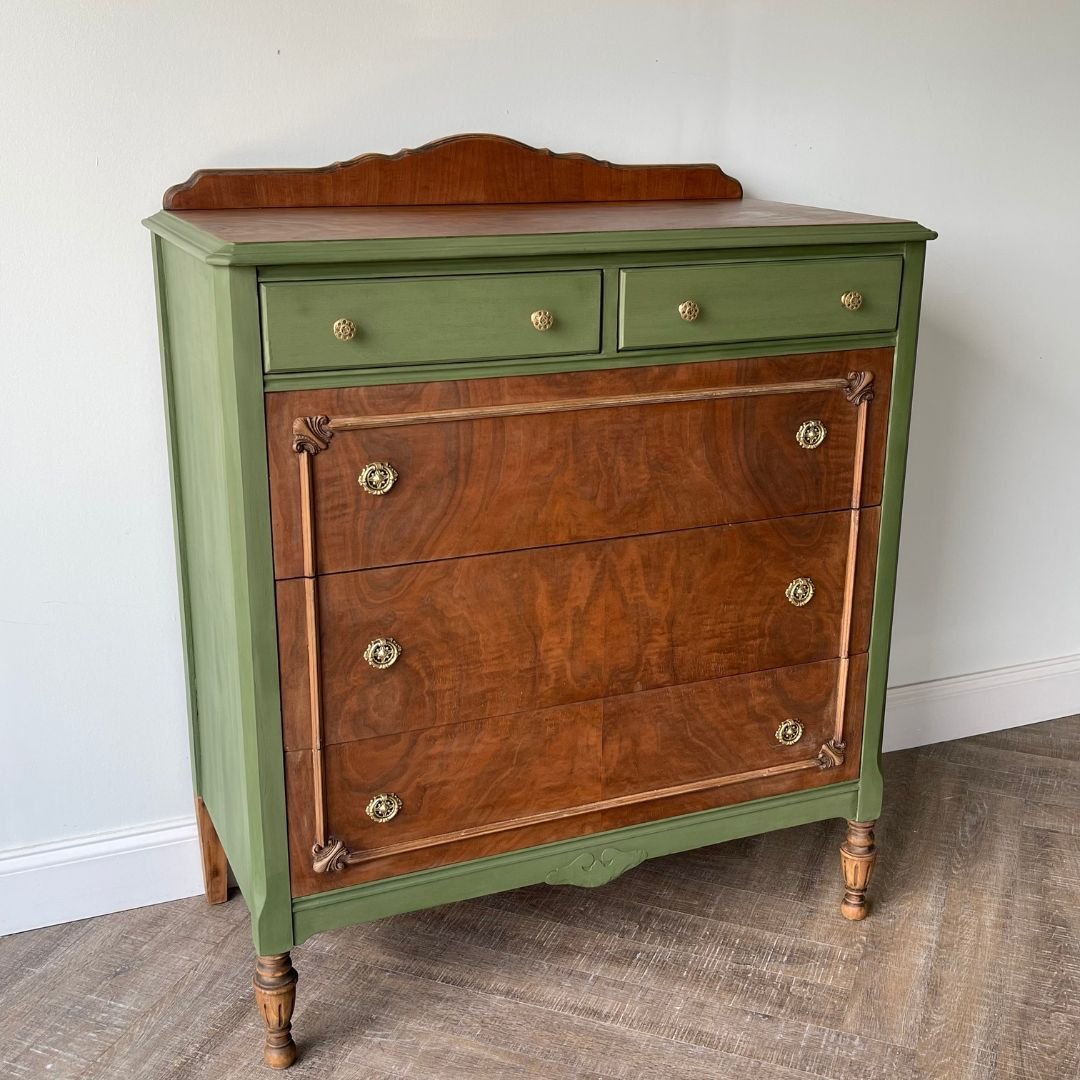
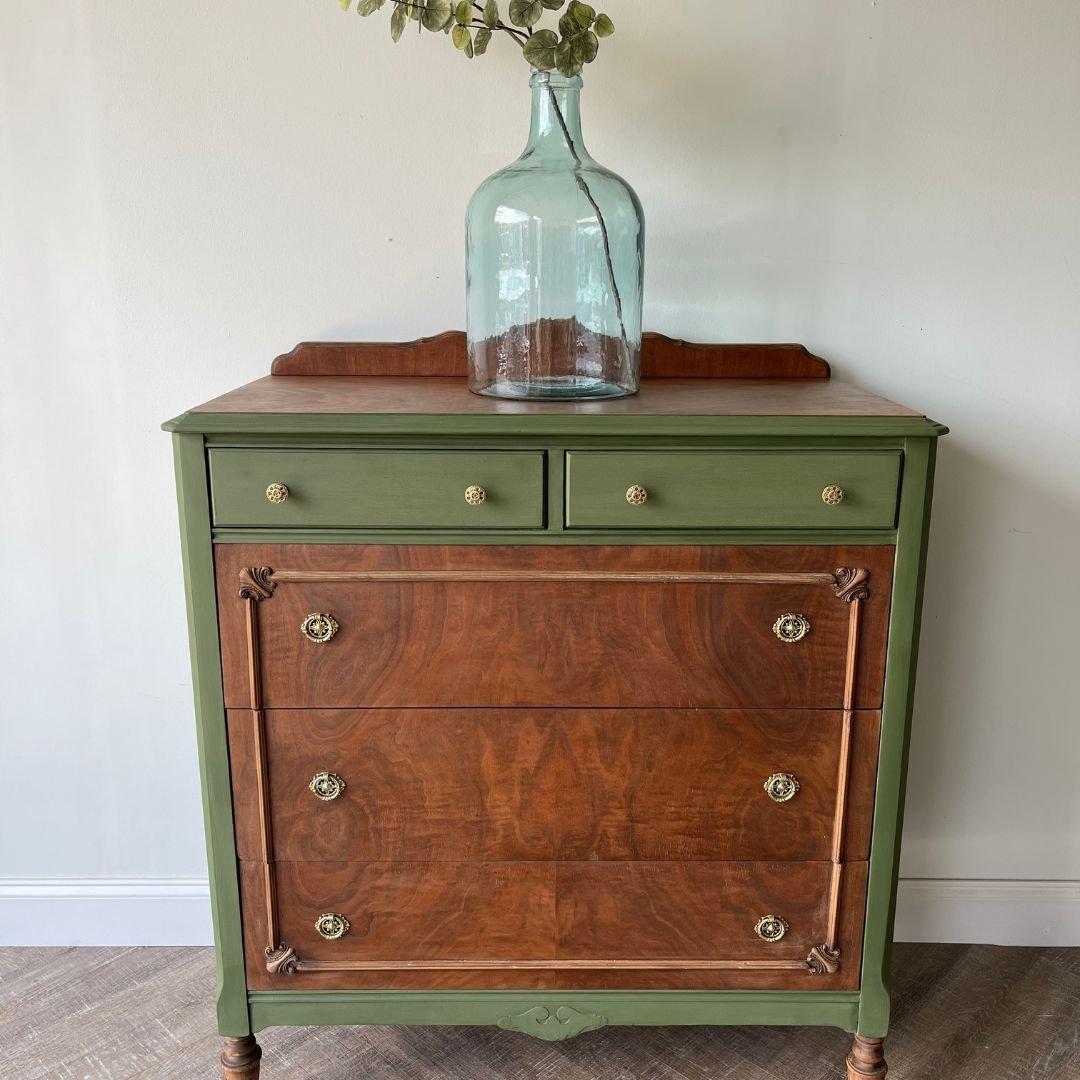
Finishing Touches and Real Milk Paint Company Reveal

I also refinished the decorated back plate and reattached it to the dresser. I attached the hardware back on the drawers and reassembled the dresser for my last finishing touches.
This furniture makeover was a ton of work, but I think it was really worth it. I love seeing this beautiful wood shine and be brought back to its glory with that dark soft wax. And I really love the new paint job! I hope you guys enjoyed this makeover as well. You can see it come to life for yourself in the YouTube tutorial.