
How to Clean and Restore Your Outdoor Teak Table
Disclosure: This blog contains affiliate links. I will receive a commission for items purchased through these links at no extra cost to you. I appreciate your support. Please read all labels and follow all manufacturer safety recommendations when working with paints, stains, and other equipment
Today, I'm excited to share my incredible journey of reviving my outdoor teak table. Like many of you, I was faced with a seemingly impossible task – restoring a weather-beaten piece of outdoor furniture. But guess what? It turned out to be much easier than I anticipated! In this blog post, I'll take you through the step-by-step process of how I transformed my rough-looking teak table into a stunning outdoor centerpiece that I'm now immensely proud of.


Let's start at the beginning. My teak table, purchased in 2019, had seen better days. The original coating had failed miserably under the scorching Tennessee sun, leaving the table looking tired and worn. Determined to breathe new life into it, I decided to revive it using teak oil. Before diving into the restoration process, a thorough cleaning was in order. With my trusty pressure washer equipped with a wood-friendly nozzle, I embarked on this exciting makeover journey.
Supplies
Cleaning and Preparing the Surface
Taking careful measures, I power washed the table, ensuring a clean canvas for the upcoming restoration. Remember, it's crucial to maintain the right distance and angle to avoid damaging the wood. My pressure washer has a nozzle that is specifically made for doing wood fences and tables so that I'm not going to damage it. If your pressure washer does not have that feature, you just want to make sure that you turn down the pressure or that you use a washer that has less of a PSI. You want to use a wide spray nozzle for this task. Most pressure washers come with several nozzles like mine does, so just select the widest one for this project.


The bottom of my table was covered in residual paint, and required a bit more attention than the rest of the table, but with patience and precision, I managed to get it ready for the next step.
Sanding for a Smooth Finish
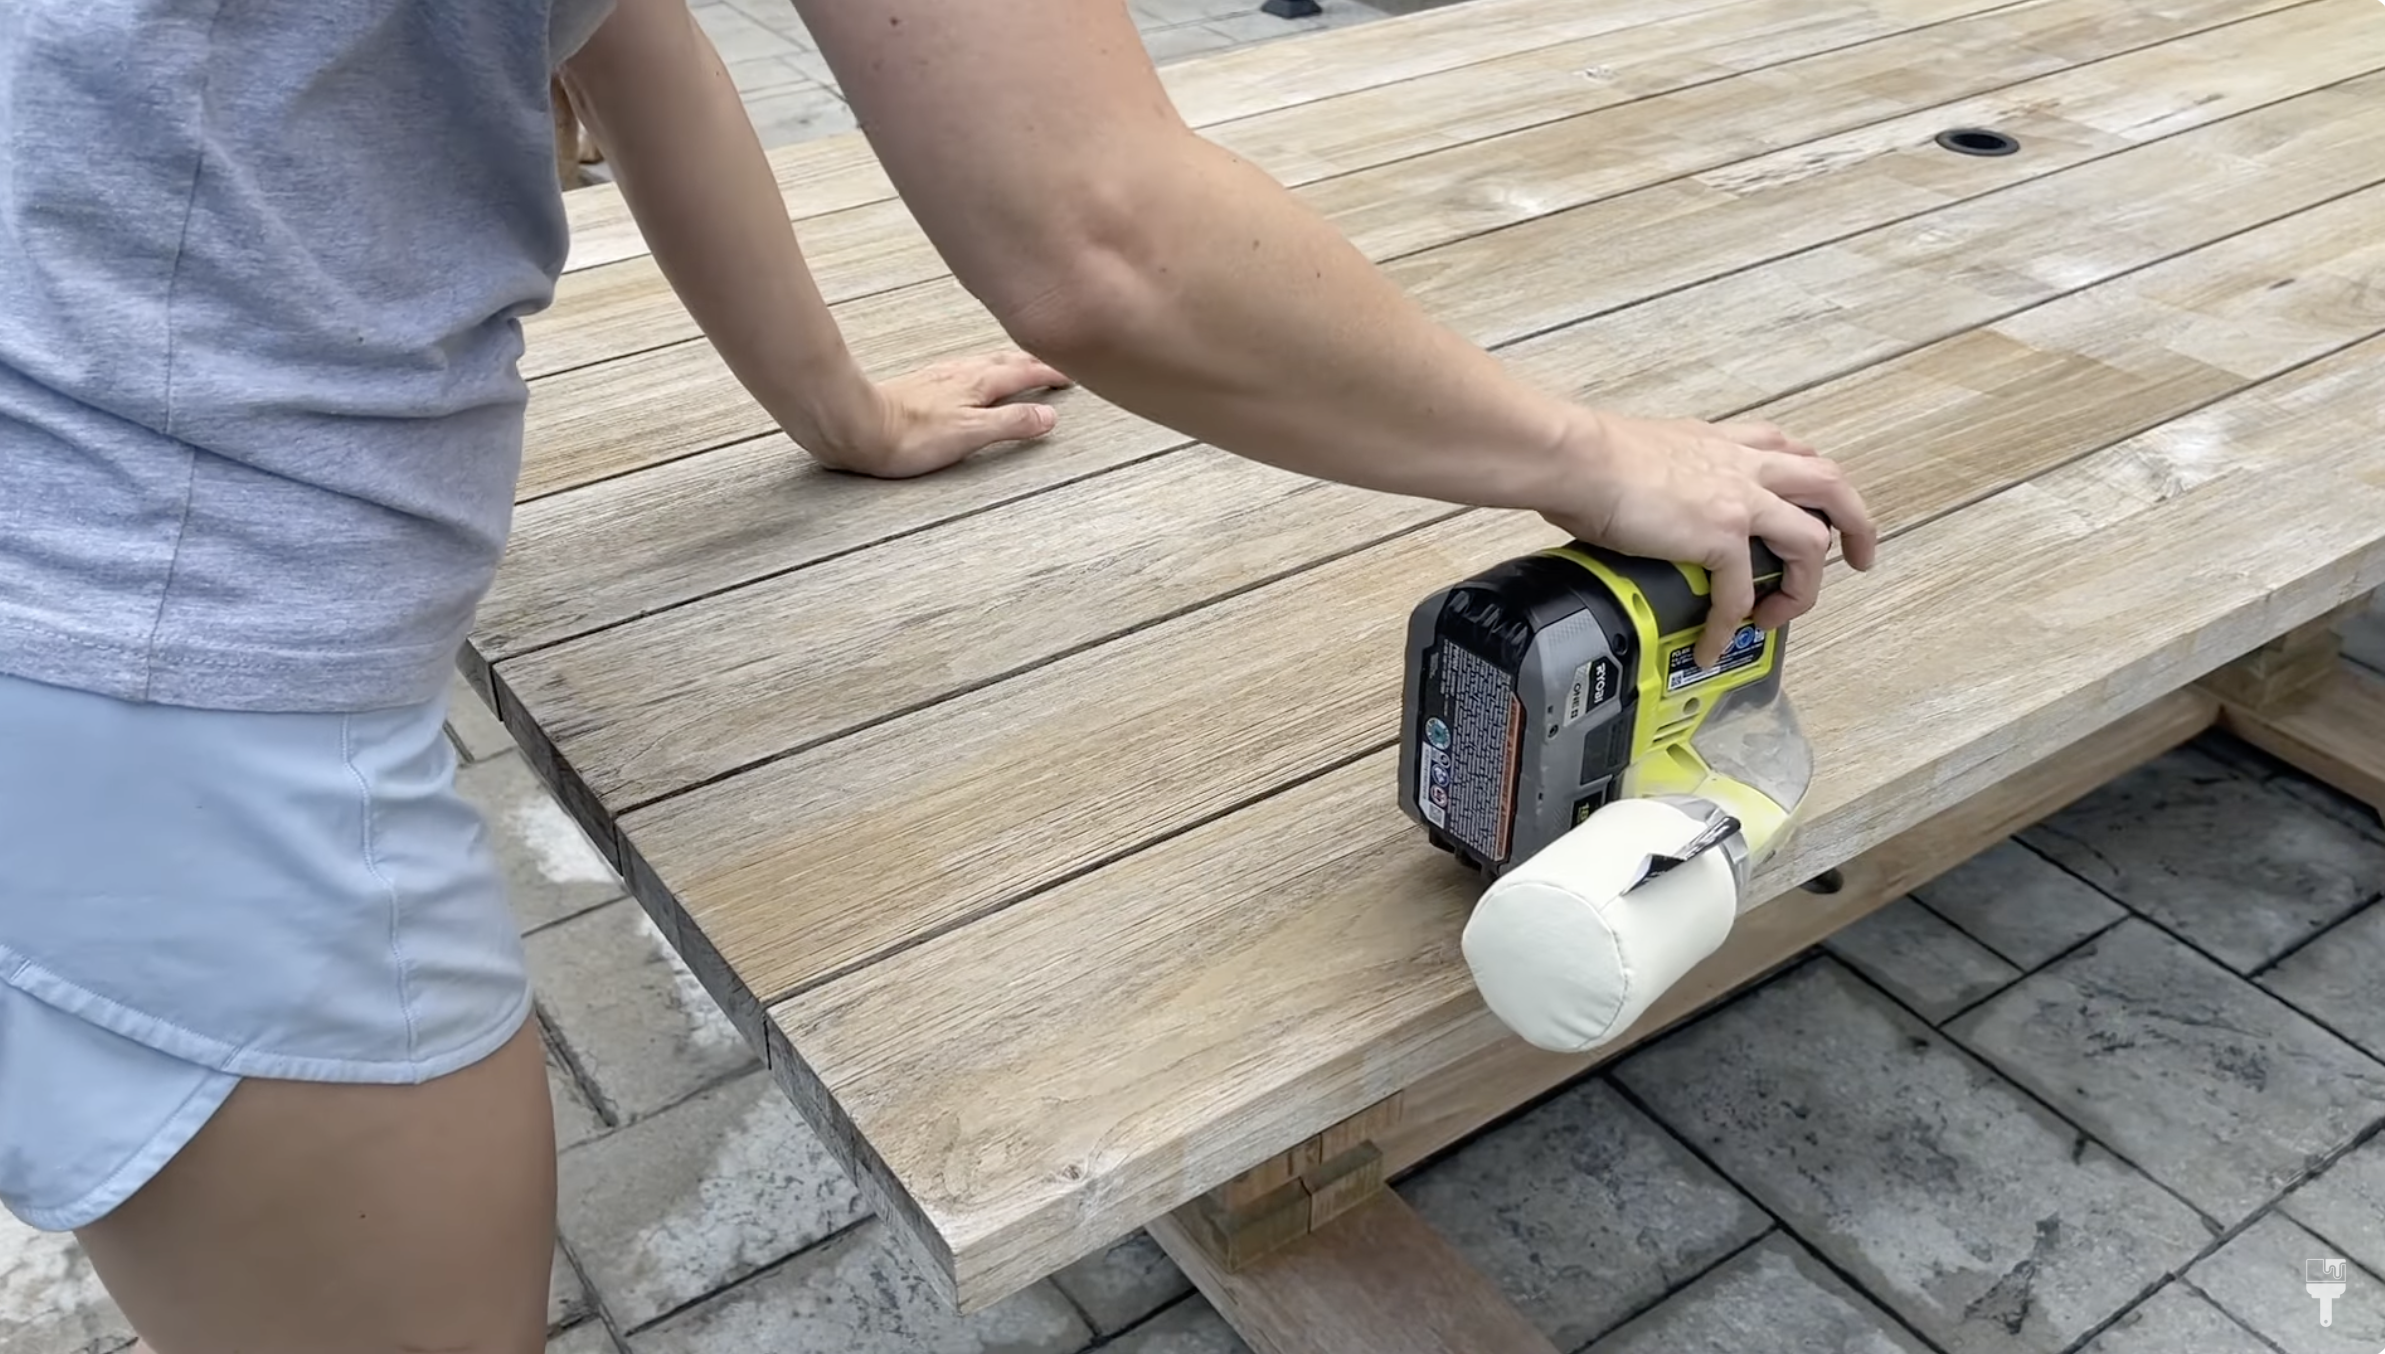
Following the cleaning, I meticulously sanded the surface using 120-grit sandpaper, removing any remnants of the old finish. Thorough sanding was especially essential for the top, where people would be dining. The legs of the table, although less visible, received a decent sanding as well. The key here was to ensure a smooth and even surface, ready to absorb the teak oil. I decided to use a staining pad to apply the stain to the table, and I used a synthetic paintbrush to apply the stain to the chair legs.
Applying Teak Oil: The Magical Transformation
Choosing the right teak oil was imperative, so I opted for Watco Teak Oil and Stain. Applying this oil was surprisingly easy; I generously coated the table's surface with it, using a stain pad for even distribution. The transformation was almost magical! The oil not only restored the wood but also enhanced its natural beauty, giving it a warm, inviting glow.


After allowing the first coat to penetrate for 30 minutes, I applied a second one, ensuring every inch was covered. After a waiting period, I wiped off the excess oil, revealing the table's stunning new look. The result was a testament to the power of teak oil – a rich, warm finish that not only looked great but also promised durability against the elements.
A Stunning Transformation


And there you have it – my teak table's incredible makeover journey! Thanks to the right products and a bit of elbow grease, my outdoor furniture went from drab to fab. If you're facing a similar challenge, don't despair. With the right tools, a bit of patience, and some quality teak oil, you can transform your weathered furniture into a thing of beauty. So go ahead, give it a try, and let the natural elegance of teak wood shine through!
If you would like to view the full video tutorial of this makeover, you can find it here.
I’ll be back again soon with another makeover for you!