
Transforming an Antique Desk into Two Modern Nightstands: A DIY Furniture Makeover
Disclosure: This blog contains affiliate links. I will receive a commission for items purchased through these links at no extra cost to you. I appreciate your support. Please read all labels and follow all manufacturer safety recommendations when working with paints, stains, and other equipment
For this tutorial, I tackled on an exciting DIY project: transforming this antique desk into two nightstands. This $40 thrift store find would have been headed to the landfill, but I recognized the potential to turn it into something functional. The result? Two modern nightstands in a beautiful deep burgundy. Join me as I take you through the step-by-step process of disassembling, repairing, and painting this desk, turning it into stunning nightstands.
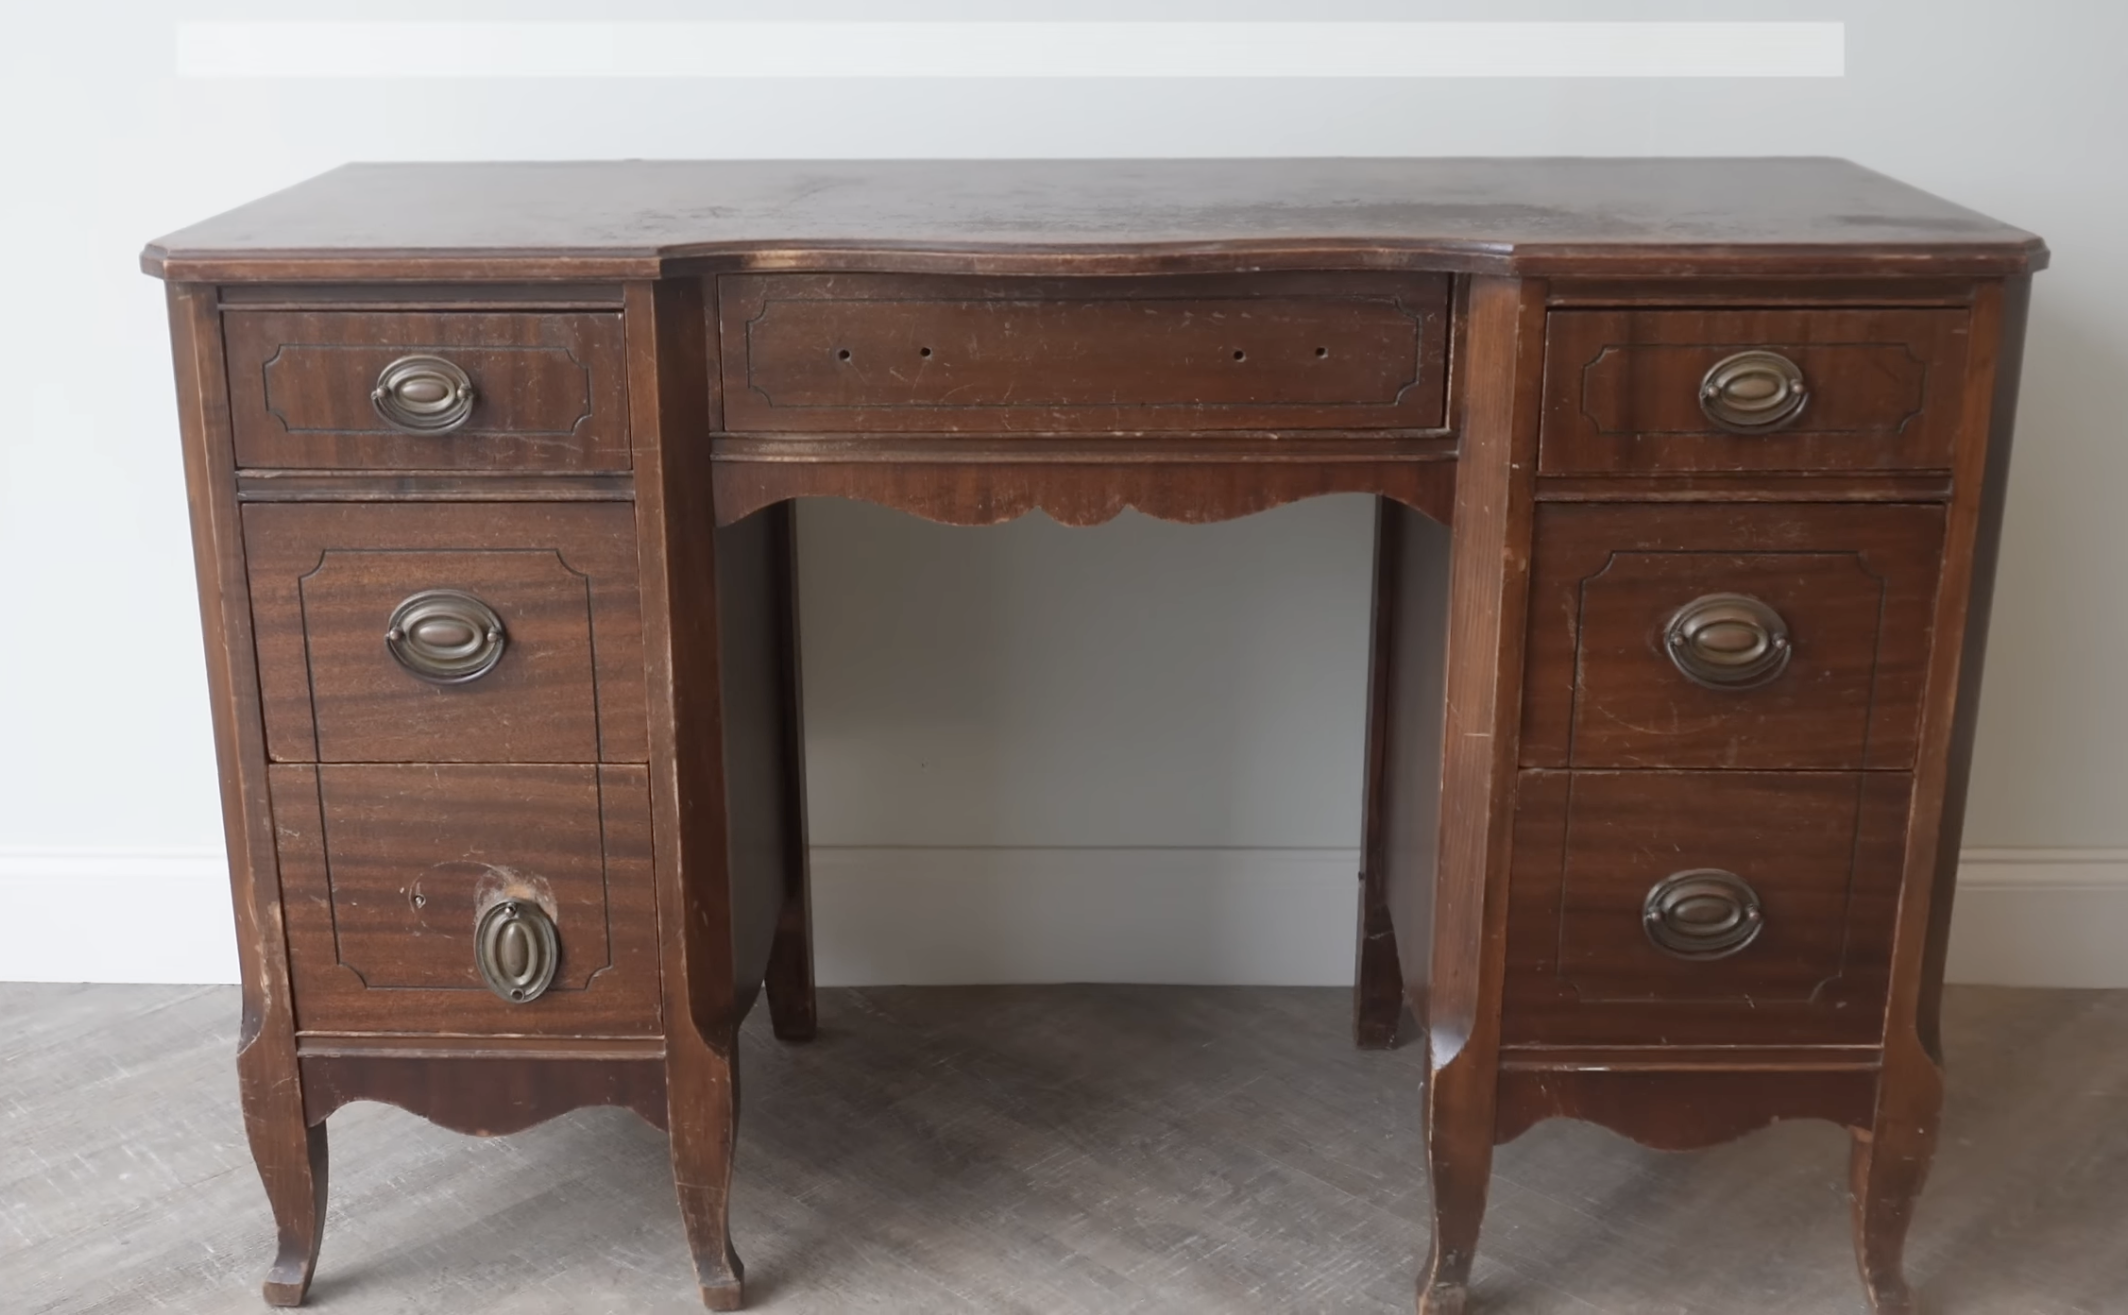

When I first saw this desk at the thrift store, I immediately noticed its solid wood structure despite the extensive veneer damage. Determined to salvage its potential, I began the disassembly process. First, I started carefully removing the screws and disassembled the desk, starting with the drawers. I used a mallet and painter's tool to pry off decorative pieces and prepared for the major transformation.


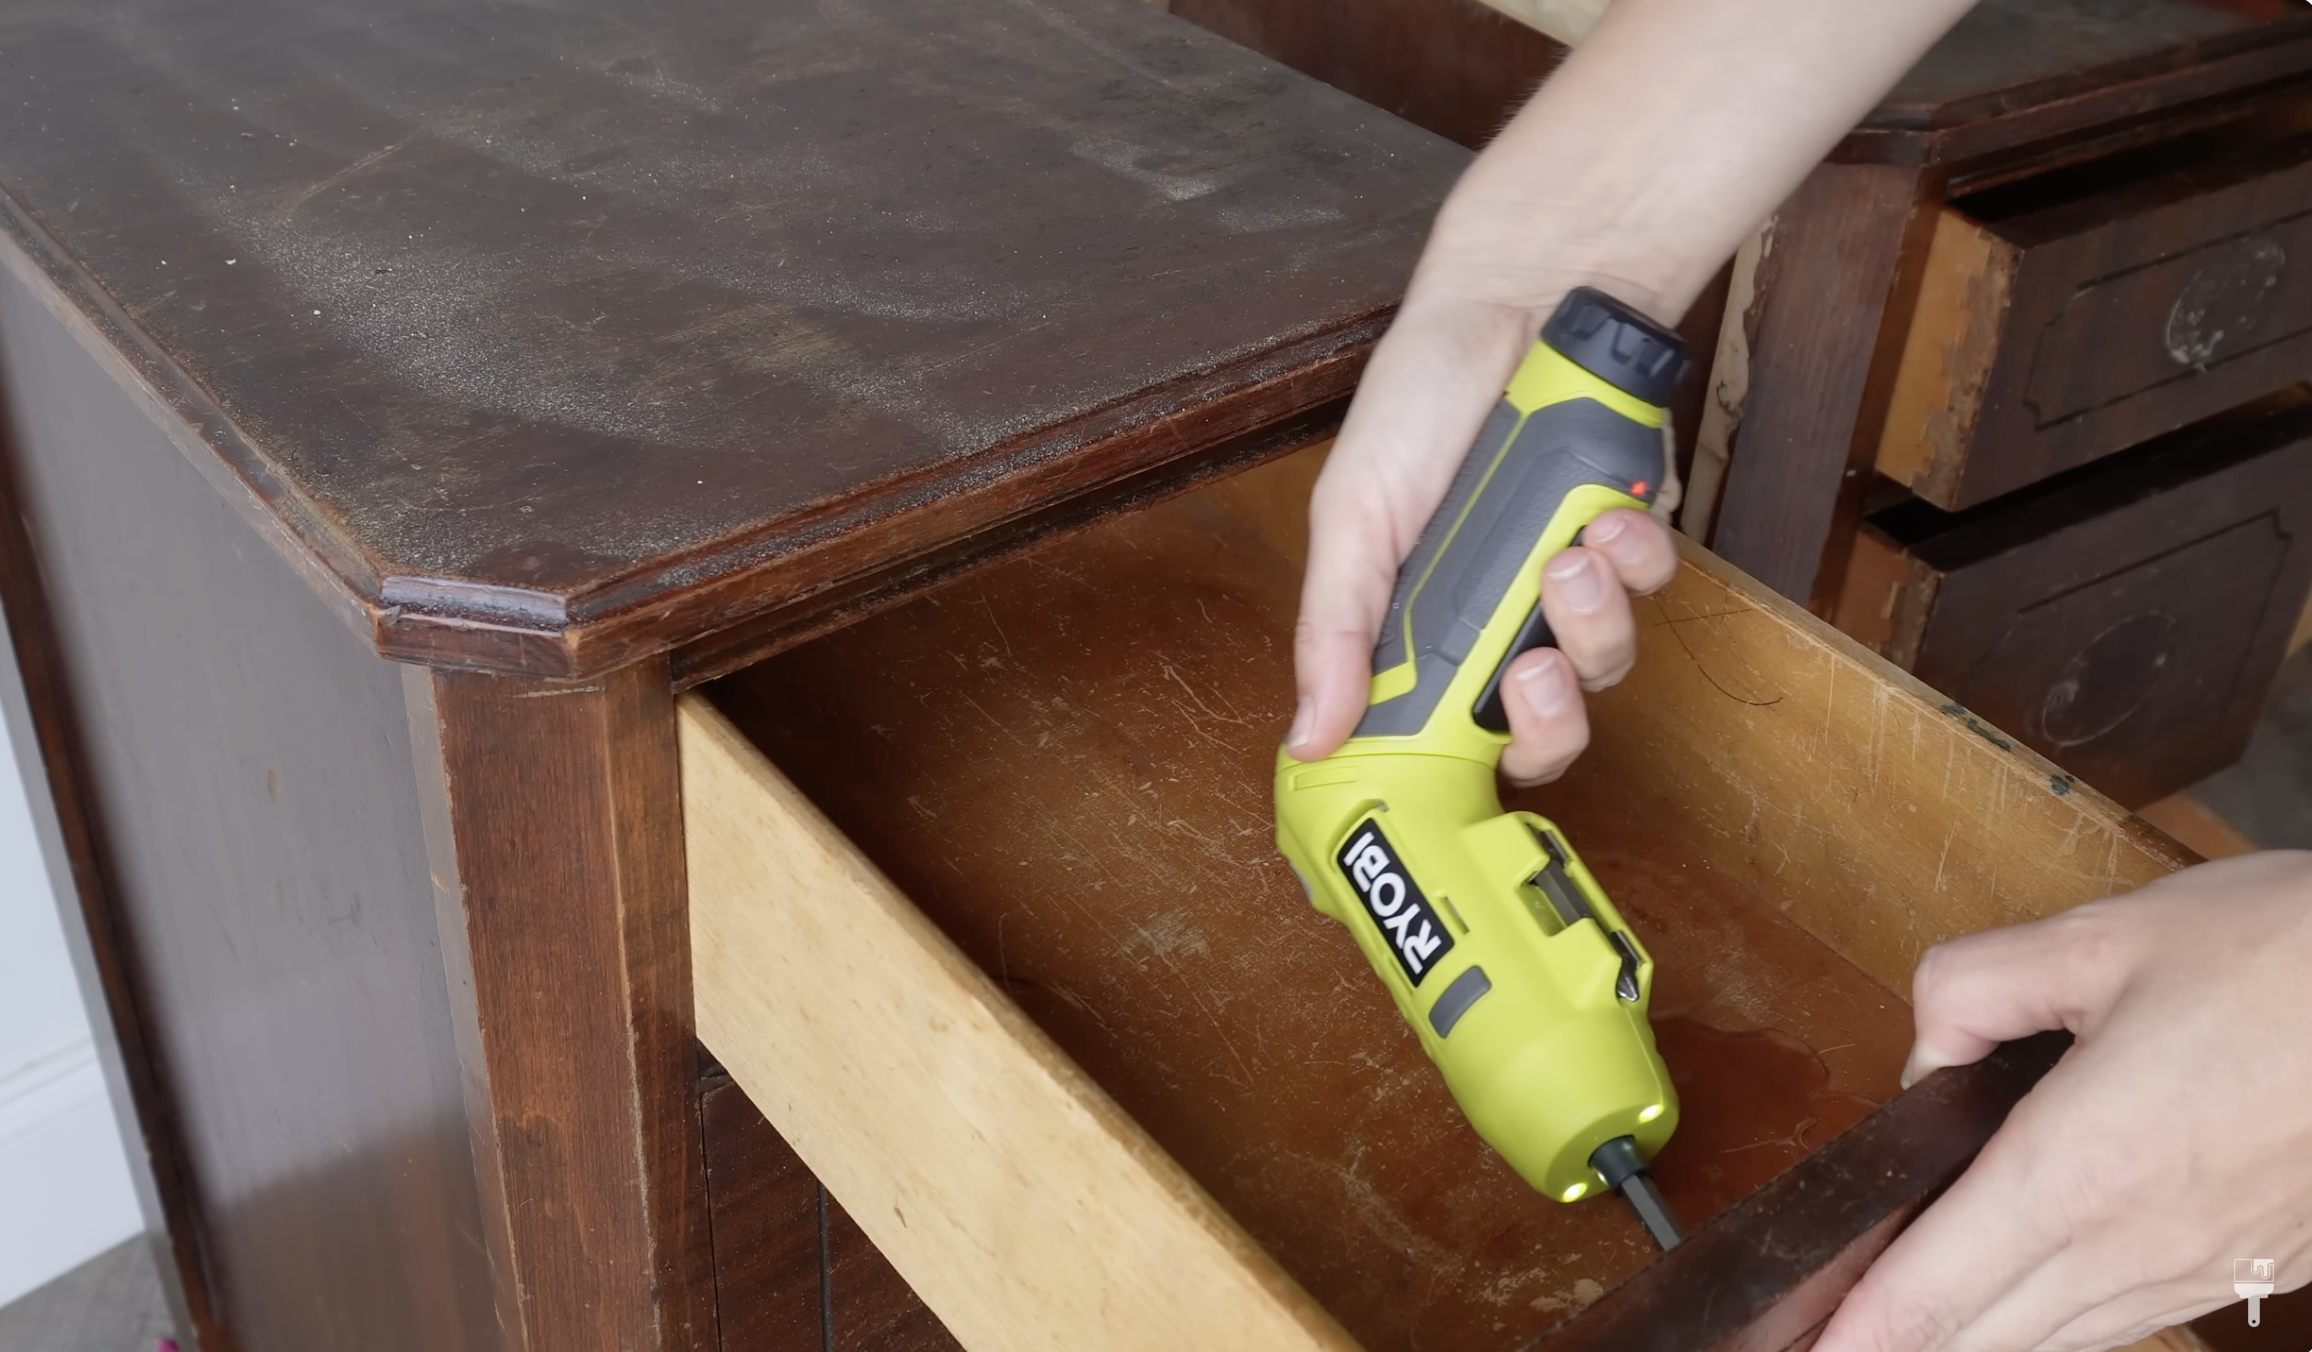
After I was finished disassembling the desk, I went ahead and removed all the hardware. One of the drawer pulls on this desk was broken, so I need to replace all the hardware. I chose some beautiful antique brass knobs, so I will need to fill these old hardware holes and drill new ones.
Cutting the Desk in Two
To create the nightstands, I cut the desk into two pieces, ensuring a straight cut using my circular saw with a level and clamps as guides. It was so important to get a straight and even cut, so I measured and remeasured to make sure both sides of the desk would be equal. With my meticulous measurements and some very careful cutting, I successfully divided the desk into two identical parts.


This was my first time using my routing tool. I was so nervous to try this out! I practiced on a scrap piece of wood to be sure I knew what I was doing. Because this desk was solid wood, I was able to use this router to imitate the groove on the cut edge so that it matched the other three sides of each nightstand. I was so proud of how it looked!
My last step was to use Simple Green to clean all the sawdust and grime off of the two nightstands and rinse them back with water. Now we are ready for repairs and sanding!

Repairs and Sanding

The next steps involved repairing all of the damage to the veneer. I used Bondo, a two-part putty, to fill gouges and veneer damage, and then followed up to that by sanding both nightstands to achieve a smooth, raw wood surface. After sanding every nook and cranny, I made sure each nightstand was primed and ready for their stunning makeover.


Painting the Nightstands

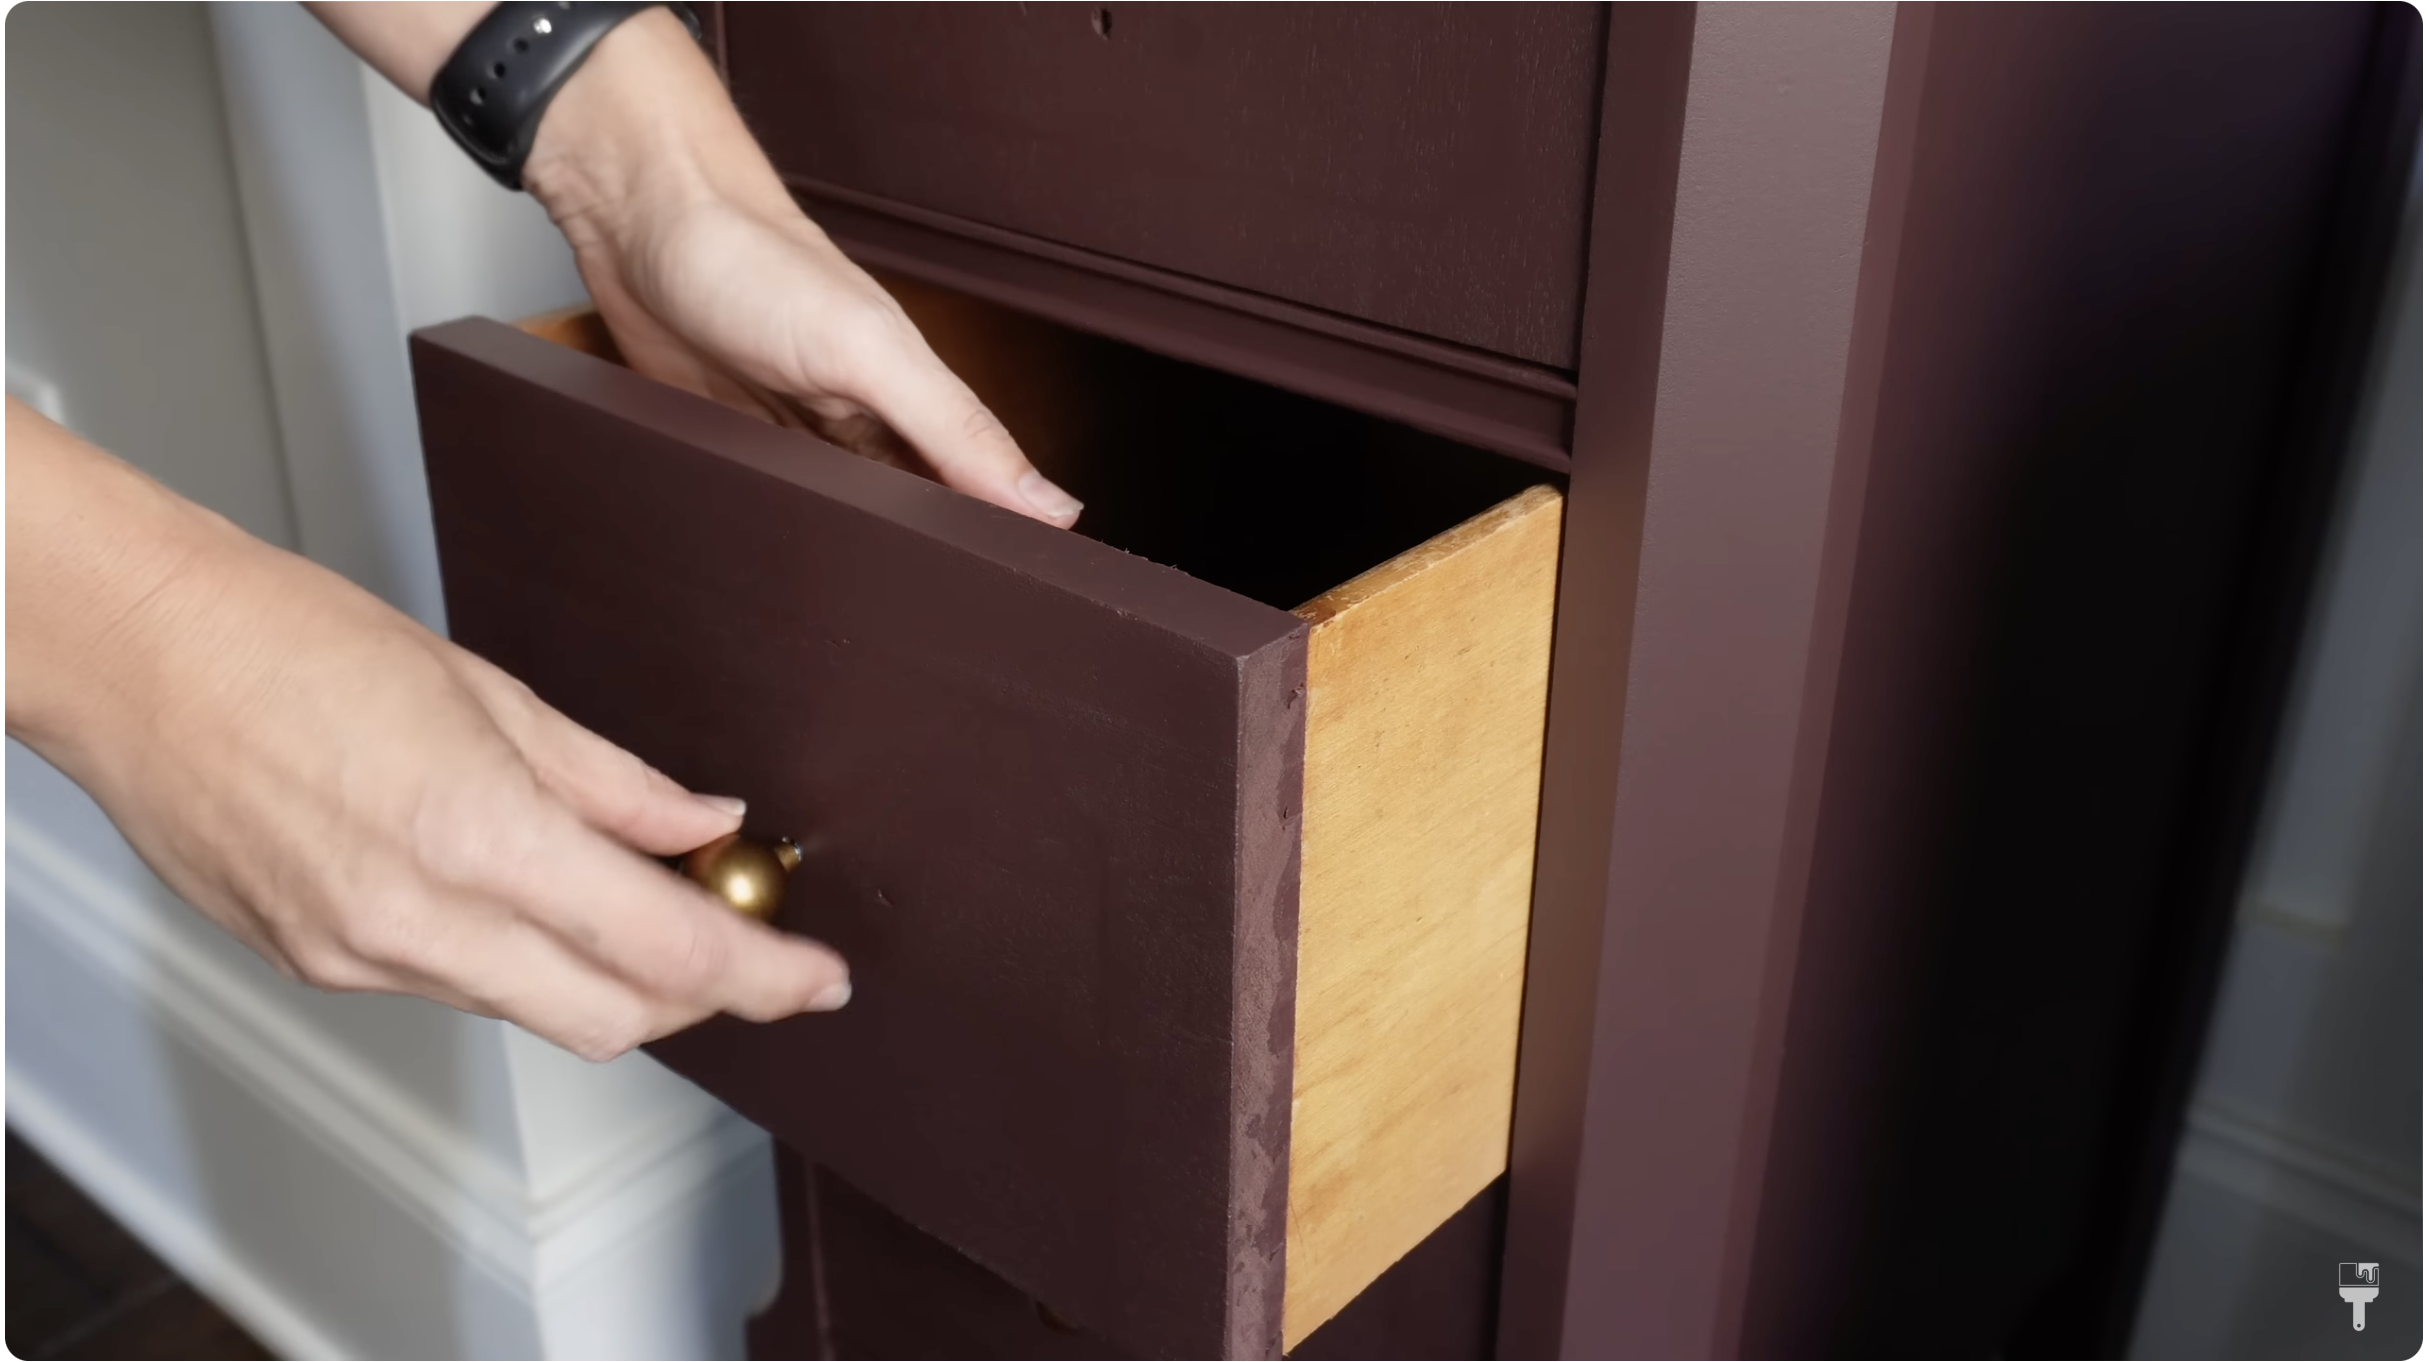
I chose this General Finishes Milk Paint in the color "Arrington”, for this makeover. This is an acrylic paint that offers a smooth, professional finish. Before painting, I made sure to tape the drawers to prevent any overspray. Then, using my Wagner Flexio 3500 sprayer, I sprayed the paint in two thin, even coats. The sprayer allowed for quick, efficient coverage and a beautiful smooth finish, enhancing the nightstands' elegance.

Finishing Touches
After letting the paint dry, I added exquisite vintage-inspired hardware, elevating the nightstands' aesthetic appeal. The final result was two stunning burgundy nightstands, showcasing a perfect blend of vintage charm and modern elegance.

This DIY furniture makeover journey shows the power of creativity, patience, and a little elbow grease. With dedication and the right tools, I transformed a neglected desk into two functional, stylish nightstands, saving yet another piece of furniture from the landfill.
Whether you're a seasoned DIY enthusiast or a beginner, this project proves that with passion and determination, you can breathe new life into old furniture, creating pieces that add character and beauty to your space without breaking your budget. You can watch the full tutorial for this furniture makeover here.
I’ll be back with another furniture makeover soon!