
No More Painted Furniture: A Nightstand Makeover Using Water Based Stain
Disclosure: This blog contains affiliate links. I will receive a commission for items purchased through these links at no extra cost to you. I appreciate your support. Please read all labels and follow all manufacturer safety recommendations when working with paints, stains, and other equipment
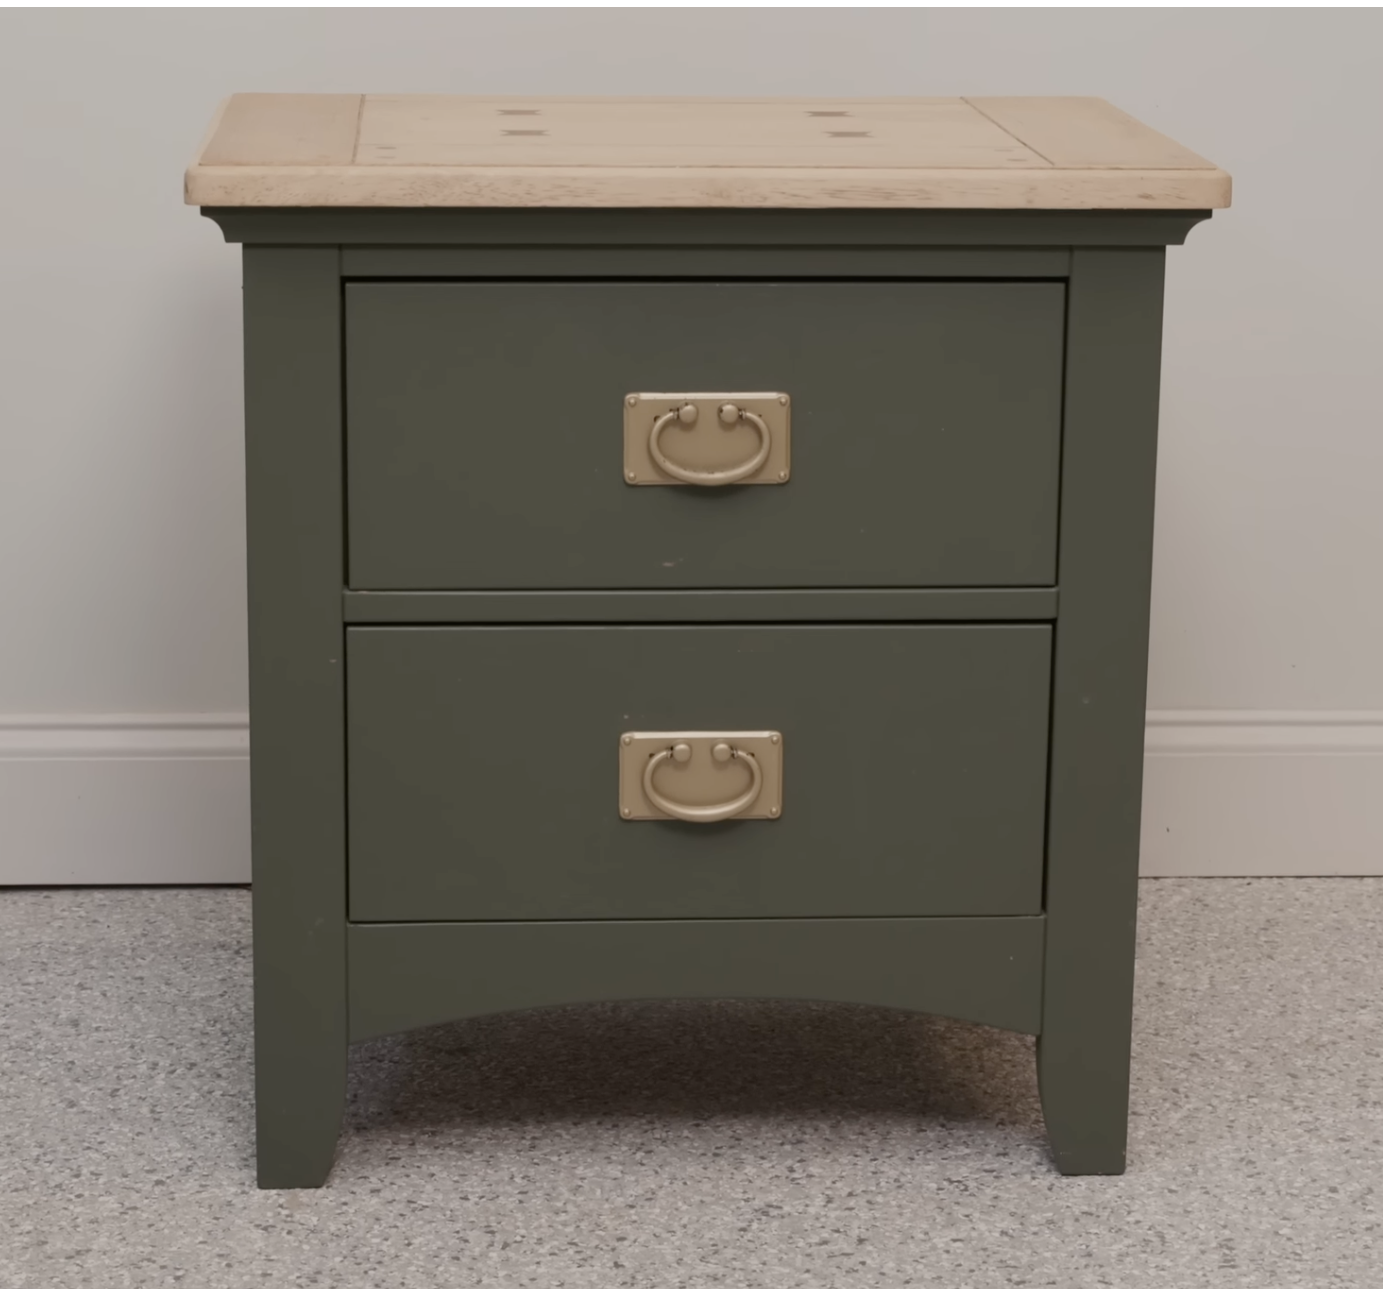
Today's blog post is a treat for all those who appreciate the natural beauty of wood. I'm usually found wielding a paintbrush, but today's makeover is all about unveiling the natural wood tones underneath a painted piece. Join me on this journey as we strip away layers upon layers of paint and varnish to reveal the original beauty of this nightstand.
Prep and Paint Removal
I've had this piece in my living room for a while, but I decided it was time for a change. I am loving wood tones right now, and this nightstand had the potential for a stunning transformation. I went ahead and removed the hardware from the nightstand, because I have plans to add some finger pulls to these drawers for a more modern look.

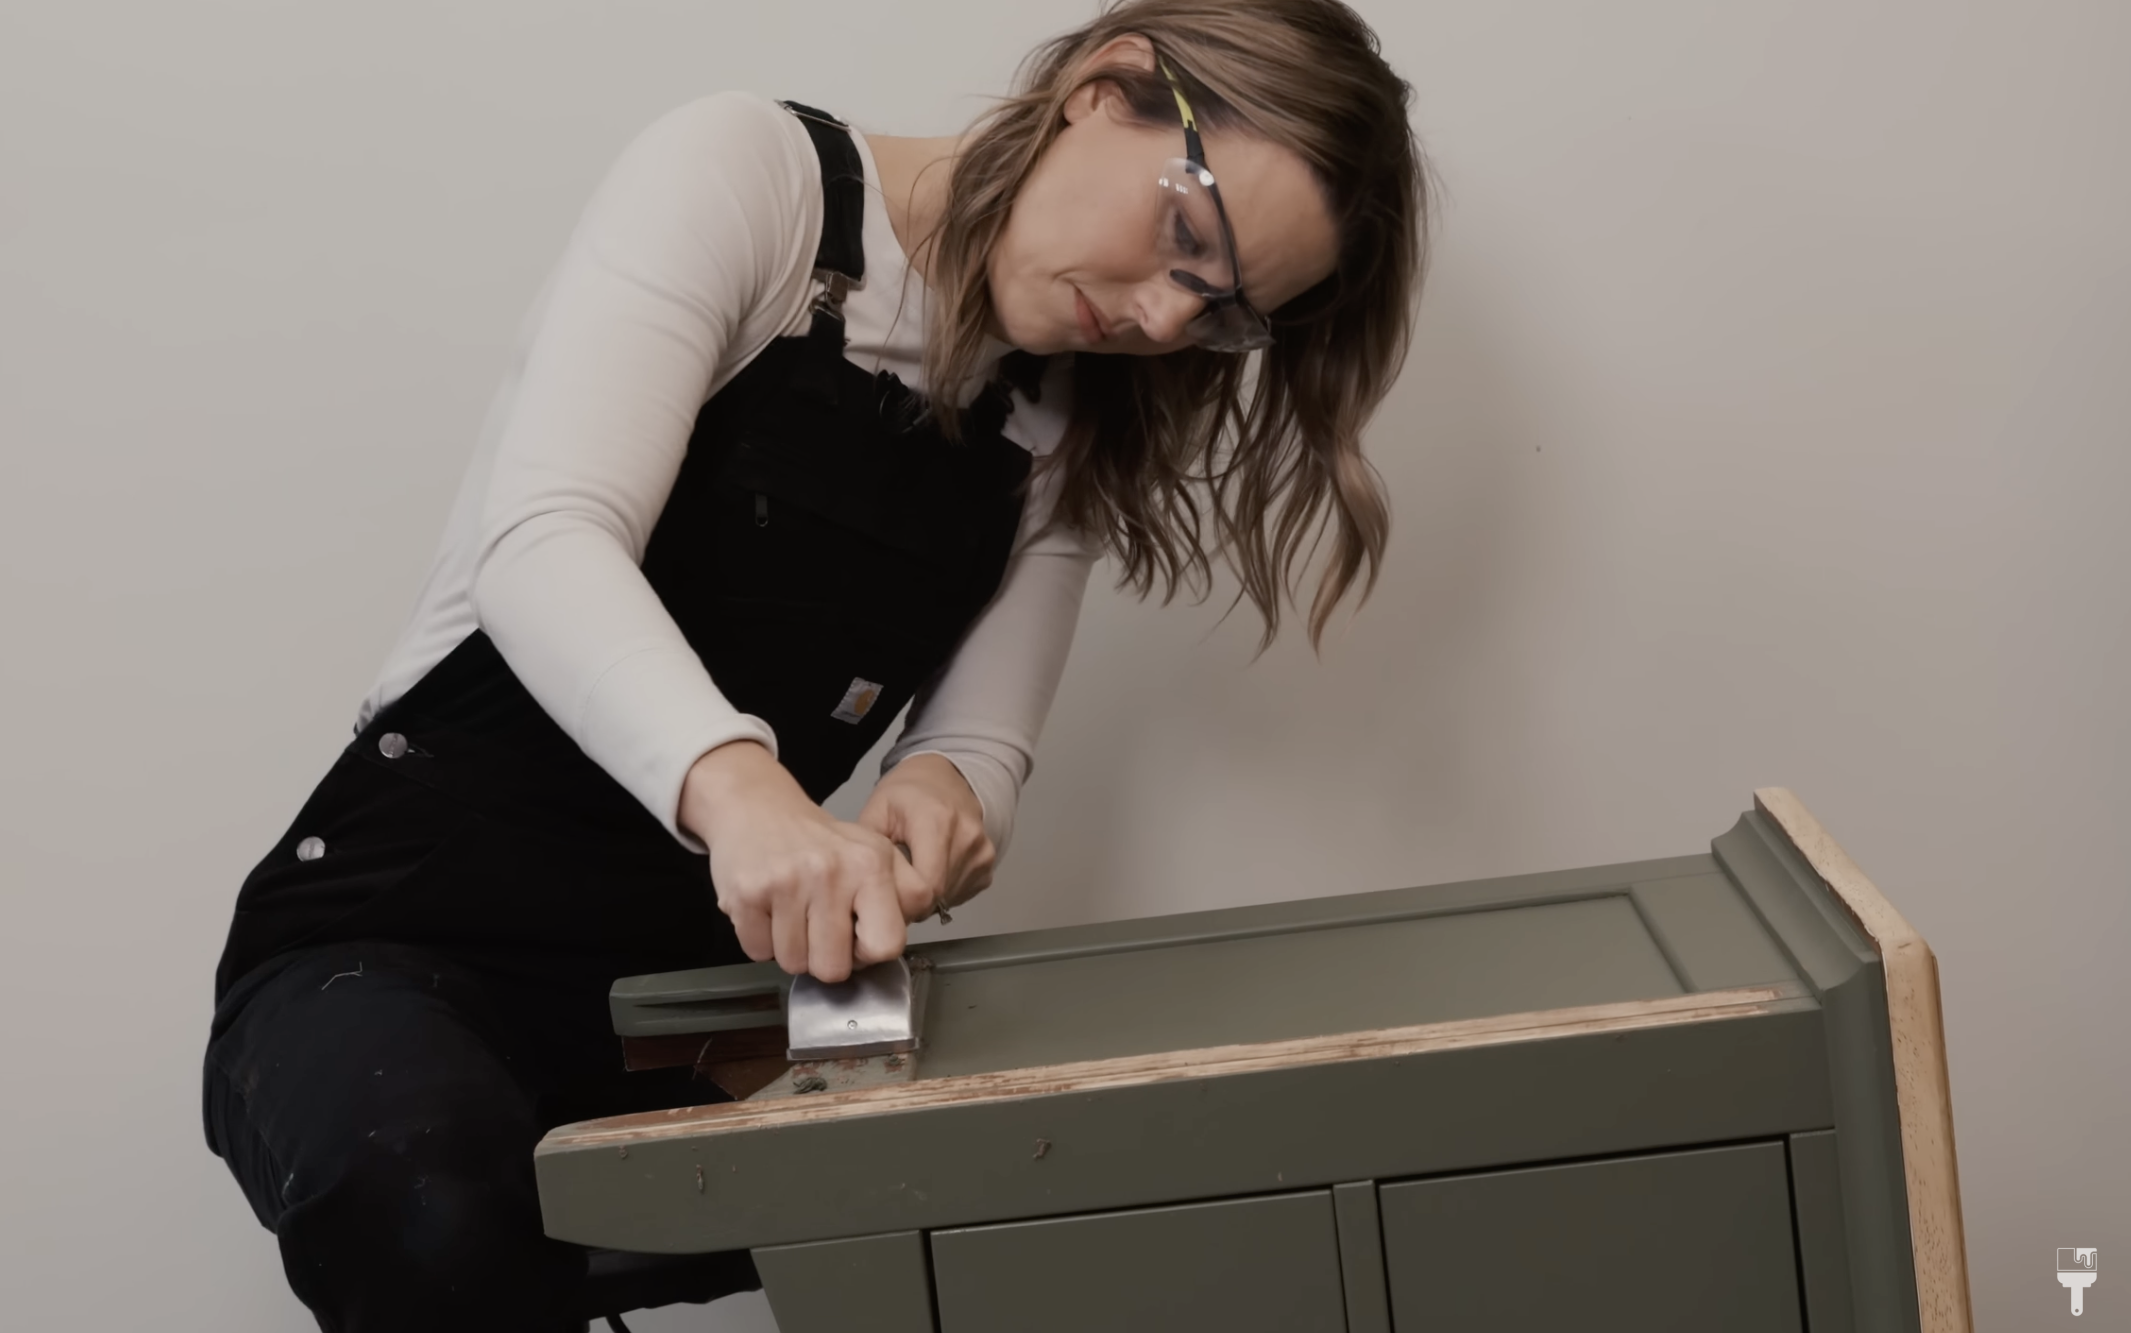
To start the paint removal process, I first opted for a carbide scraper to delicately remove the top layer of paint and varnish. This step is crucial for preparing the wood for the upcoming stain. The carbide scraper ensures efficient paint removal without damaging the precious wood beneath. It also helps me avoid the use of harsh chemical paint strippers to remove this top layer of paint.
Sanding, Sanding, and More Sanding
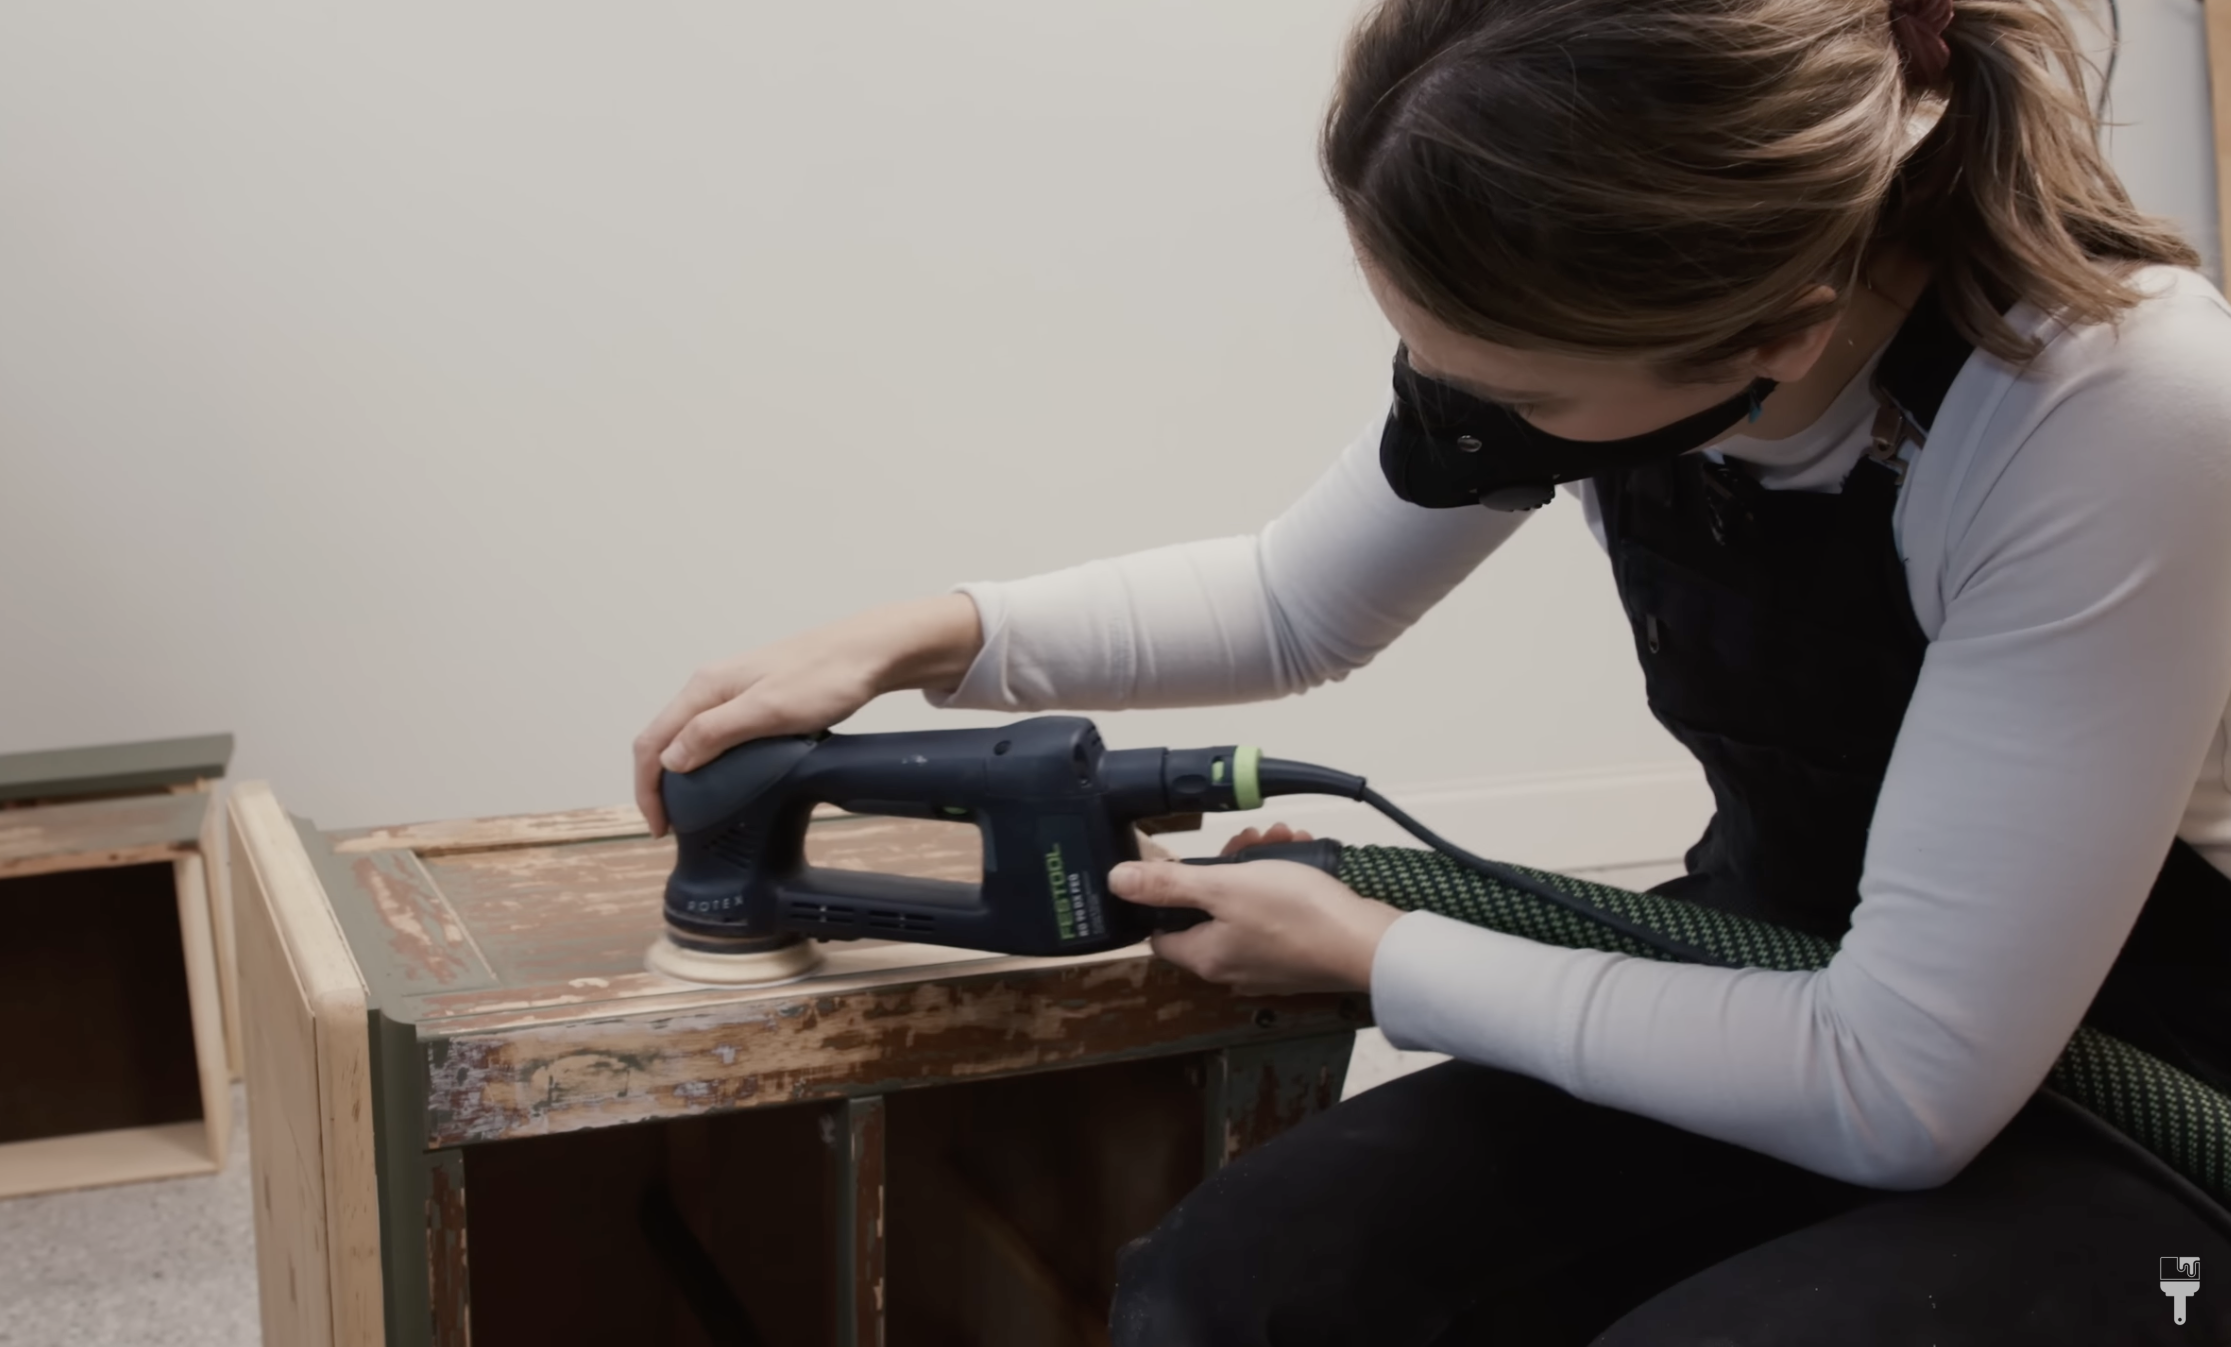
Once the outer layer of paint and varnish were stripped, I turned to my trusty Festool orbital sander. Using a 60-grit sandpaper, I meticulously removed any remaining varnish, ensuring a smooth surface for the upcoming stain. This was not a fast process, but it was essential to thoroughly remove all this old paint. My Festool Rotex 90, which is a professional-grade sander, made the sanding job go a little faster but it was still a long process.
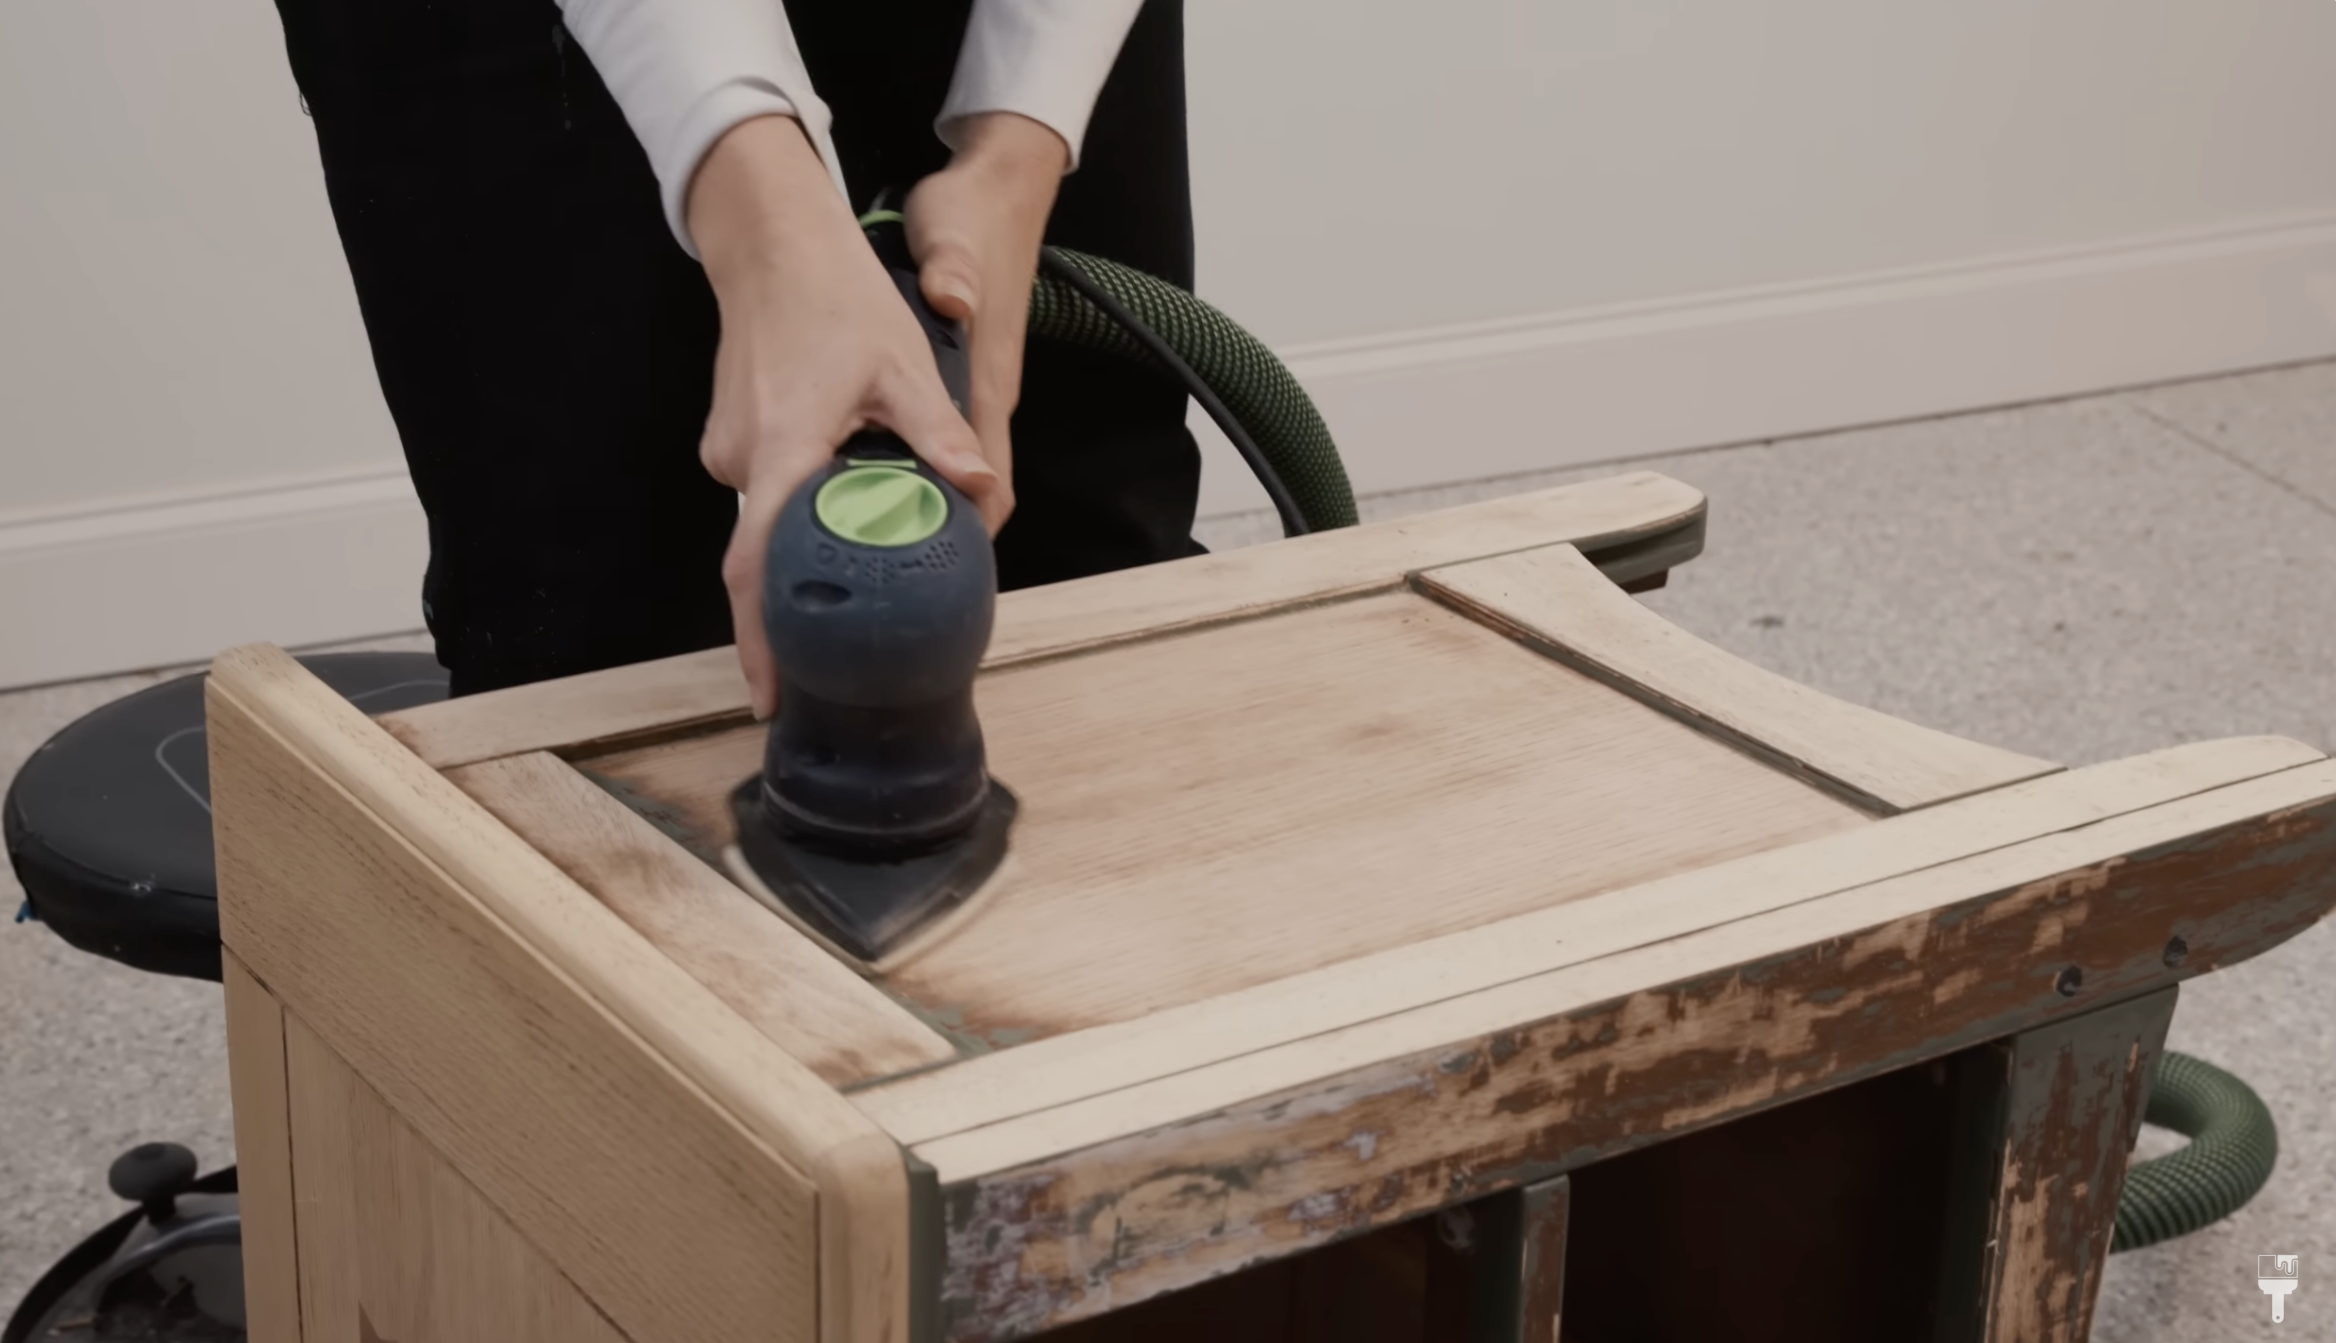
One of my favorite features of this Festool Sander is that it come with a triangle shaped attachment that helps to get into the small corners and trim of your piece where a circular shaped sander cannot effectively get.
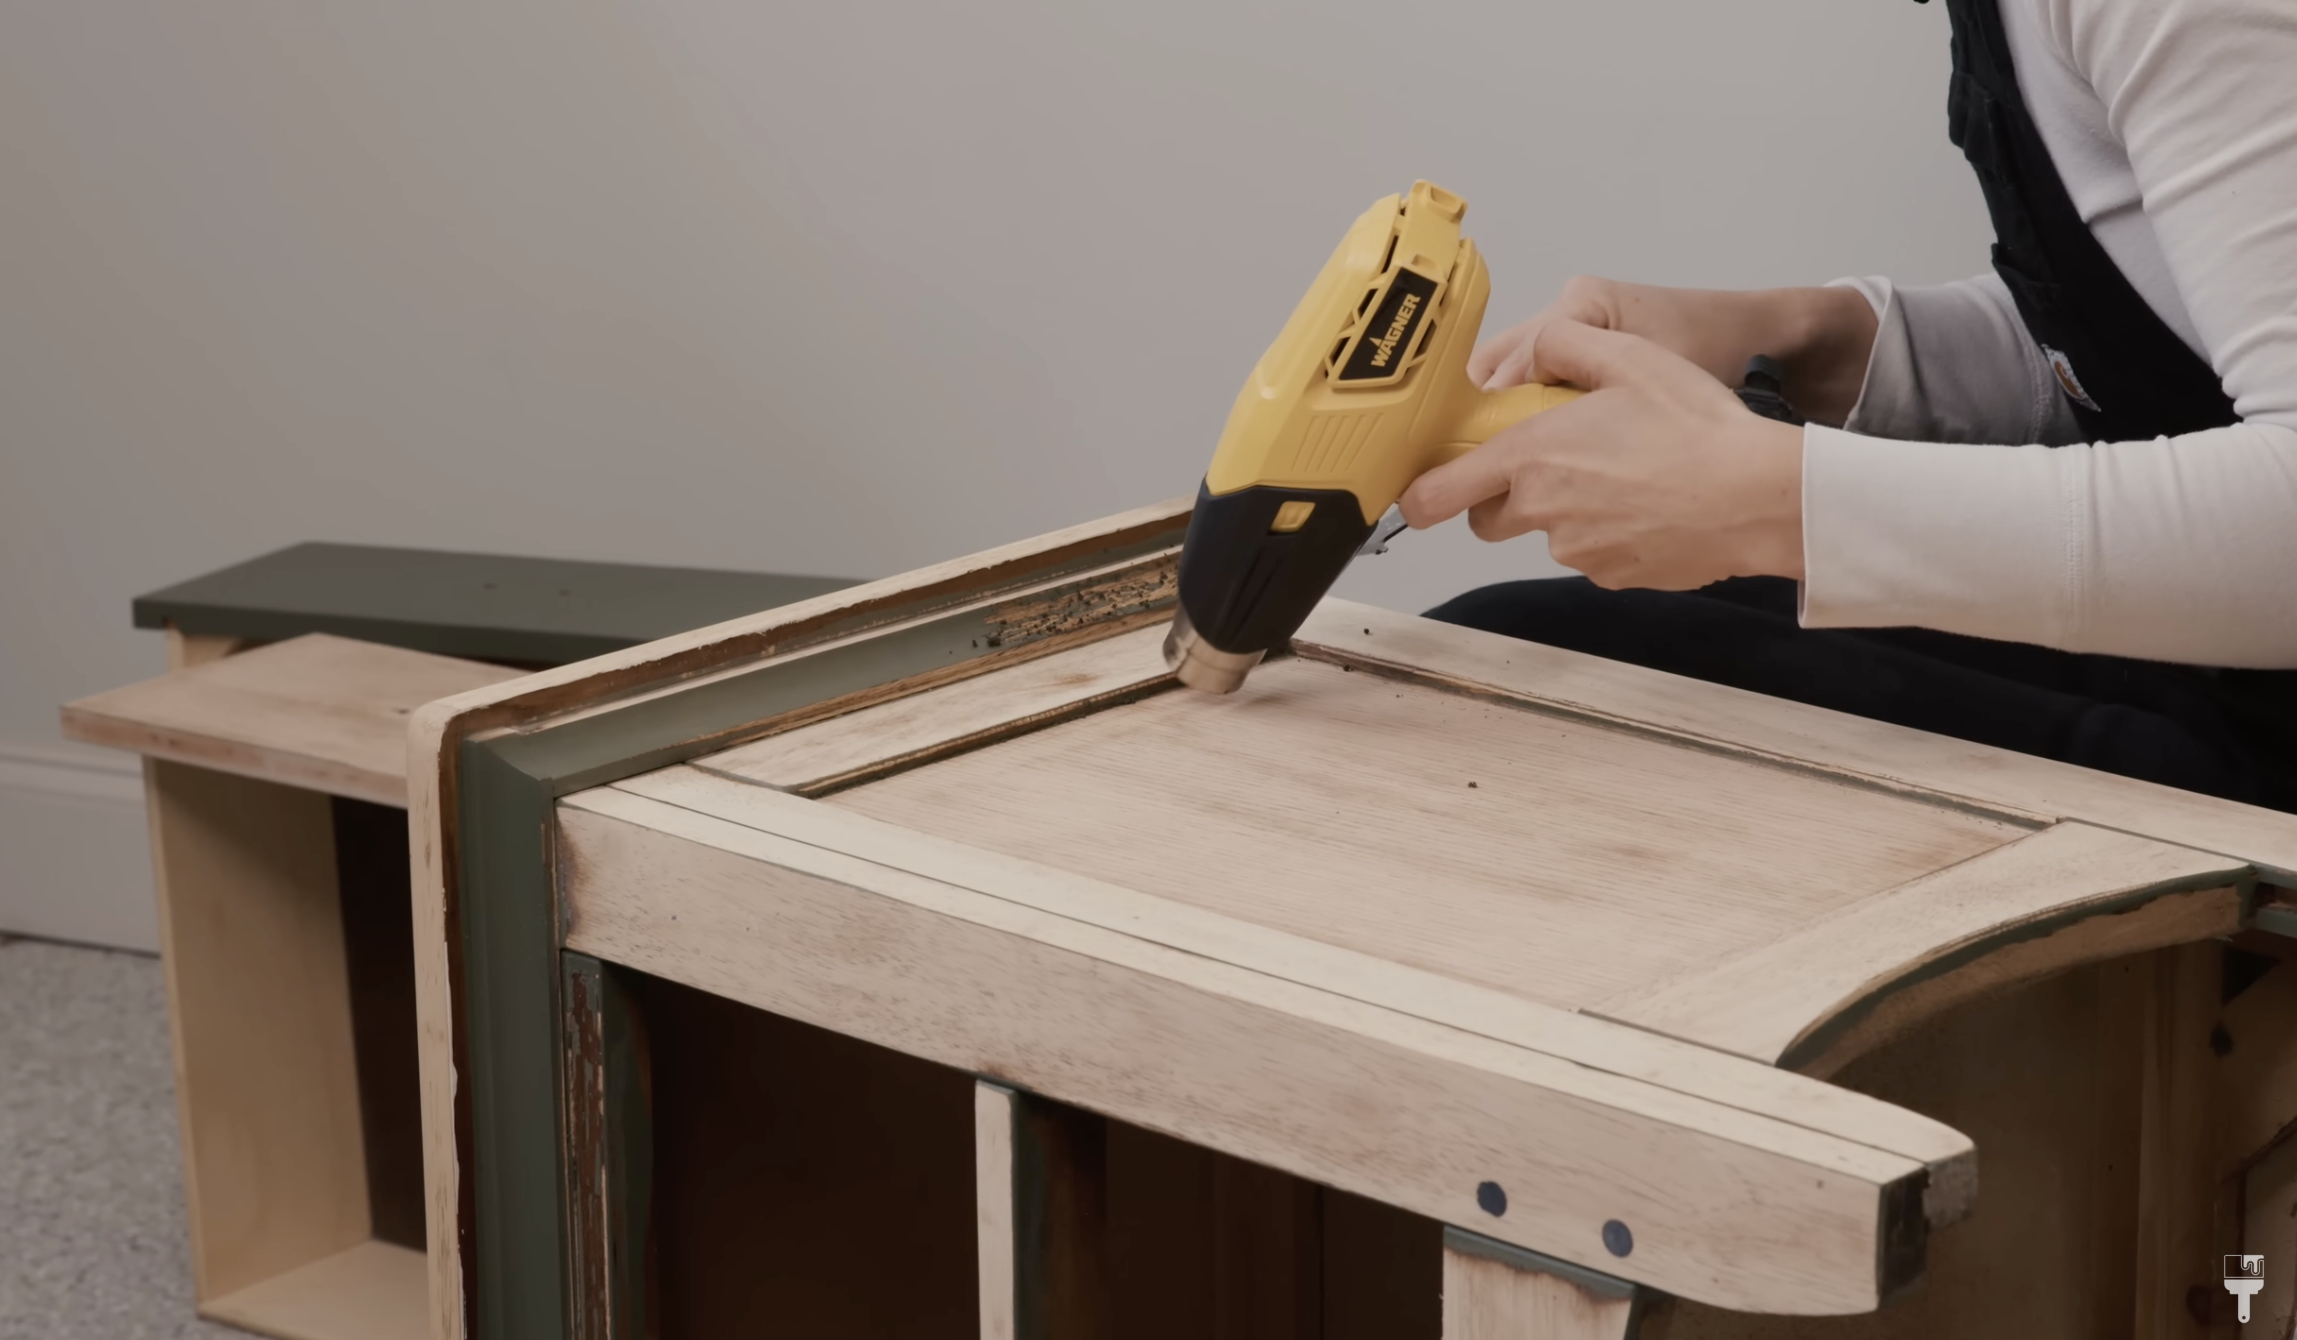
My Wagner Furno Heat gun saved the day to help remove paint in some of the more difficult nooks and crannies of this piece. This is such a good tool to have in your furniture makeover tool box- but please use with caution!

Once the paint was removed I went back over the nightstand with a 220 grit sandpaper to make sure it was nice and smooth, ready to absorb the water based gel stain that I planned to use. After I was finished I used a tack cloth to wipe back all the dust the sanding had created so I could move on to the next step.
Attaching Pole Wrap
To add a unique decorative touch, I decided to use pole wrap on the drawers. I first measured and cut it to size using my RYOBI Mitre saw. I wrapped the area I would be cutting with some painters tape and made sure my pole wrap was tightly wrapped to ensure an even and clean cut. This also prevents me from needing to do any corrective sanding on the pole wrap.


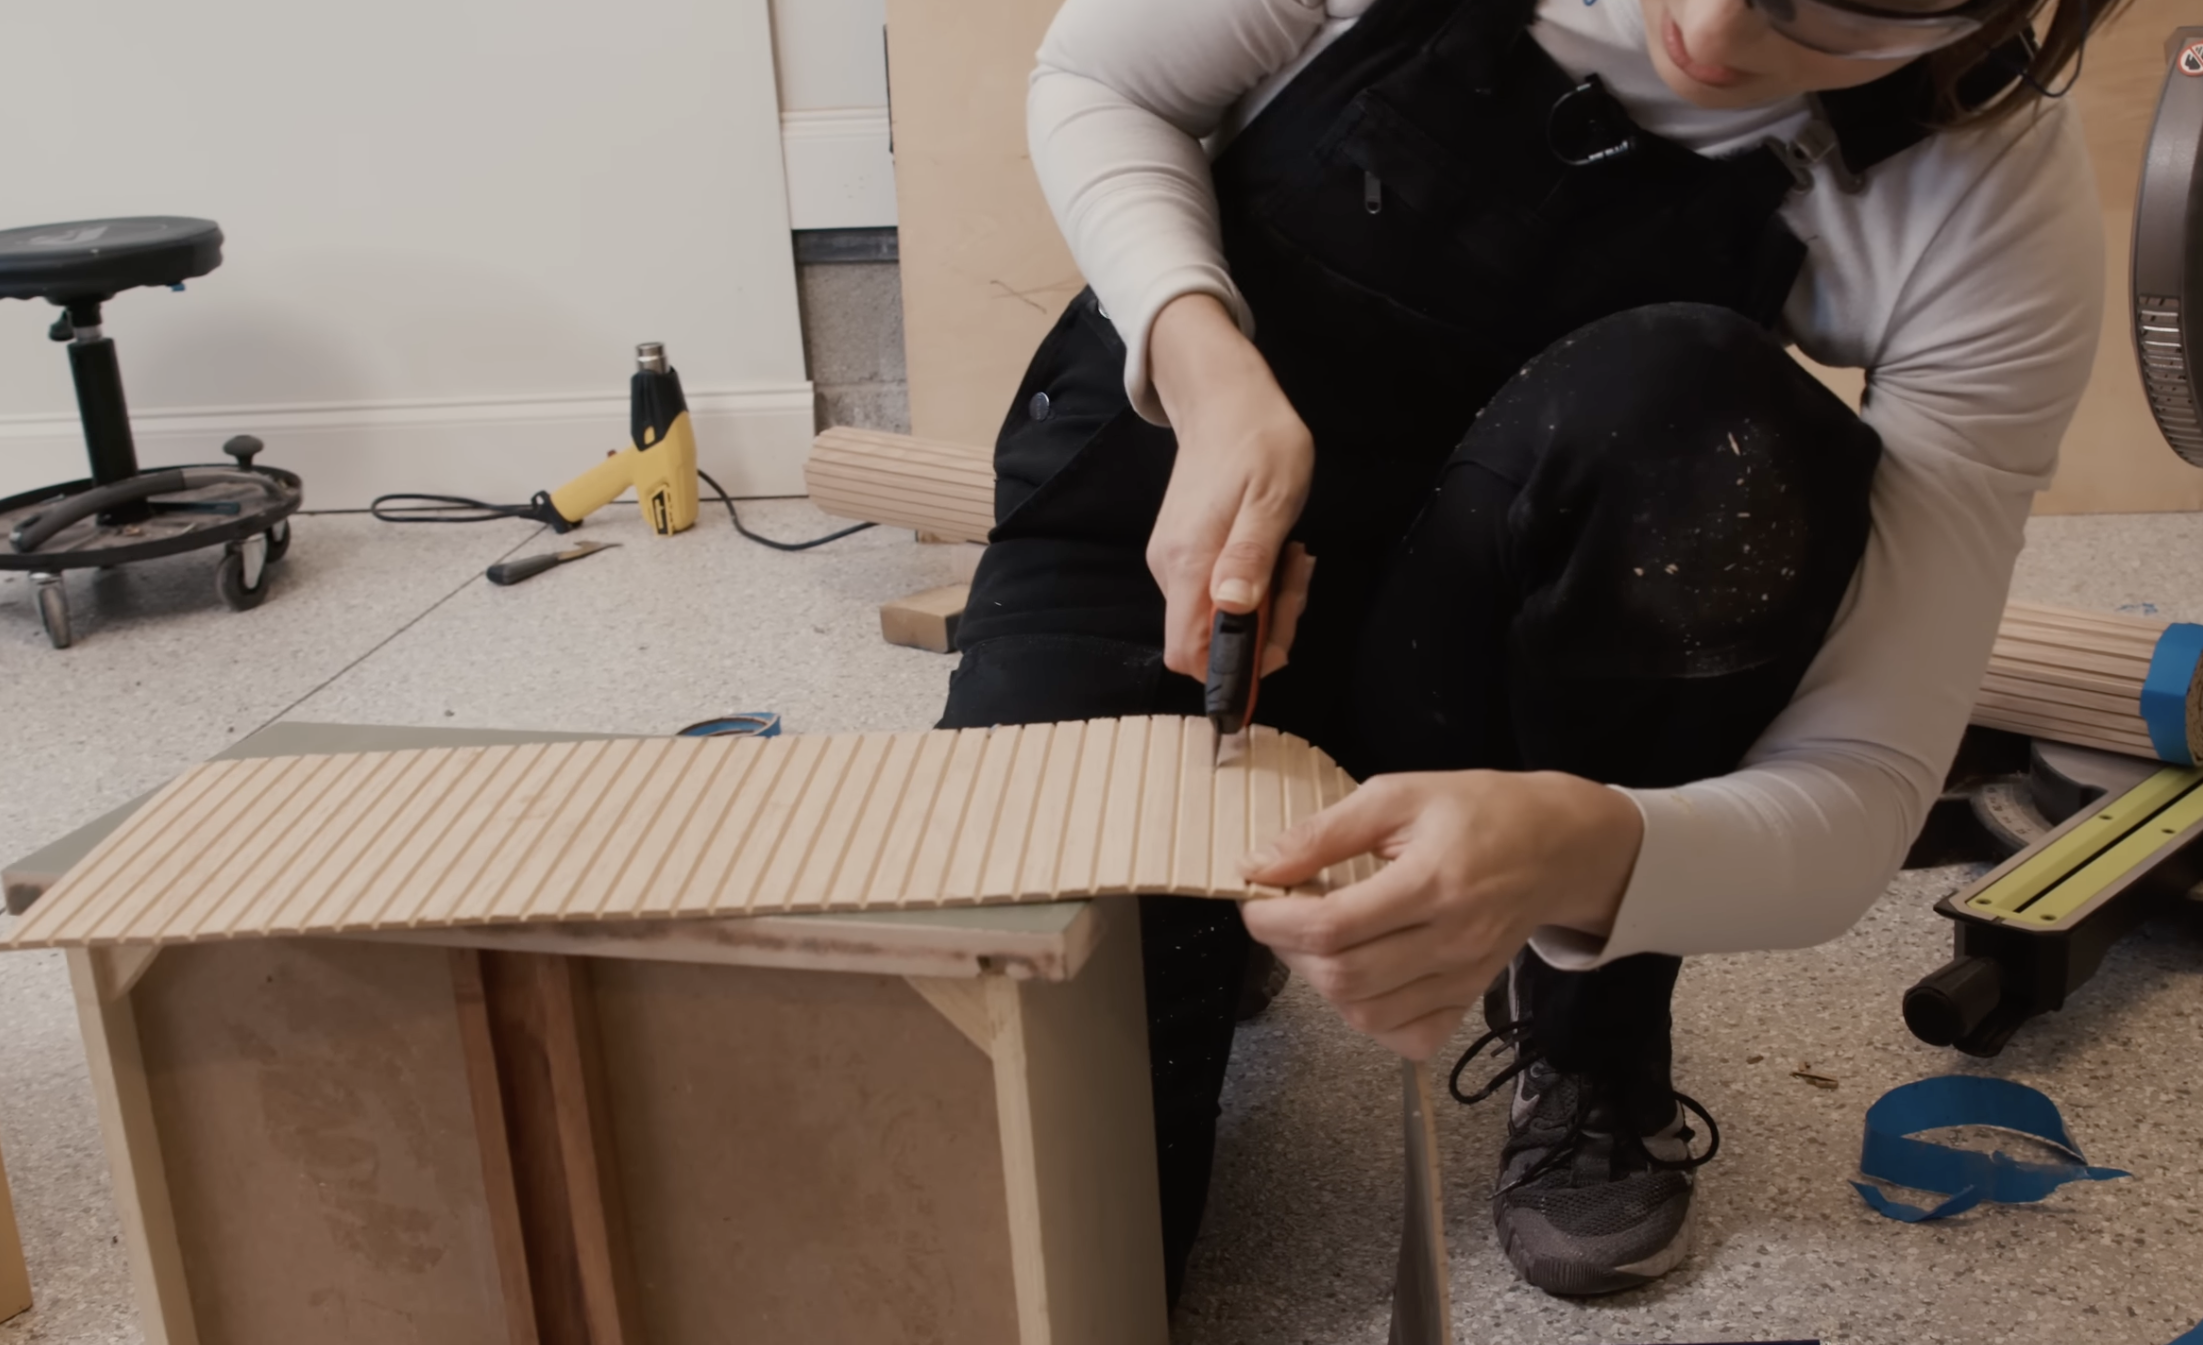
I used my utility knife to cut the pole wrap to fit my drawer. Luckily, the drawer measurement was perfectly between two of the “poles” so I was able to easily get a clean cut.
I used wood glue instead of finish nails to apply the pole wrap to each drawer and then weighted it down to dry using a leftover piece of ceramic tile I has laying around. Doing it this way prevented the wrap from bubbling up on my drawers.


Staining the Nightstand
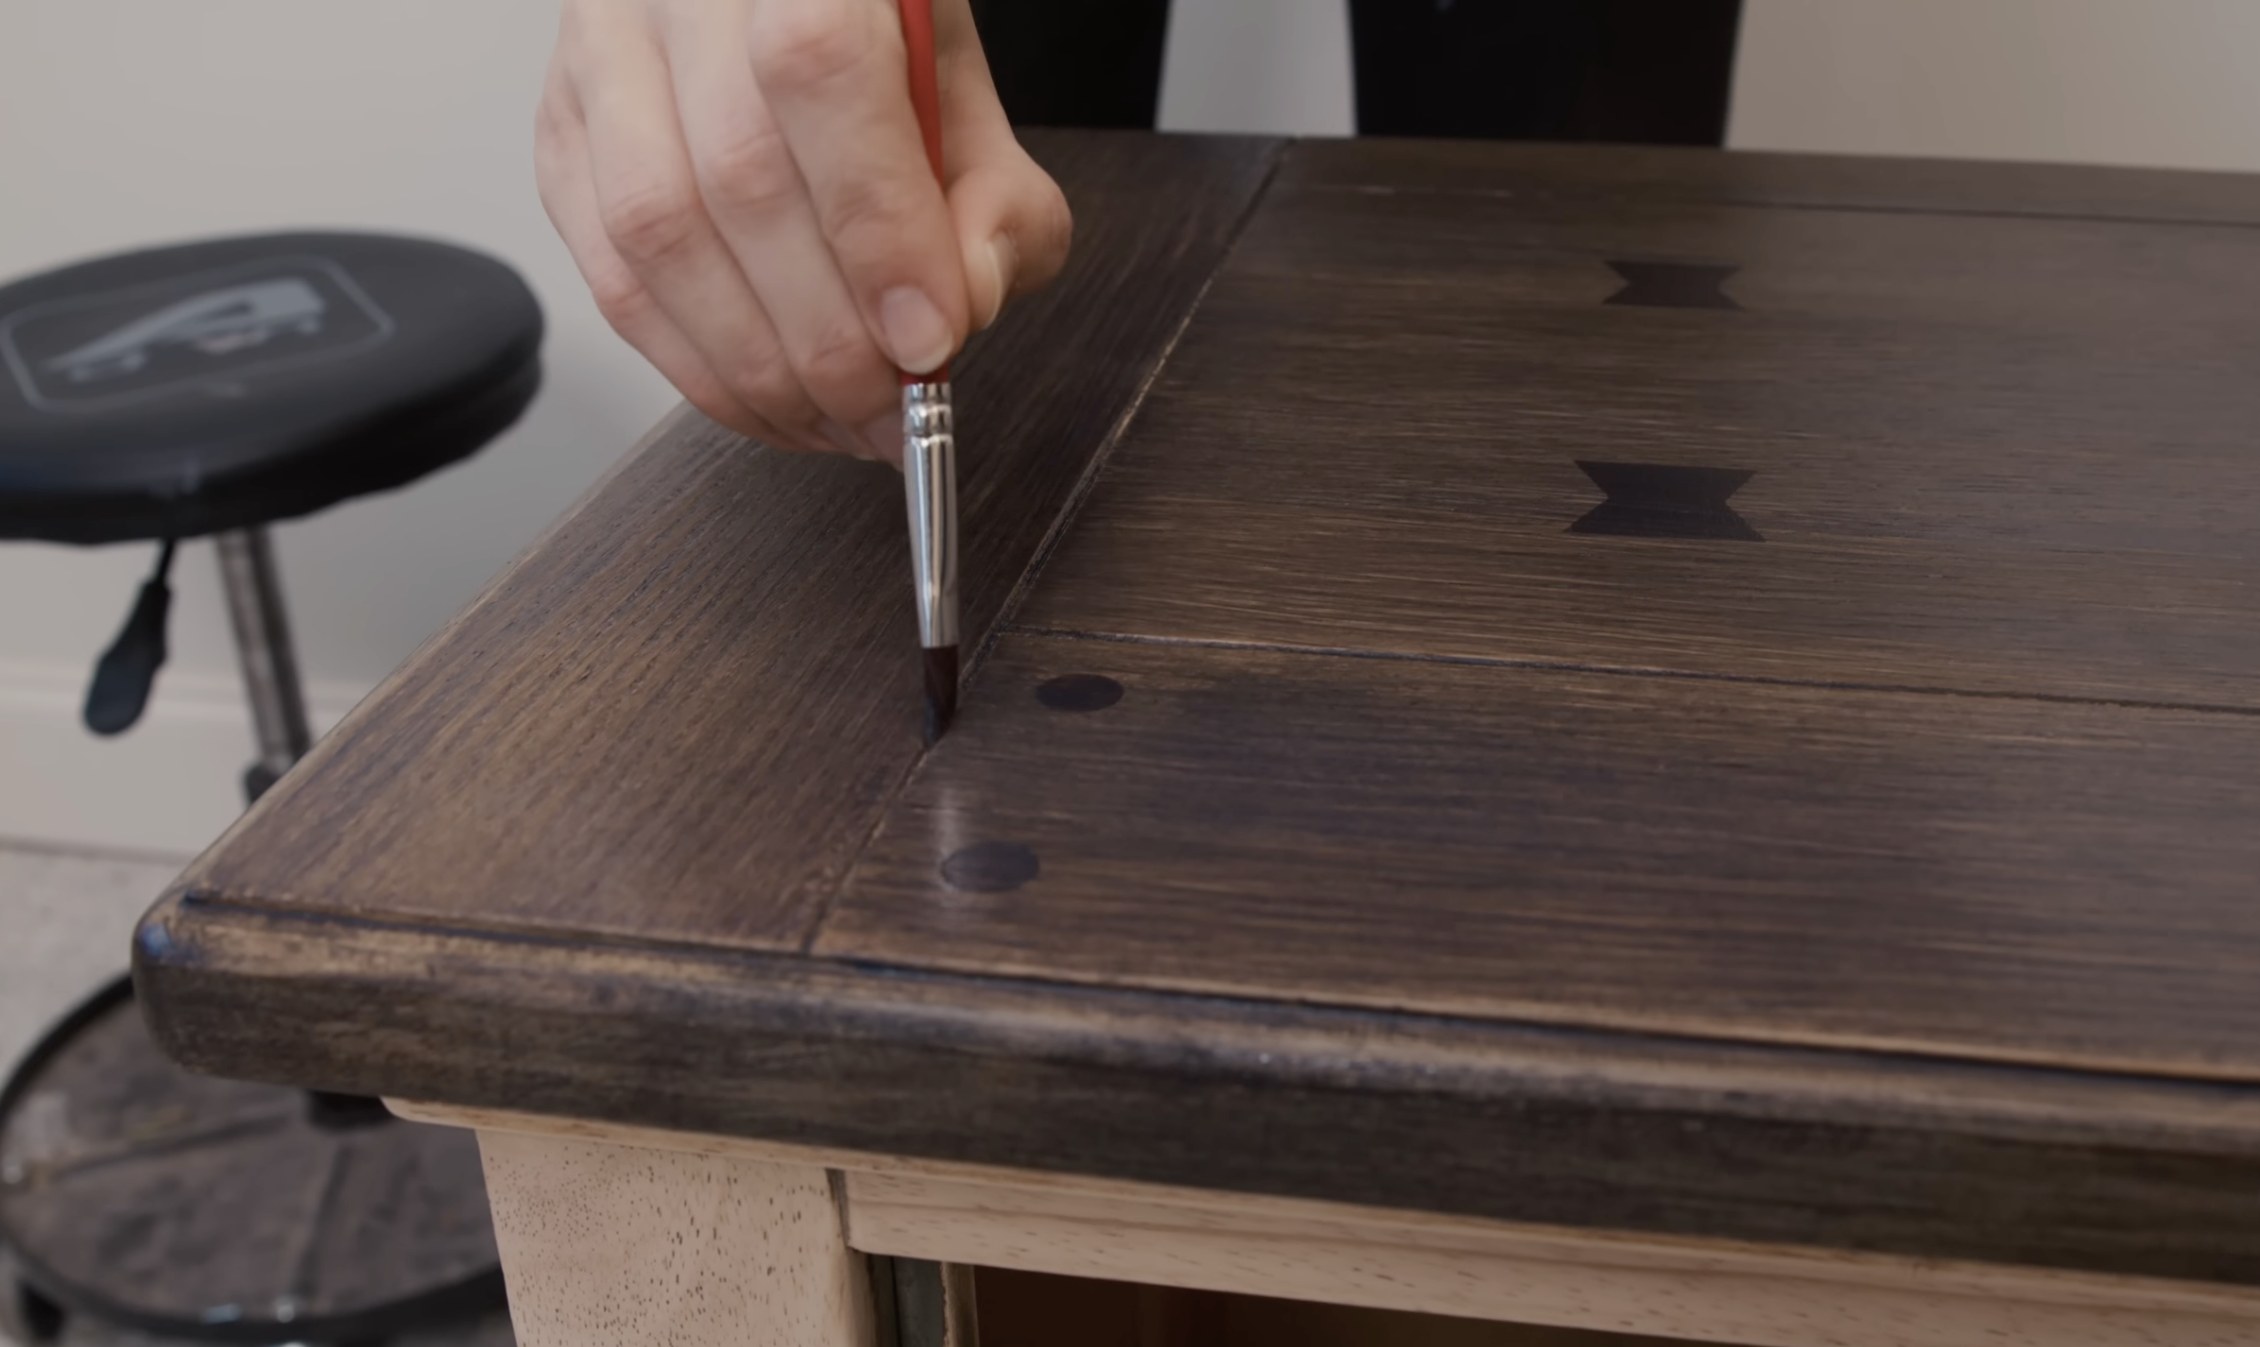
Now that the wood is ready, it was time to dive into the staining process. I opted for a water based stain from Dixie Belle for this nightstand. I like the consistency of the application and the easy clean up that a water based stain provides. I planned to layer the black and brown Voodoo Gel stain for a rich dark brown color. I used my mister to apply a slip coat of water to the nightstand. This step helps prevent streaking and make my coverage nice and even.


I applied the stains with my angled mini synthetic paint brush and my detail brushed to get into all the nooks and crannies in the piece. I achieved a deep, rich brown that highlighted the natural wood grain. Water-based stains provided easy cleanup, faster drying times, and consistent color – a wood lover's dream.
Sealing the Wood
To protect and enhance the wood's beauty, I chose Big Mama's Butter, a natural wax with a delightful fresh and clean scent. Applied with my Best Dang Wax Brush, this step accentuated the wood grain and provided a natural, timeless finish. While not as protective as water-based top coats, natural wax has its charm and is ideal for certain furniture pieces.


Once the wax had time to sit and absorb into the wood, I took an old black t-shirt and wiped back the excess. It is important to use a lint free cloth for this step!
Finishing Touches
Installing finger pulls I found on Amazon was the perfect finishing touch for this modern nightstand update. After measuring for proper placement, I used my RYOBI drill to attach the pulls to the drawers. The copper color of the pulls accents the rich dark brown stain perfectly!


And there you have it – a wood lover's delight! This furniture makeover journey showcased the transformation from paint-covered to wood-enhanced beauty. I hope fellow wood enthusiasts appreciate the dedication to bringing out the best in this piece. Thank you for joining me on this adventure, and here's to more wood-inspired projects in the coming year.
Merry Christmas and Happy New Year to all the wood lovers out there!