
Pottery Barn Inspired Furniture Makeover: Adding Cane to a Console
Disclosure: This blog contains affiliate links. I will receive a commission for items purchased through these links at no extra cost to you. I appreciate your support. Please read all labels and follow all manufacturer safety recommendations when working with paints, stains, and other equipment
For this makeover I'll be taking a somewhat outdated piece of furniture, which I got for free, and giving it a fresh and modern look. The inspiration for this project comes from a beautiful Pottery Barn piece, and with a little creativity and some elbow grease, we're going to transform this console table into a designer inspired piece of home decor.


Here is my inspiration piece for this makeover. This Pottery Barn piece is such a gorgeous coastal inspired console. My goal is make it over for hundreds of dollars less than this list price. Let’s get started!
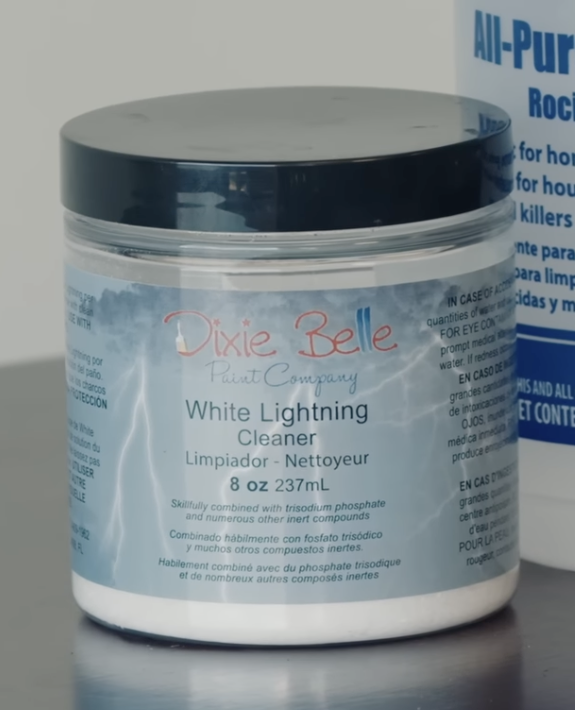
Before we dive into the makeover process, it's essential to start with a clean slate. After a brief hiatus, I'm back in action and ready to refresh this furniture piece. First things first, we need to get rid of any cobwebs, dirt, and grime. I'm using a one of my favorite cleaning products: Dixie Belle White Lightning to clean the surface thoroughly.

Once I am finished with my TSP cleaner, I make sure to wipe the console back with warm water to get rid of any soap residue left behind. This console table I'm working on today was free from Facebook Marketplace. It is a Crate and Barrel piece, even though it may look a bit dated. It's surprising sometimes what you can get for free with a little luck and a helpful friend. But don't worry if it's not high-end furniture; we can still work our magic to make it shine.
Repair and Hardware Update:

Next, I'm tackling some minor repairs and changing the hardware. I'm filling in holes and dings with my Dixie Mud in White and switching out the existing hardware for a more modern and appealing look. After my furniture repair putty has dried, it’s time to give the console a good scuff sand to help with paint adhesion.


Priming and Painting:
To prepare for painting, I start by applying a coat of my white primer. This is crucial when transitioning from a dark finish to a lighter one, as it helps the new paint adhere better and prevents bleed-through. I decided to use two coats of primer on this piece since the original finish was so dark. The primer will also give our final paint color a more even and vibrant look.

Now that I am ready to paint, I'm using Endless Shore from the Dixie Belle Silk paint line. It's a beautiful color that falls between white and beige, offering a perfect balance. With my paint thinned slightly for optimal spraying, I get to work covering the piece. The coverage is fantastic, thanks to the primer, and I end up needing just one coat. I used my Paint Sprayer for applying both the primer and paint to this console which helped me save time and get a smooth finish.

Trimming and Final Touches:
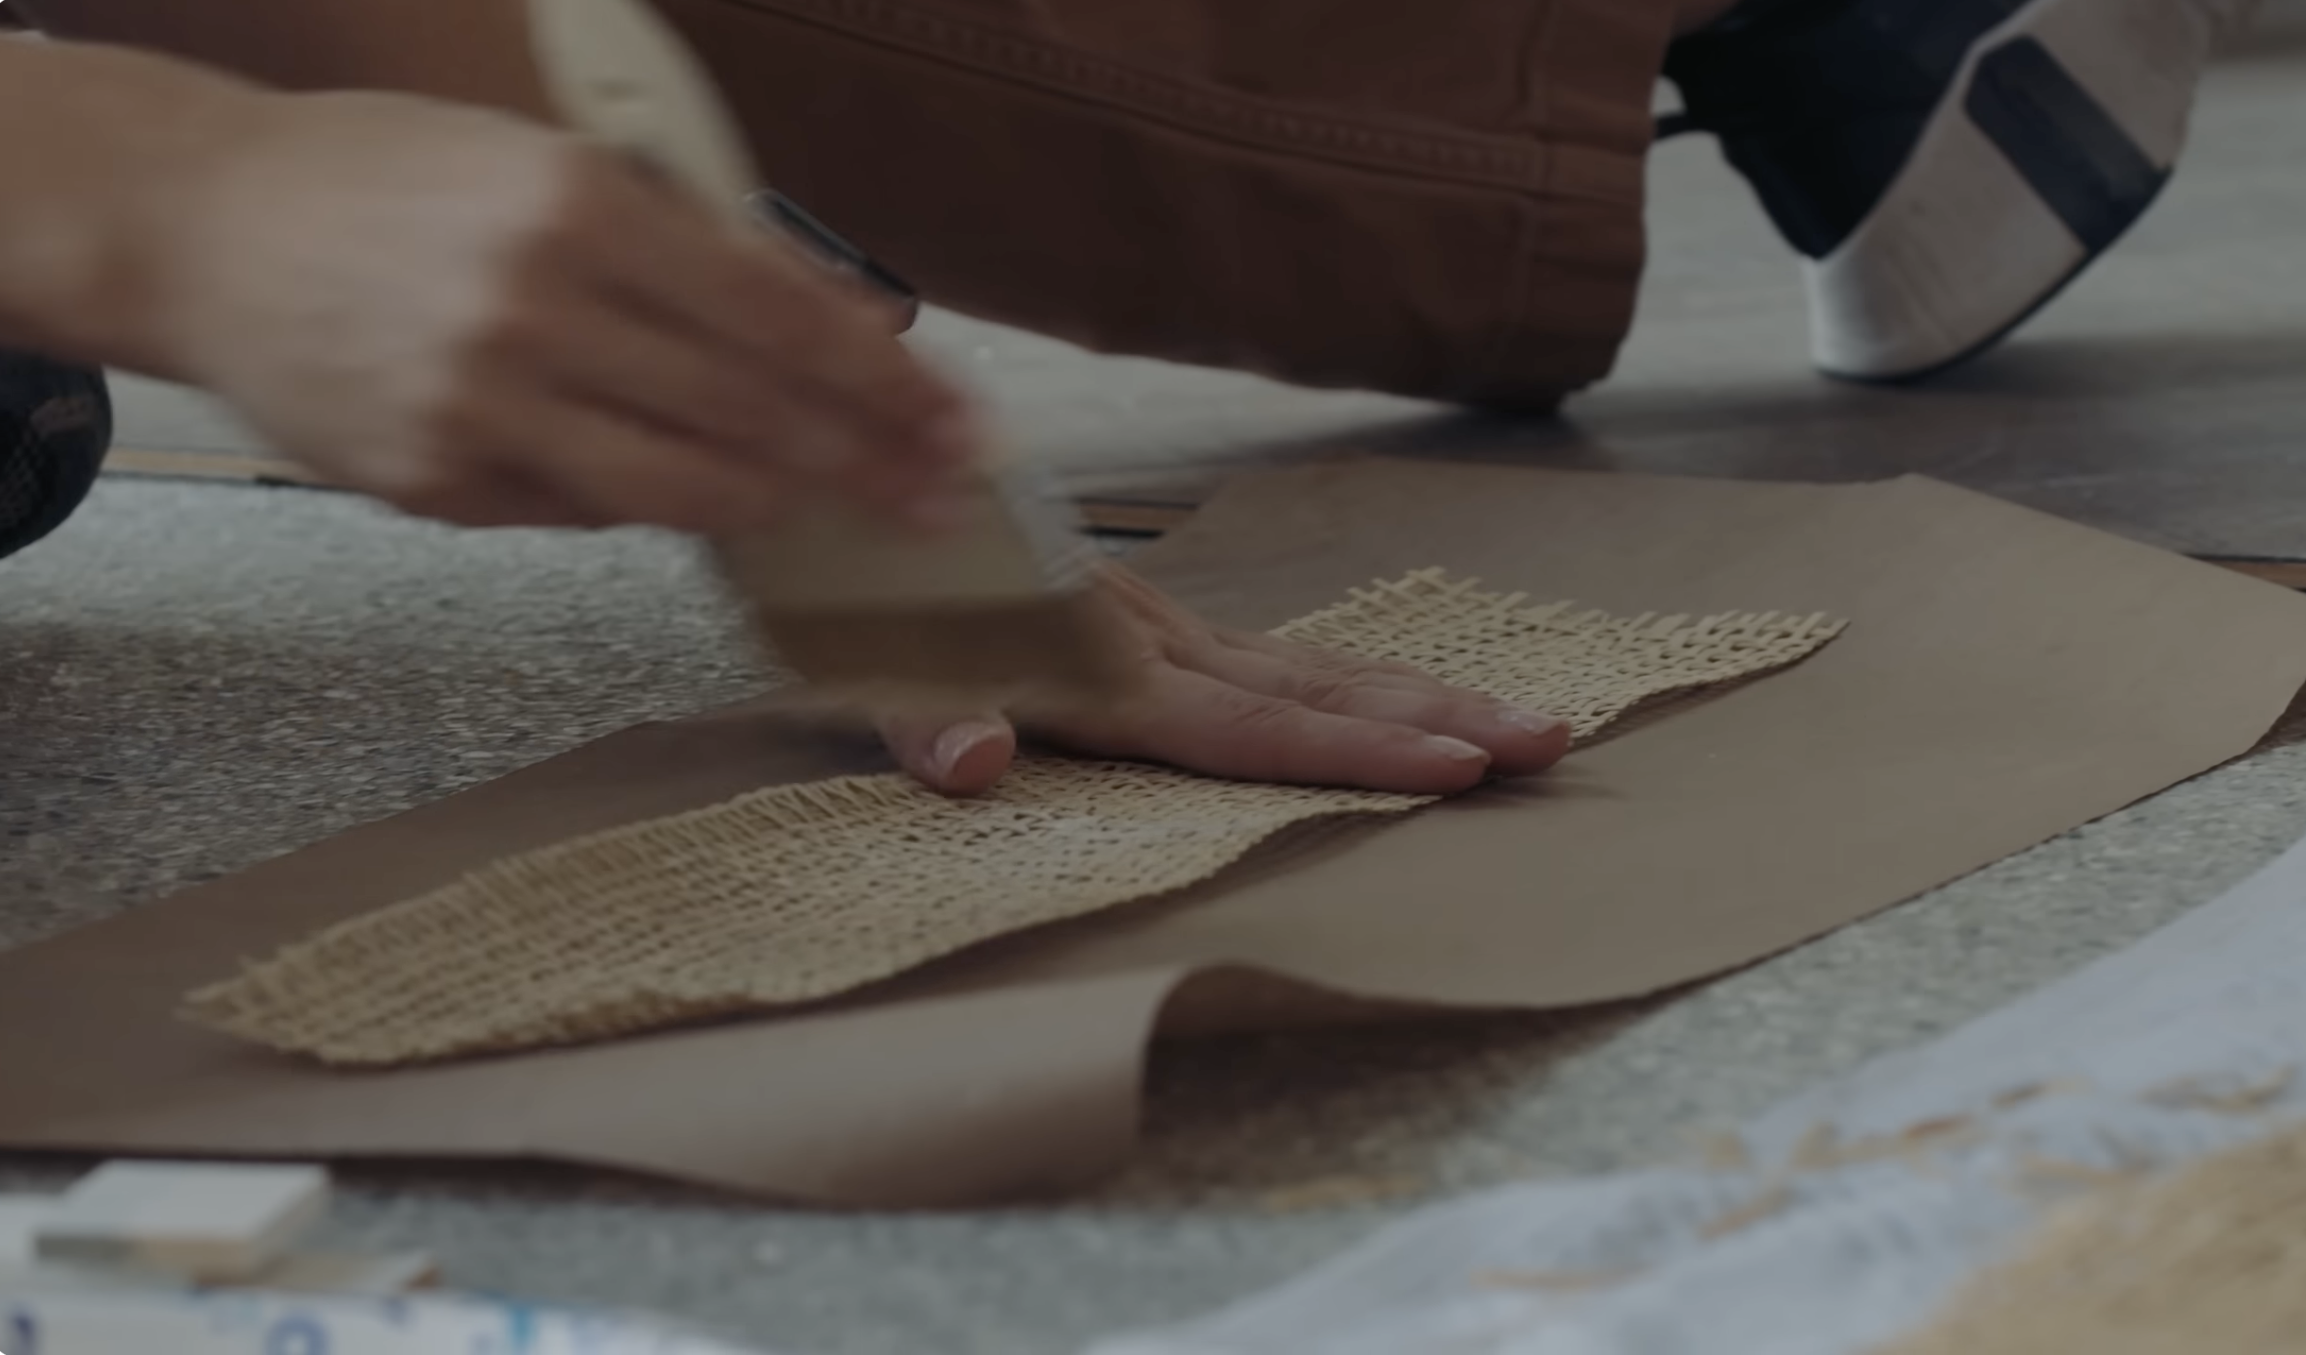
After using glue to apply the cane to each drawer, I am adding some trim pieces to the to frame it, giving the console a more finished appearance. This step requires precision, and I use a brad nailer to secure the trim in place. I decided not to mitre the corners, since my inspiration piece did not have that detail, but you can certainly do that if you prefer a mitred look. If you don't have a brad nailer, don't worry; you can use clamps and glue instead.


Hardware Update:
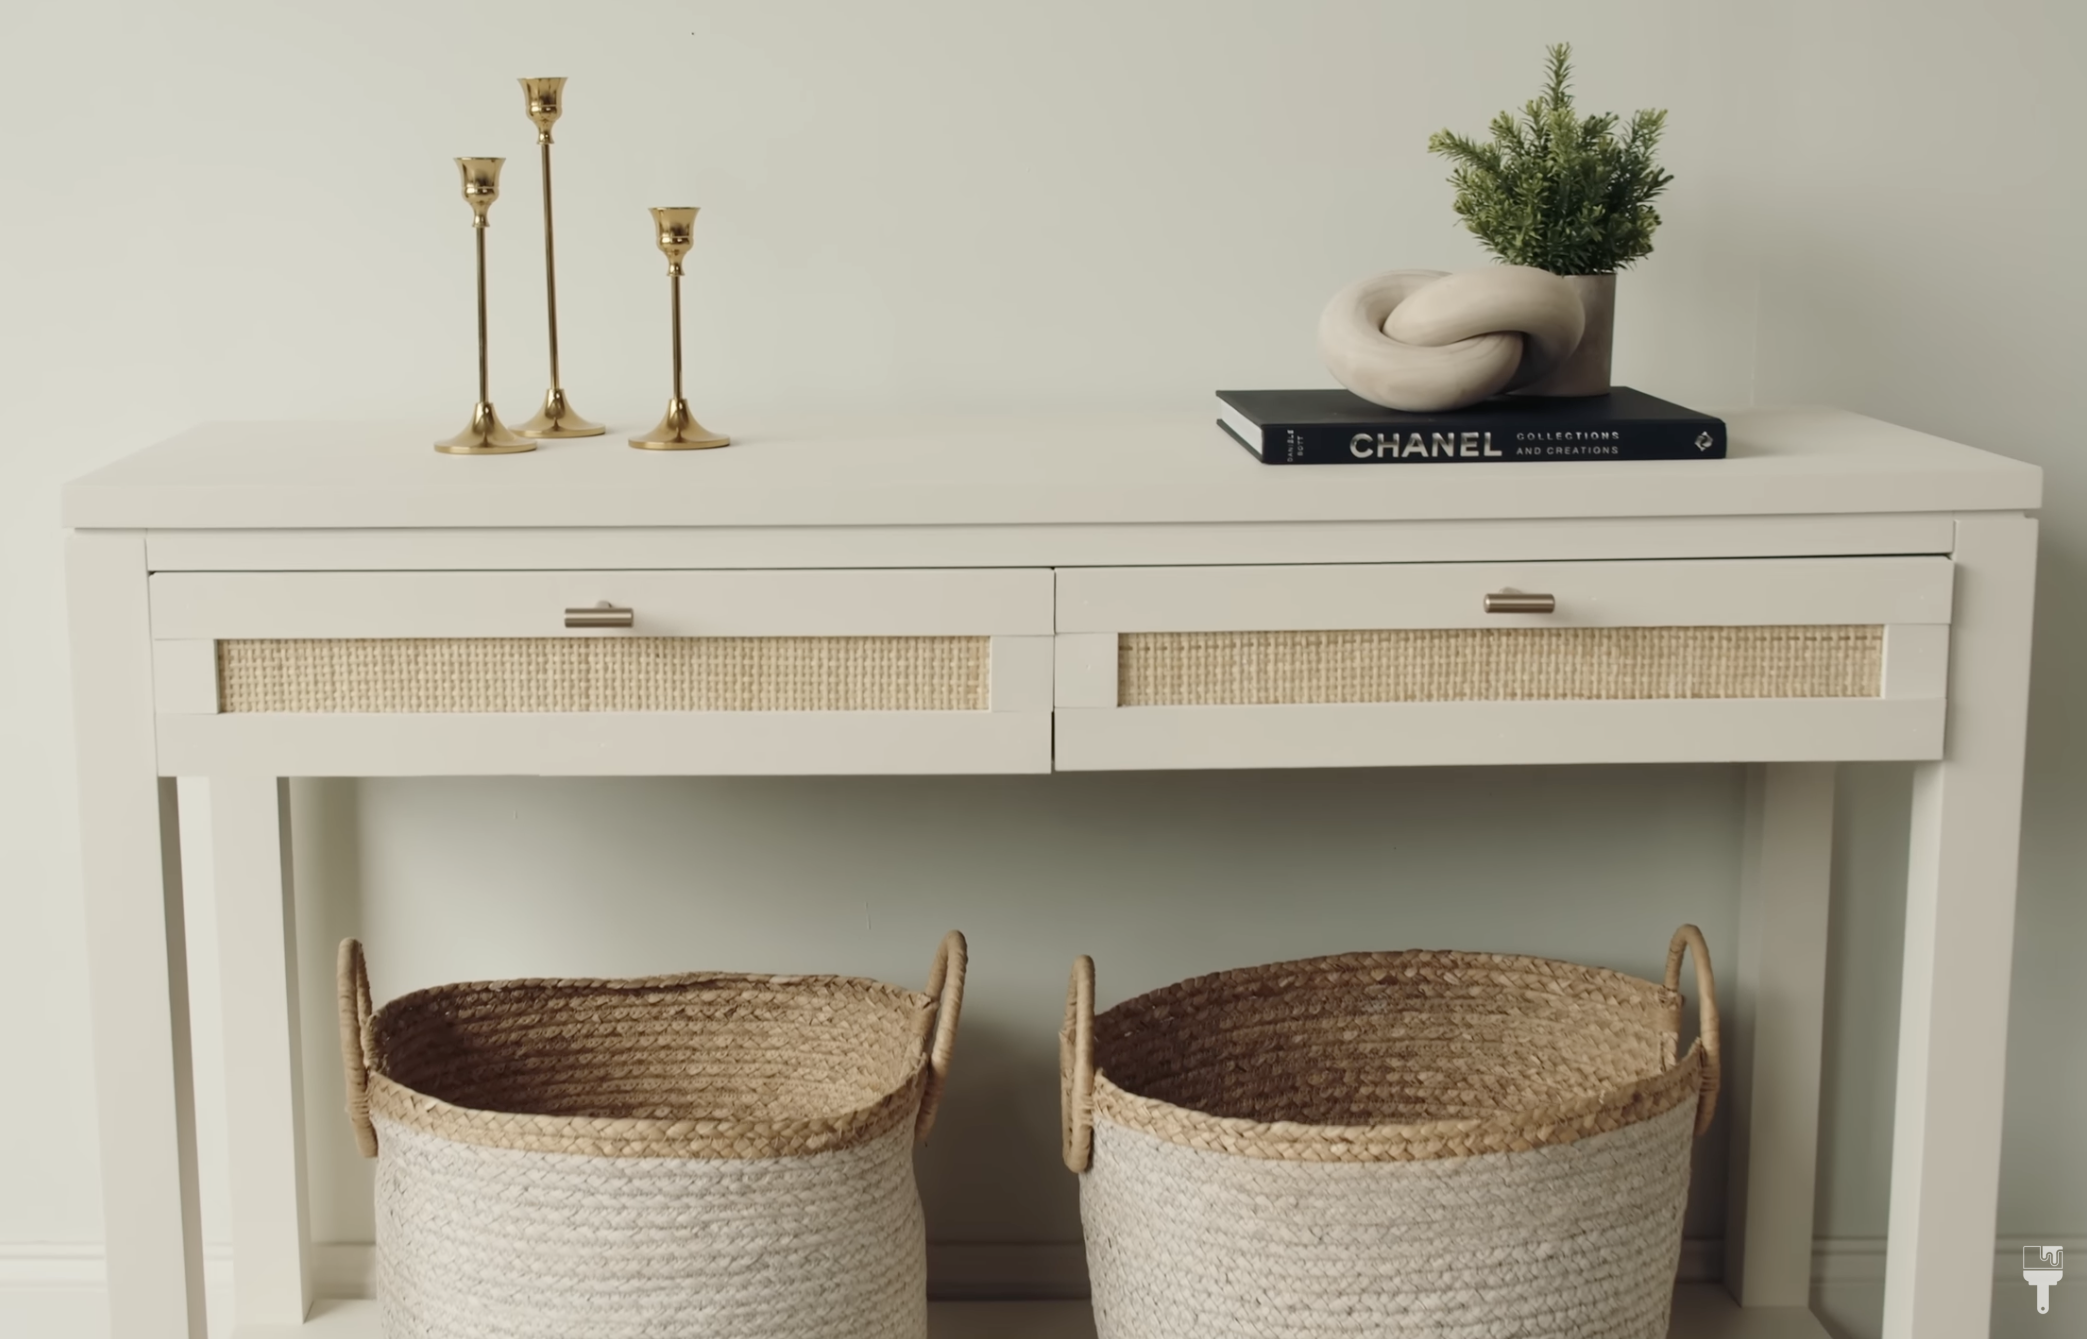
Lastly, I update the hardware, ensuring it complements the new look. I selected some brushed brass knobs from Home Depot that mimic the look of the Pottery Barn console I am trying to recreate. Because of the trim added to the drawers, I had to use longer screws with washers to accommodate the added width of the drawer.

And there you have it! We've transformed a dated piece of furniture into a stunning and modern masterpiece, all while staying on a budget. DIY furniture makeovers like this one are not only satisfying but also a great way to breathe new life into your home decor. I hope this project inspires you to take on your own furniture transformations and embrace the joy of creating something beautiful from the ordinary.

Stay tuned for more DIY adventures, and I'll see you in the next makeover!