Roman Clay and Arch Furniture Makeover
Disclosure: This blog contains affiliate links. I will receive a commission for items purchased through these links at no extra cost to you. I appreciate your support. Please read all labels and follow all manufacturer safety recommendations when working with paints, stains, and other equipment.
Today’s project is a doozy because it is truly a trash to treasure makeover. But I love saving good furniture from the landfill and giving it new life! Arch furniture is trending right now in the interior design space. I’ll be giving this armoire a whole new look with Roman clay paint and a beautiful arch.
First, take a look at what we’re starting with. Yikes!

Products Use for Roman Clay and Arch Furniture Makeover
Best Dang Brush (Natural bristles)
Synthetic Mini Angle Paint Brush
Surf Prep 3" x 4" Electric Ray (Use Code PRETTYDISTRESSED10 for 10% off your order)
Festool Midi Dust Extractor - (Cheaper model)
RYOBI ONE+ HP 18V 18-Gauge Brushless Cordless AirStrike Brad Nailer
Remove doors

As I began inspecting the piece, I knew pretty quickly that the doors had to go. They were not worth repairing. So this armoire will be more like a stylish bookshelf after I’m done with it.
Remove latex paint
Another thing I noticed right away is that the existing finish is latex paint. I don’t want to paint over that, so I knew I’d have to put in some work to strip back that finish.
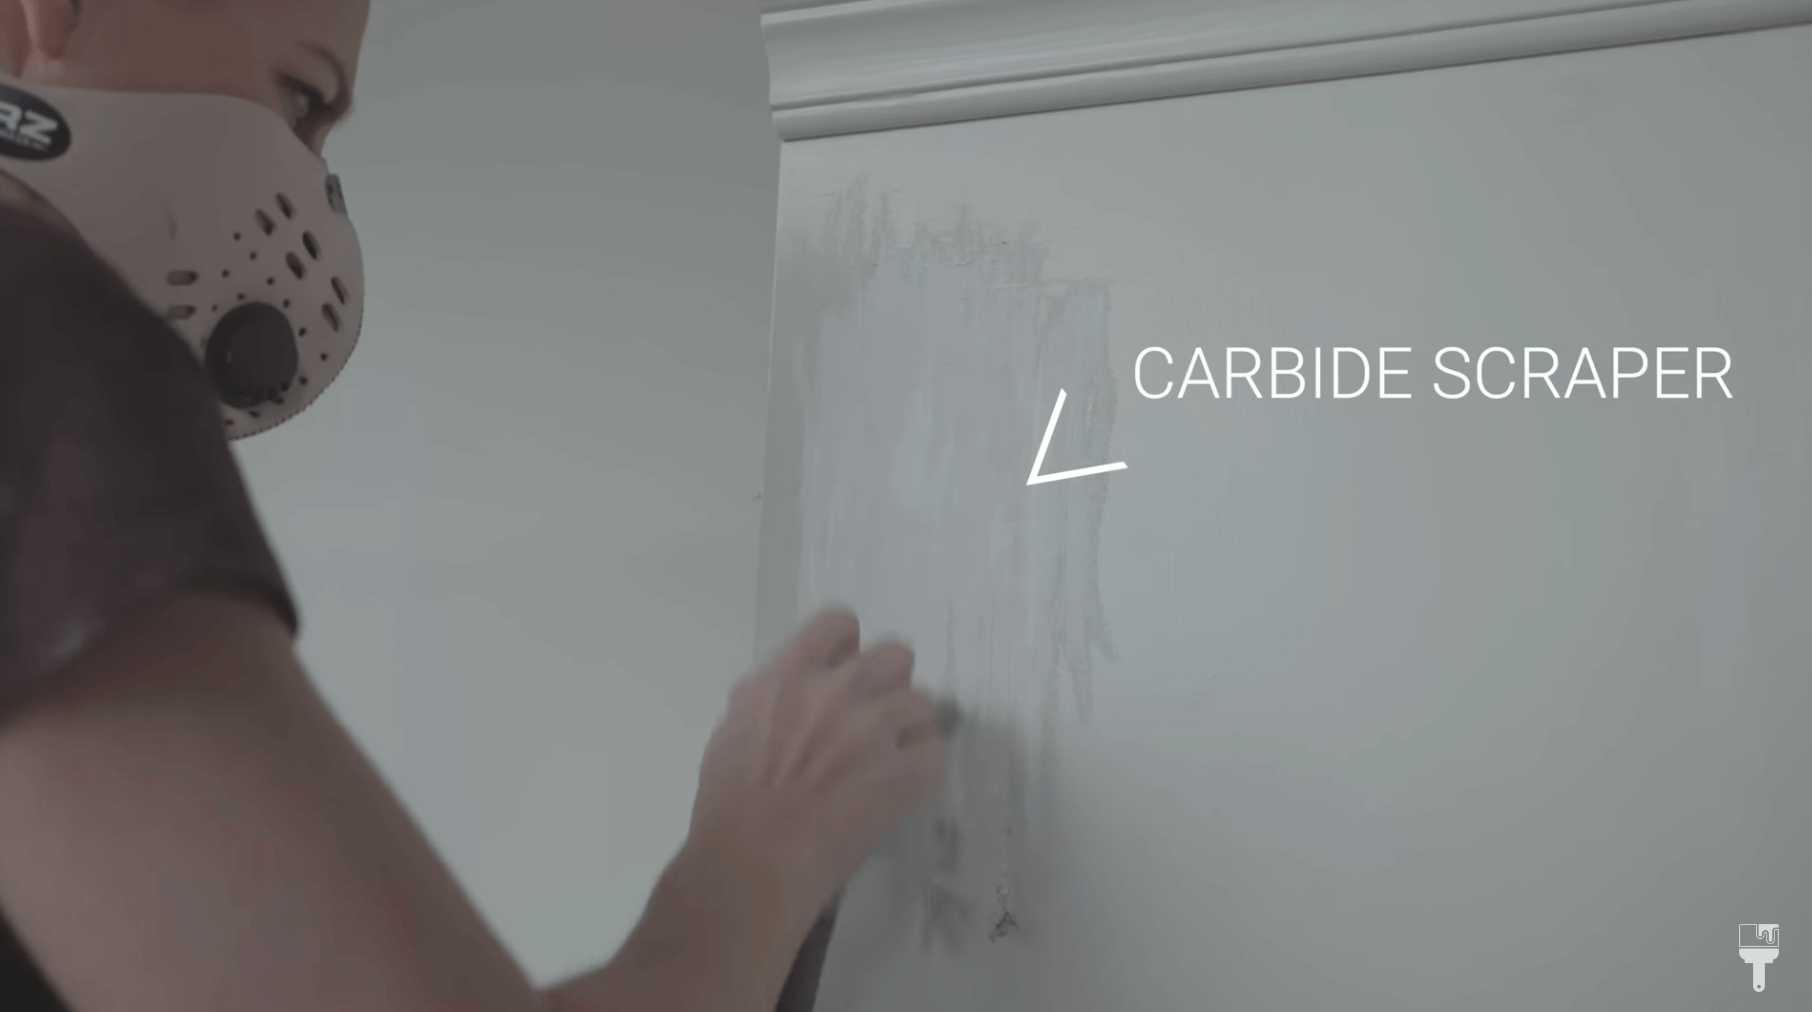
Scraper and sand
Between my heat gun, chemical stripper, a heavy duty scraper, and some sanding, I finally got the job done. It took me two hours! But the prep work is always worth the trouble.
Clean and Rinse
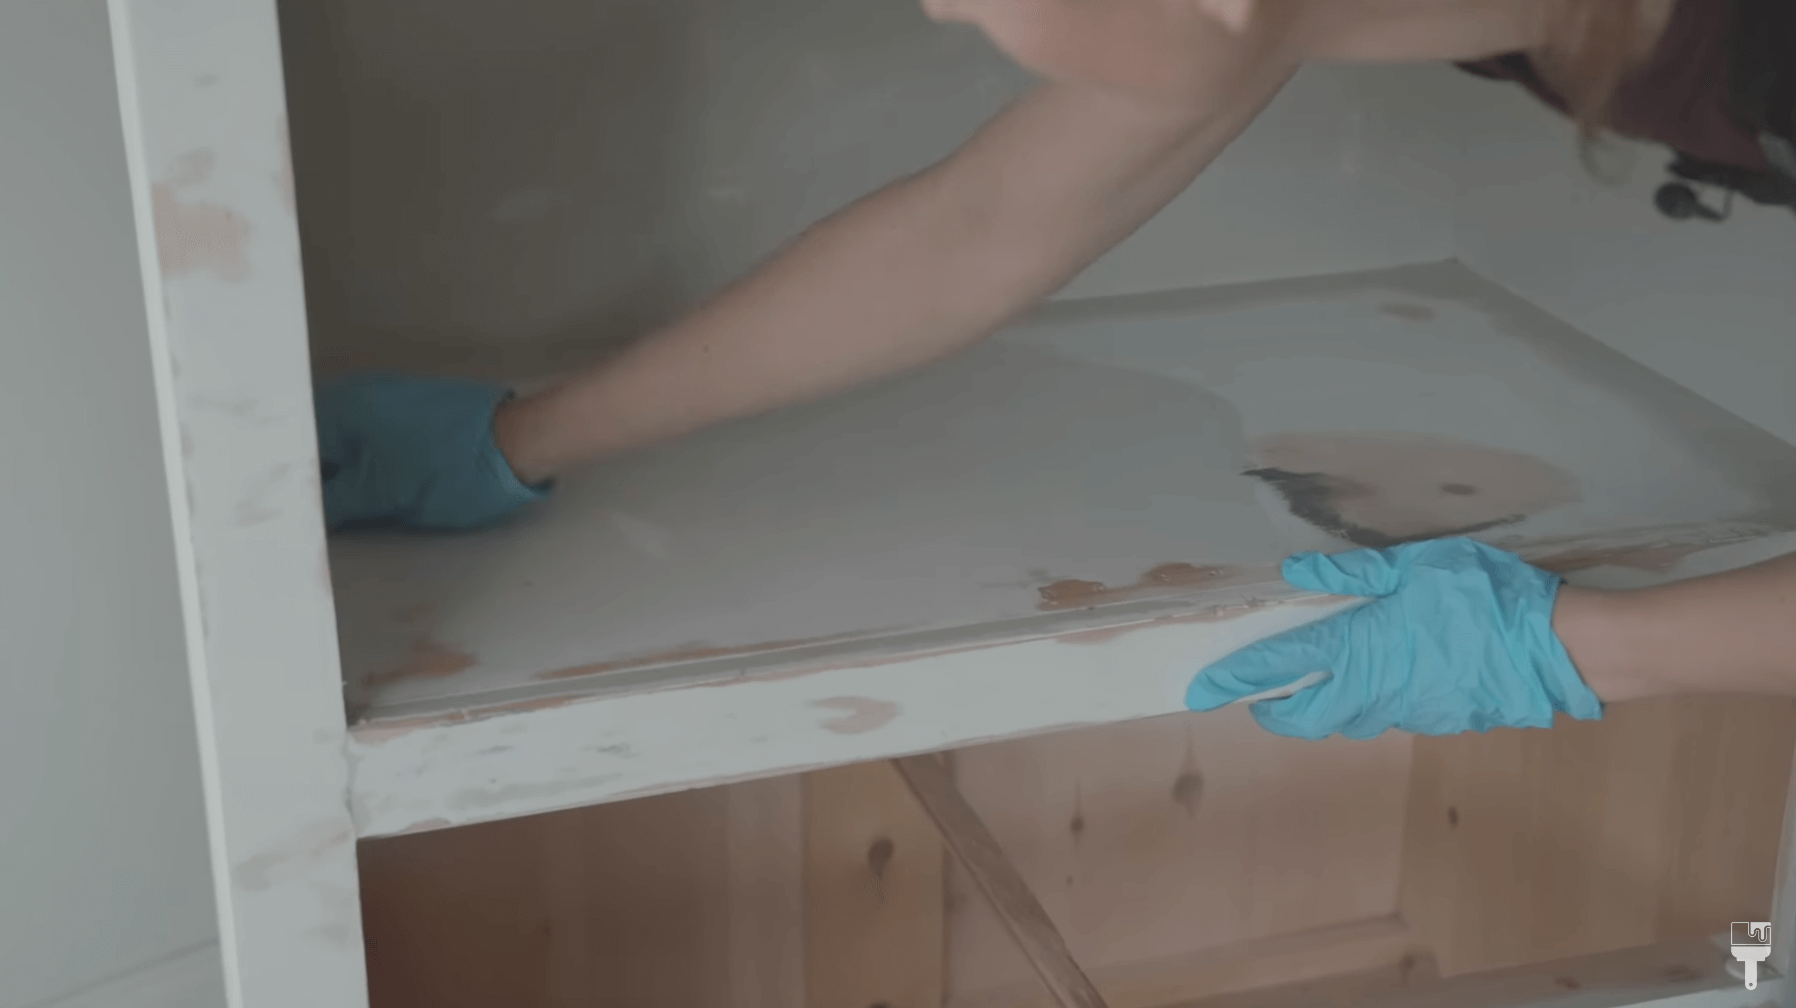
Normally you see me clean before I sand, but because there was so much paint on this piece, I wanted to get that off before giving it a good clean.
I used my Dixie Belle White Lightning for this and made sure to rinse it off with some fresh, warm water.
After cleaning the piece, I quickly took my Dixie Mud and used that to fill in any holes and dings.
Paint with Terra Clay Paint

After all that prep work, I was finally ready to paint! I know we’ve put in a lot of work so far, but this piece was free, so I’m always down to make something out of nothing!
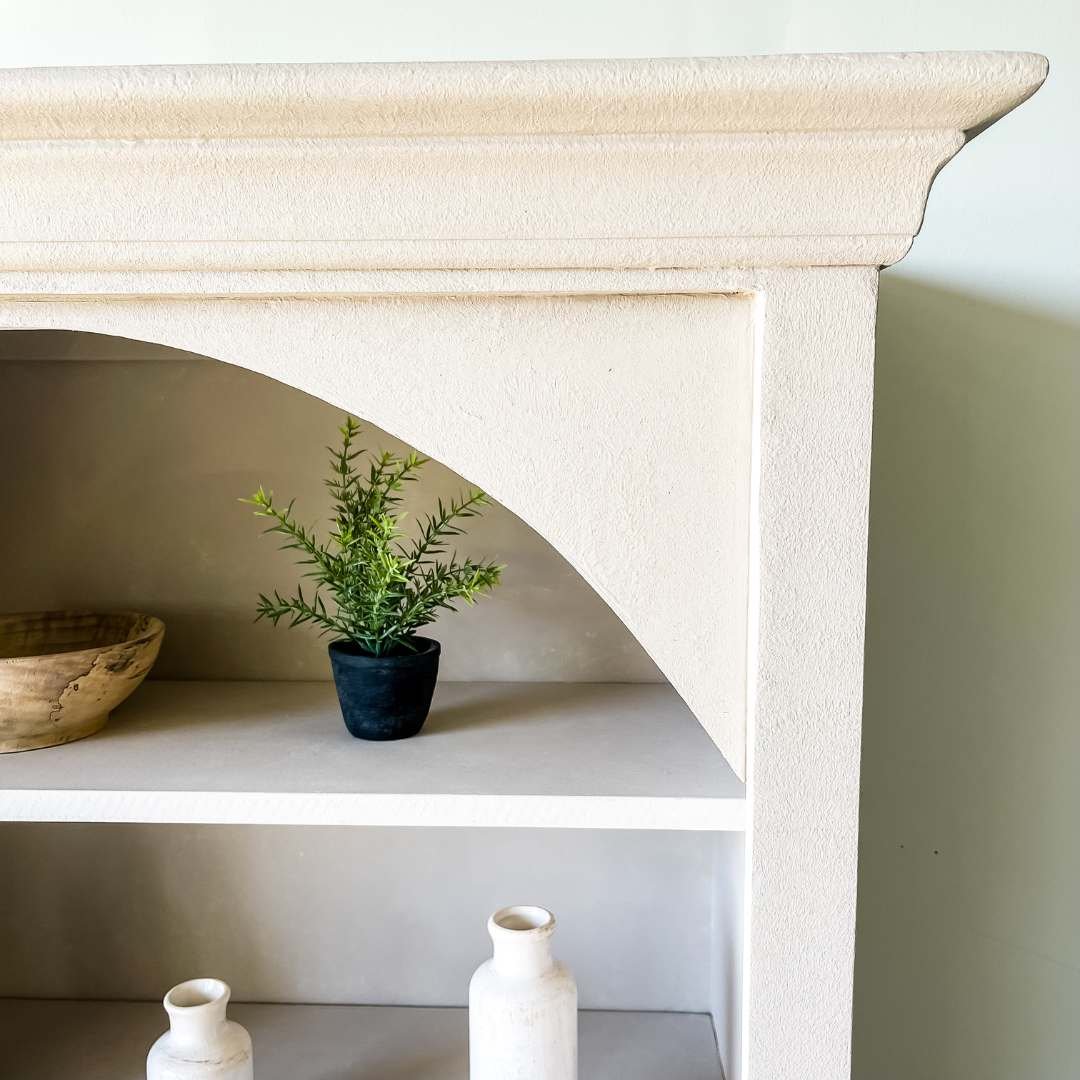
I love trying out new products, so I’m using Terra Clay Paint from Dixie Belle for the first time. This is a clay-based paint that’s super textured, so it’s going to be the perfect paint to get my Roman clay look.
They recommend using a dampened natural bristle brush, so I sprayed it a bit before starting. This process take me some time because I painted in a stippling motion.

Note that if you use this paint, it goes on much darker than it will end up after drying. It does turn out to be light, chalky, and clay-like looking.
I moved onto the next step of building the arch (below) while this first coat of paint was drying.
Second Coat of Paint
During my second coat, I was getting much better coverage. But I did have to go get another 16 ounces of this Terra Clay Paint because I went through a full one! This was because I have a larger piece and I was doing a stippling motion which used more paint. I ended up using about 4 ounces out of my second container—20 ounces total.
Build arch

Again, for the sake of keeping organized here, note that I built the arch before doing my second coat of paint. So by that time, the arch was attached and painted with the second coat. 🙂
To create the arch I cut my plywood down to size. I used basic elementary math to make an arch with a pencil and string. Then I just used my jigsaw to cut along by drawn curve and sanded it down to smooth it out.

I used my 18 gauge Brad Nailer to attach my arch to the top.
I have to admit, that this was very DIY, and it’s not the finest of woodworking skills. I had to improvise with stir sticks a bit to make the arch more secure. It worked well enough!
I did have to use some caulk to seal the arch in because there was a little gap. Again, I learned a lot. Haha.
Seal

Terra Clay has it’s own matte sealer, so I applied that with a synthetic brush.
It’s a little shocking at first because the sealer makes the paint much darker again, but I did sample this one a practice board earlier, and it dries down completely flat, so not to worry.
I did two coats of the topcoat (about two hours in between each coat). That’s longer than normal topcoats, so keep that in mind.
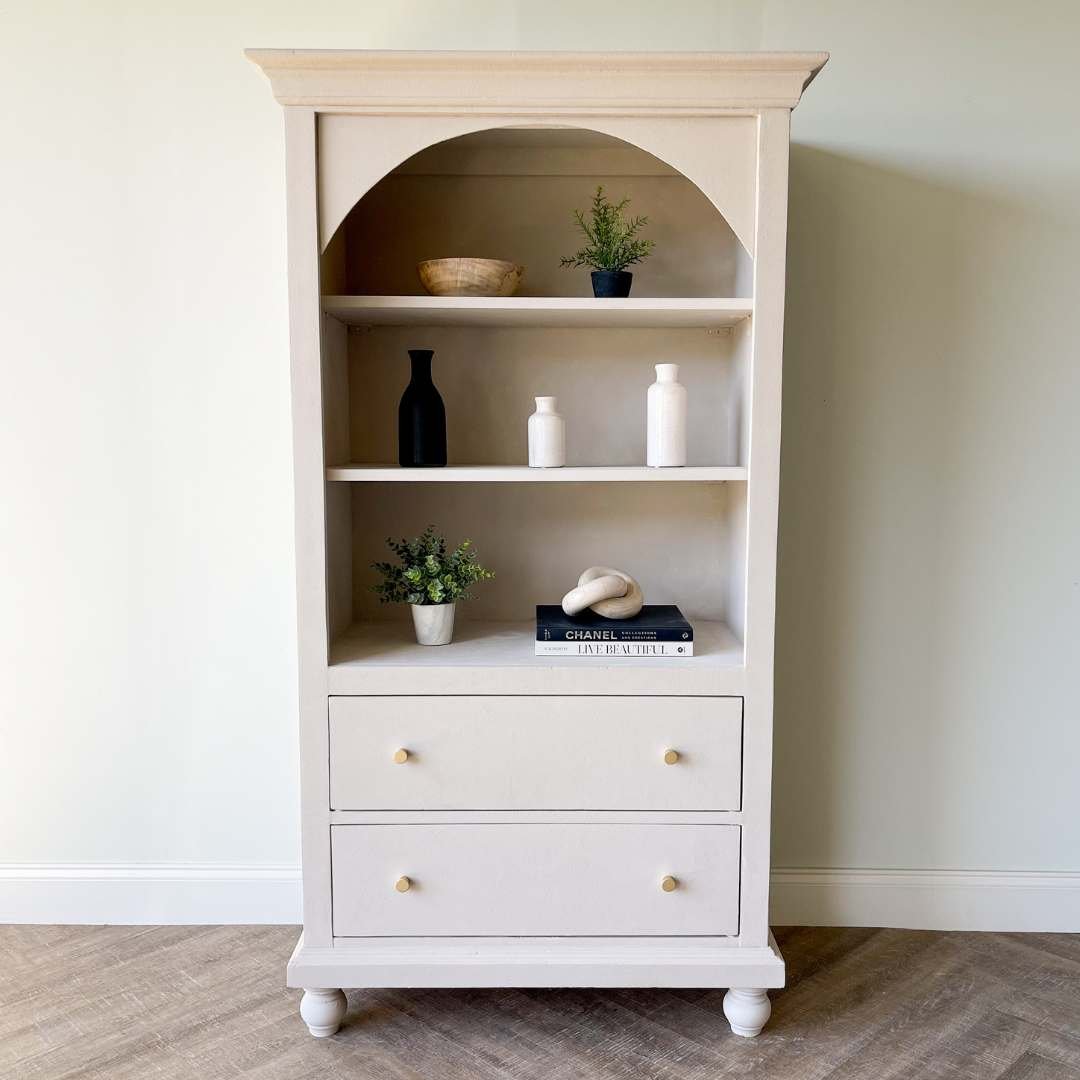
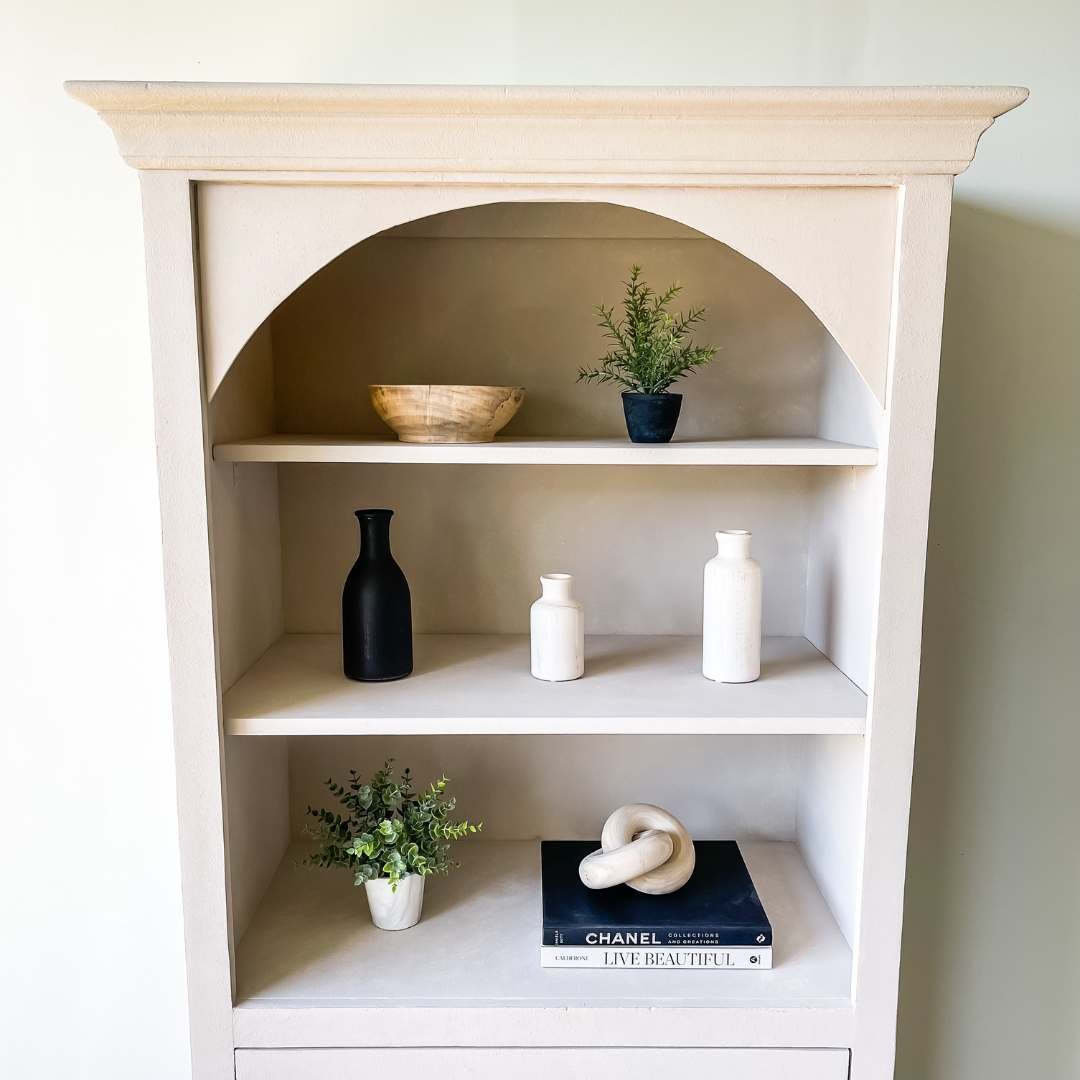
Roman Clay and Arch Furniture Finishing Touches and Reveal
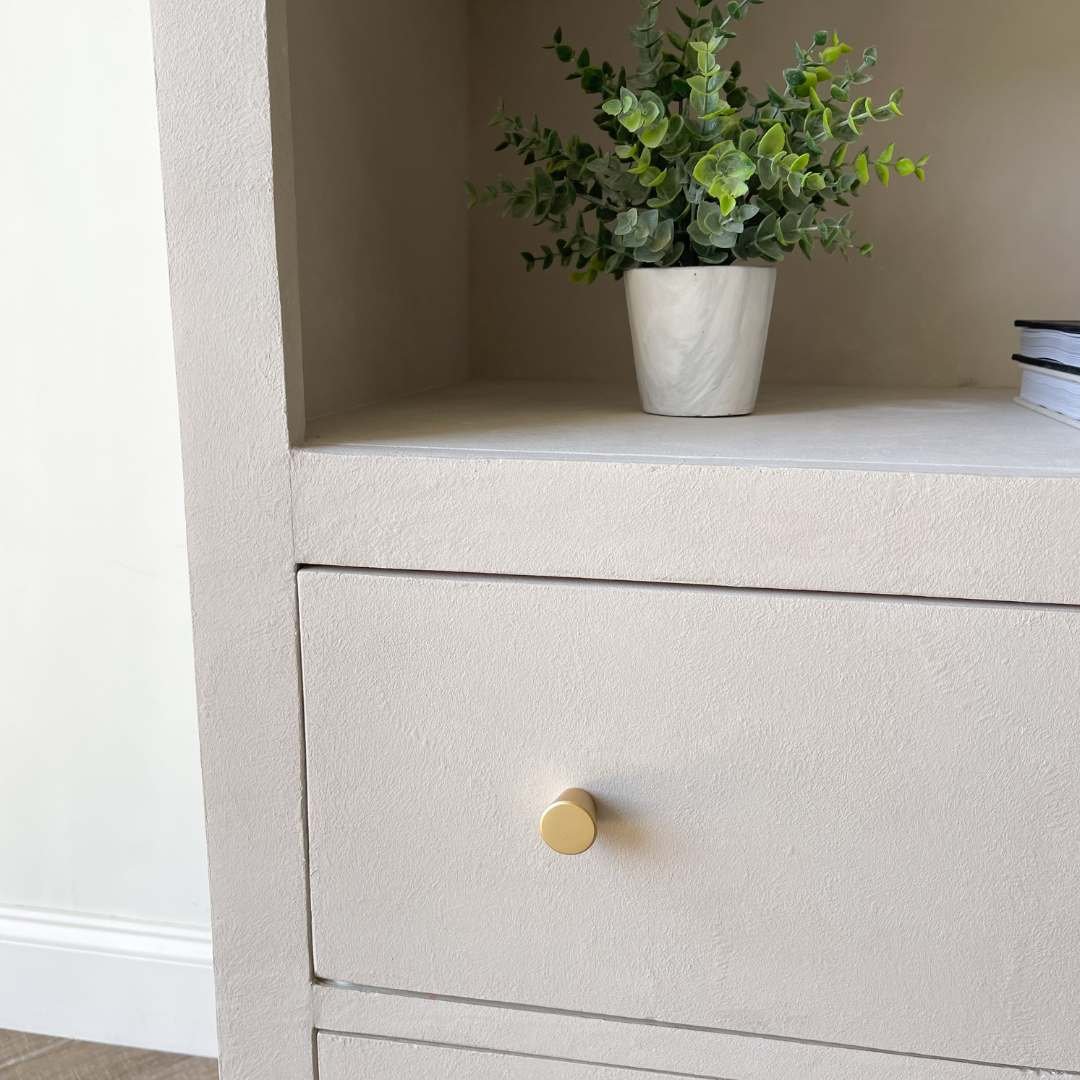
The texture is the star of the show. And not to mention, we did manage to create our own custom piece of arch furniture! So to finish this off, I got very simple brass brush knobs from Amazon for the bottom drawers.
Wow. I'm pretty shocked with how this turned out. It’s gorgeous and feelsl ike a built-in piece. The arch gives it such a sophisticated and on-trend look.
Remember, you can always check out my YouTube channel to see the full tutorial of this piece! For now, here’s the reveal! I hope you love it as much as I did!