
A Beginner-Friendly Furniture Makeover with Beyond Paint
Disclosure: This blog contains affiliate links. I will receive a commission for items purchased through these links at no extra cost to you. I appreciate your support. Please read all labels and follow all manufacturer safety recommendations when working with paints, stains, and other equipment
Have you ever wanted to give a piece of furniture a fresh new look but felt overwhelmed by the multitude of paint options, brush choices, and the need for lots of different tools? Today, I'm taking you through a simple, beginner-friendly furniture makeover that requires only a roller and a chip brush – no fancy equipment needed.

For this sofa table makeover I am using Beyond Paint. This paint is a game-changer for anyone new to the world of furniture flipping. It's perfect for beginners, DIY enthusiasts, or anyone looking to spruce up their living space without the hassle of sanding and priming. This is an all in one paint, so there is no sanding, priming, or topcoat required. Because of this, you can makeover your furniture in 24-48 hours!
Supplies
Beyond Paint Multi Purpose Sealer
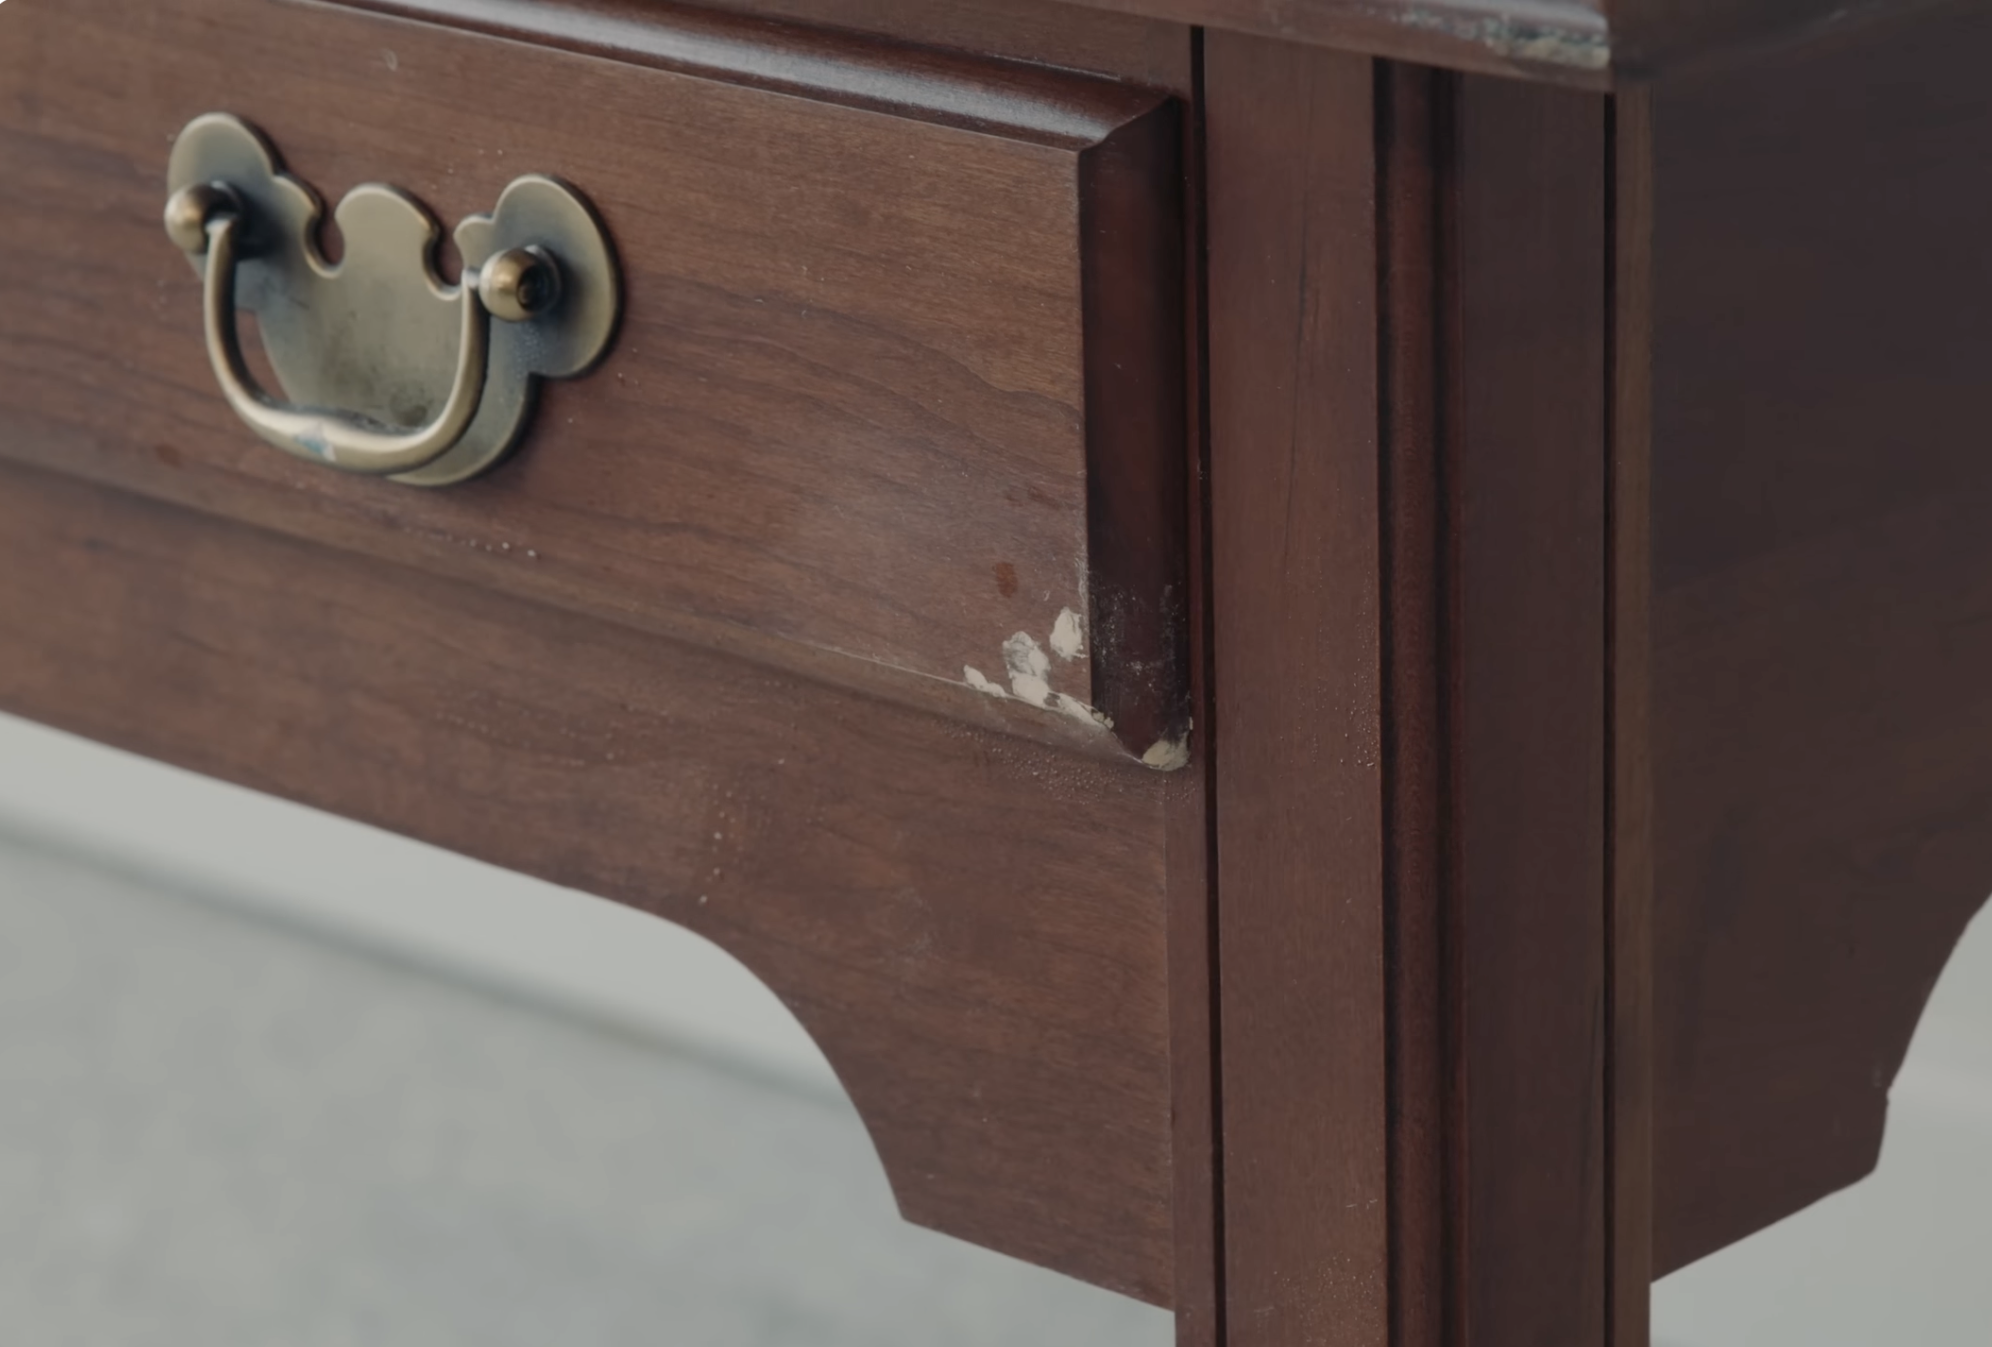
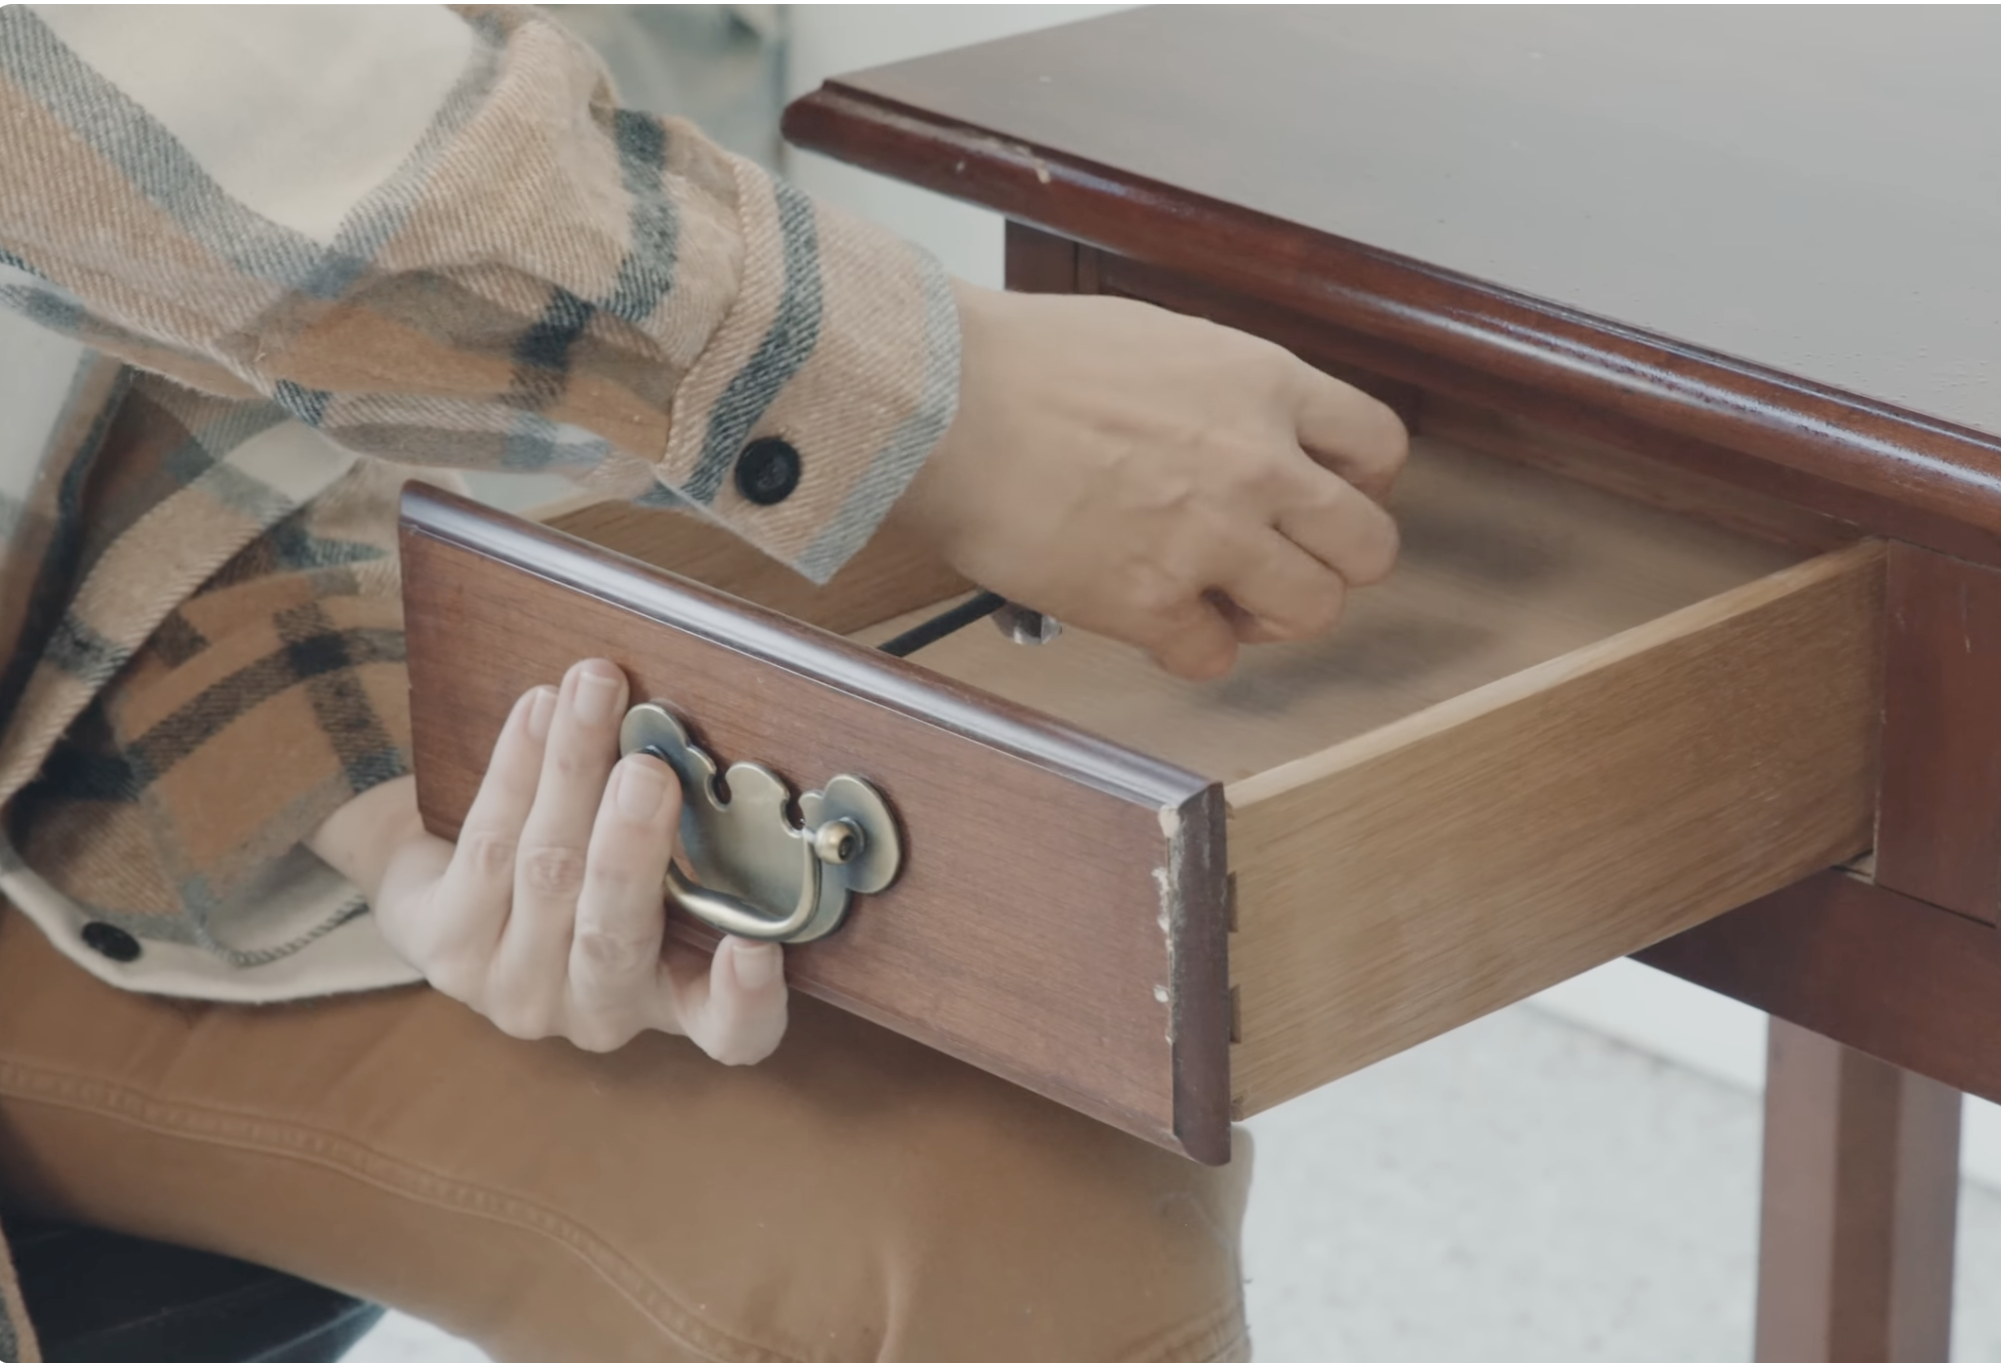
For this project, I picked up a sofa table from a thrift store for just $30. While it was in decent shape, it had a few nicks and dings that needed attention. After a quick fill with wood filler and some sanding, I was ready to roll – pun intended.
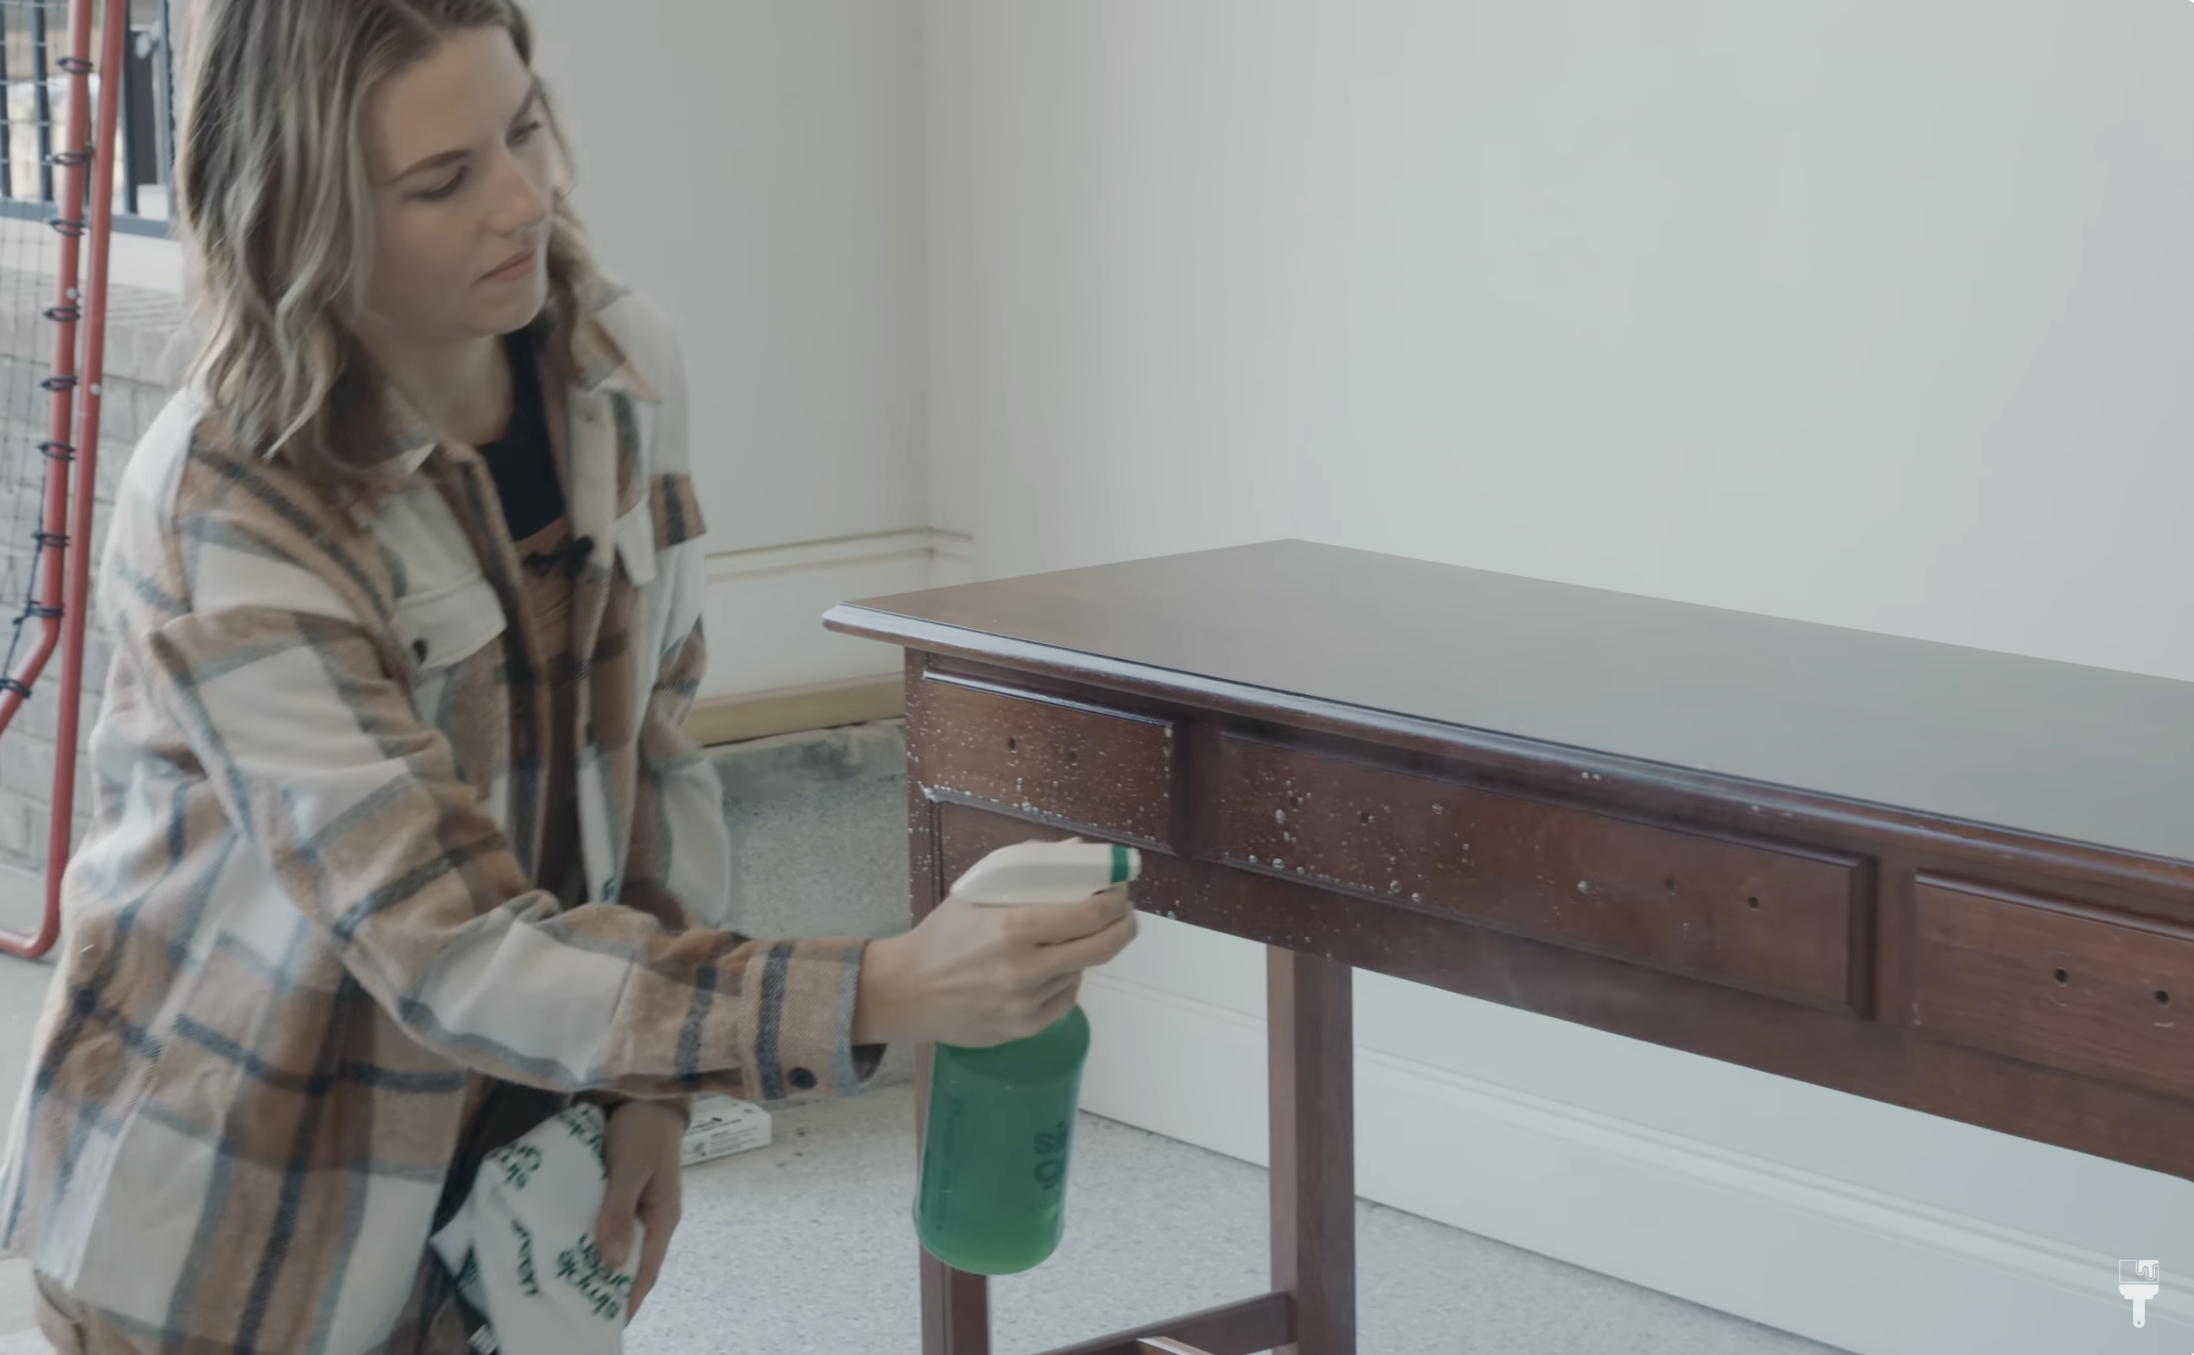
The only prep this table needed before applying Beyond Paint was a thorough cleaning. I opted for Simple Green, my go-to all-purpose cleaner. Diluting it in a 1:1 ratio ensured the furniture was free from dirt, grease, and stains. Simple Green's non-abrasive formula makes it ideal for sealed wood, giving me a clean canvas for this makeover.
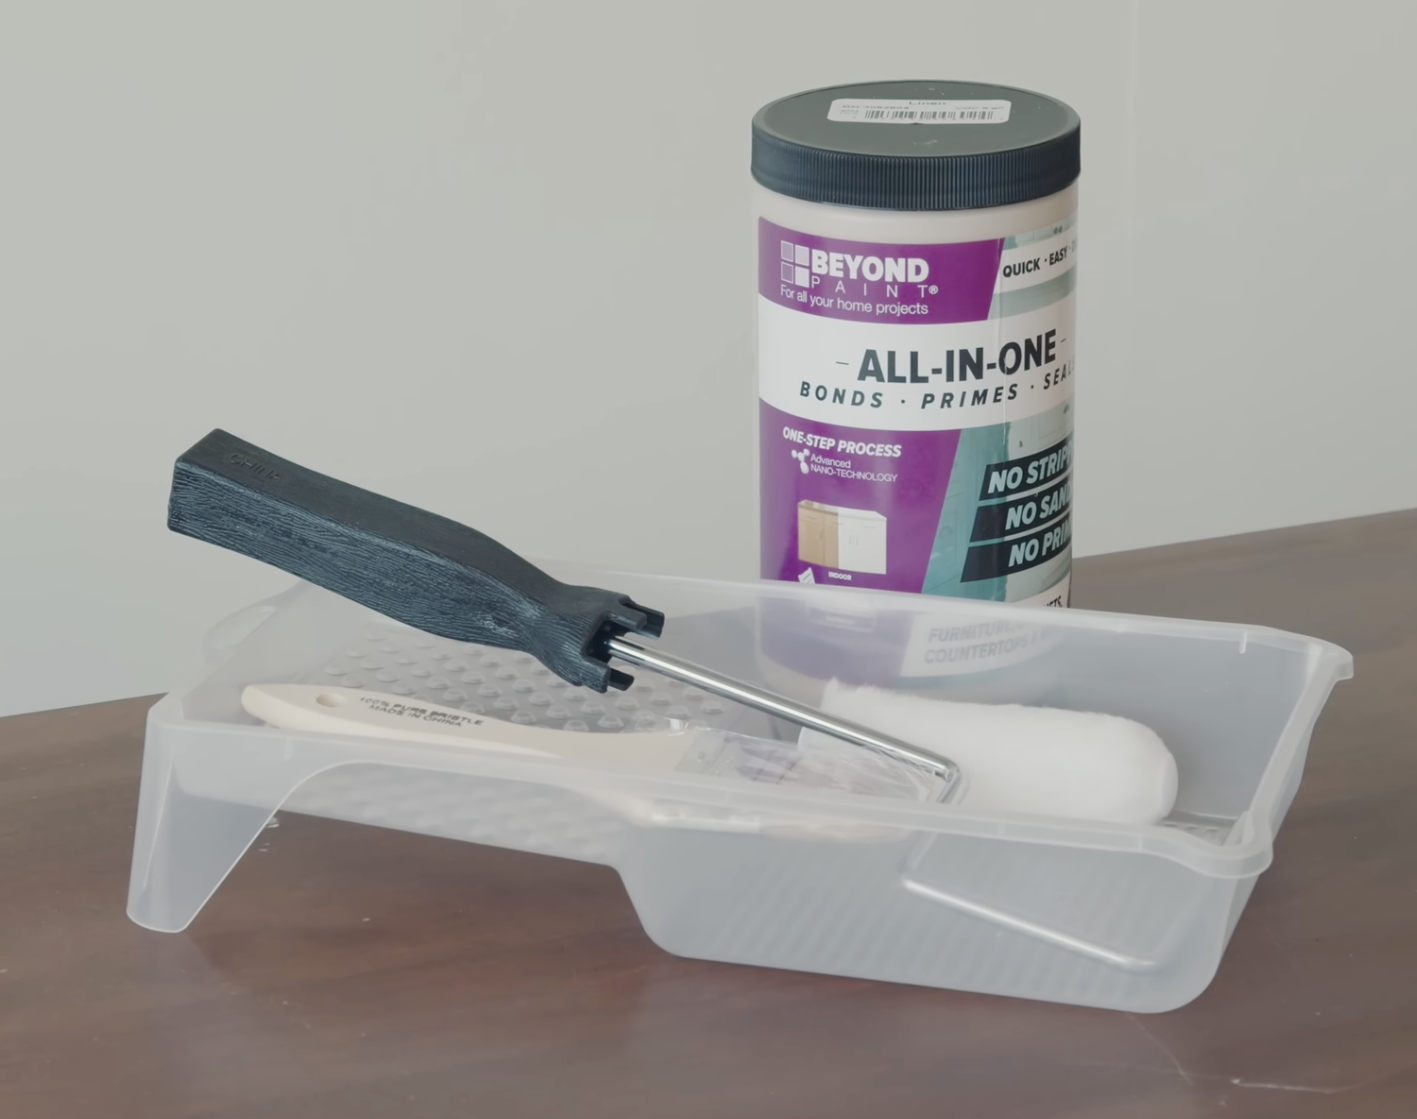
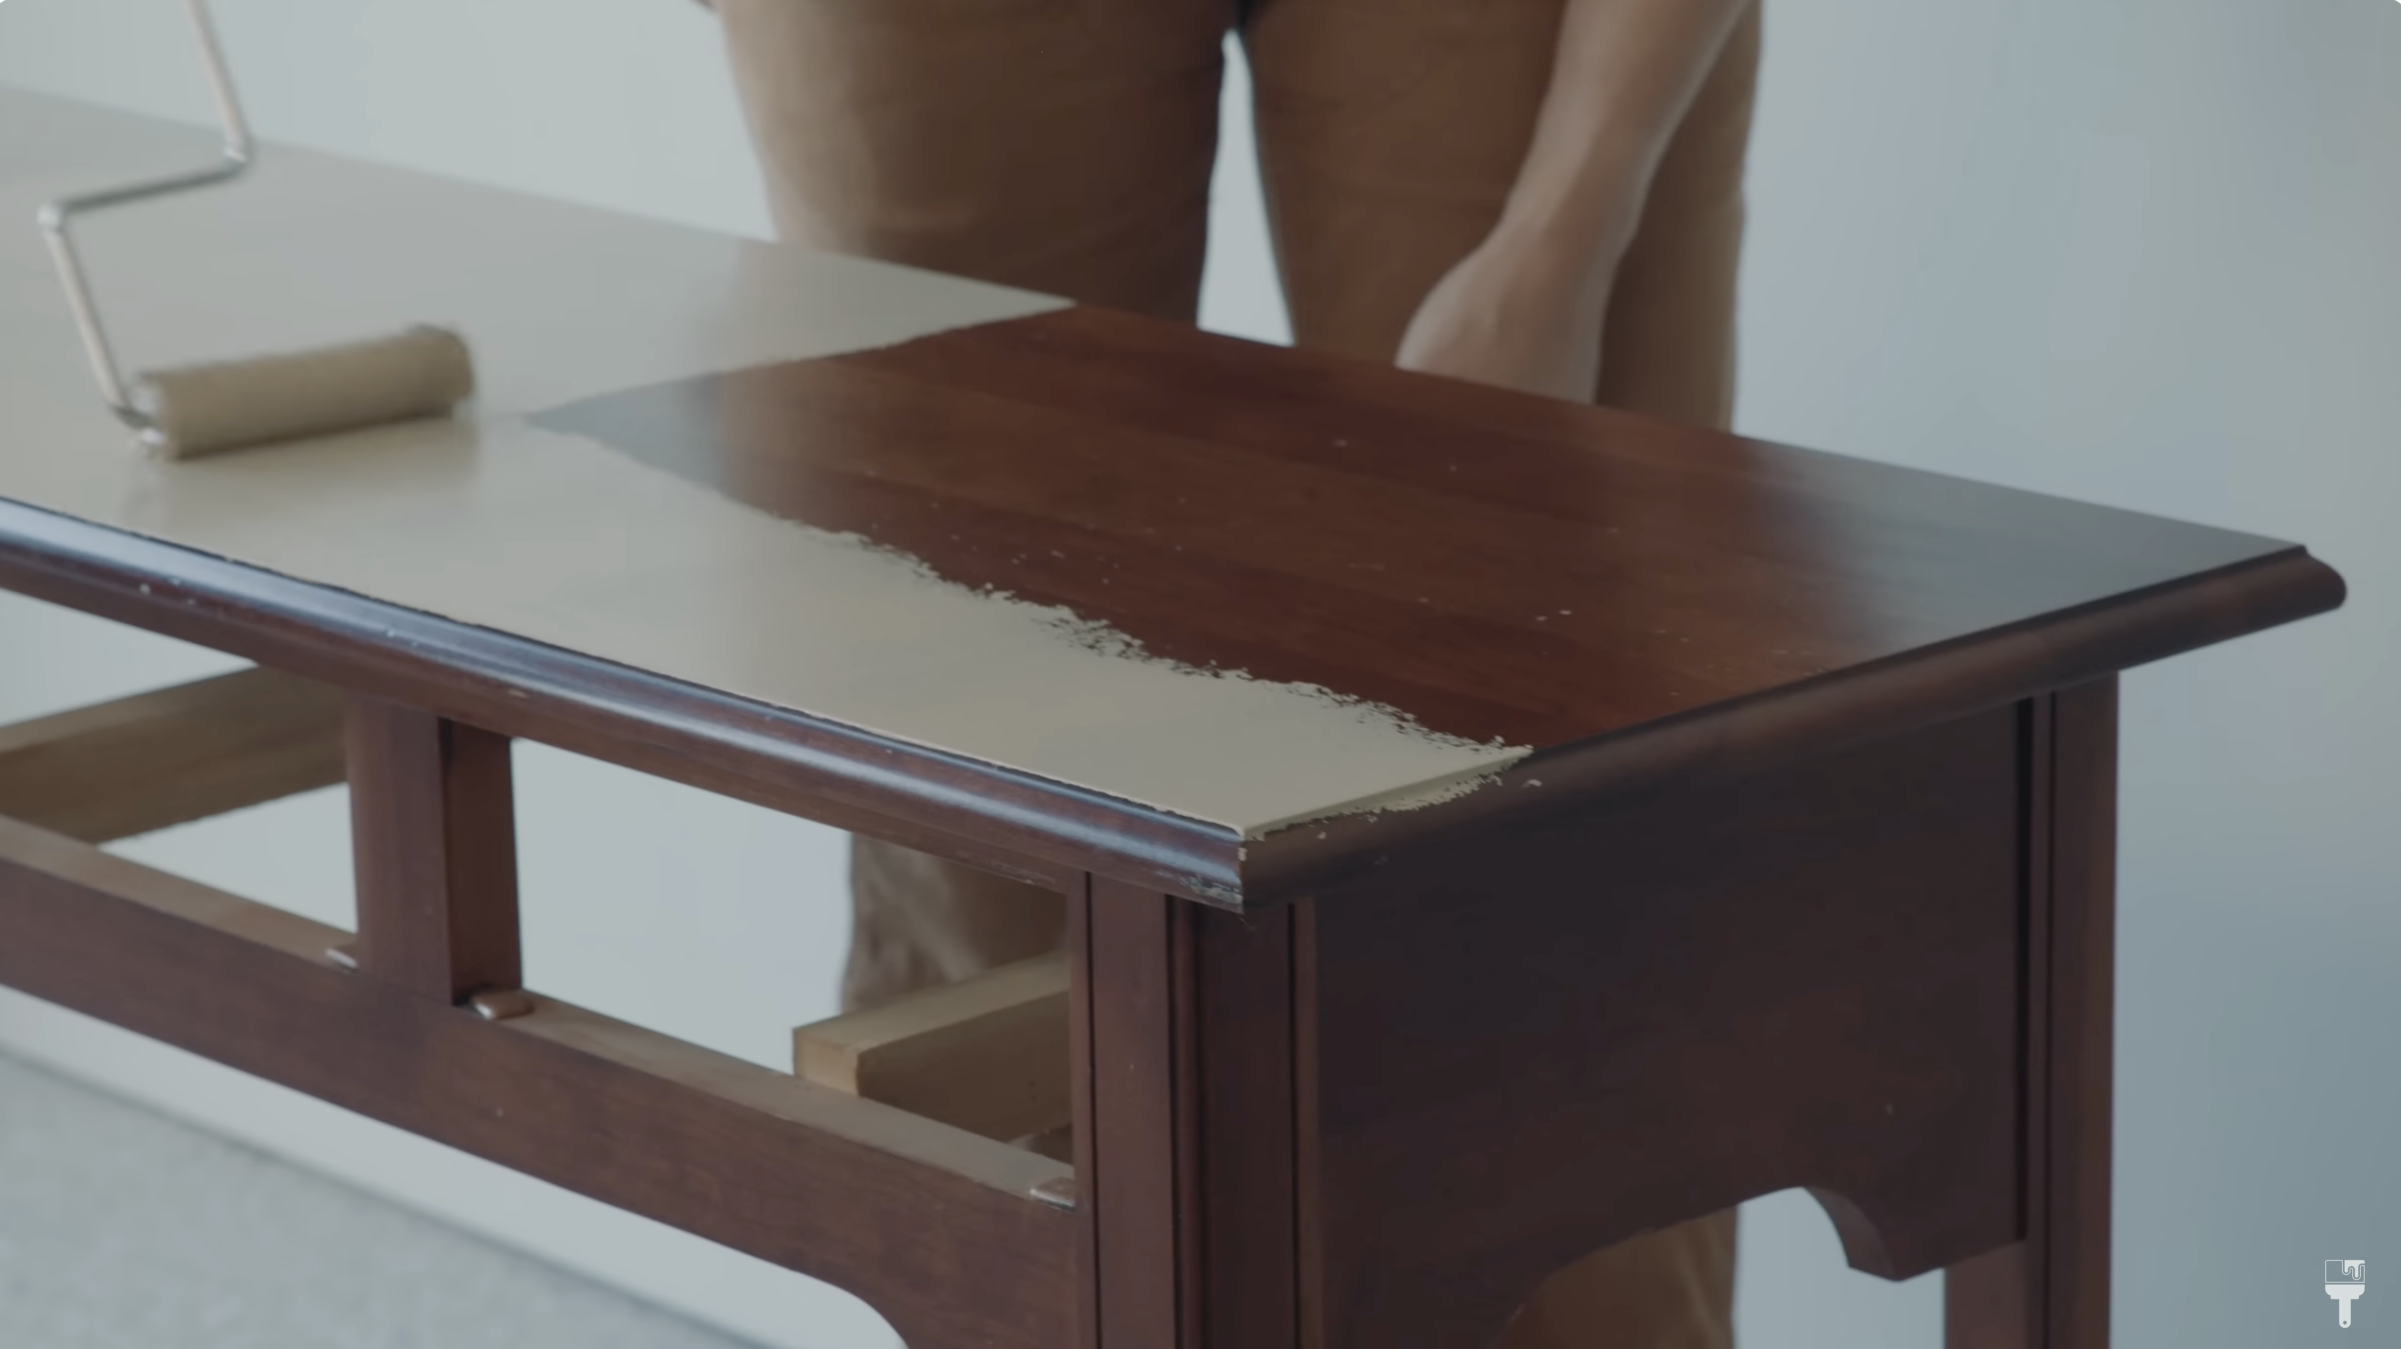
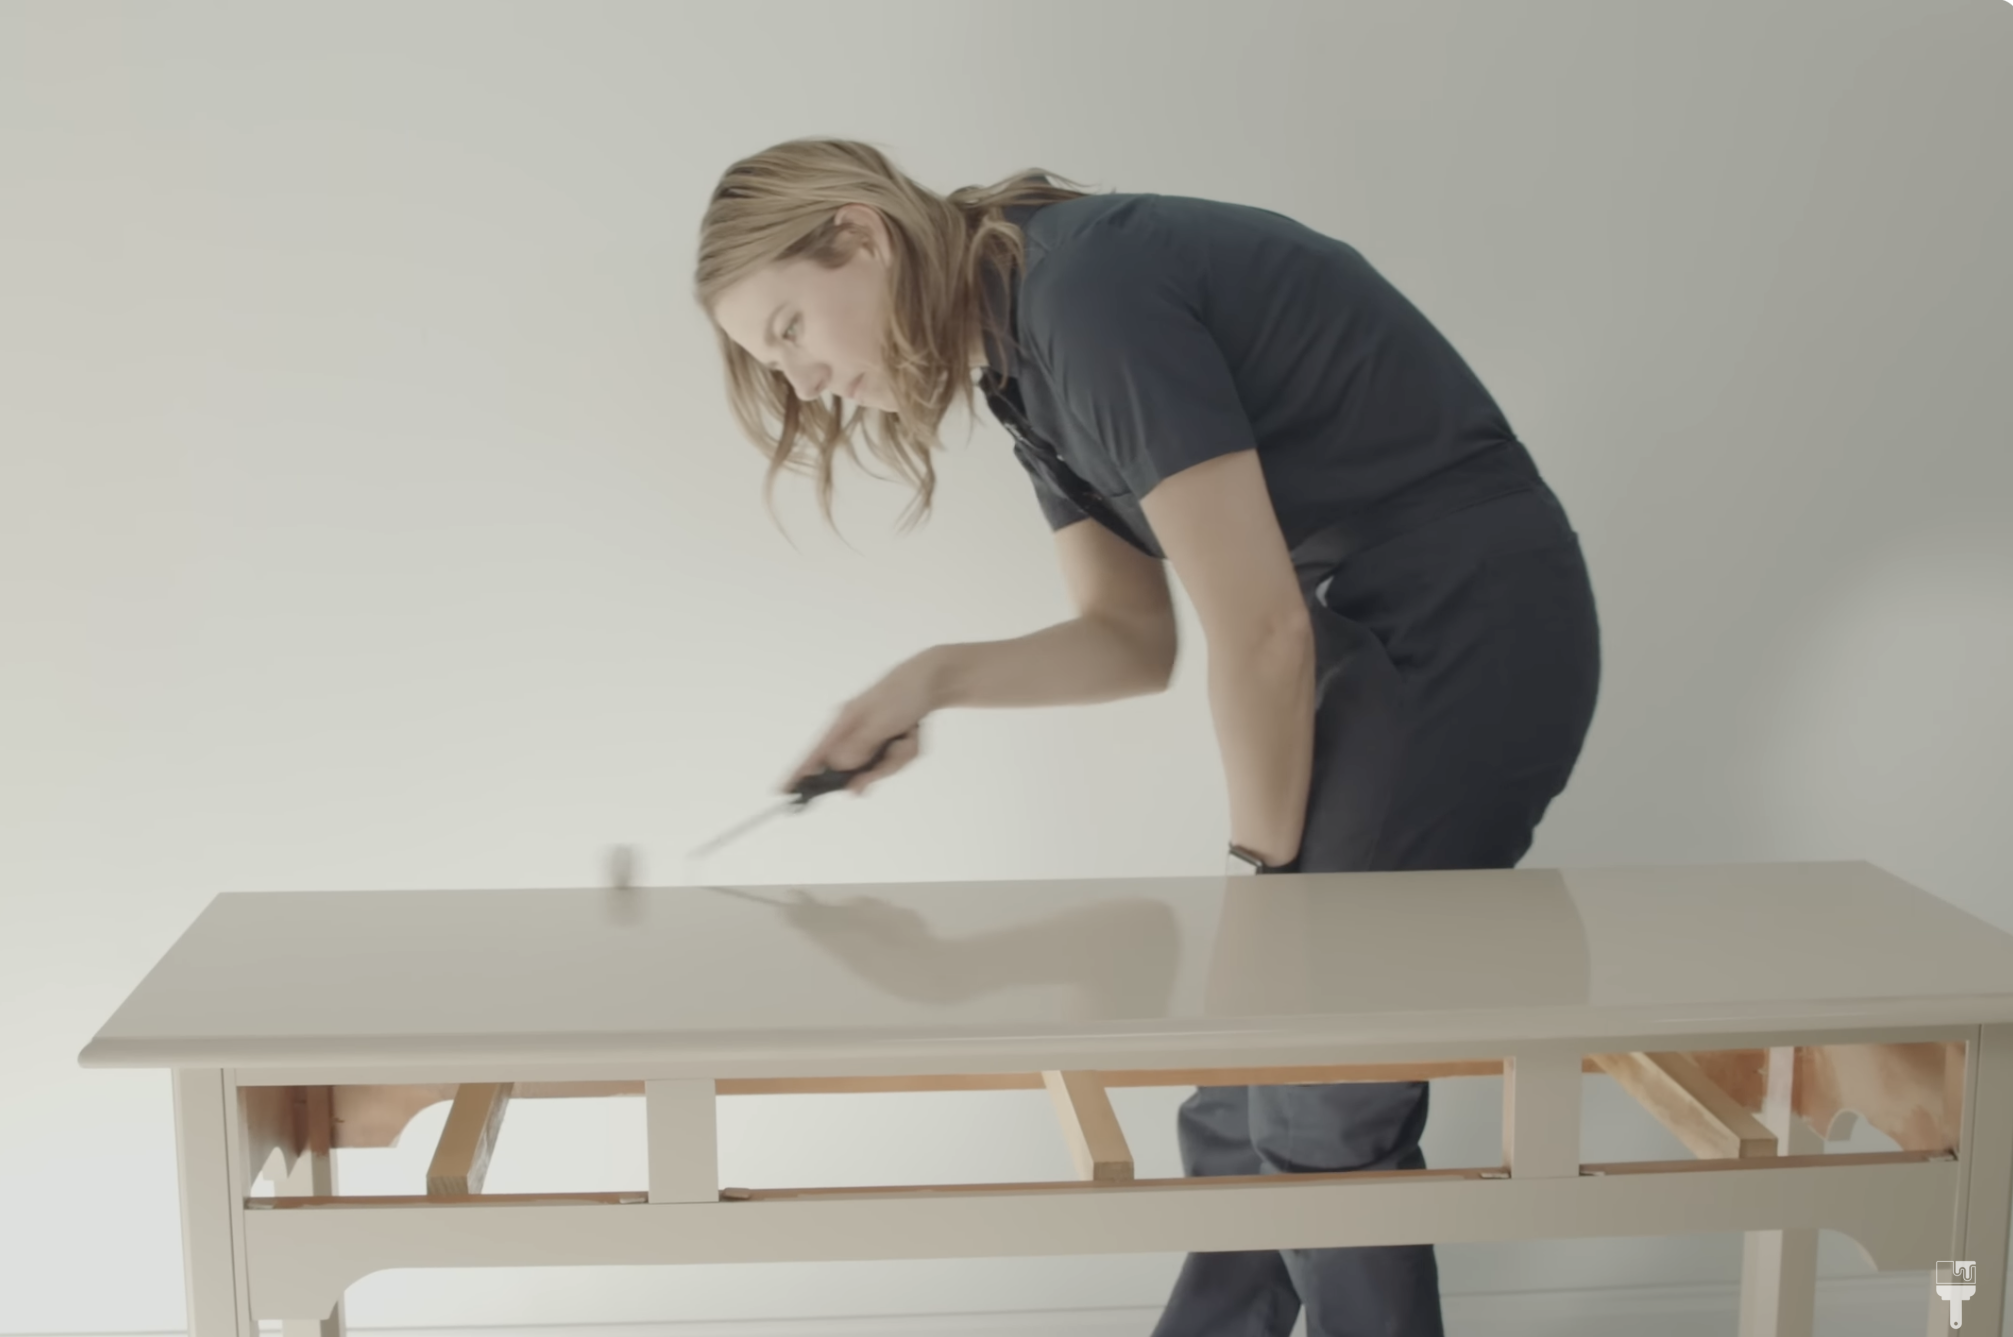
Now, let's talk Beyond Paint application. I selected a beautiful beige color named "Linen", a beautiful deep khaki color. First, I wrapped my roller in painter's tape to remove any loose fibers, ensuring a smooth finish. The application is straightforward – roll out the paint on flat surfaces and use the chip brush for details and crevices.
Beyond Paint's thick and textured formula works like magic, effortlessly hiding imperfections. It adheres to various surfaces, including finished and raw wood, painted wood, metal, laminate, plastic, masonry, tile, and glass. The best part? No sanding, stripping, or priming required!

After a quick first coat, I let it dry for 2-4 hours. The second coat brought the color to life, offering solid coverage and a beautiful khaki finish. The transformation was impressive, and I could already envision the sofa table's new place in my home.

Fast forward to day two – I am ready to try out the optional top coat. While Beyond Paint doesn't necessarily need one, I decided to try their reformulated top coat for extra durability. The milky white substance applied easily with the same roller, drying down to a clear, satin finish. This step will give my sofa table some extra protection since it will be located in a high traffic area of my home.
As a finishing touch, I upgraded the dated hardware. I found these beautiful champagne gold adjustable Liberty Pulls from Home Depot. No need for drilling new holes in my sofa table. This makes the makeover simple and beginner-friendly.


As a finishing touch, I like to add some soft sticker tabs to painted drawers so that they don’t scratch the frame of the sofa table. This is an optional step, but one that will definitely extend the life and finish of your painted furniture.
The result? A stunning sofa table makeover in just two days. I did stage it for pictures, but it is important to mention that Beyond Paint recommends letting your freshly painted furniture piece cure for 30 days for maximum durability.

This project not only transformed a thrift store find but also proved that anyone can tackle a furniture-flip with Beyond Paint. So, if you've been contemplating a makeover, grab a roller, a chip brush, and let your creativity flow. I'll be back with more inspiration soon.
Happy furniture flipping!