
Turning Trash into Treasure: A DIY Dresser Makeover
Disclosure: This blog contains affiliate links. I will receive a commission for items purchased through these links at no extra cost to you. I appreciate your support. Please read all labels and follow all manufacturer safety recommendations when working with paints, stains, and other equipment
In today’s blog entry, I'm diving into a trash-to-treasure makeover that began with me making a questionable purchase on Facebook Marketplace. Yes, I admit it—I paid money for this piece, but trust me, the transformation is worth it. Stick around as I unveil the shocking results. If you're ready to witness this trash-to-treasure journey, just keep reading.
Now, let's talk about the star of the show—the dresser I snagged from Facebook Marketplace for $60. It had seen better days, with a falling-out bottom and a failing finish. Determined to breathe new life into this old dresser, I decided to strip all the paint off and get this dresser back to its natural finish.

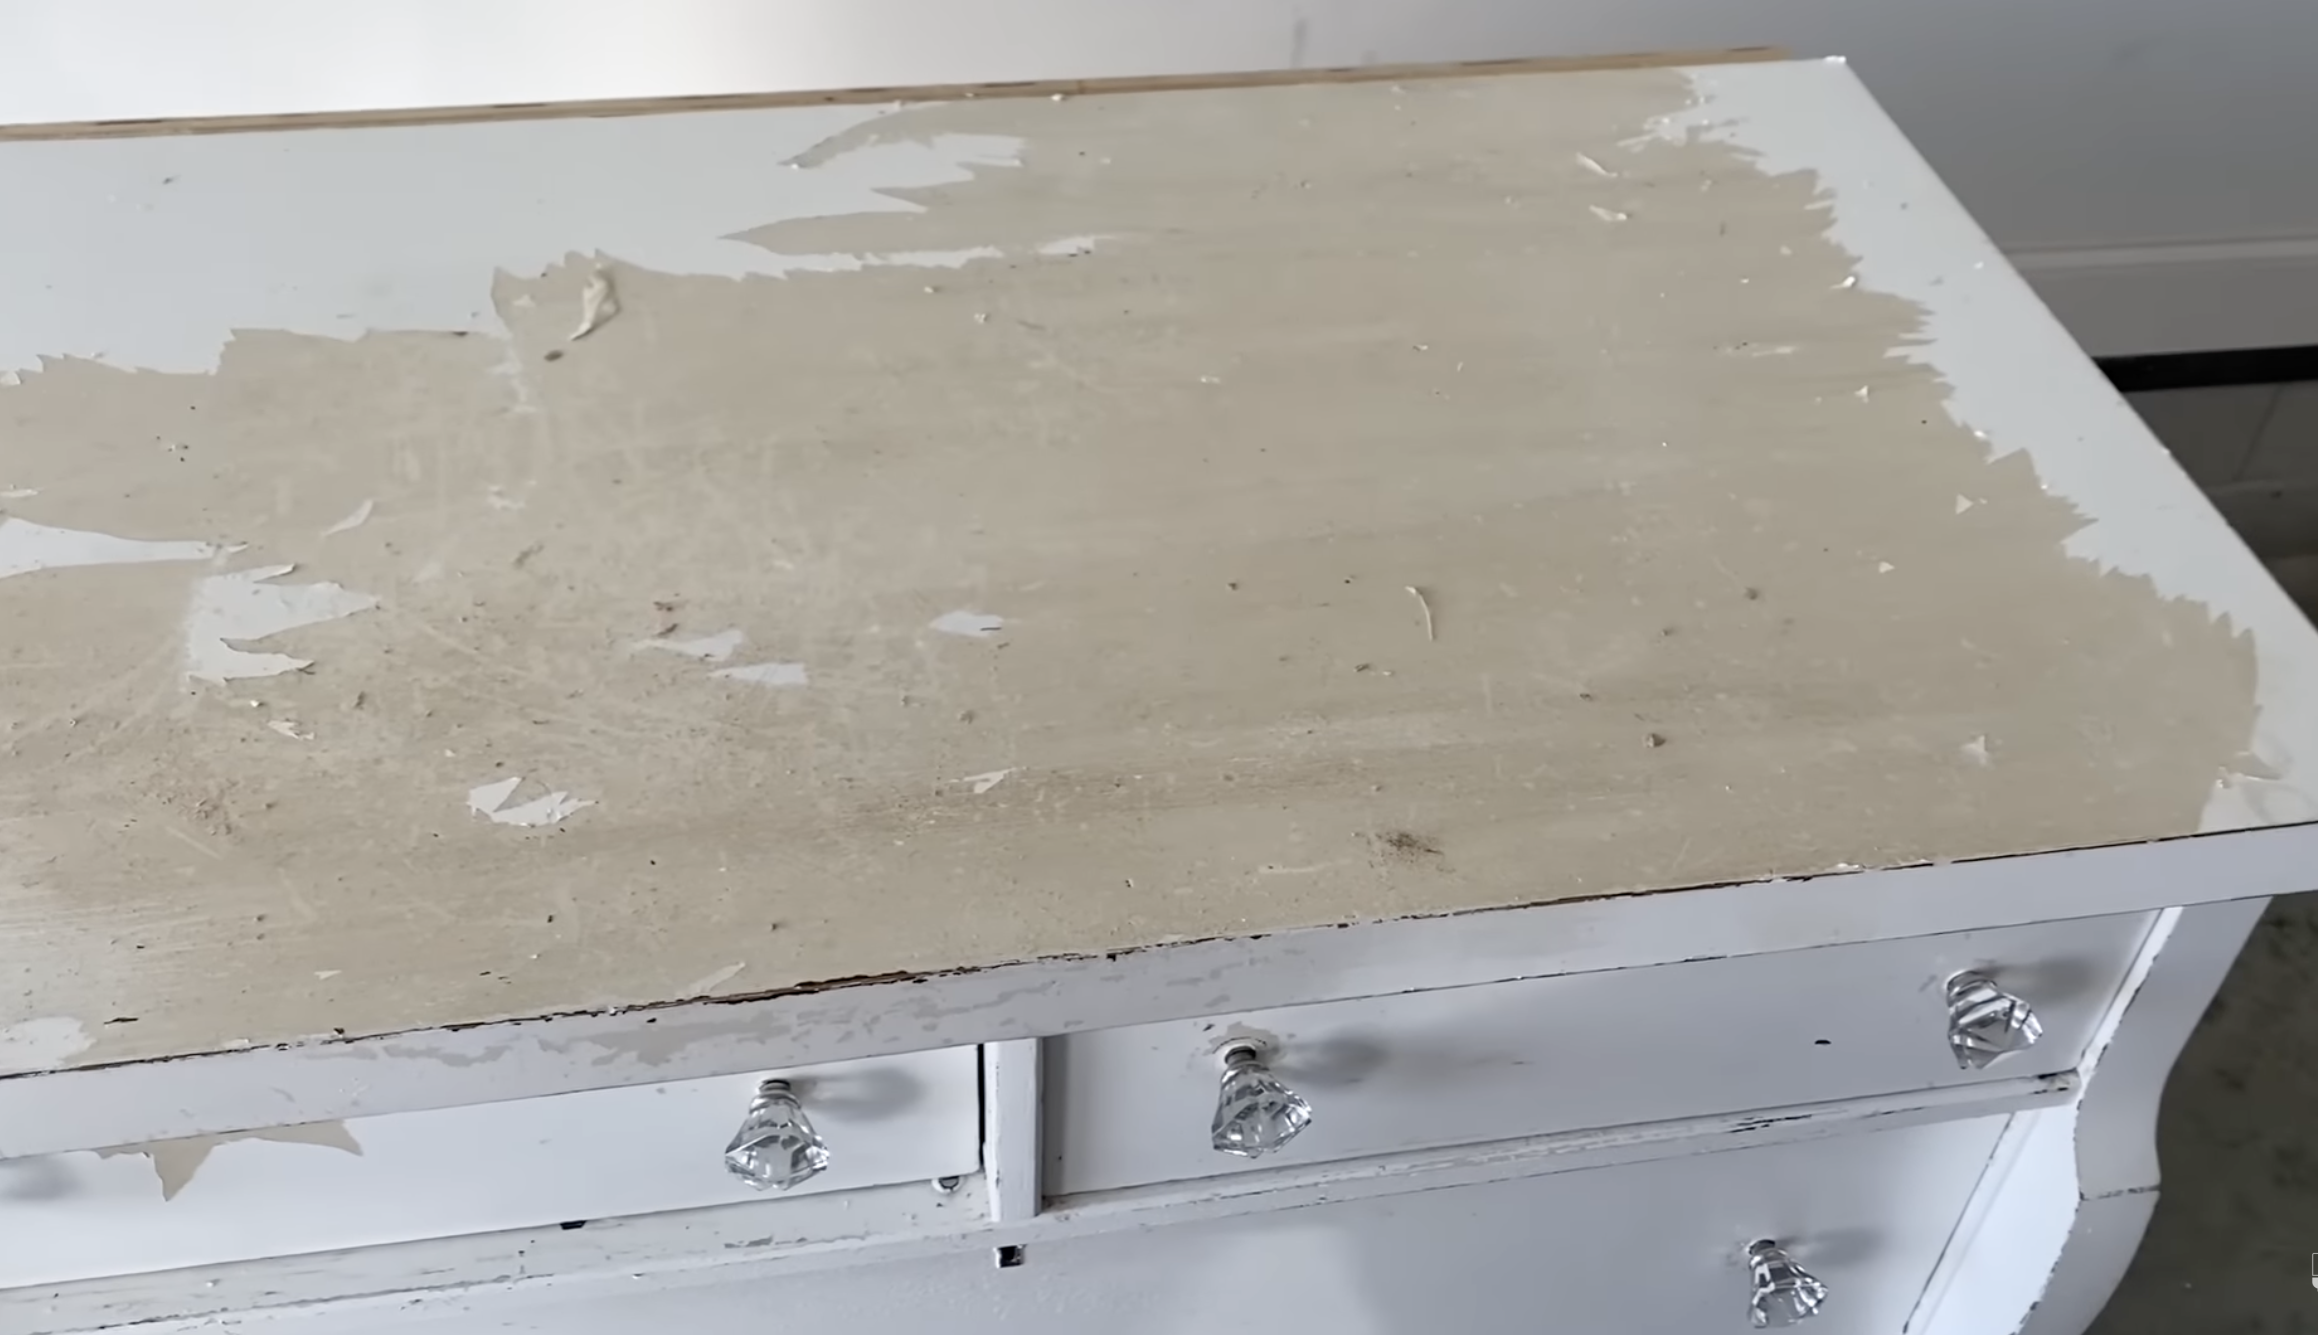
This is a good visual to see why latex paint is not a good choice for furniture. This dresser had a thick coat of latex paint that was peeling off. Using this type of paint on a piece of furniture almost always results in bubblings and peeling, causing the finish to fail. A paint formulated for furniture is always going to be your best choice when making over a piece. You can visit my Amazon storefront to see all of my favorite furniture paints!
Supplies
My Amazon Storefront- All of my DIY supplies are available here!
Welding gloves (any heat safe ones over 1100 degrees F)
Surf Prep 3" x 4" Electric Ray Sander (Use Code PRETTYDISTRESSED10 for 10% off your order)
Prima ReDesign transfer Folk II
3M Household respirator w/ particle filters for sanding
Vapor filters (for shellac, stain and other strong odor products)
Stripping, Sanding, and Prepping the Dresser
My first step in restoring this dresser was to replace the back and bottom of the piece. Both of these areas were failing and falling off, so my husband helped me replace them with new pieces of plywood.


Facing layers of latex paint and veneer damage, my next task was to strip away all of the old paint. Instead of traditional methods, I opted to use my Wagner heat gun, a game-changer in the paint removal process. The heat gun was successful at stripping away the old layers of paint, but this was a meticulous and slow process. Lots of patience required!
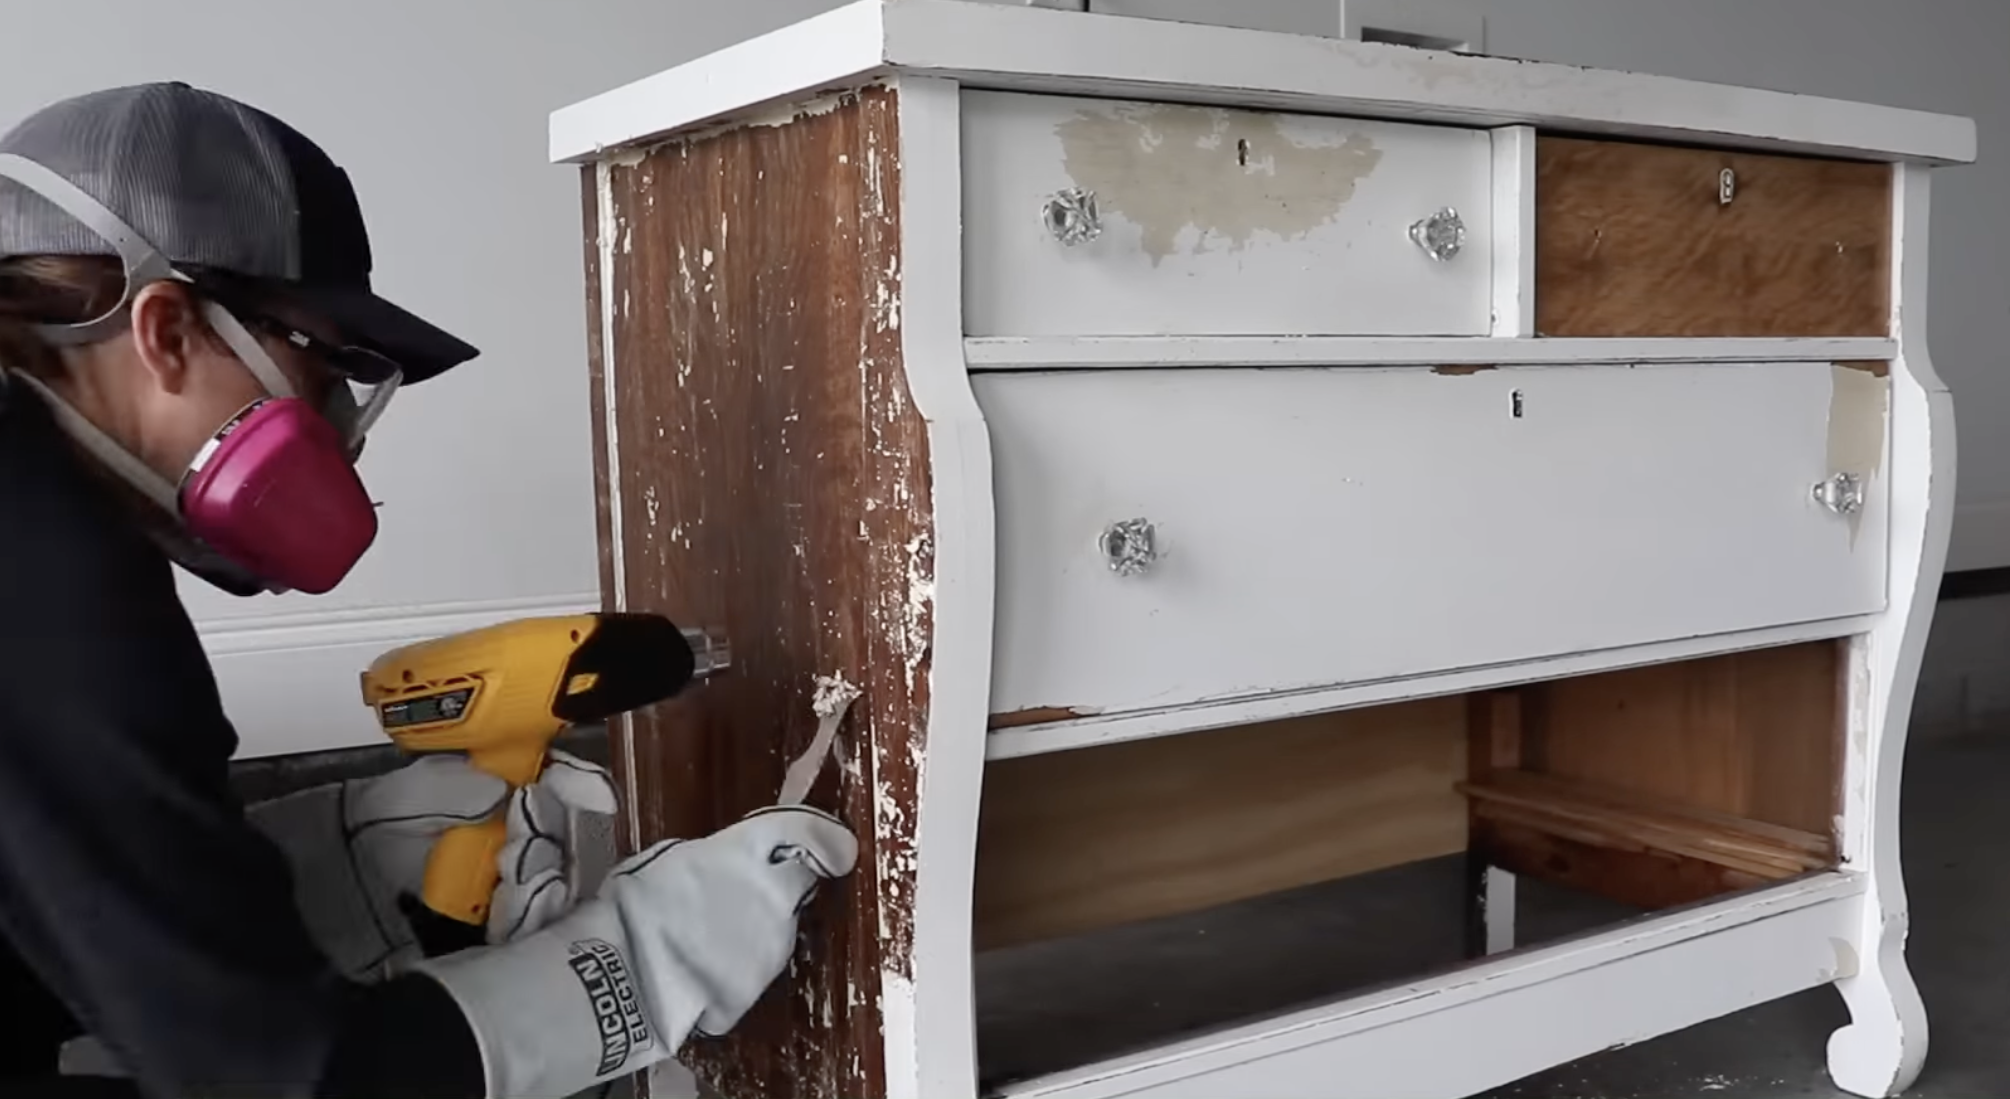

The clean up from this process is much easier than using a chemical stripper- I am thankful for that! Once the paint was almost completely removed, I used my Surf Prep Sander to smooth out the surface and reveal the beauty of the natural wood..

Transfers and Distressing
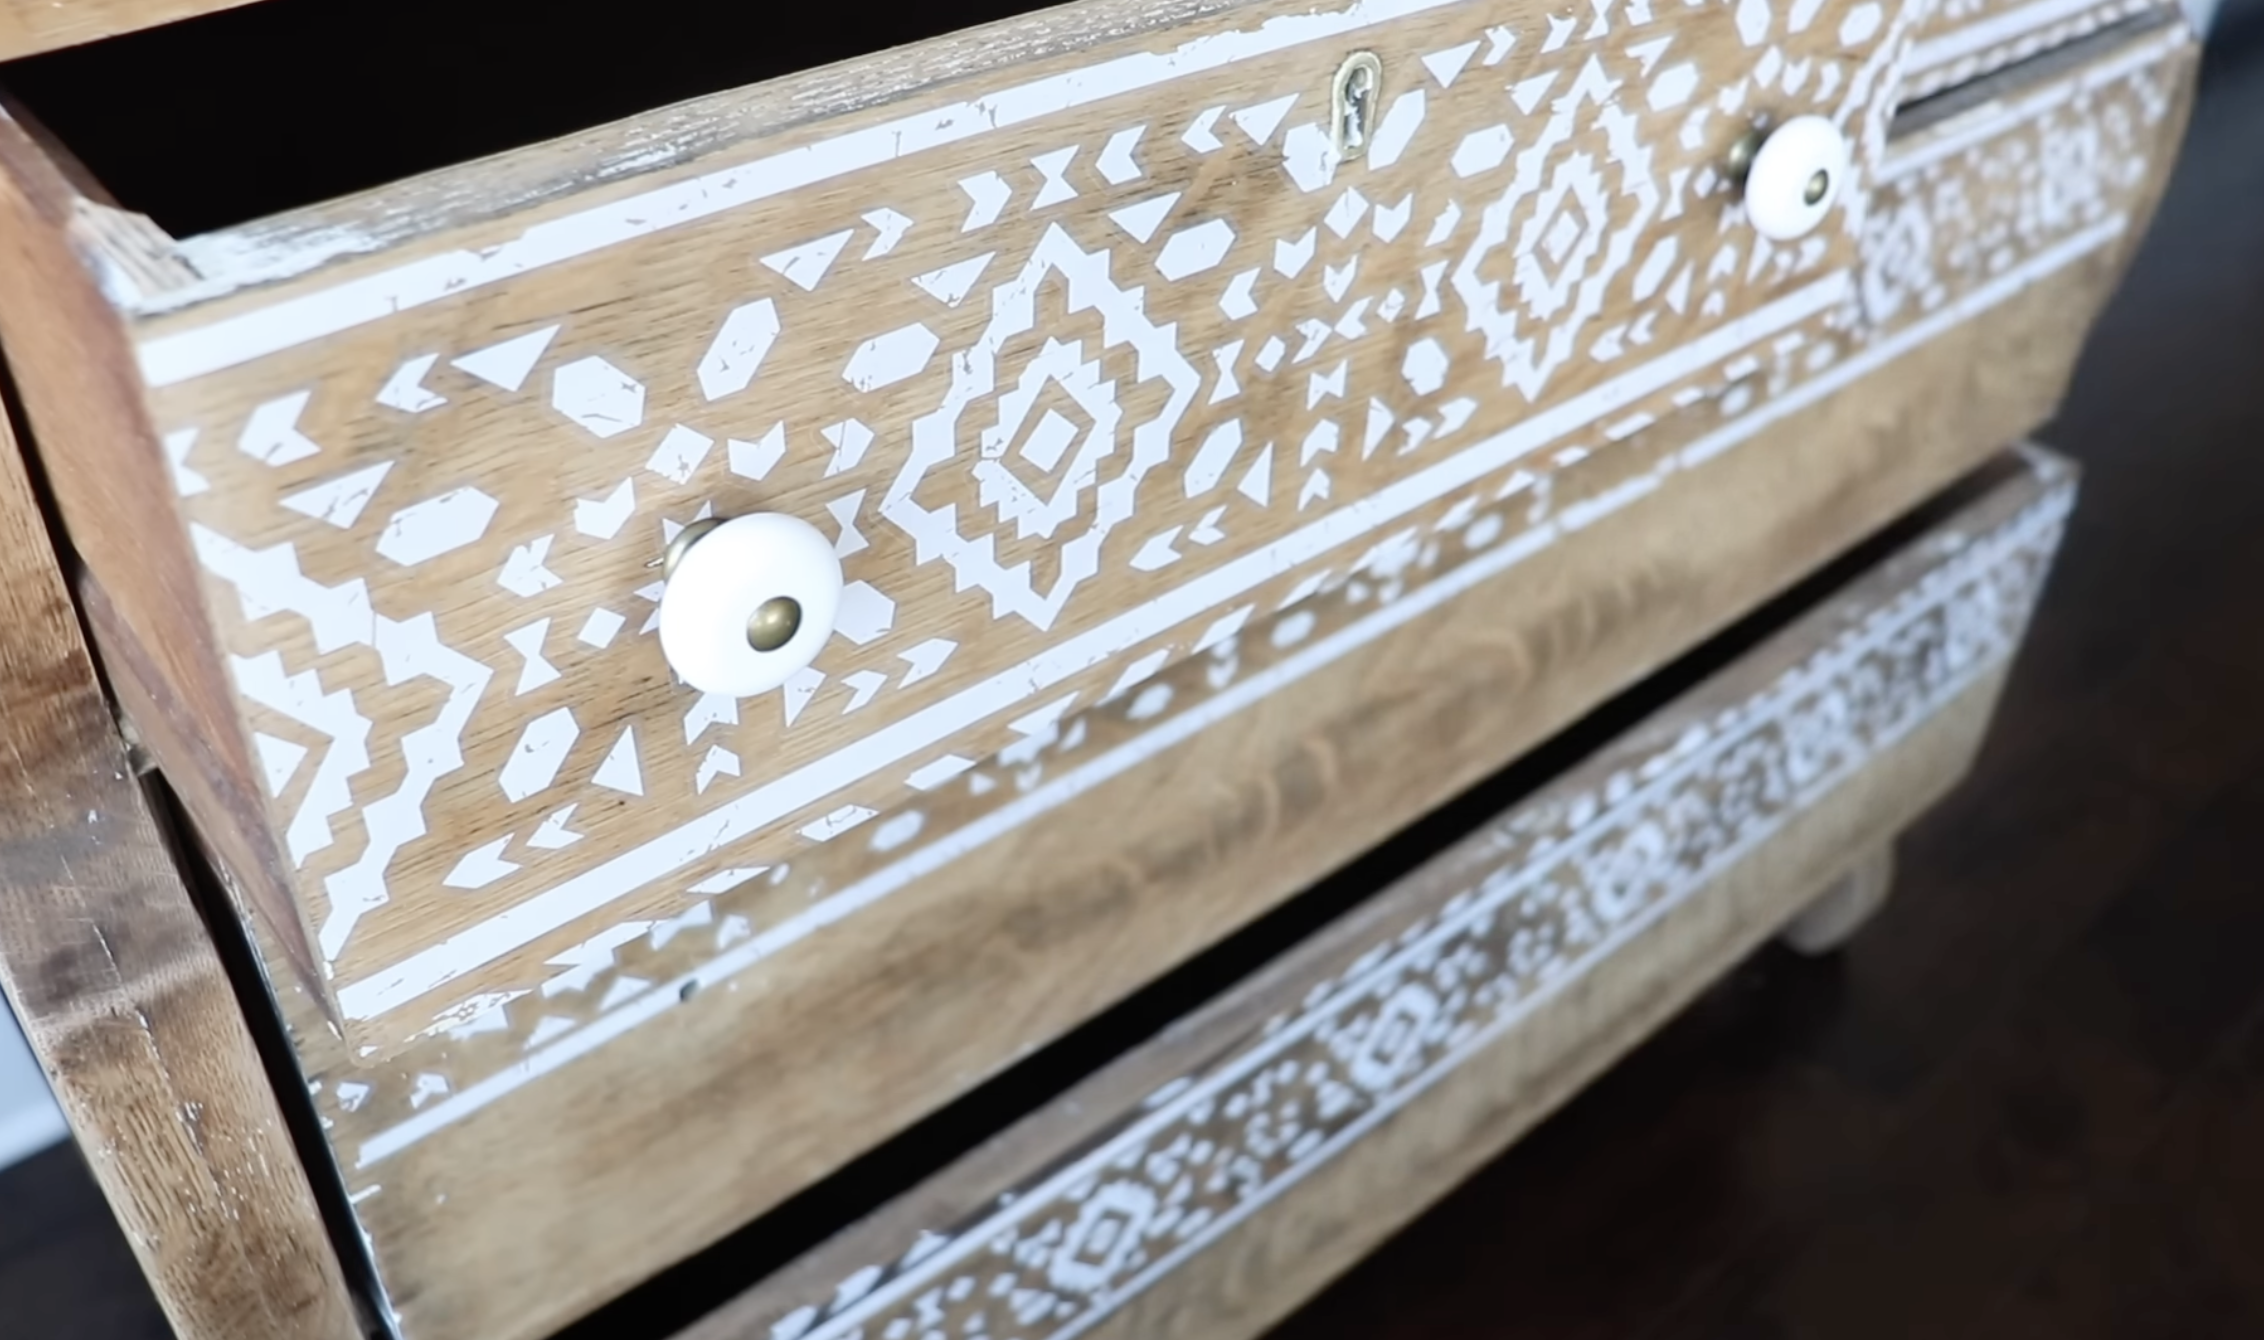
With the surface prepped, I faced a dilemma with the drawers' imperfections. They were simply too damaged to be left natural wood. Enter a brilliant solution—Prima Transfers, specifically Folk Number Two. I loved this Fair Isle inspired design- perfect for the Christmas season! The bonus is that it will cover the damage but I can still keep the look of natural wood.
Applying the transfer presented some challenges on my rough surface, but it added an unexpected distressed charm, and gave it a rustic and distressed finish. I made the mistake of not measuring the dresser beforehand and realized after it was too late that I didn’t have enough of the transfer to cover all the bottom drawers. I pivoted and decided to only do the top half of the drawers. I had already started applying the transfer to one drawer, so I pulled out my sander to sand off the bottom half of the drawer.

Sealing
To seal the deal (literally), I turned to Dixie Bell Clear Coat in flat. This top coat, applied with my Zibra Fan Brush, preserves the raw wood's color without any unwanted yellowing. Because it is fast-drying and easy to apply, so it's my go-to for a flawless finish.
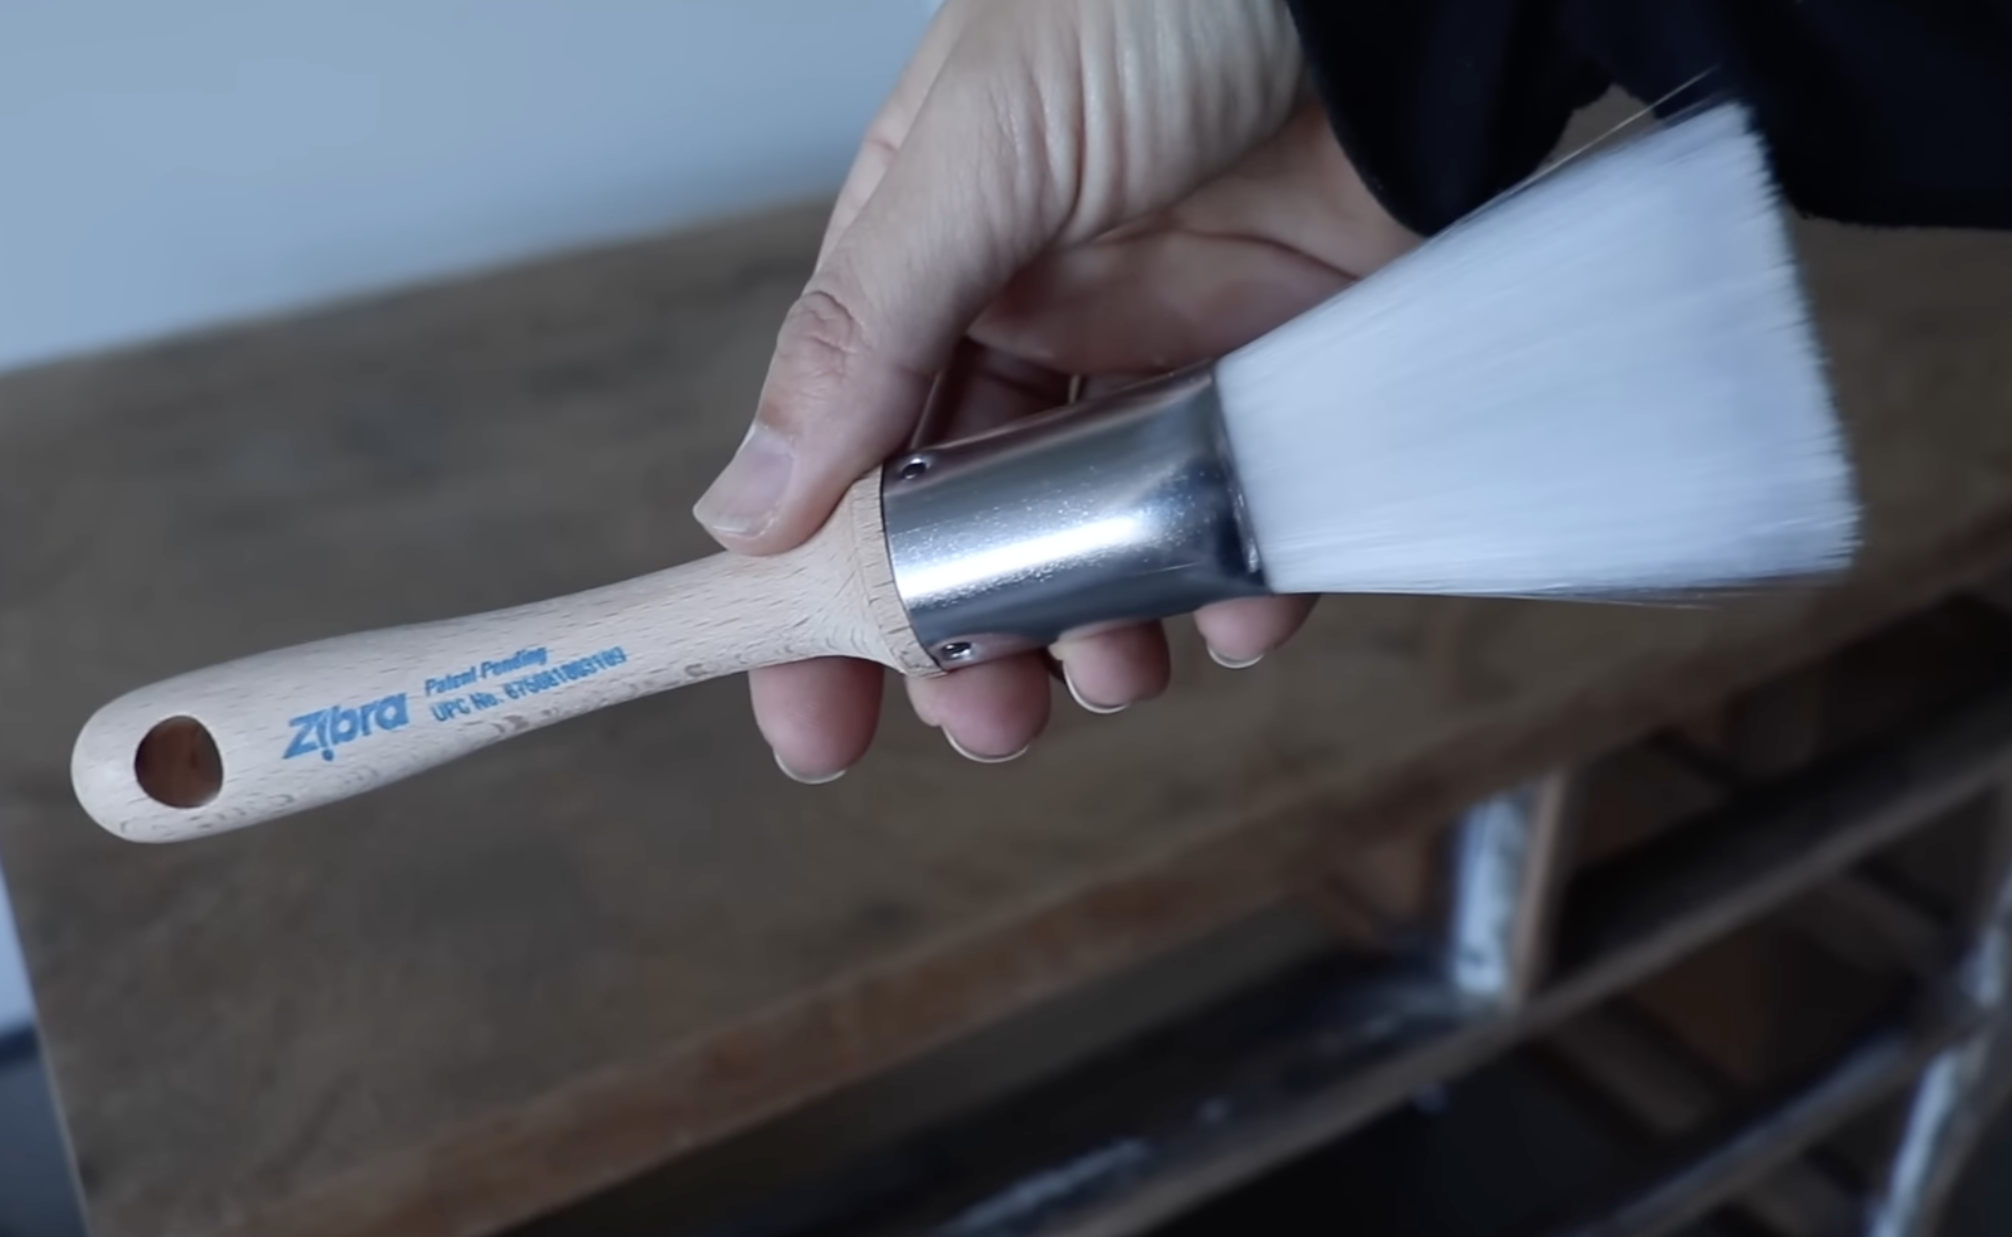
This sealer goes on milky white, but dries down clear, so don’t be alarmed when you start to apply it. After it is dried, you have a beautifully protected piece with a matte finish.

Final Touches: Hardware and Reveal
I selected these affordable ceramic knobs with gold accents from Lowe's. The perfect finishing touch for this rustic beauty.

From a neglected dresser to a true treasure, the final reveal speaks for itself. Is hard to believe that this is the same dresser that I started with. Many would have thought it was good for nothing but the dumpster- but in my opinion- no piece is ever too far gone! A little elbow grease and some creativity, and this piece now has a whole new look.

Thank you for joining me on this DIY adventure! If you want to watch the full tutorial video you can do that here. I’ll be back again soon with another project- until then have a Merry Christmas!