
How to Paint Faux Wood Grain: French Provincial Dresser Makeover
Disclosure: This blog contains affiliate links. I will receive a commission for items purchased through these links at no extra cost to you. I appreciate your support. Please read all labels and follow all manufacturer safety recommendations when working with paints, stains, and other equipment
Hi, I'm Christina, and I'm back with another furniture makeover for you. I love giving old, beat-up pieces a new lease on life, and today, I'm taking on a dresser transformation to create that coveted Driftwood finish. Let's get started!

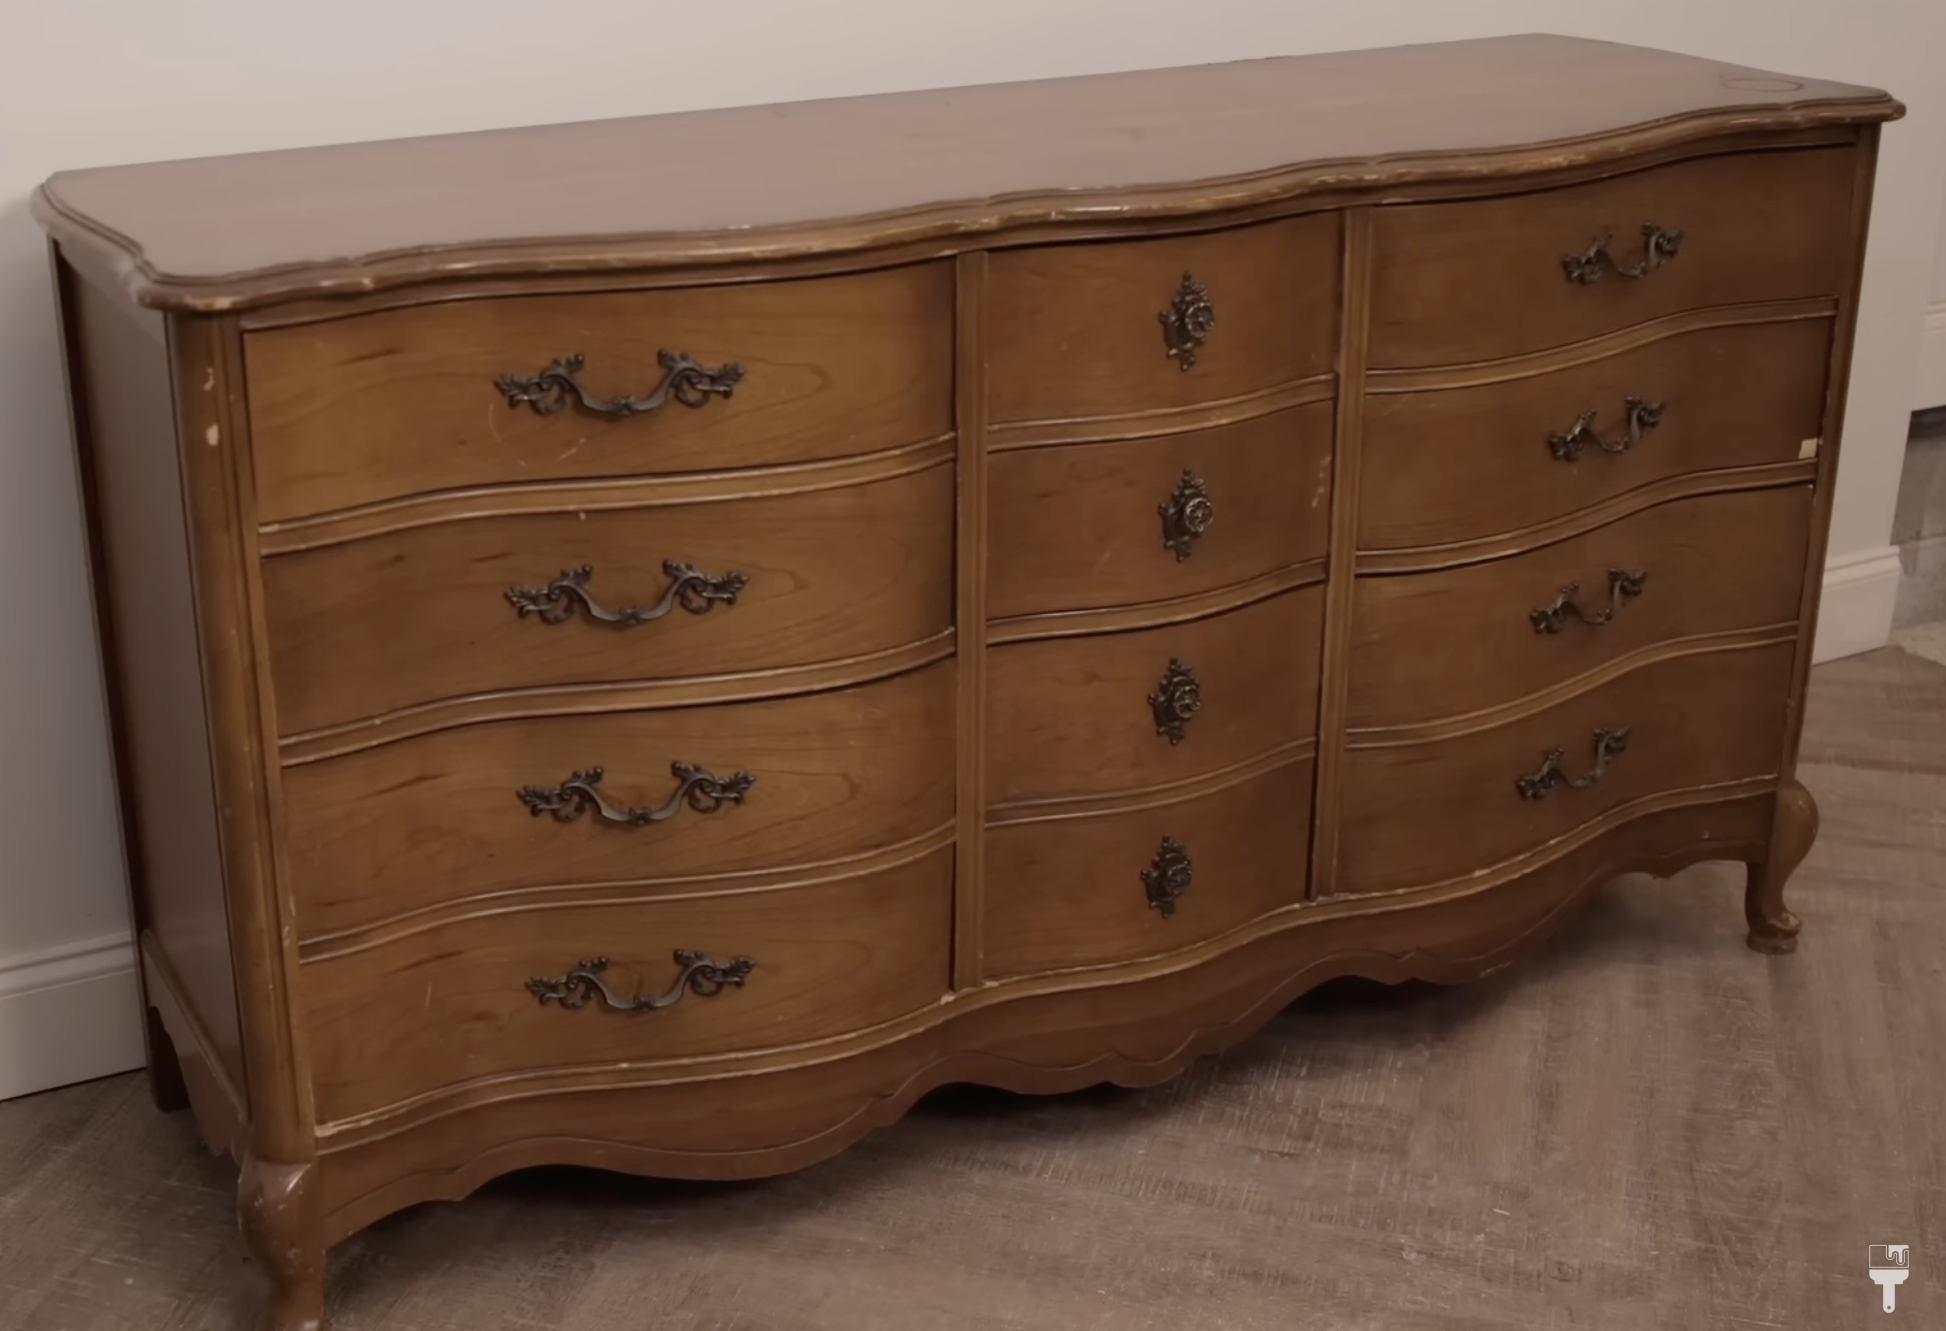
In today's video, I'm going to show you how to achieve a beautiful Driftwood look on this French Provincial dresser using furniture paint. This makeover is inspired by the style of Pottery Barn and Restoration Hardware, and I'm excited to take you through the process step by step.
Supplies
White Lightning Cleaner - https://dixiebellepaint.com/white-lightning-cleaner/?aff=166
Silk All-In-One Paint (Sand Castle) - https://dixiebellepaint.com/sand-castle-silk-all-in-one-mineral-paint/?aff=166
Dixie Belle Glaze (Van Dyke Brown) - https://dixiebellepaint.com/van-dyke-brown-glaze/?aff=166
Synthetic Mini - https://dixiebellepaint.com/dbp-synthetic-brushes/Artist Brushes?aff=166
Artist brushes - https://dixiebellepaint.com/artist-brushes/?aff=166
Big Daddy Brush - https://dixiebellepaint.com/big-daddy-brush/?aff=166
Blue hand broom - https://amzn.to/3p9QGPH
Wagner Spray Shelter - https://amzn.to/46ljg1s
Prepping the Dresser and Making Repairs
Before we can start painting, we need to prepare the dresser. It's a bit beat up, but instead of sanding it down completely, I'm going to clean it and get all the grease and grime off, use some furniture putty to fill some of the nicks and dings, give it a good scuff sand so that the surface is nice and roughed up, and then we will begin the painting process. I clean the dresser thoroughly using my Dixie Belle White Lightning TSP cleaning solution. I then wipe the entire piece back with water to ensure there is no residue left behind. It might not be the most exciting part, but it's essential to start with a clean surface.


This is why it’s so important to clean your piece! This dresser was stored inside but look how much dirt was on it.

This dresser has a few chips in its veneer. I decide to fix these areas with an all-purpose putty, which dries quickly and is ready for sanding in 15 minutes. It's an efficient way to address minor damage without a full restoration.


I love the hardware on this French Provincial dresser, so I'm going to keep it. I love the natural patina and color of this hardware and it pairs perfectly with the Driftwood finish.

I don't need to fill my hardware holes since I am keeping the original hardware. Once my putty was dry, I sanded down all those spots as well and did a little bit of corrective sanding on top of the dresser where there were lots of nicks and dings. I'm not going crazy here because to get the Driftwood look that I am going for I don't need a completely smooth surface. A good scuff sanding is all that is required for this project.
Painting with Dixie Belle Silk
Now, it's time to apply the base coat of paint. I'm using a beige shade of Dixie Belle Silk Mineral Paint called Sand Castle, which has a built-in primer and top coat. I'm using a Wagner Flexio 3500 spray gun to apple the paint and make the process quicker, but you can also paint by hand if you prefer. Remember to water down your paint according to the instructions on the can if you decide to spray it.

Applying the Glaze

To achieve the Driftwood look, we'll need to use glaze. I'm using this gorgeous brown glaze for this project, but there's also a white glaze available if you prefer a lighter finish. I start with the drawers, applying the glaze with a synthetic brush and then smoothing it out with a soft brush. To create the wood grain effect, I use a wire brush. It's essential to work quickly and keep the brushes clean during this step.

Once I'm done with the drawers, I move on to the frame. To protect areas that I've already finished, I use delicate painter's tape. This allows me to work on one section at a time without worrying about excess glaze getting on the finished parts.

The smaller details, like edges and corners, require a steady hand and smaller brushes. My Dixie Belle Artist brushes work perfectly for this part. These areas are crucial for achieving a realistic wood grain look.

Final Touches and Reveal
After completing all sections, I allow the glaze to dry overnight. This ensures that it's set in place before sealing it. The next day, I apply a top coat in a flat finish to protect the finish. Dixie Belle Silk Mineral Paint does have a built in top coat so most of the time you don’t need to take this additional step. But since I am using a glaze on top of the Silk Paint, I needed to use a top coat to seal the glaze. Three coats, with a two-hour wait in between each, provide the best protection.

After the top coat was dry, it was now time to put the hardware back on the dresser. I contemplated gilding them, but I think the aged patina complements the Driftwood look perfectly.
And there you have it! What started as a dated, beat-up dresser has been transformed into a modern yet classic piece that can fit seamlessly into any decor style.
I hope you enjoyed this makeover journey as much as I did. It's a labor-intensive process, but it's so much easier than sanding and restaining the entire piece. The glaze adds a rustic charm, making it look like a weathered piece of Driftwood. If you're looking to breathe new life into old furniture, this Driftwood painting technique might be just the thing for you. If you would like to watch the full video tutorial, you can do that here.

Stay tuned for more furniture makeovers, and as always, happy painting!