
How to Repair Damaged Furniture: Fix Missing Trim, Hardware, and Gouges
Disclosure: This blog contains affiliate links. I will receive a commission for items purchased through these links at no extra cost to you. I appreciate your support. Please read all labels and follow all manufacturer safety recommendations when working with paints, stains, and other equipment
Hey there, fellow DIY enthusiasts!
Today, I'm excited to share with you four simple furniture repairs. I’ll help you tackle everything from missing trim and hardware to significant gouges on your furniture. If you've ever come across a diamond in the rough at a thrift store with some minor damage, don't pass it by ! I'll show you how to bring it back to life using a product called the Amazing Mold Putty kit, and keep that furniture from ending up in a landfill.
Supplies
The Magic of Mold Putty

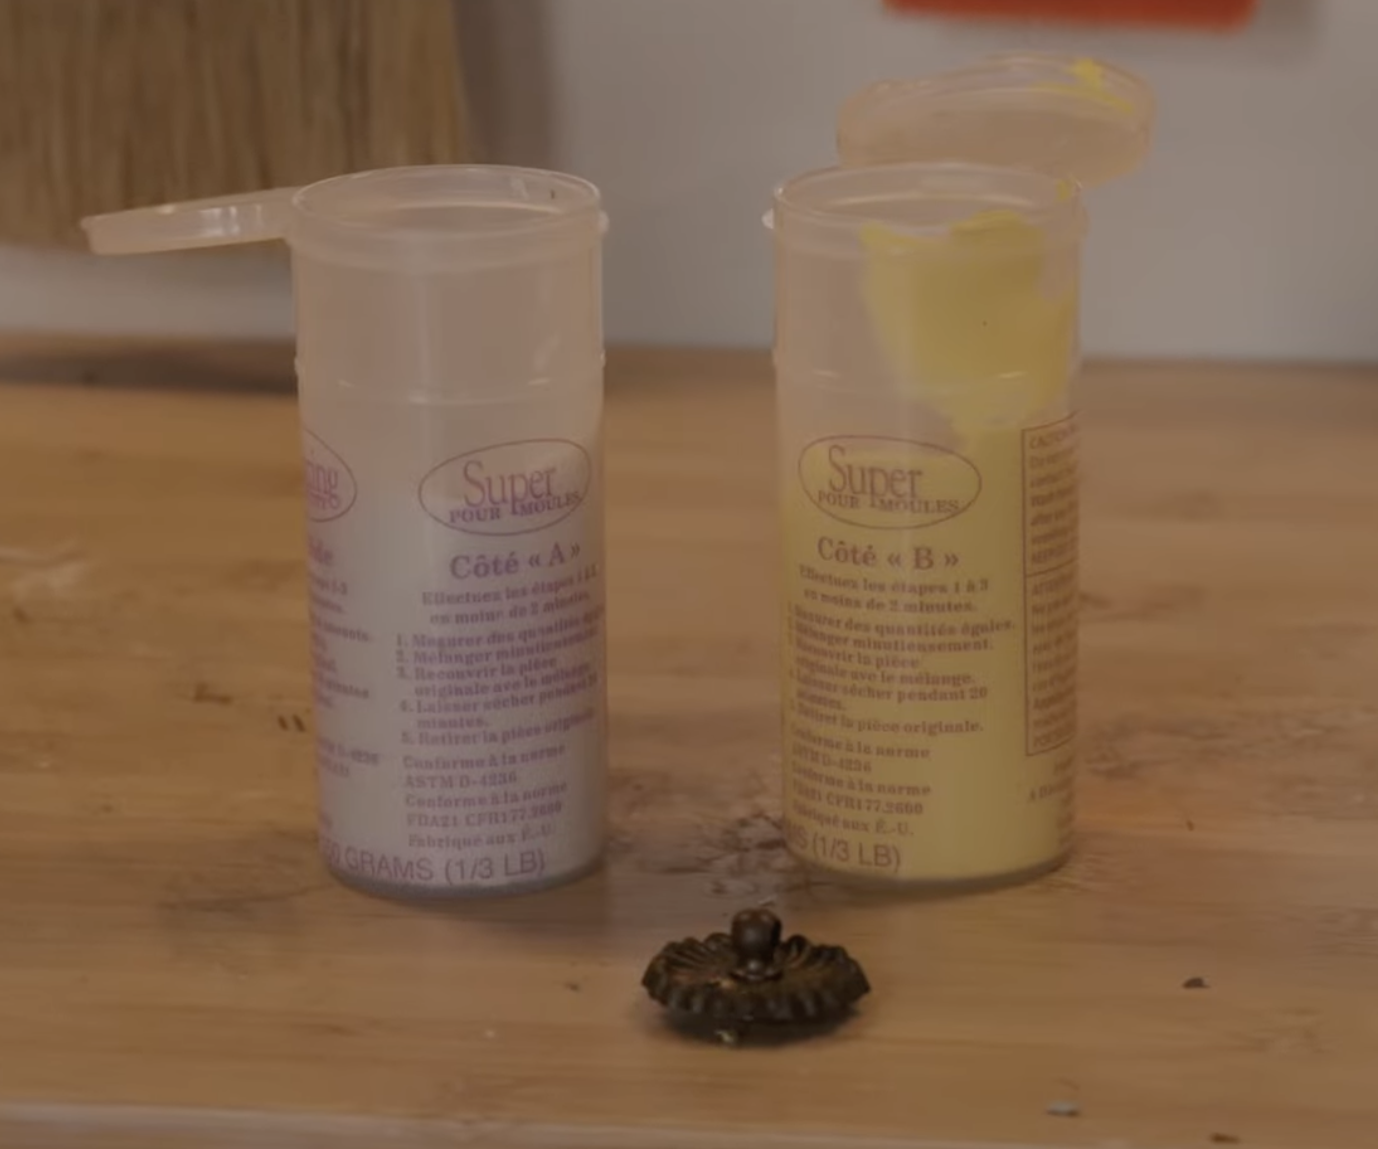
The Amazing Mold Putty kit is what I used for all of these furniture repairs. It is easily ordered on Amazon and the instructions are pretty straightforward if you’re a beginner. Mixing equal parts of A and B forms a moldable putty that creates a mold for missing furniture hardware, trim, or big gouges in a piece. With a three-minute working time, it's both efficient and user-friendly.
Repairing Missing Hardware
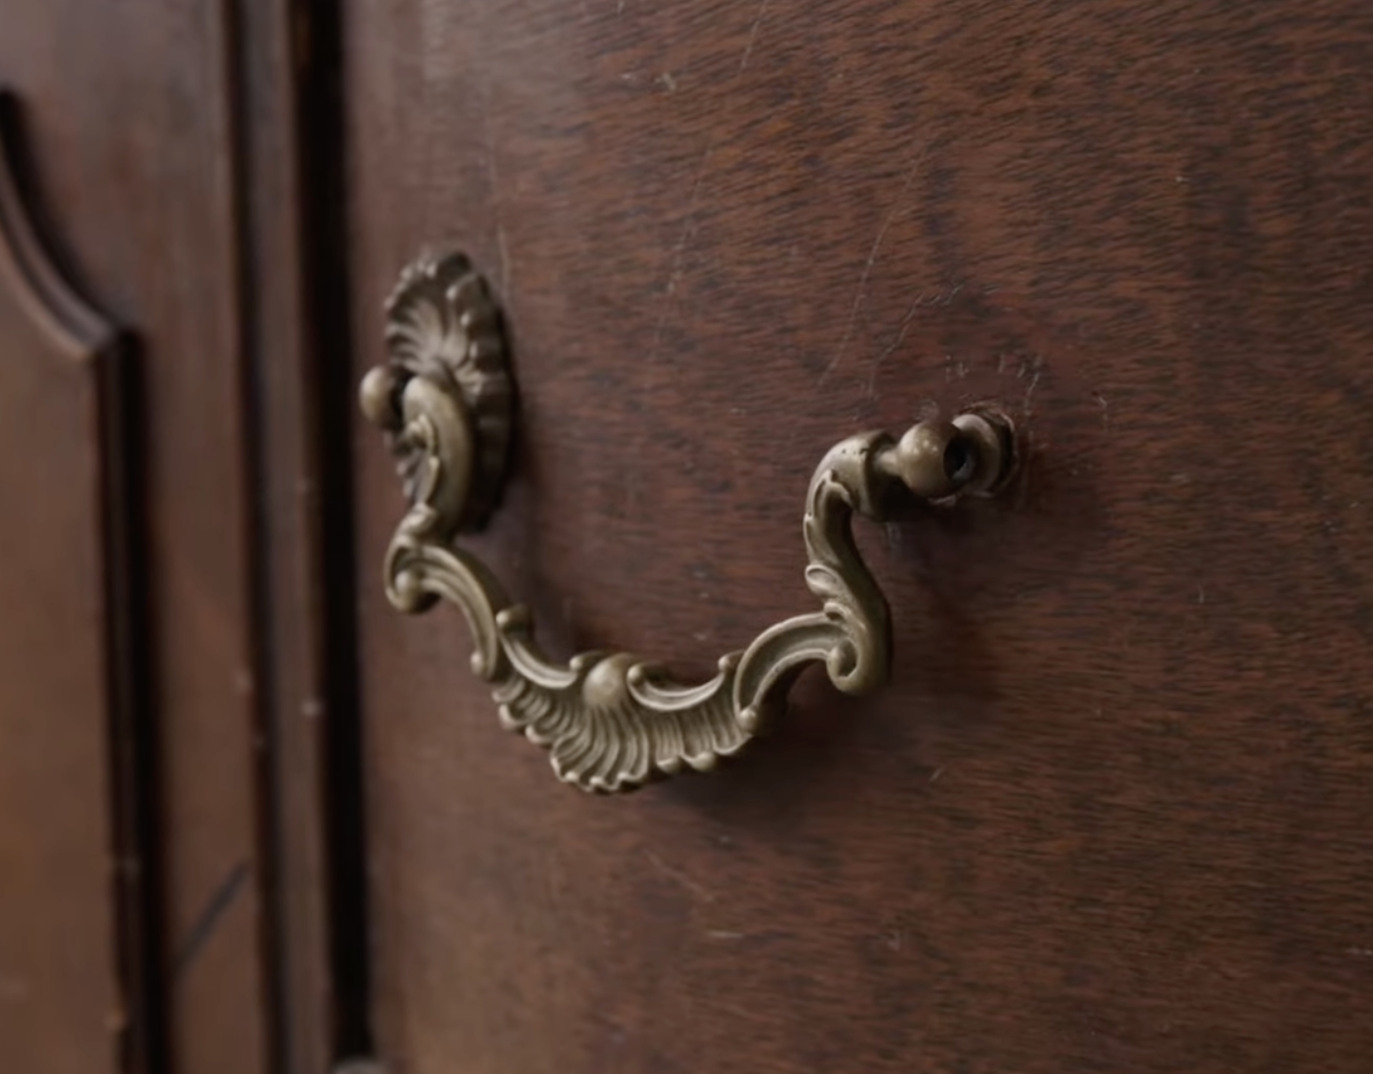
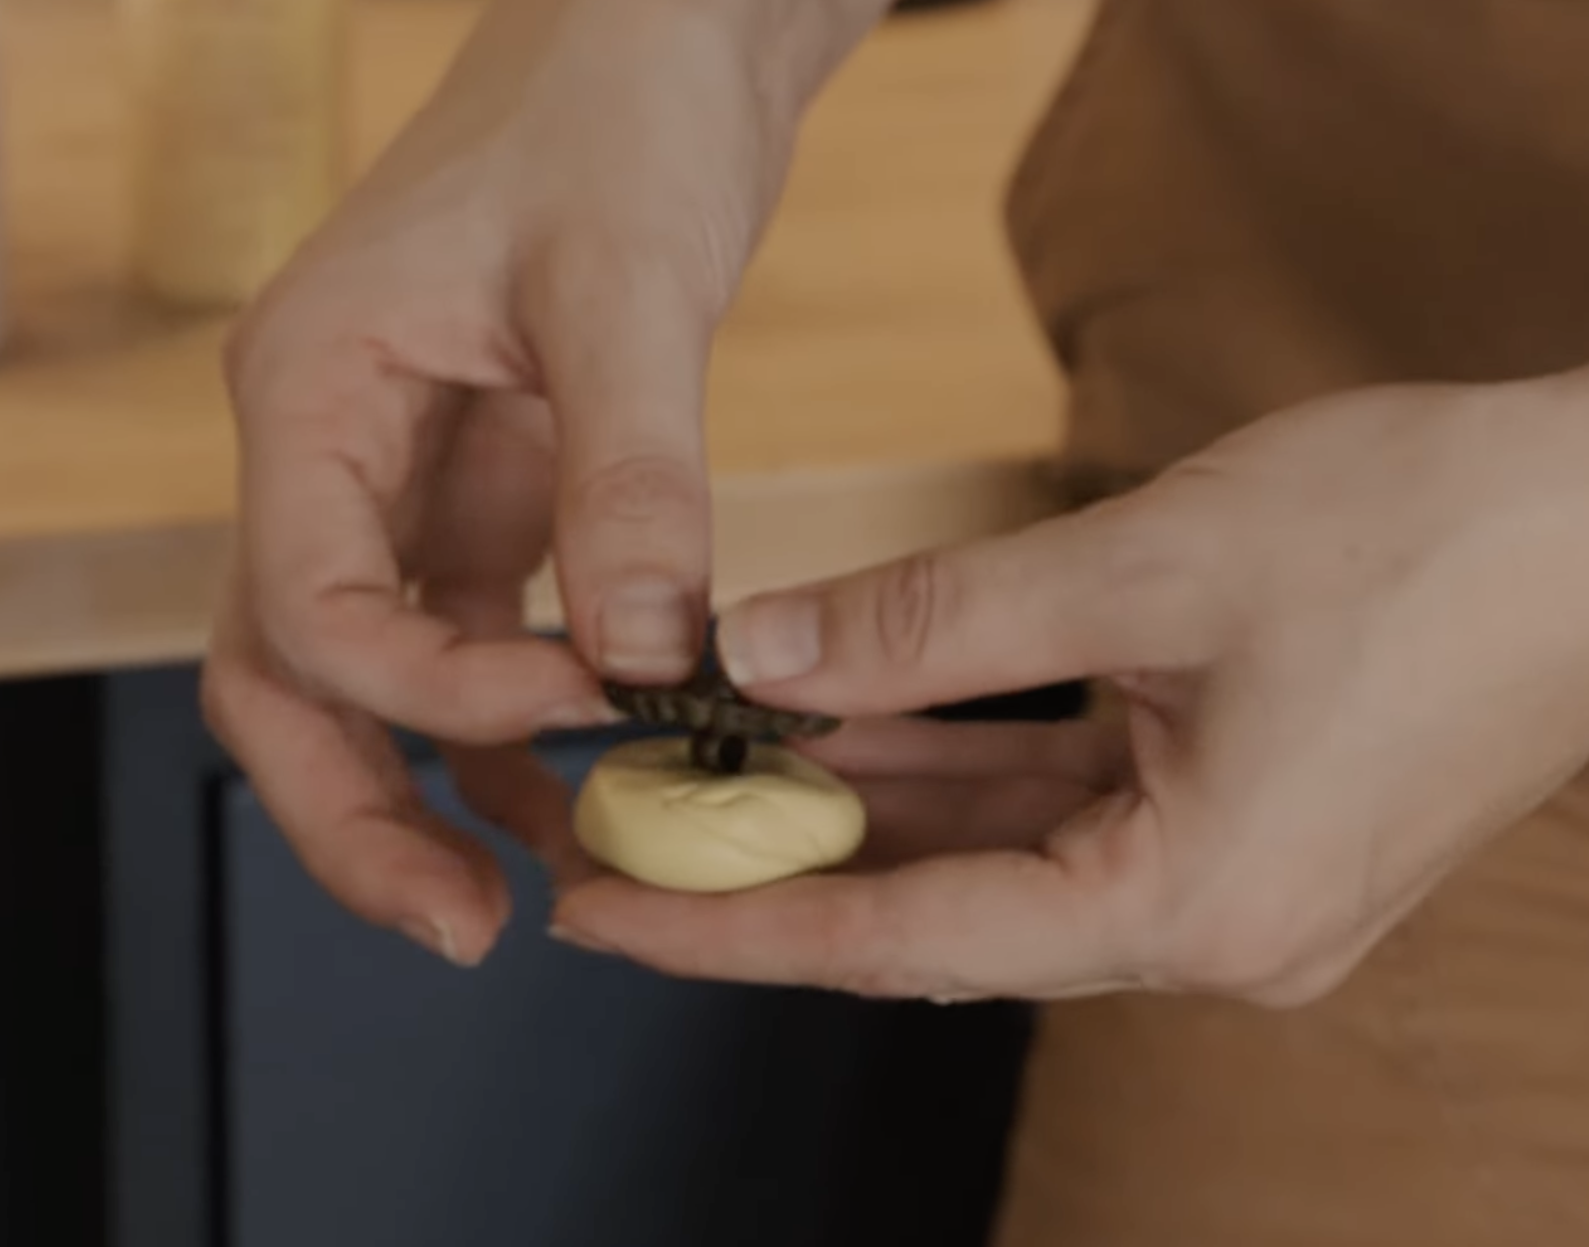
The first repair I tackled was for a missing piece of hardware on this sideboard buffet. I used my Amazing Mold Putty Kit, formed a mold, and let it set for about 20 minutes. Once the mold was ready I got out my resin epoxy kit then filled the mold with this fast-setting epoxy, and let that cure. Once the resin was cured, I had an almost perfect match for the missing hardware piece.


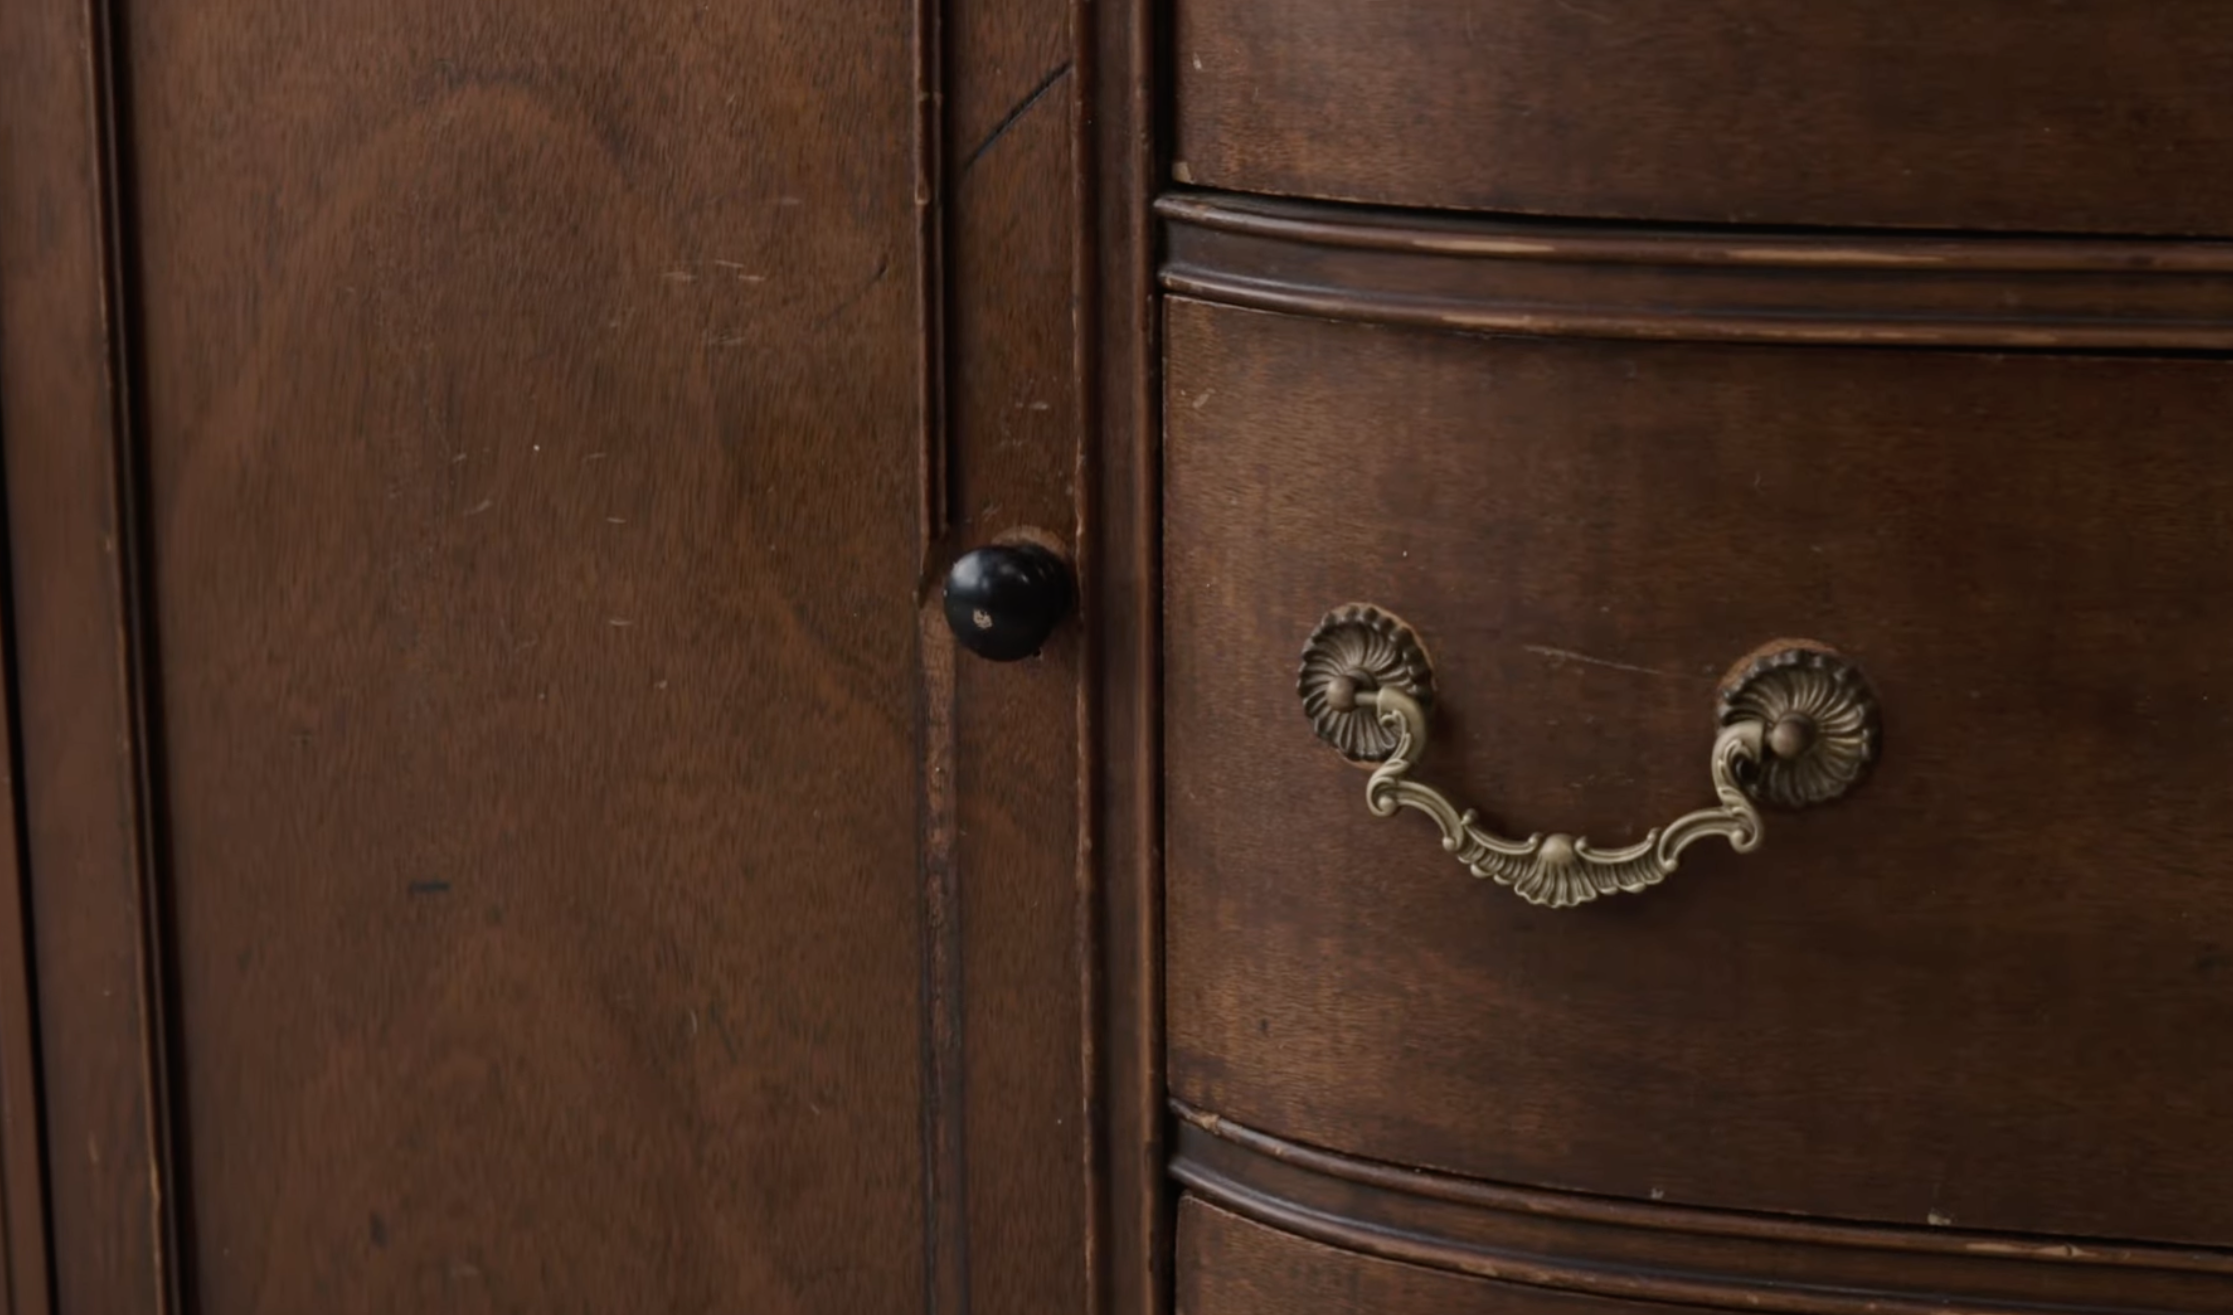
I used my gold gilding wax to gild this replacement hardware. As you can see from the picture below- the resin replacement piece is almost a perfect match! I did end up cleaning up the original hardware to lighten up the gold so that the colors coordinated.

Restoring Missing Trim
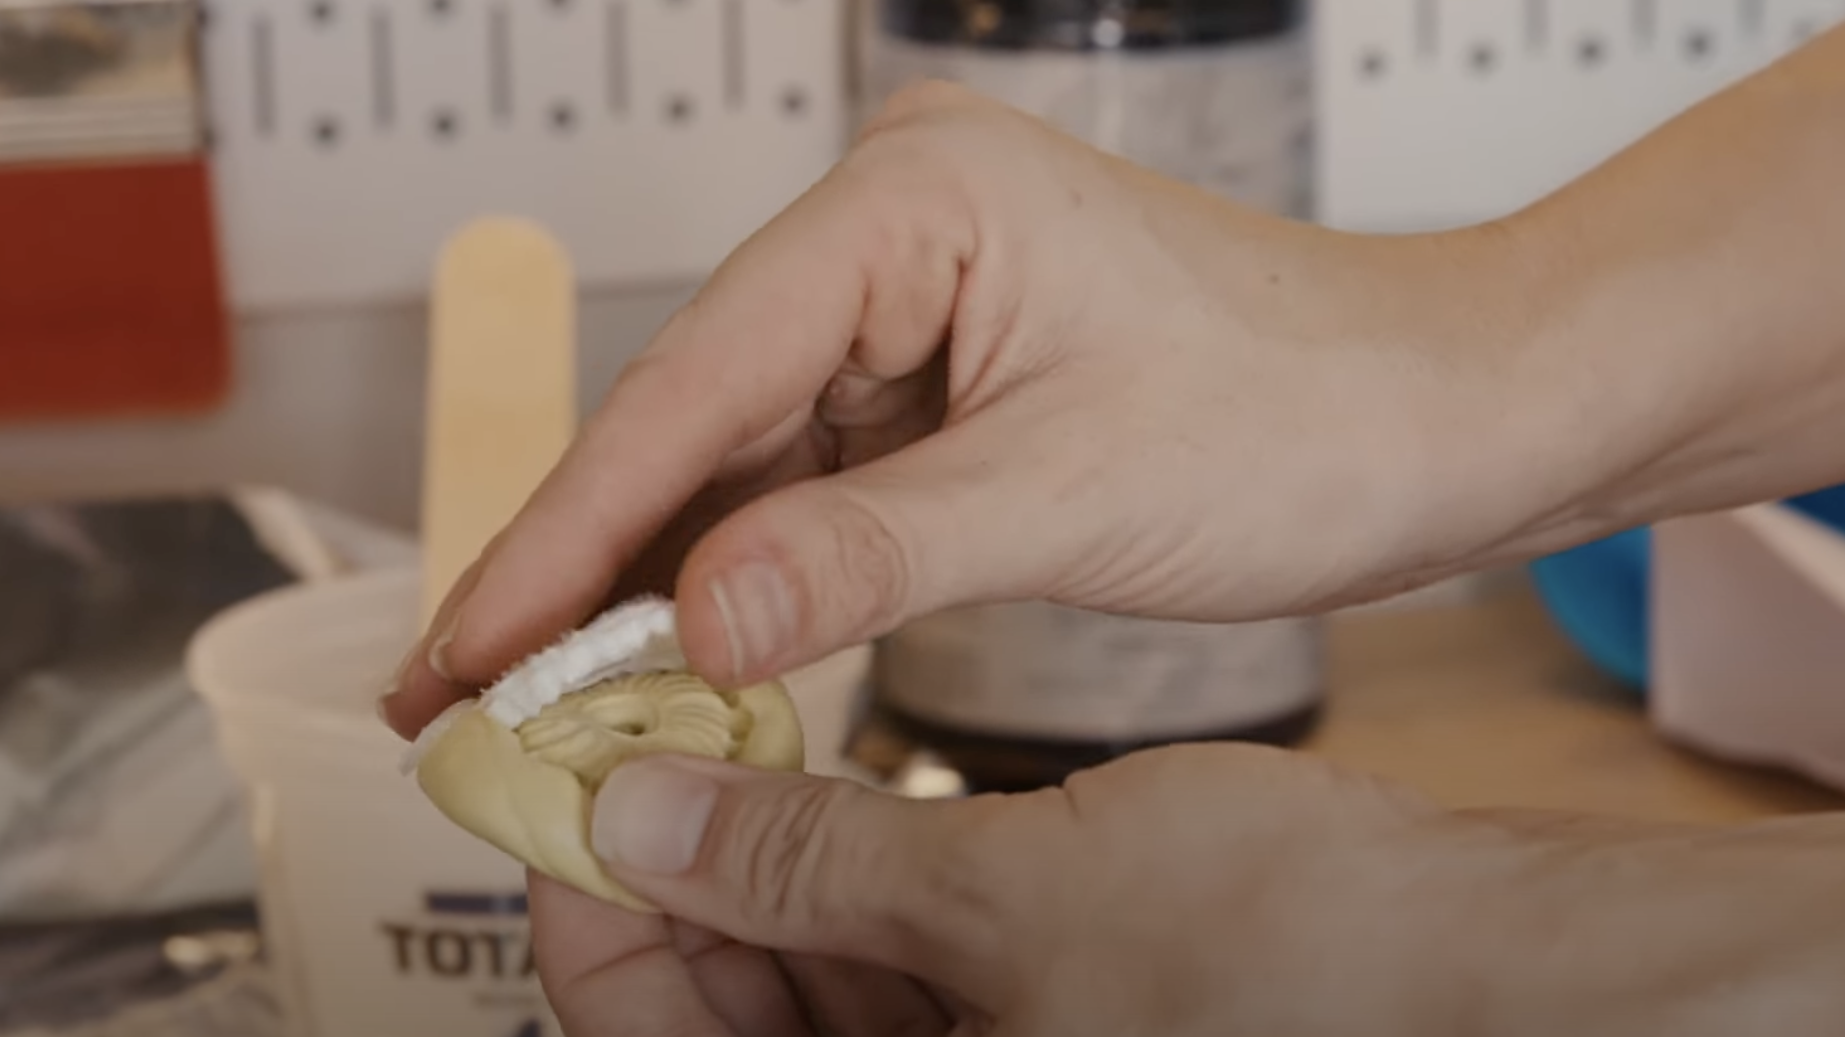
Next up, I addressed missing trim using the same mold putty technique. Rolling the putty into a snake-like form, covering the entire area, and allowing it to set created a mold ready for filling. I pulled out my epoxy resin once again and filled the mold to make my replacement piece of trim. After the resin has cured for 20 minutes, the mold was removed, and the new trim was ready.


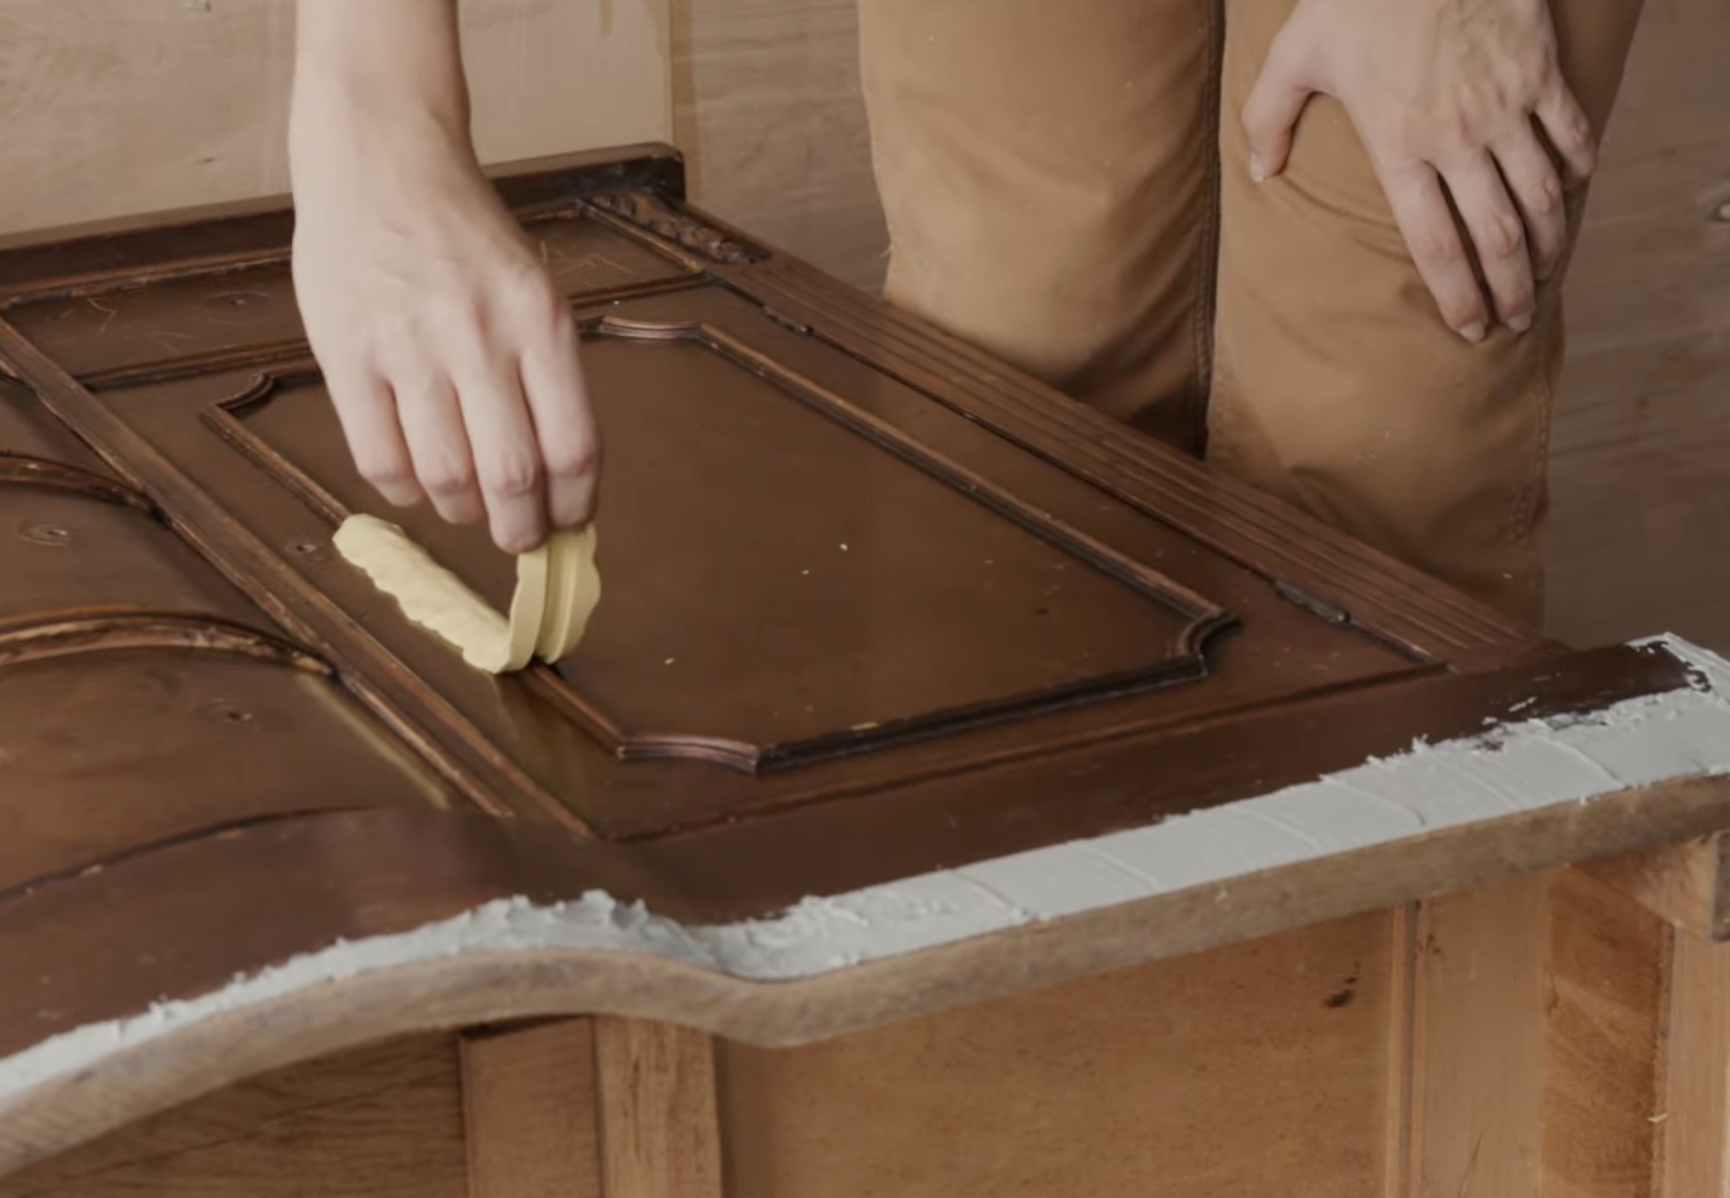


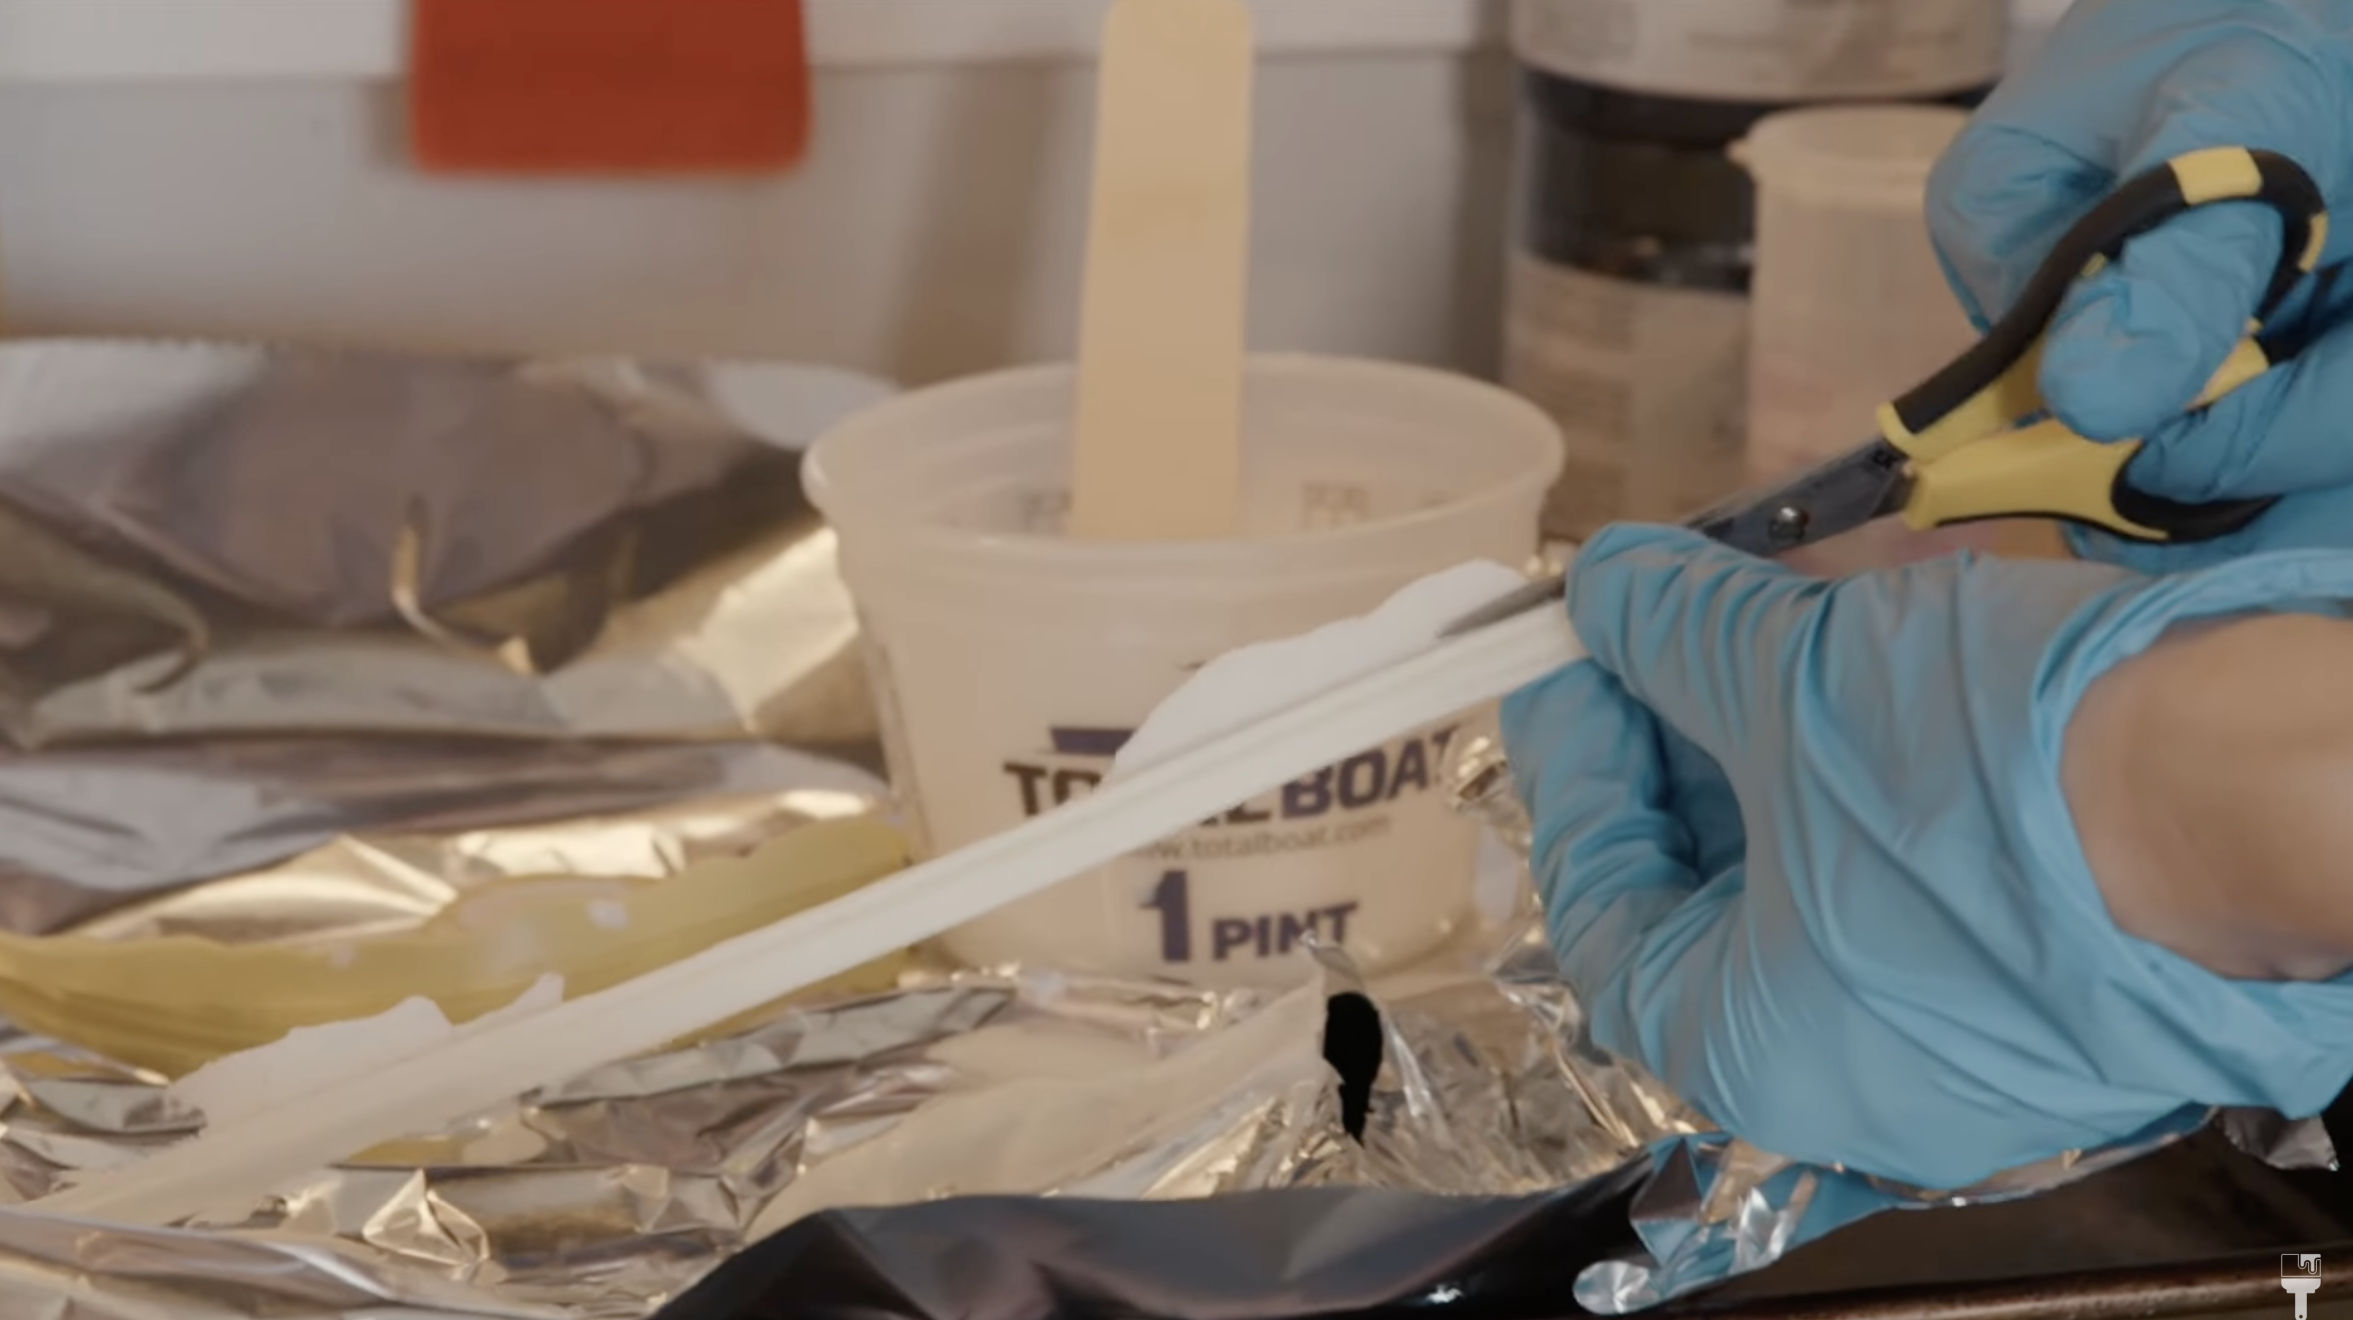
Once the resin trim piece was cured, I used a sharp pair of scissors to trim off the excess. I got out a fast drying wood glue to attach my new trim piece to the sideboard. This resin trim piece is now ready to be primed and painted!


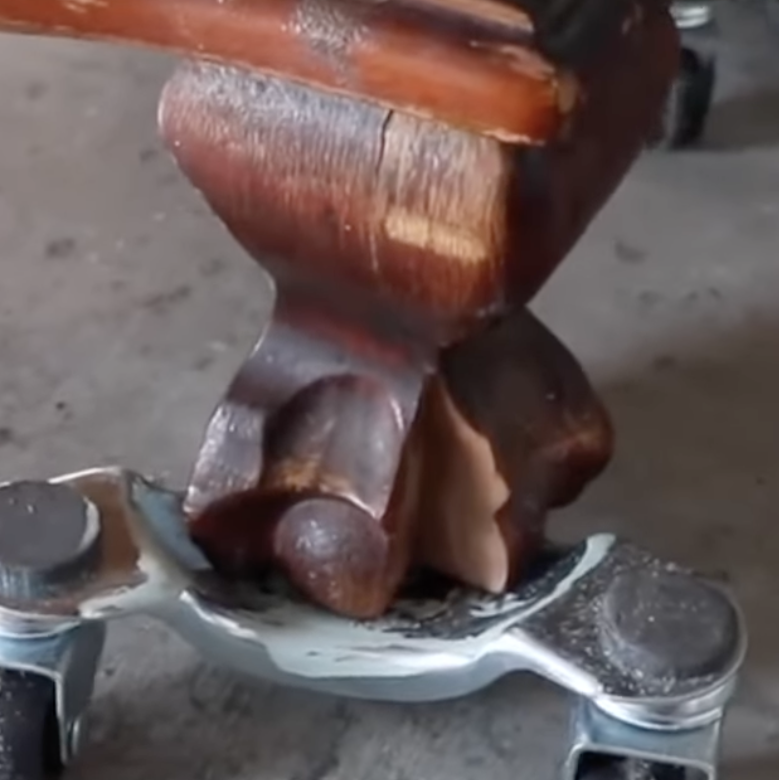
Repairing a Clawed Furniture Foot

Next I moved on to a more difficult type of repair. This claw foot was missing a big chunk out of it, so I decided to make the necessary repairs to keep this secretary out of the landfill.


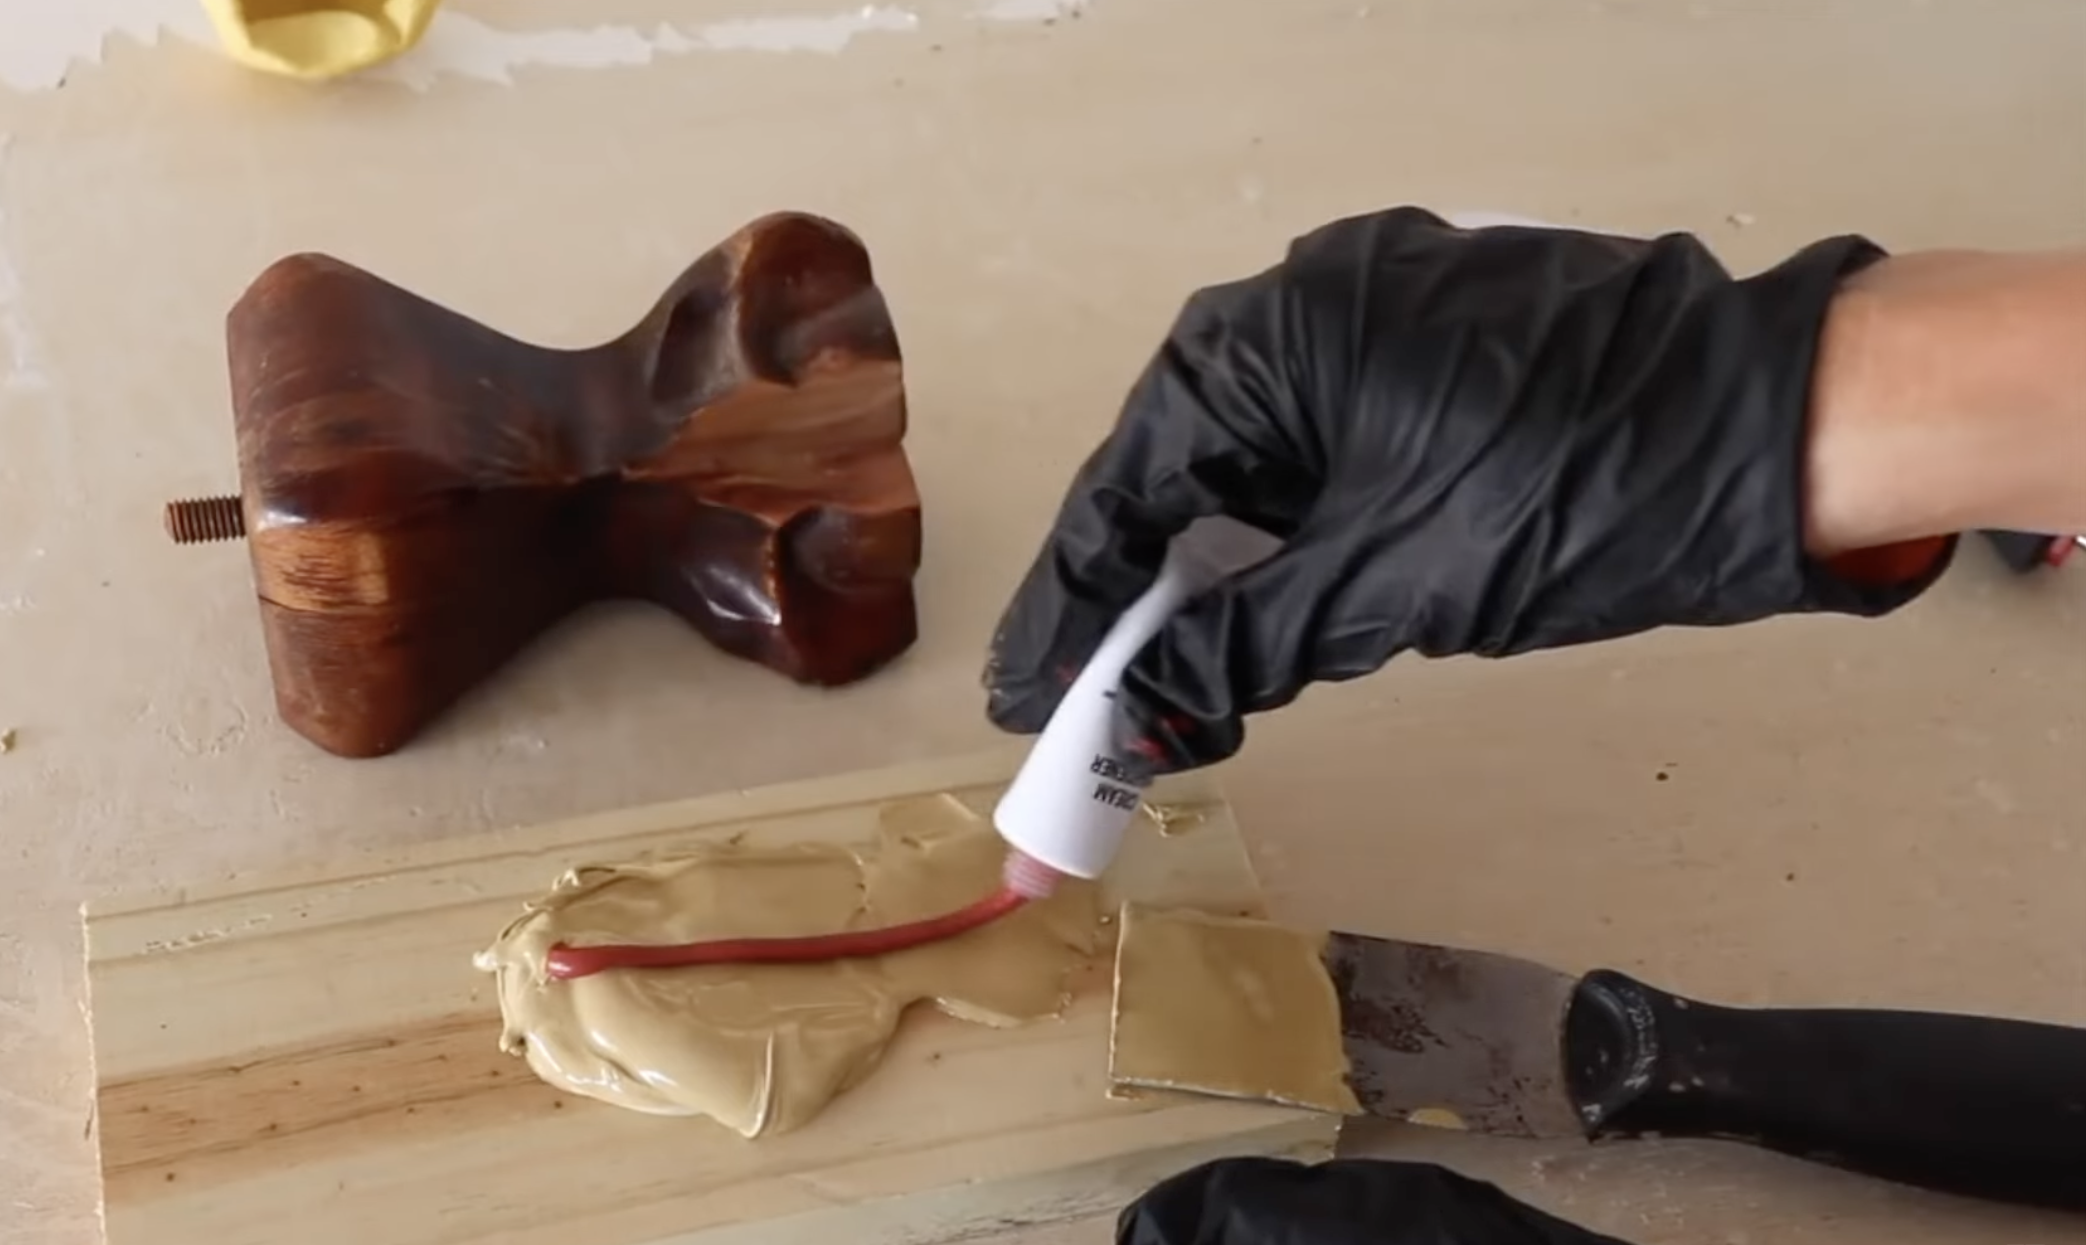
The mold was then filled with Bondo. I chose this two part wood filler for this repair because it is stronger than resin and able to hold more weight.


After the Bondo has cured overnight, I removed the mold and used a wood rasp to shape and smooth the repair. The end result looked almost identical to the original foot!


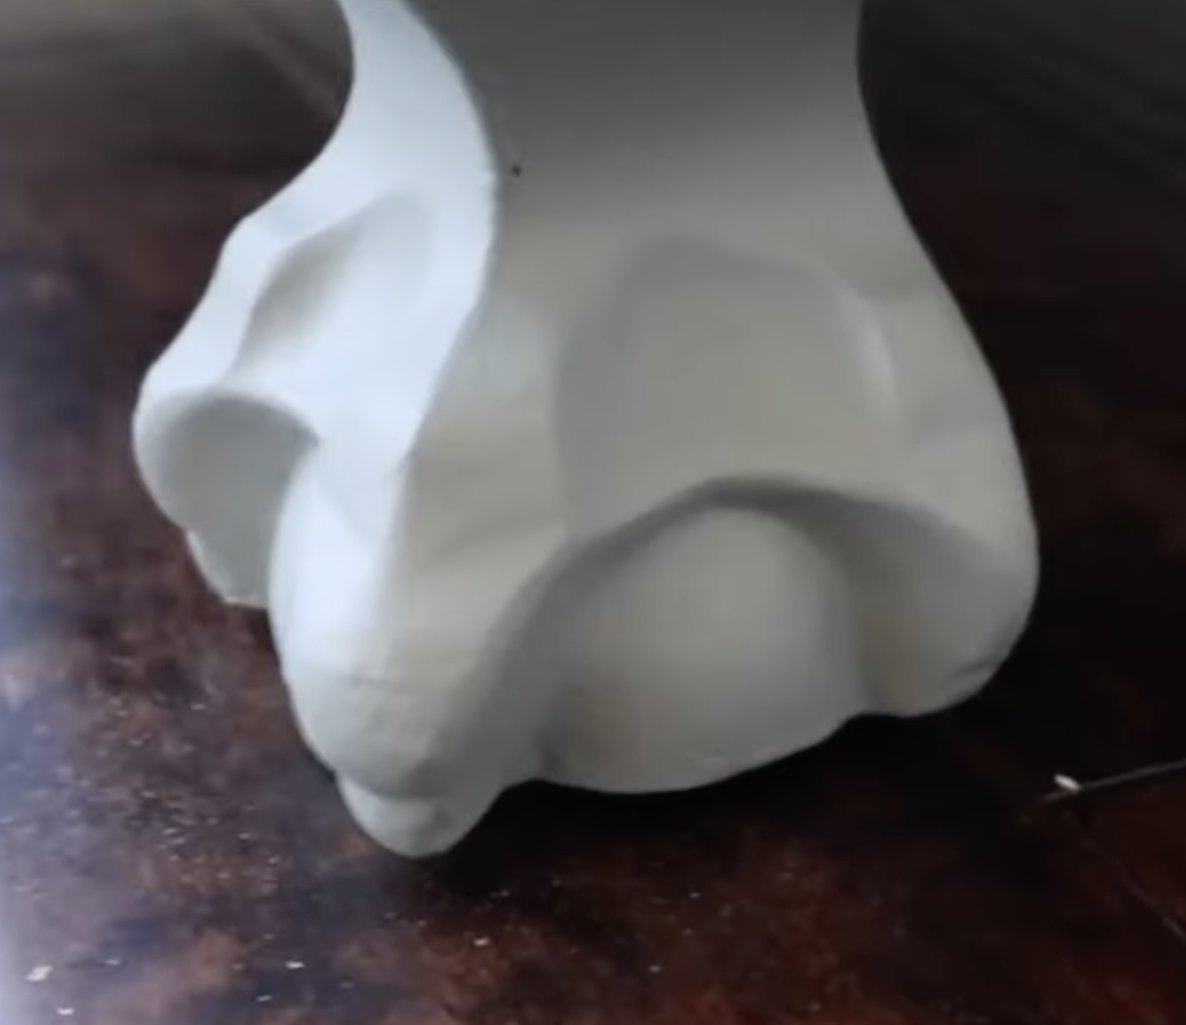
After using the wood rasp to smooth out the repaired foot, I was able to prime and paint it along with the rest of the secretary for a flawless finish!
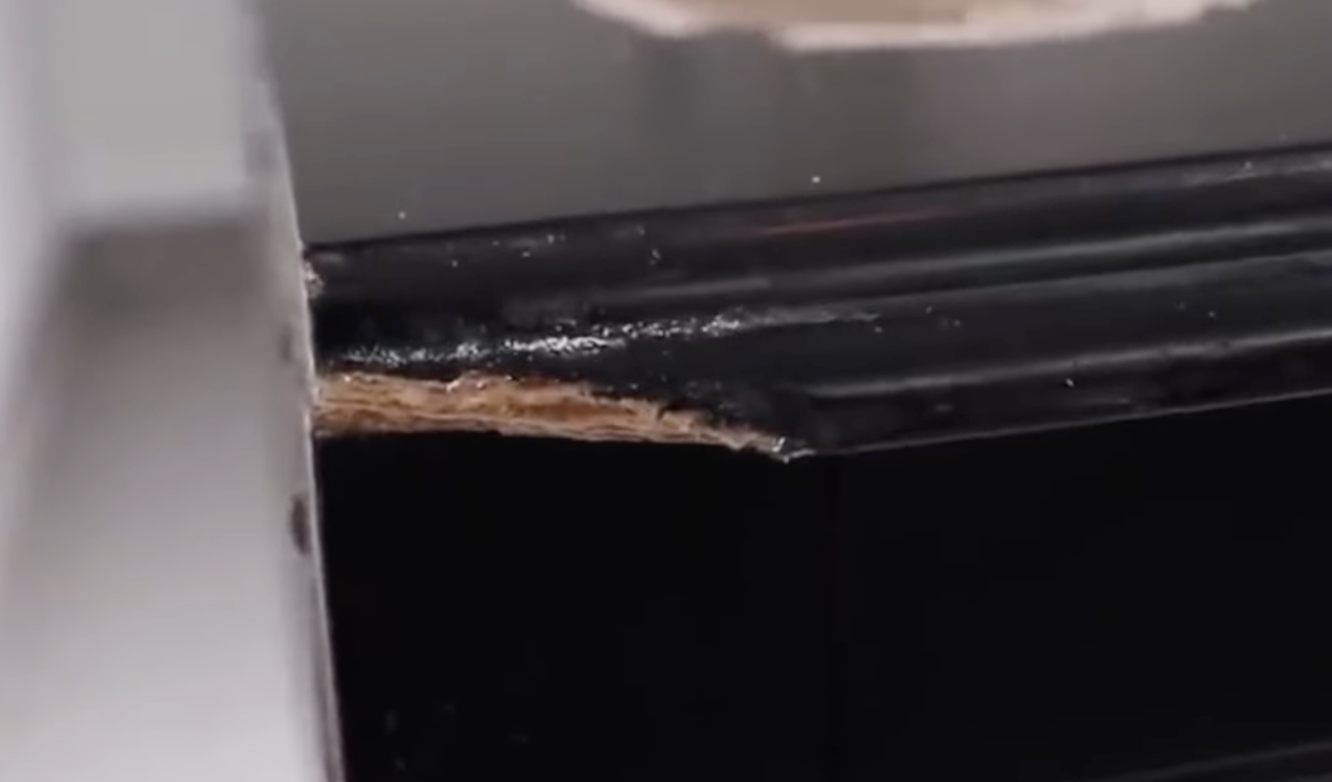
Addressing Significant Gouges

For my last repair, I tackled a sizable gouge on the top corner of this dresser.

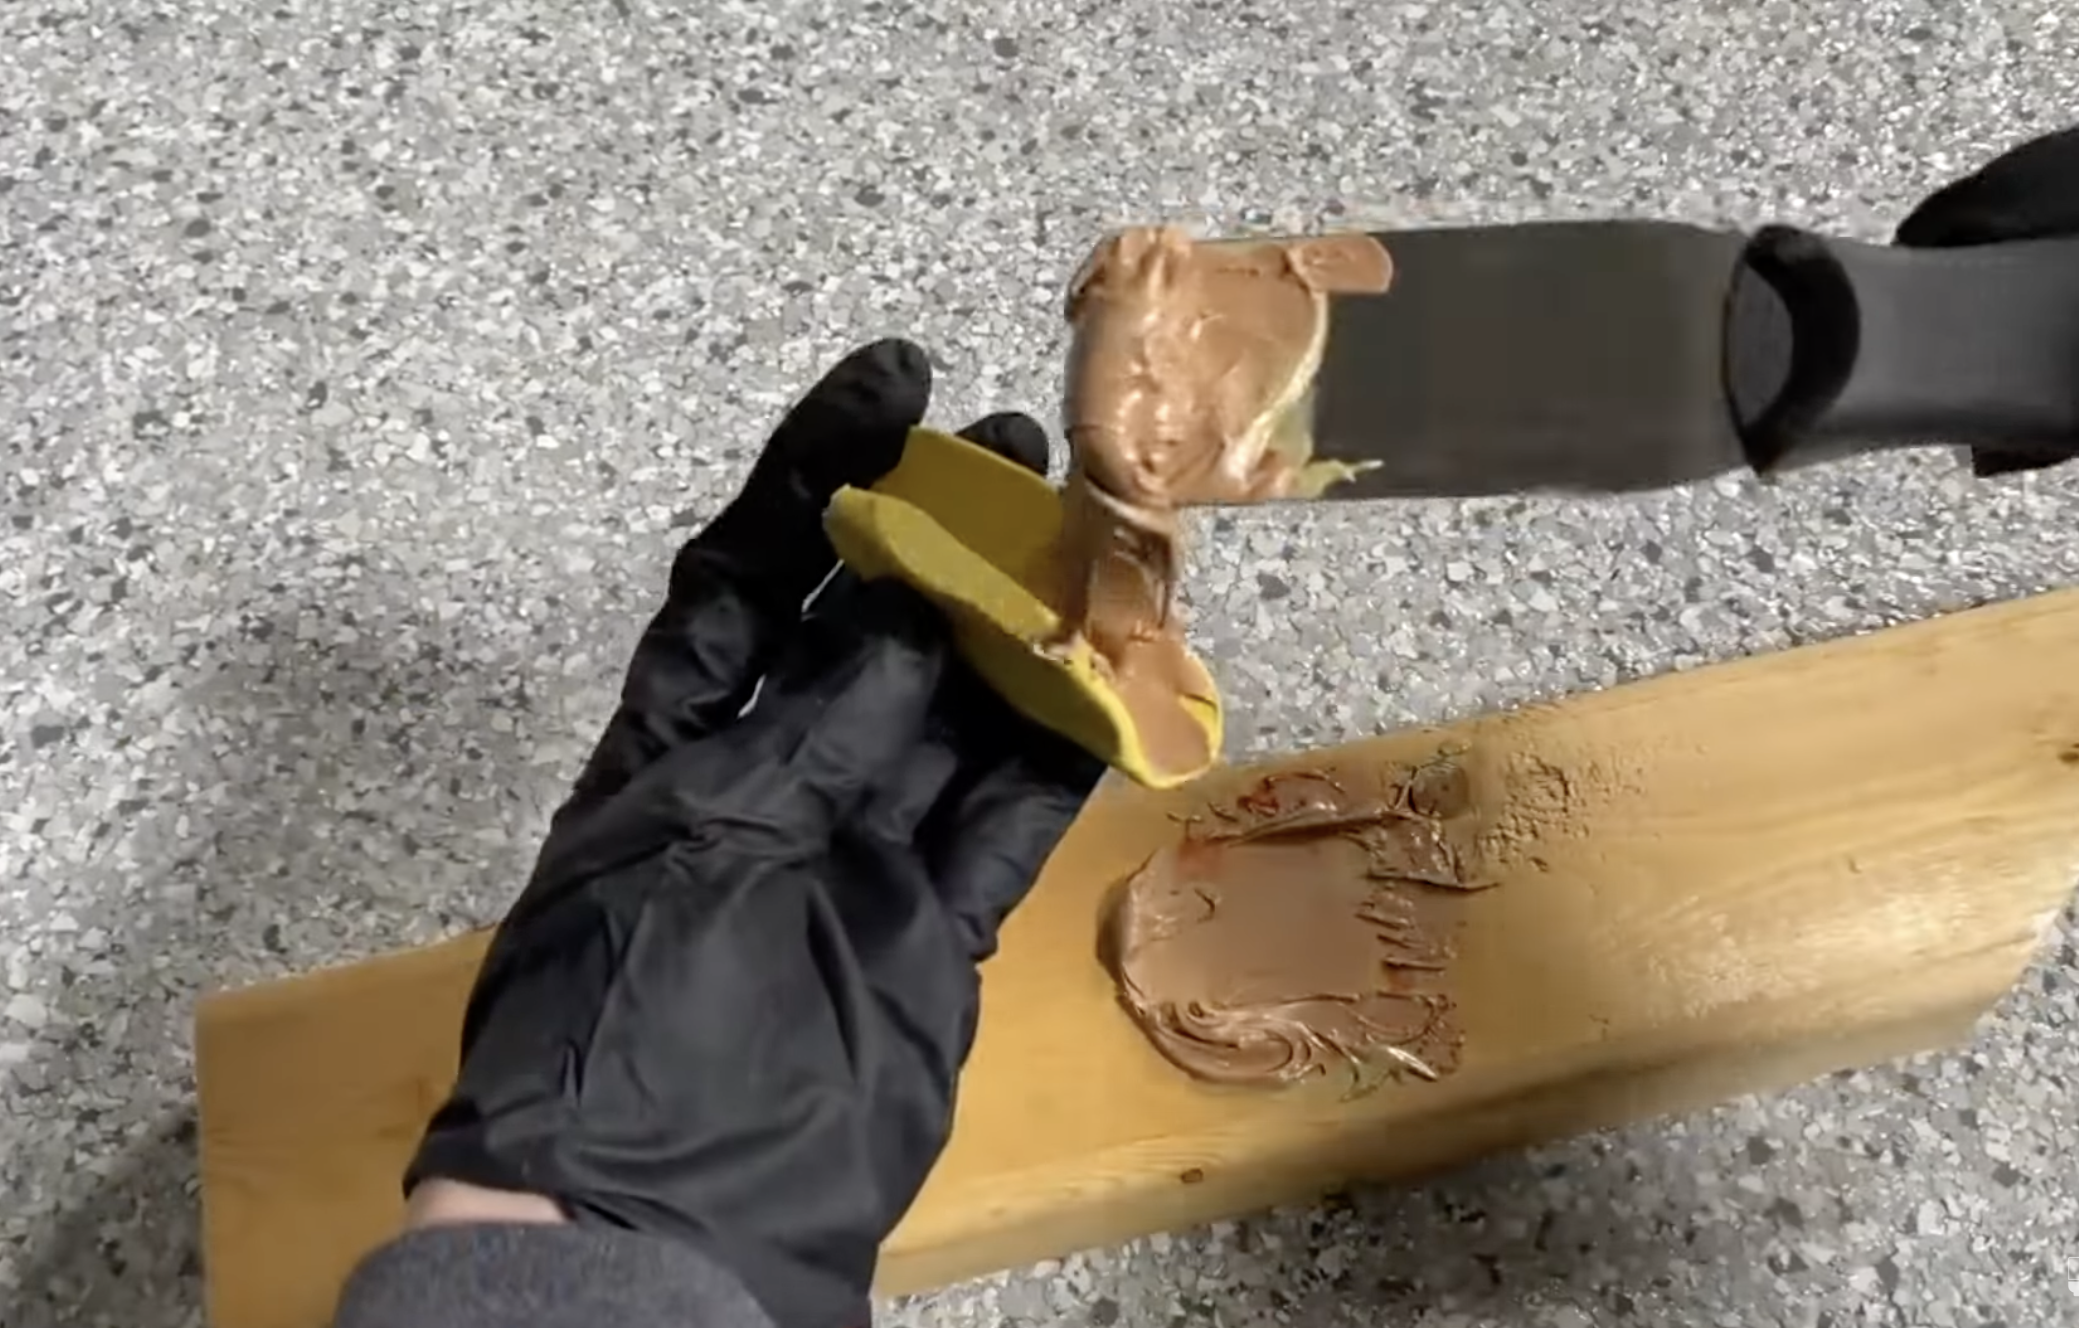
For this final repair, I am using a my Amazing Putty mold and Bondo wood filler. The process involved letting it set, shaving down excess material with a wood rasp, and finishing with sanding for a flawless result.


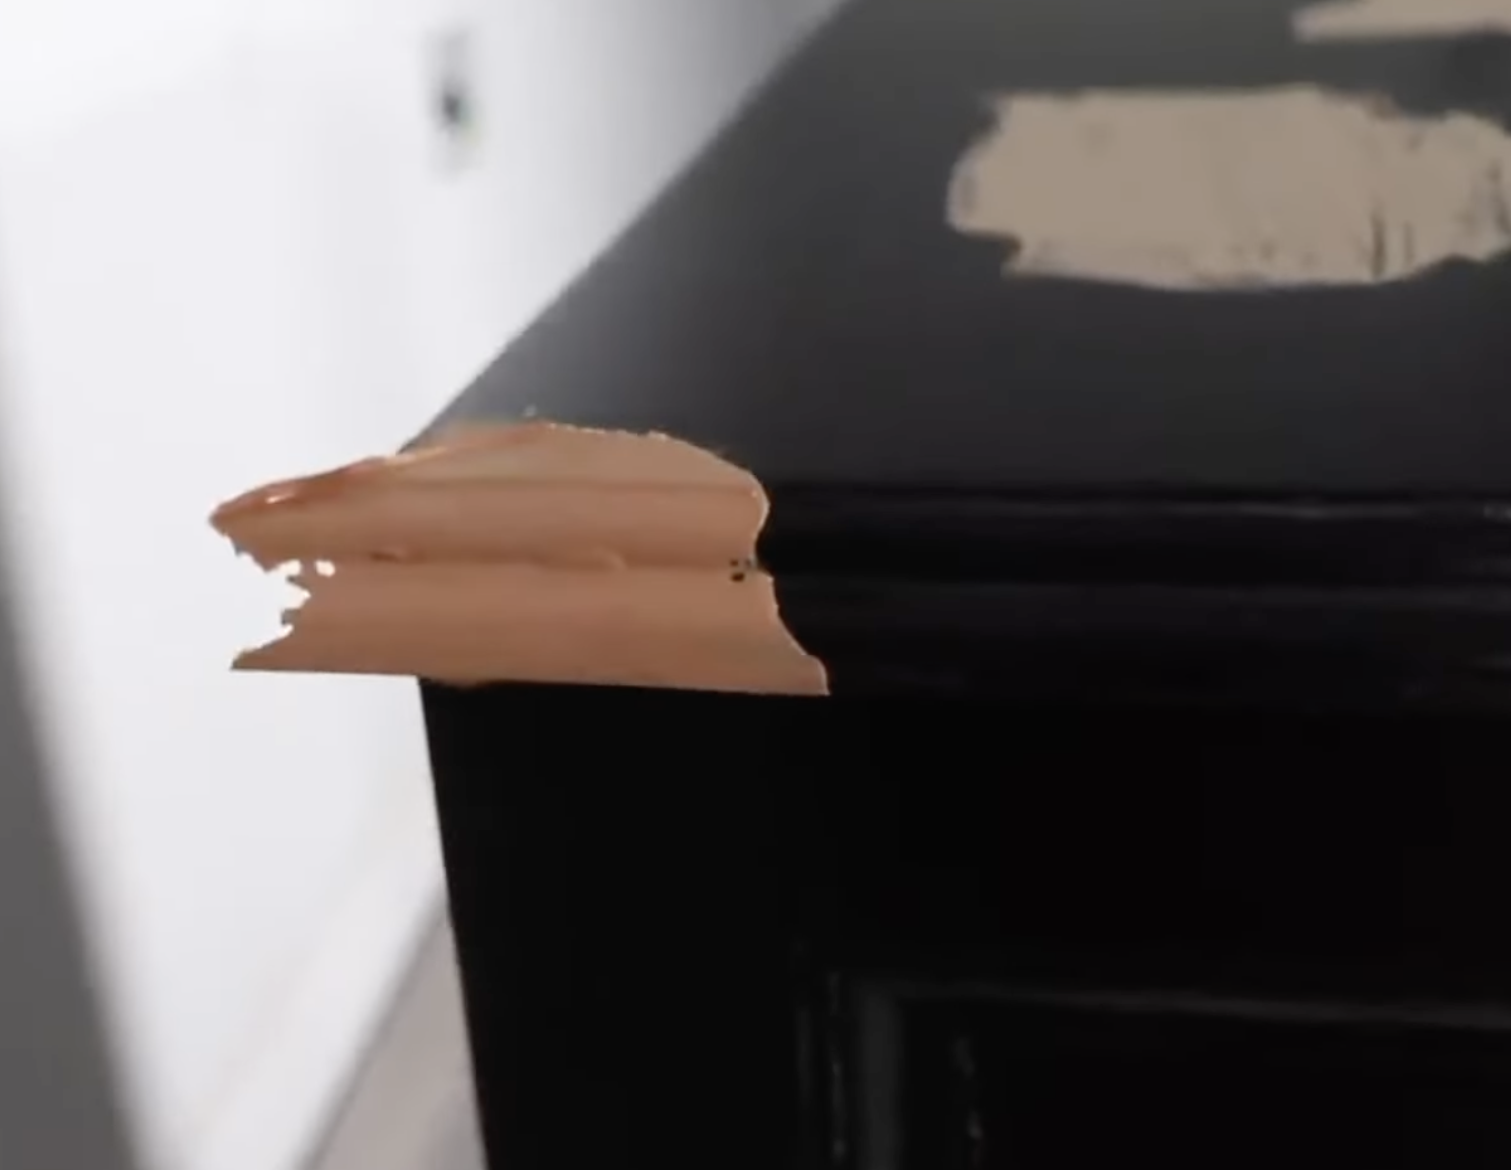


To complete the repair on this dresser, I primed the repaired area and painted for a polished look. The final outcome speaks for itself—seamless repairs that save these pieces of furniture from ending up in a landfill.
Finishing Touches
With the Amazing Mold Putty kit and a few additional tools, you can confidently take on furniture repairs, turning overlooked pieces bound for the dump into stunning additions to your home. You almost can’t even tell where I made repairs on this sideboard!

Remember, with a bit of creativity and the right products, your DIY projects can be both rewarding and transformative. You can watch my video with the full breakdown of all these repairs here.
I can't wait to see what you create!