How to Make Money Flipping Furniture
Disclosure: This blog contains affiliate links. I will receive a commission for items purchased through these links at no extra cost to you. I appreciate your support. Please read all labels and follow all manufacturer safety recommendations when working with paints, stains, and other equipment.
Have you been curious about how to make money flipping furniture? Well you’re in the right place because I’ll be taking you through a step-by-step process and beginner’s guide to flipping furniture.
I’ll start with purchasing some pieces on Facebook Marketplace™ and end with listing my flipped pieces back on there again!
Let’s get to it!

Make Money Flipping Furniture Materials
Surf Prep 3" x 4" Electric Ray (Use Code PRETTYDISTRESSED10 for 10% off your order)
3M Household respirator w/ particle filters for sanding
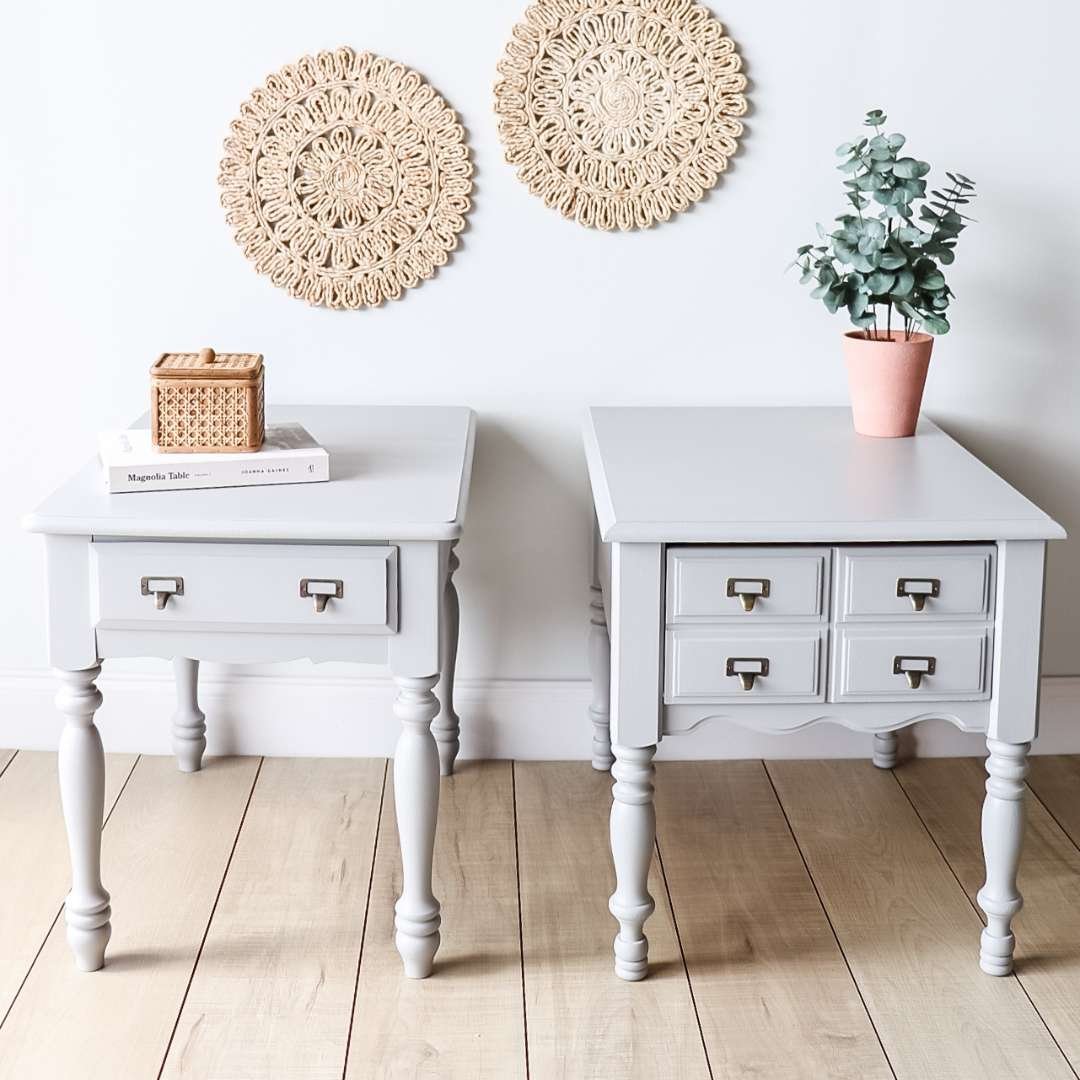
Mismatched End Tables from Facebook Marketplace

If you’re just getting started with flipping furniture, nightstand or end tables are a great place to start. They are smaller pieces, have a quick turnaround time, and perfect for beginners.
These mismatched end tables were listed for $50 on Marketplace, and I got them for $40. Every area is going to be different, and although I would have liked to have paid less for them, this is just how my market is.
The cheaper you can get something, the more profit you’re going to make, so choose wisely.
End Table Makeover
After you purchase and get your pieces, it’s time for a makeover! I’m going to walk you through what was required for me to flip these end tables. Keep in mind, every project is going to be a little different!
1) Remove Hardware & Clean

To get started, I removed the hardware from the end tables and gave them a good cleaning with my Dixie Belle White Lightning.
Using White Lightning is simple, you can put the solution into a spray bottle and fill the rest with water. Give your piece a good scrub and make sure to wipe it all back with some fresh, clean water.
After cleaning, my rag was covered in stain which is a good indicator that I’m going to need to use a good stain block before painting.
2) Make Repairs with Wood Epoxy & Wood Glue
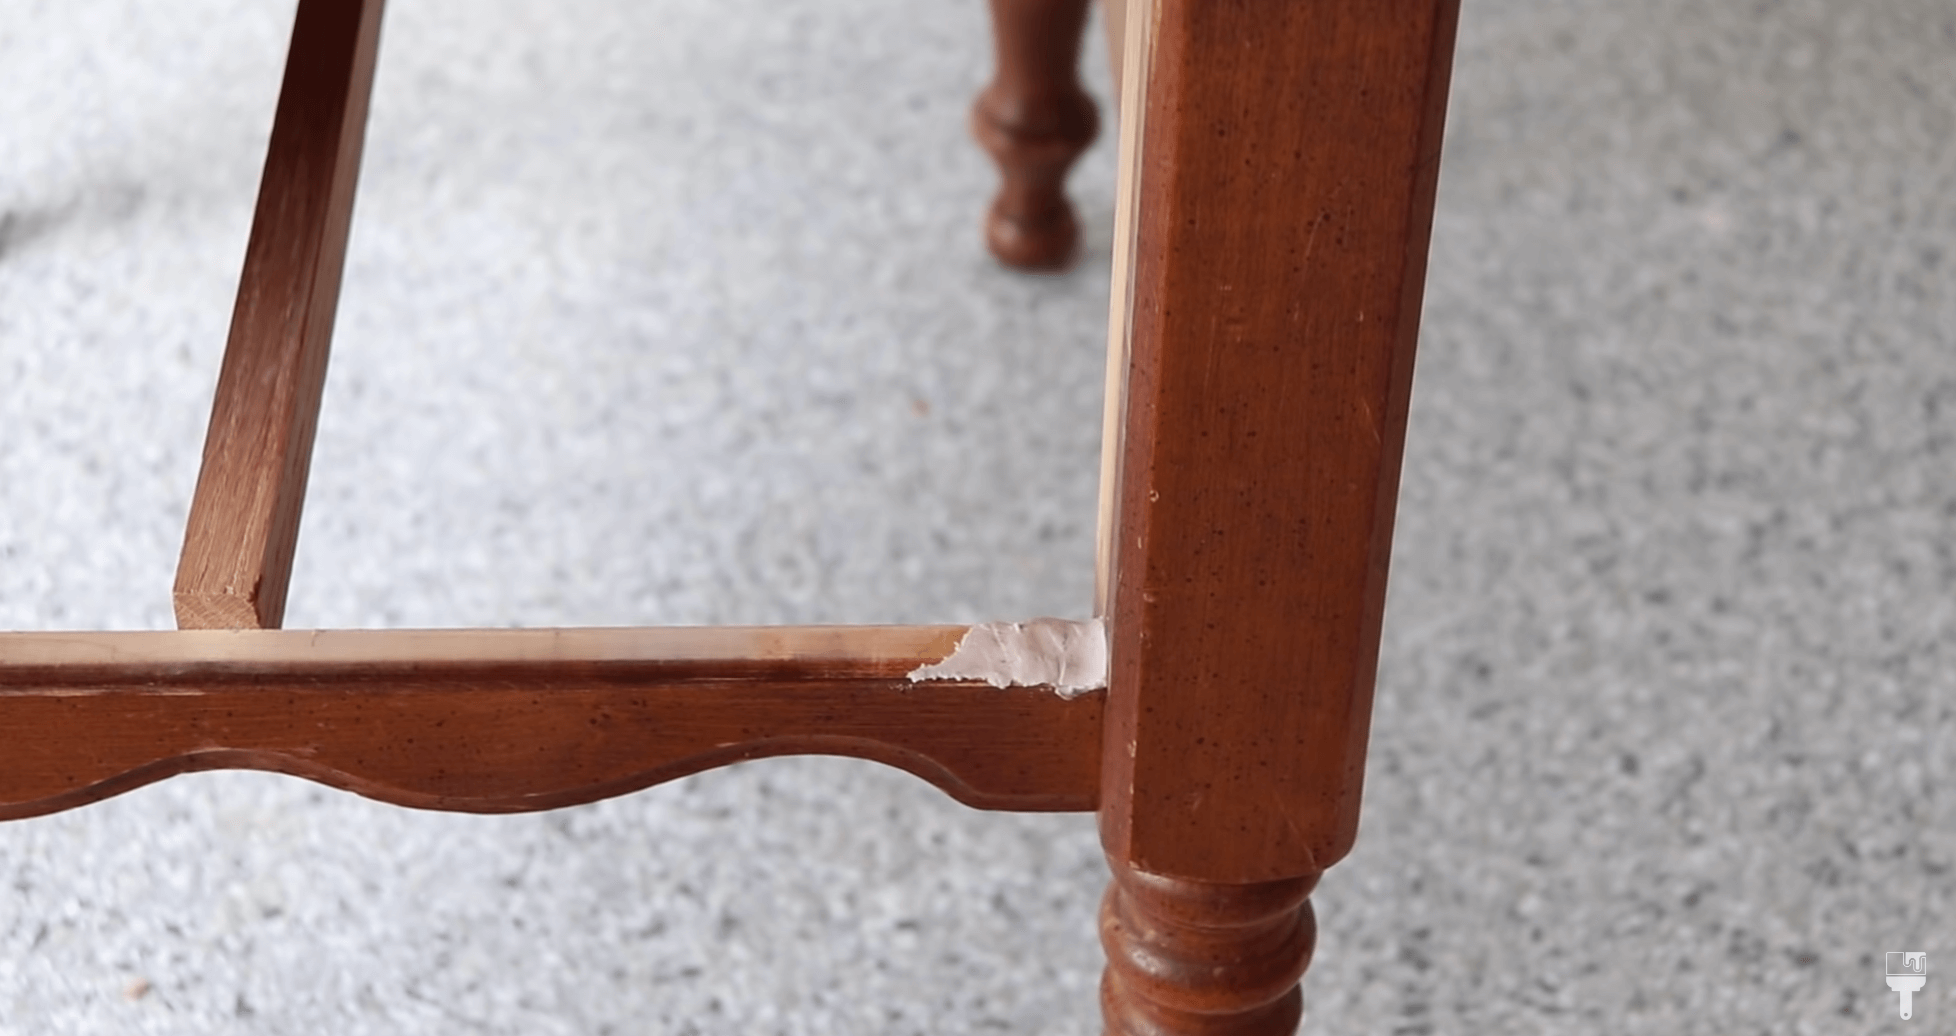
If you have nicks, dings, or even bigger gauges in your furniture, you can use some wood epoxy to fix it. The epoxy acts as a putty and can be molded and shaped easily. I had quite a few repair to make on these pieces.
The veneer on the top was also pulling away, so I used some wood glue in there and clamped it down while it dried.
3) Sand Epoxy and Scuff Sand Entire Piece

Once everything was dry I came back in with my sander with a 120 grit sandpaper and smoothed everything out. After sanding down all of the epoxy, I took a fine sandpaper and gave both pieces a full scuff sanding to make sure the primer and paint adhere nicely.
Make sure to wipe back the dust when you’re done! :)
4) BOSS Primer in White

I placed my pieces up on painter’s pyramids so that they don’t stick to my tarp. Since I can tell this piece is a bleeder, I am used my Dixie Belle BOSS as my primer. What's great about BOSS is it comes in three colors: gray, clear and white. Since I'm going with a light color, I am going to use the white version.
Not only is BOSS a great stain blocker, it is also an odor blocker which is helpful with old pieces.
After applying the first coat, I let it dry for about an hour and put on a second coat just for safe measures. I let that coat drive overnight.
5) Paint with Dixie Belle Driftwood

Since I'm selling this, I wanted to go with a neutral color, so I picked the color Driftwood which is one of my favorite Dixie Belle colors. I like to add water to Dixie Belle paint when I'm going for a smooth look. I like to have it a little bit more runny than it comes out of the can so you can water it down to your liking.

I applied this with my favorite Dixie Bell synthetic brush, the angled mini. I also used the small round to get around some details. When I'm doing tops I like to take the shortest angle possible. So I'm going um, from side to side so that I can get some long strokes all the way across.
I let the first coat dry and applied the second coat. But first, I actually watered down my paint even more to help it spread out more.
6) Dixie Belle Clear Coat Satin
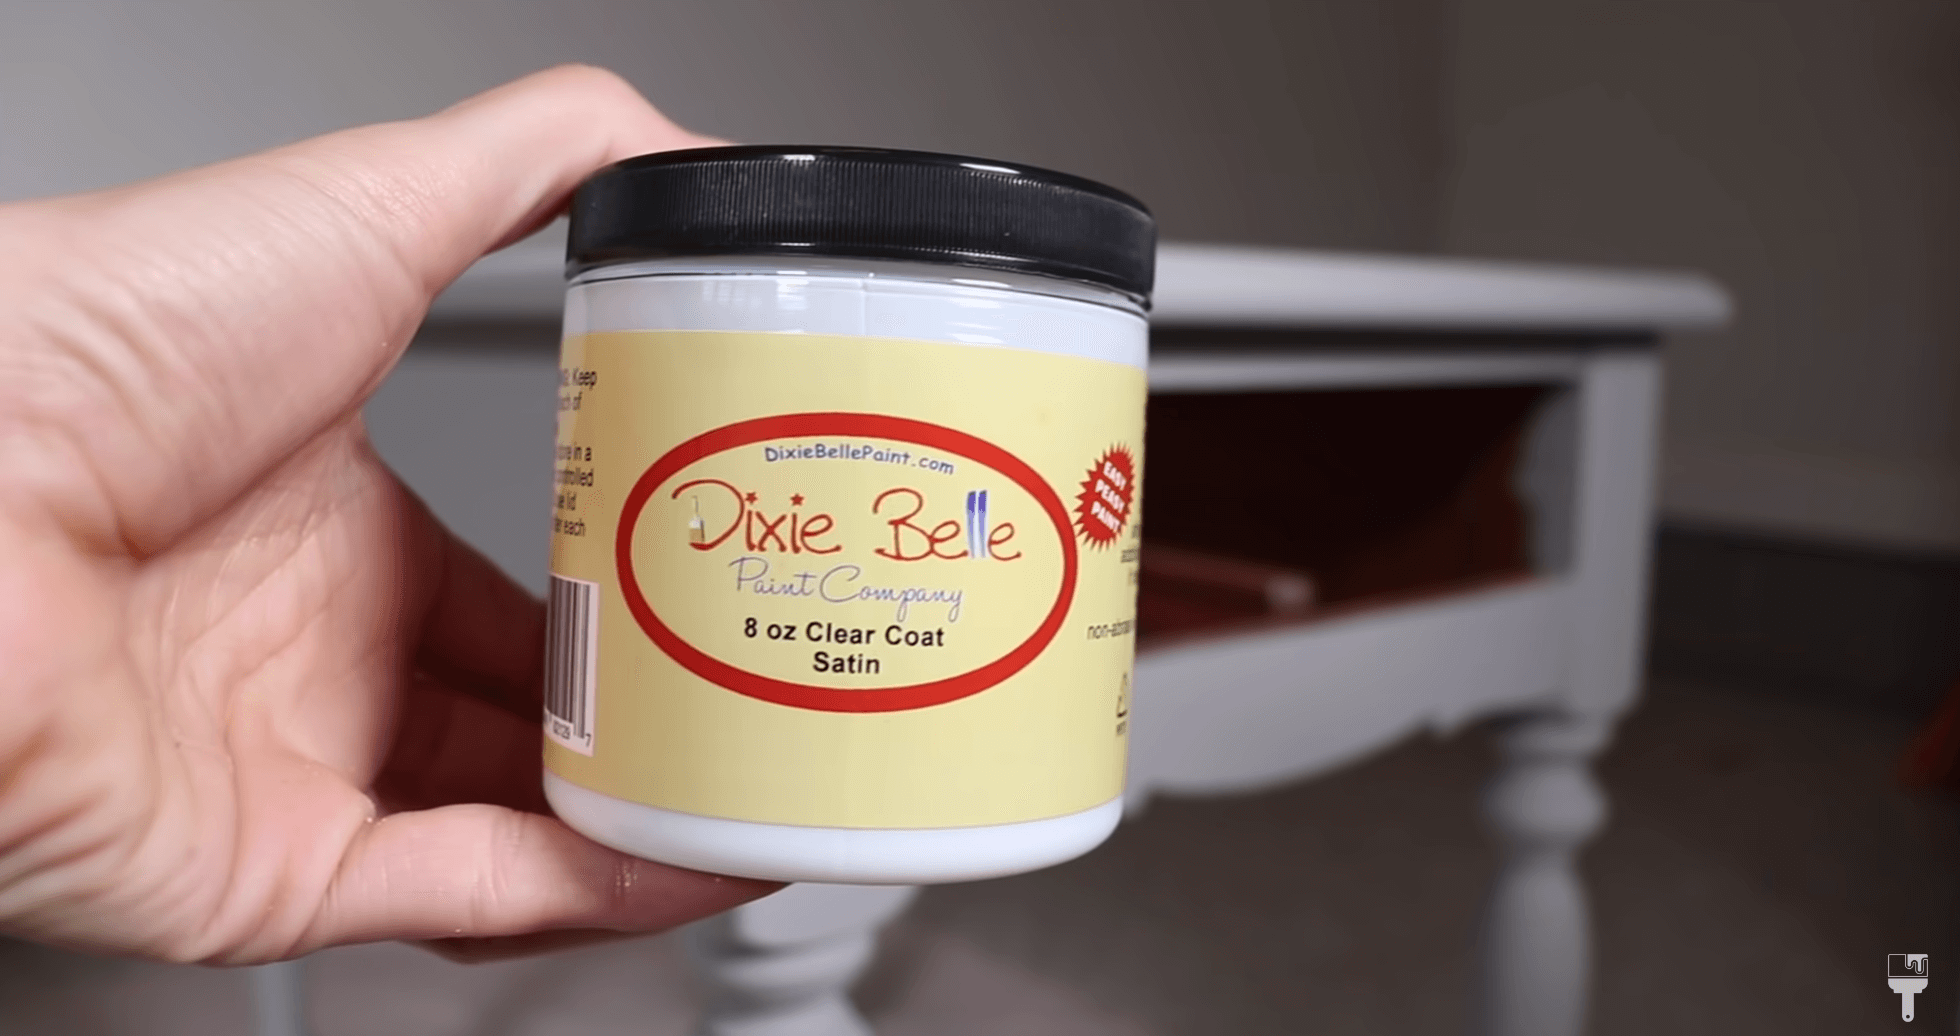
After you’re done painting, it’s time to put on a topcoat. I love Dixie Belle’s Clear Coat. I usually like to use the Clear Coat in Flat, but the Satin gives you a bit more protection, and it seems to be the universal favorite, so that’s what I went with.
Another note is that the Stain topcoat is the most forgiving, so keep that in mind if you’re a beginner.
I used the synthetic mini brush to apply in long strokes back and forth.
I did two topcoats before installing the new hardware.
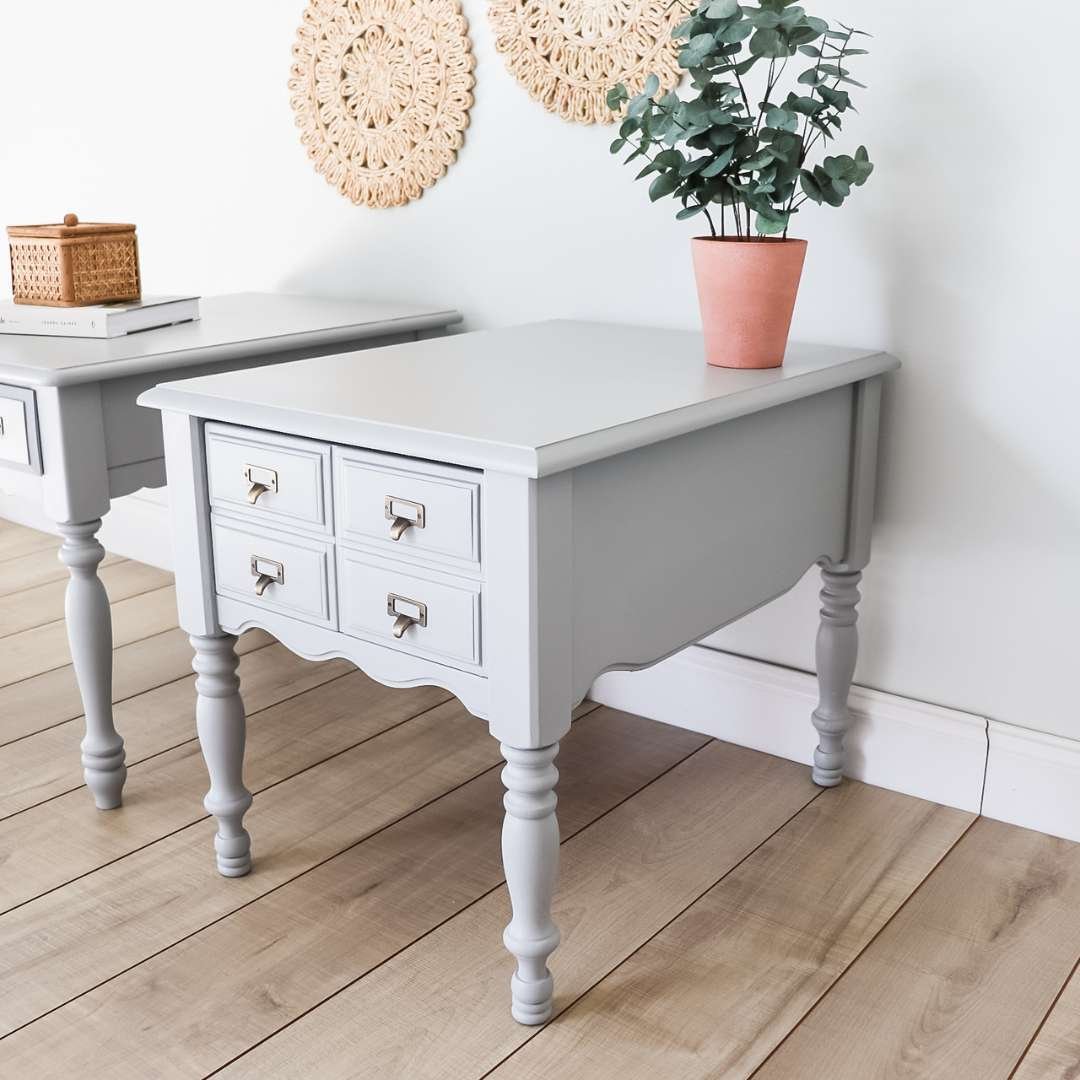
7) Install New Hardware

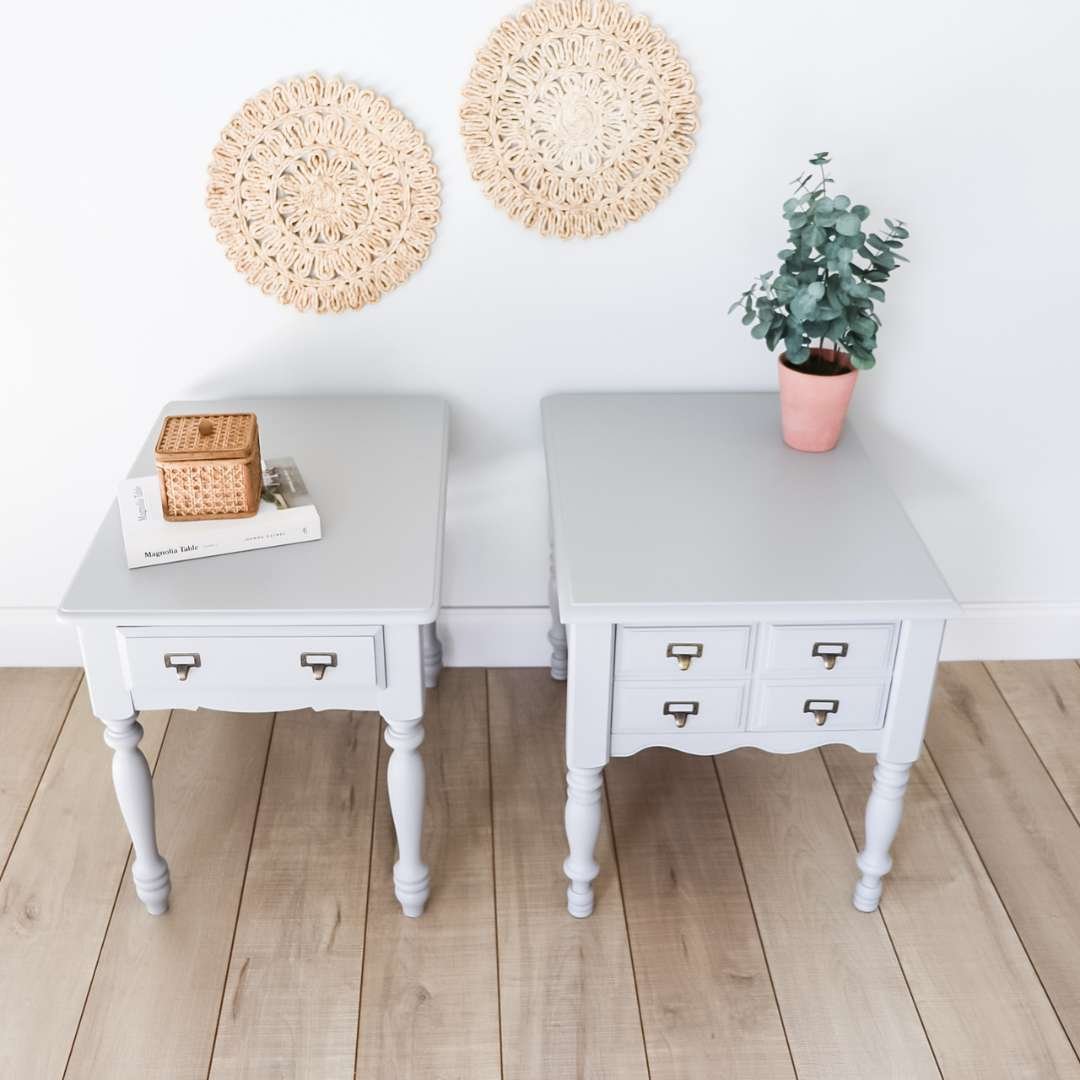
Okay, I wanted to sell these as a set, but the only problem was that they were two different heights. So I had to do a little extra work here. I found little wood risers in the craft section of Hobby Lobby. I glued two of them together to match the height, and surprisingly, the look of them really worked! After the glue dried, I paintedthem with the Driftwood paint.
And after the paint dried, I drilled them to the bottom of the legs of the shorter end table.
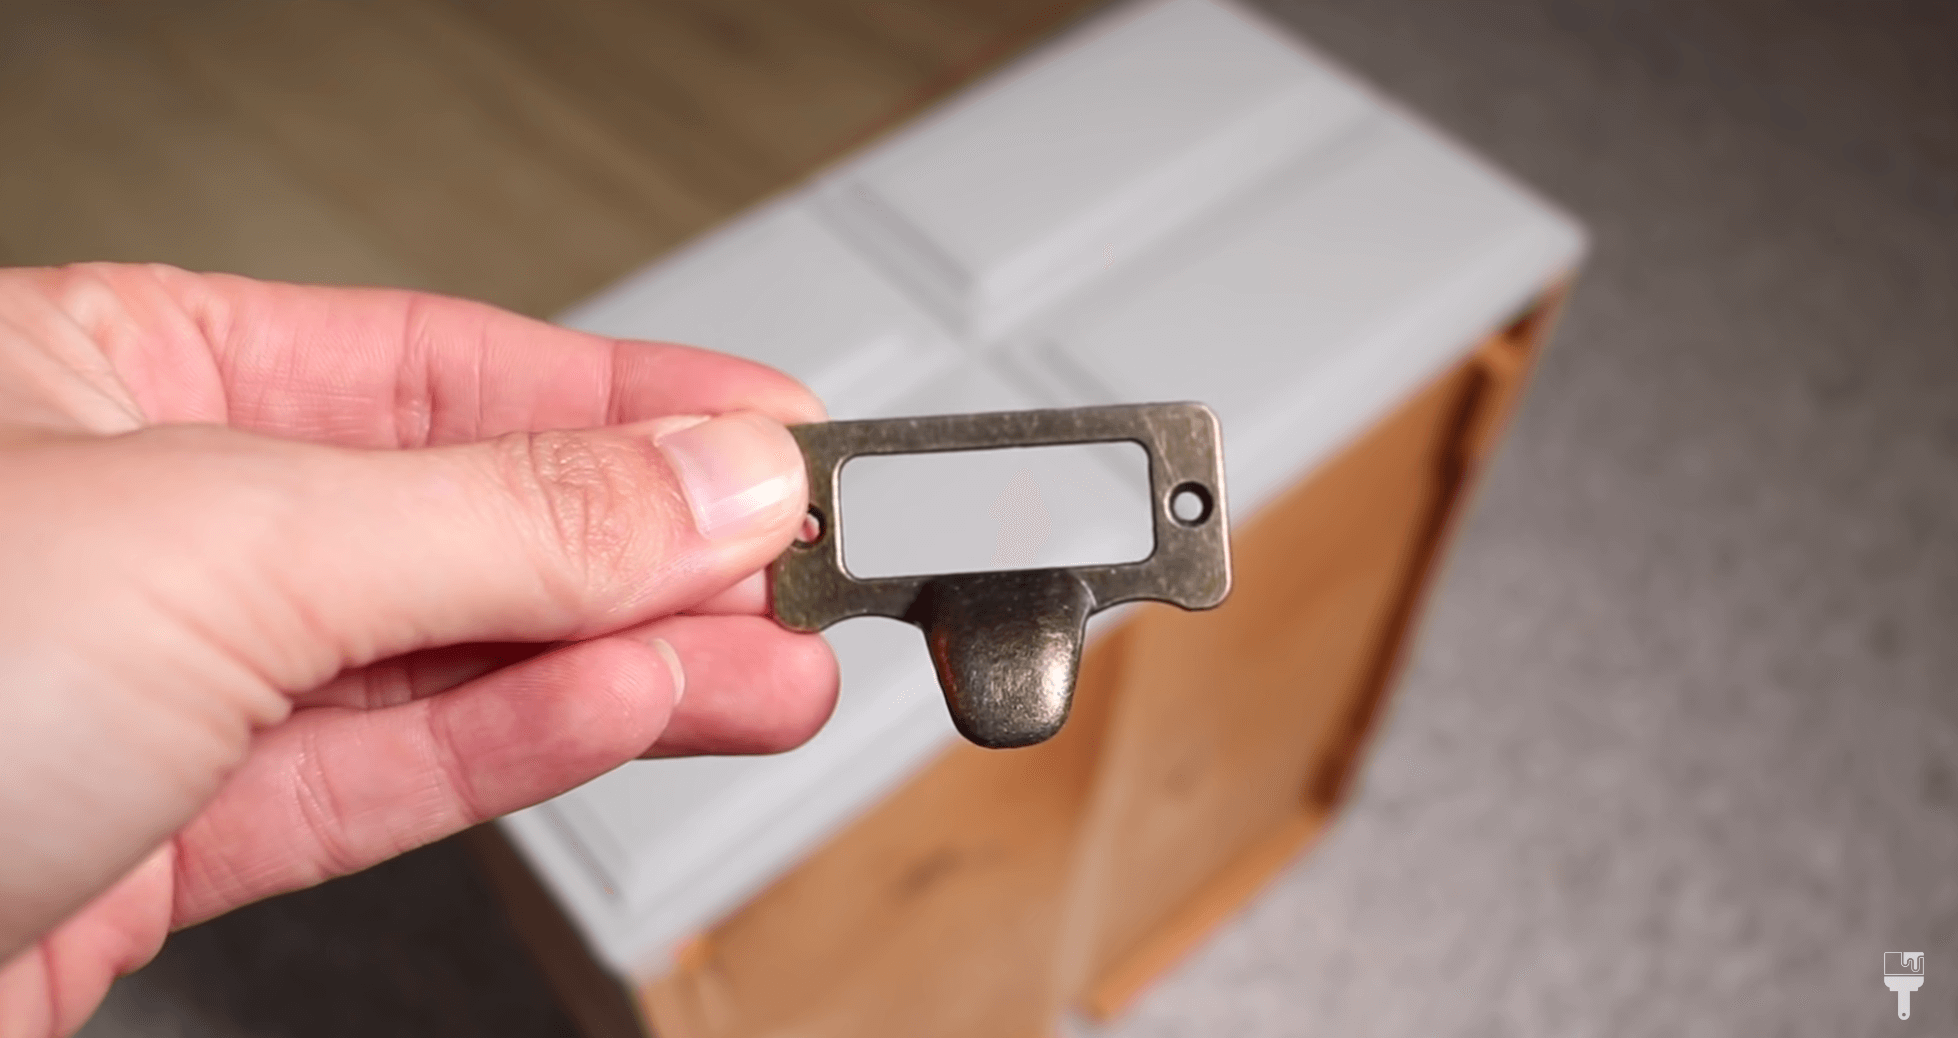
I got these cute little library card pools from Amazon. I love the way it turned out, but I’m not sure I would highly recommend them just because they were hard to work with. I had to drill pilot holes, and the little screws were still pretty tough to get in.
Staging Your Flipped Furniture

Now that my pieces are done, it was time to stage which is a very important step in flipping your furniture for a profit. Make sure you take photos in some good, natural light. You don’t need to have a professional camera … a phone works just fine.
If you need some inspiration, I have a blog on some Amazon Decor Dupes as well one of my favorite wall art resources, Desenio Wall Art.
Use Pricing Spreadsheet to Price Your Piece

Now it’s time to figure out what I’m going to price this set. Good thing I have my Furniture Pricing Sheet that I created. Make sure to download it for free to help you make money flipping furniture.
The basics on this pricing sheet is that I have my product broken down, and then I add how much I paid for the tables and hardware. On the other side I have my tasks and time everything I do by the hour and multiply it by my hourly rate. You can change that number in the spreadsheet if you’d like.
When I added that all together, I got $233. I rounded that up and planned on listing it for $250.
What to Include in Your Marketplace Listing
Depending on your area, you can use other platforms like Mercari™, Offerup™, etc. I have found the most success on Facebook Marketplace, so that’s what I’m going with.

So what do you include in your Marketplace furniture listing?
Upload your high quality, bright, and staged images. I even take a few of the inside of the drawers, so that the buyer knows that it’s in good condition.
Enter the price that you came up with from your pricing sheet.
Always include the dimensions of the furniture.
Other details I like to include are the type of paint I used and the color as well as the primer and topcoat used. I’ll also include if there is new hardware so that they know that this piece has been completely refurbished.
I like to mention how I would like to get paid (Venmo or Paypal, etc) and pick up details.
Optional: because I do this a lot, I have started to ask for a non-refundable deposit to hold things so that I only get serious inquiries. It’s definitely a time saver.
Can You Make Money Flipping Furniture?
This set didn’t sell as quickly as I thought it would, but after a week I did sell them for $200! I dropped the price a bit, but I still profited $132! So can you make money flipping furniture? Well, yes, of course!
Now it’s also time for the reveal on how these end tables turned out! Take a look and head on over to my Youtube™ channel to see this full tutorial.