
Transforming a Thrift Store Dresser: A Modern Stained Finish Makeover
Disclosure: This blog contains affiliate links. I will receive a commission for items purchased through these links at no extra cost to you. I appreciate your support. Please read all labels and follow all manufacturer safety recommendations when working with paints, stains, and other equipment
Hello again, DIY friends! I'm back with another exciting furniture flip for you. I'm thrilled to walk you through the journey of transforming an old dated dresser into a stunning piece of modern furniture. In today's blog post, I'll share my step-by-step process on how I took this worn-out thrift store find and created a beautiful and modern stained masterpiece.

Supplies
Dixie Belle Voodoo Gel Stain (Au Naturel & Denim)
Available on AMAZON here.
Available on AMAZON here.
Stripping Away the Past
I found this dresser at my local thrift store and immediately saw the potential. This piece is solid wood, with dovetail drawers, which tells me that it is a high quality piece. I couldn’t bear to paint it, so I set out to update the stain color to give it a more classic and timeless look.


My first task was removing this dark and outdated varnish from the dresser. I started the process with one of my favorite gel strippers. This particular stripper, which I have used in the past successfully, was not able to penetrate the thick layers of varnish on this piece. So I moved on to my next tool.


I remained flexible and switched gears to using a carbide scraper to cut through this thick varnish. This tool takes a lot of elbow grease, but with time and patience, it does a great job of removing tough stain. After I was satisfied at the amount of stain that was removed, I moved on to using my sander to get the remainder of the varnish off the dresser. I used my detail sanding attachment to get into all the nooks and crannies and finished with a final sanding using a 220 grit sandpaper for a nice and smooth finish. This was a long and tedious process to get this dresser down o bare wood- but I think it was worth it!


Modernizing the Design
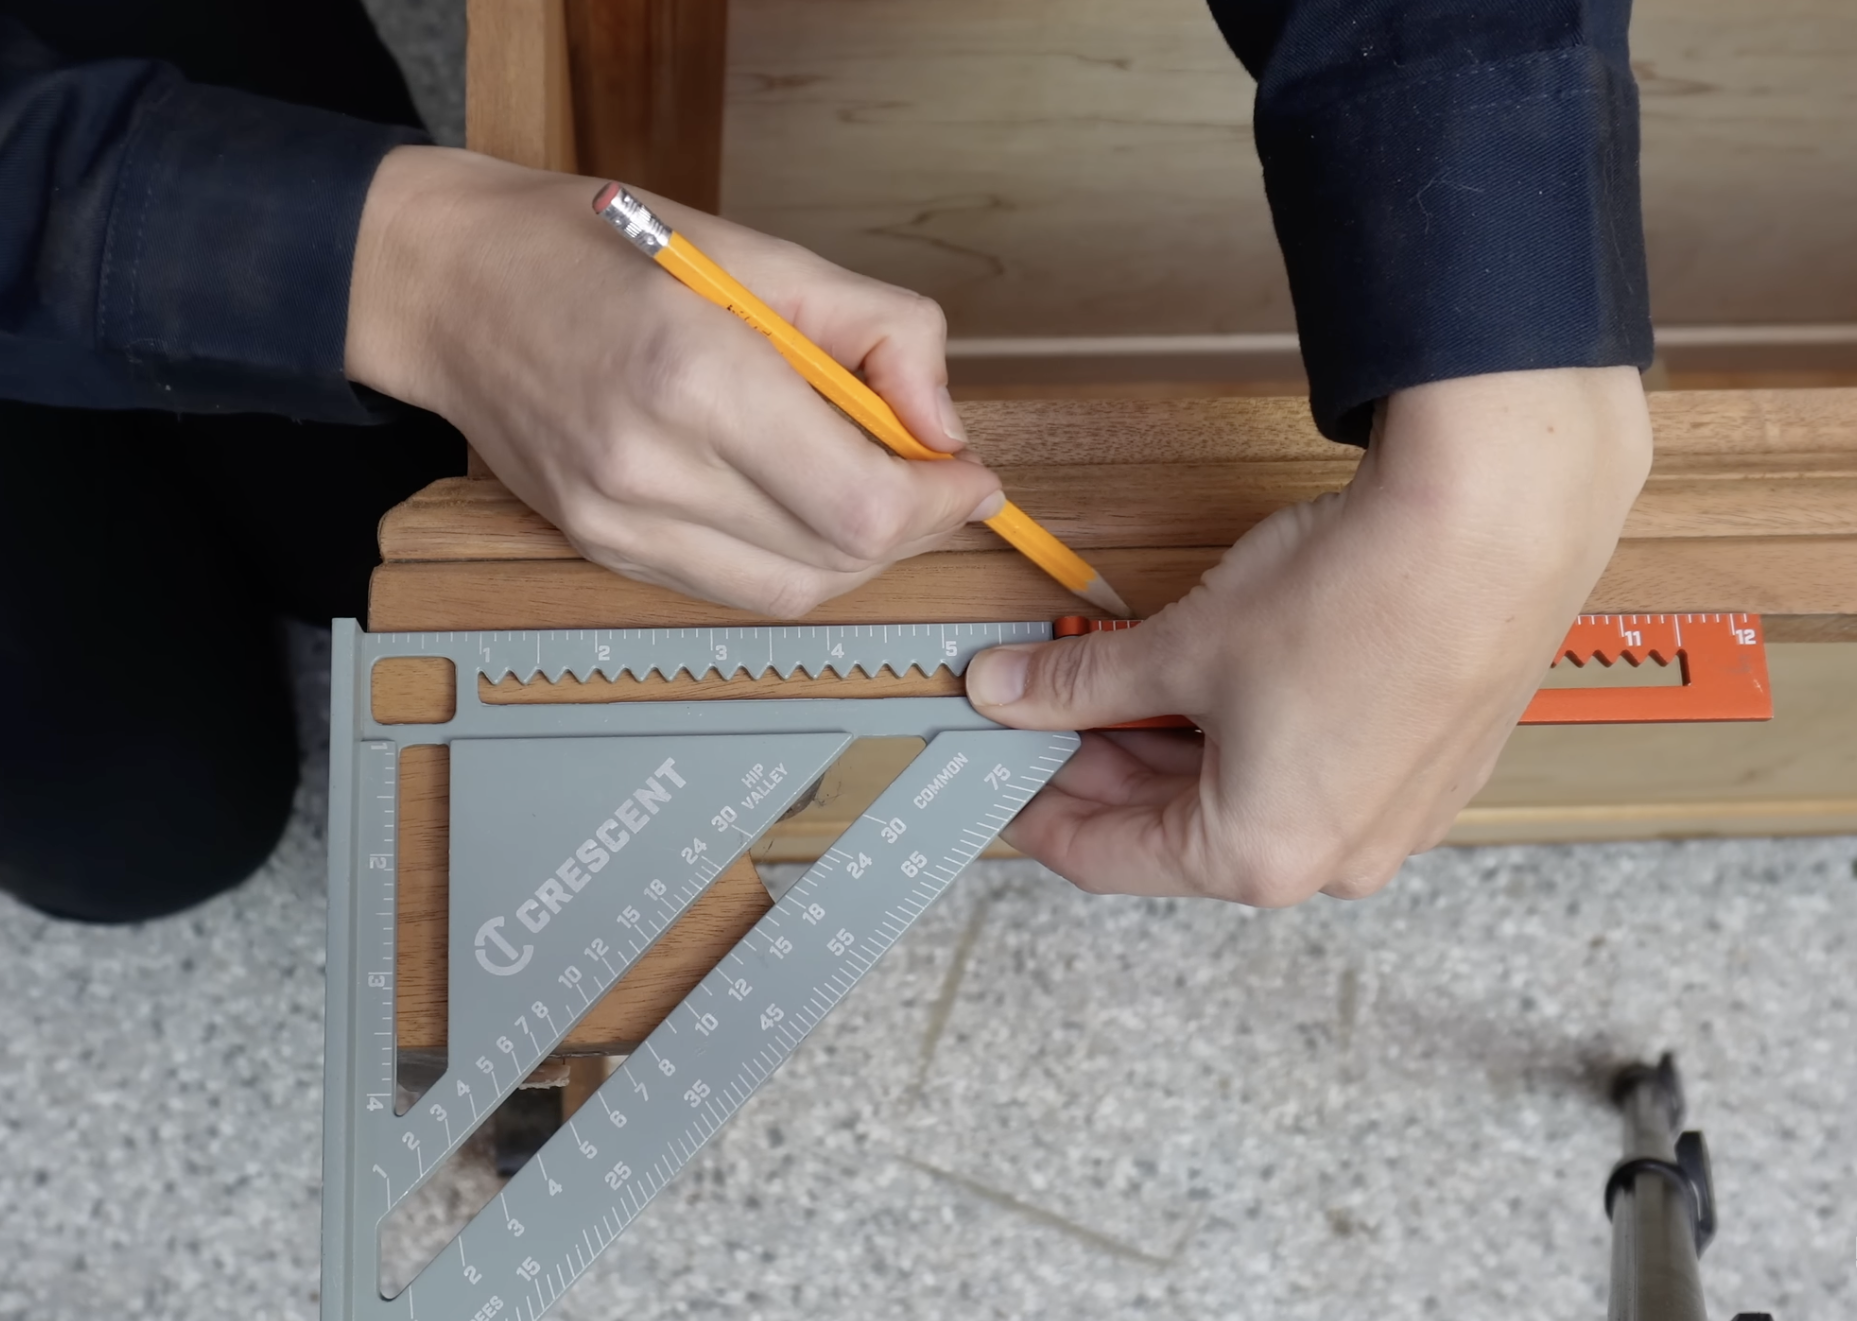
To make this dresser look more modern and not so dated, I opted to alter its base by cutting off the scalloped edges using my jigsaw. This simple change made a big impact and contributed to the wow factor of the final reveal. It’s all in the details!


Applying the Perfect Stain
Now that the surface is prepared, I wiped it back with a tack cloth to get rid of any residual dust that was left behind. It is now time to add color and character.

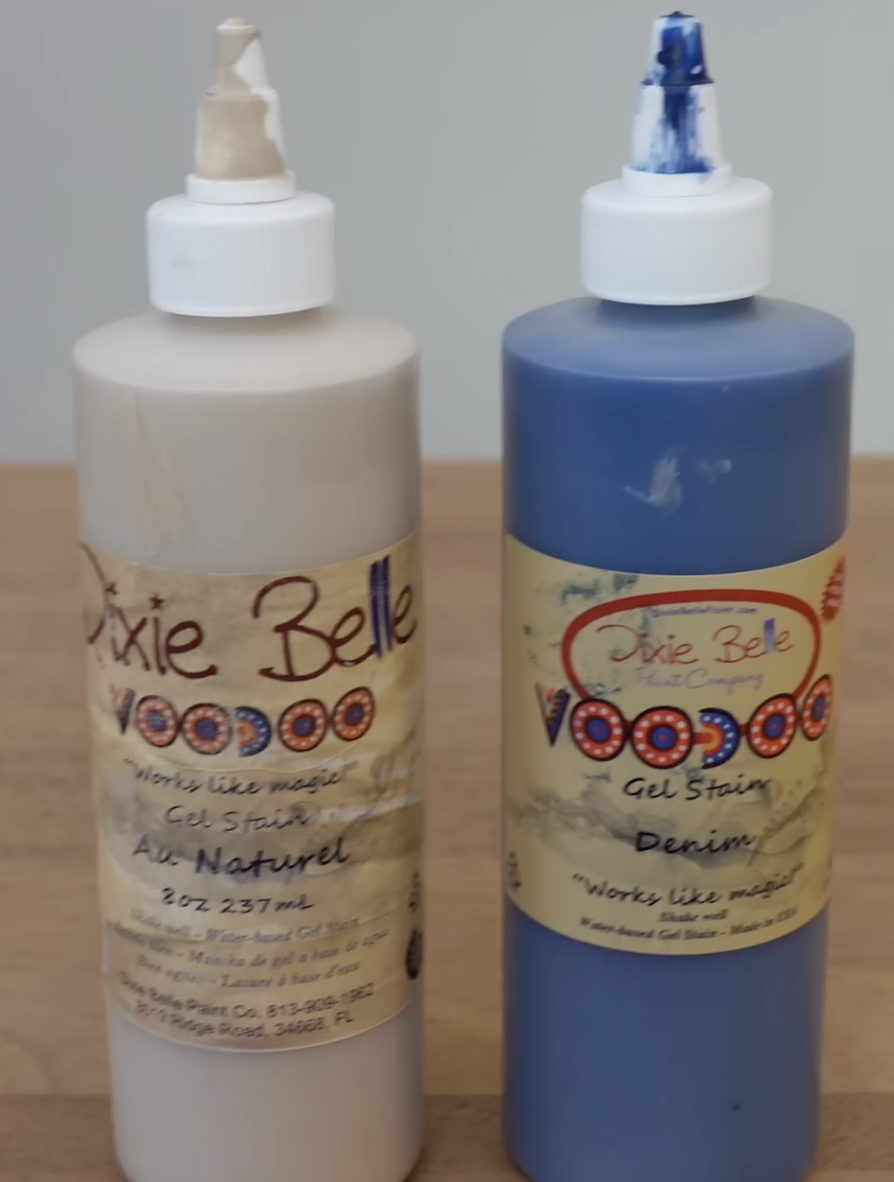
I chose Dixie Bell Voodoo gel stains in "All Natural" and "Denim" to create a custom blend that complemented the dresser's wood grain while neutralizing any unwanted undertones. I love these stains, because they are so easy to apply and clean up since they are water based. They are perfect for a beginner!

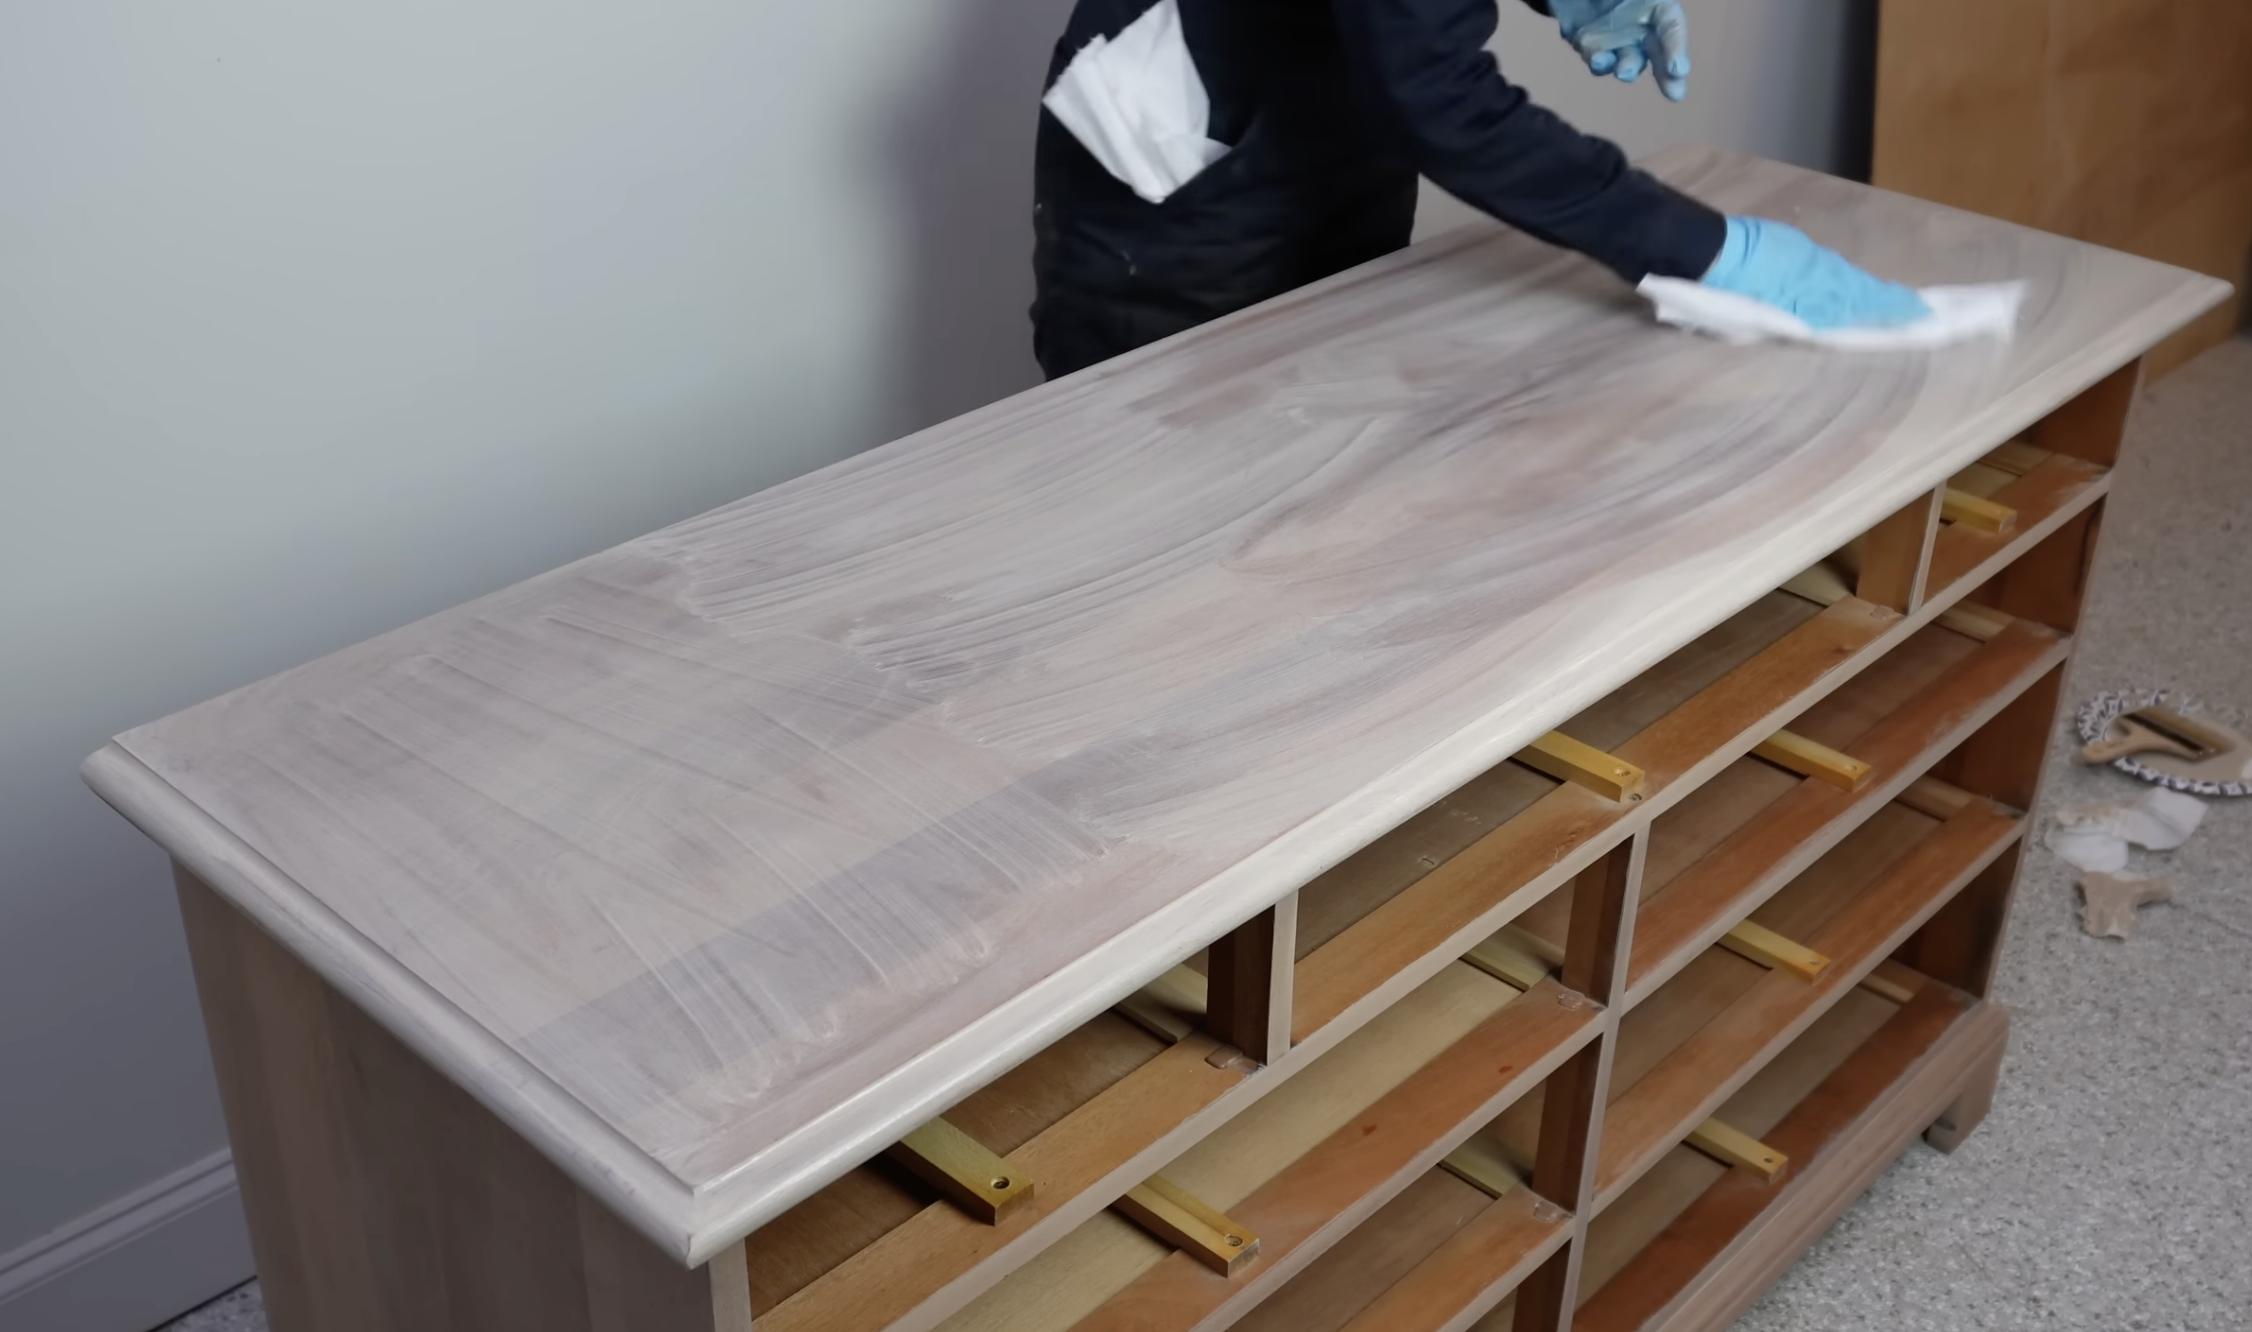
I mixed 3 oz of the Natural Stain and added in about a 1/2 teaspoon of the Denim Stain to neutralize any orange undertones in the wood. I worked in small sections and applied the stain and then wiped back the excess with a lint free cloth to get the look and transparency I was going for. For the larger sections, I used my Big Daddy Brush to apply the stain quickly to the area and wipe back the excess before it dried.


Sealing the Deal

To protect and enhance the finish, I opted for Big Mama's Butta, a natural wax topcoat known for its ease of application and matte finish. This final touch not only provided durability but also infused a fresh and clean scent, adding to the overall appeal of the dresser.

I used my Dixie Belle Best Dang Wax Brush to apply the wax to the dresser and once I was finished I let it sit for a few minutes and wipes back any excess with a lint free cloth. I then put all the drawers back in and moved on to cleaning the hardware.

Finishing Touches
No makeover is complete without attention to detail. I wanted to reuse the original hardware and just clean it up because I thought it was timeless and would look brand new after some polishing.


To clean old hardware, all you have to do is boil the hardware on a low simmer with equal parts water and vinegar in a well ventilated space. Then, once the hardware is cooled off and dry, you take some fine steel wool and polish it. It’s always shocking how good this works! The hardware looks brand new.


This is a large dresser, and therefore had a lot of hardware. It took me a while to get it all cleaned up, but I thought the effort was worth the money savings and the final look of the dresser. Once I was finished, I put all the hardware back on the dresser.

The Final Reveal
After hours of stripping, sanding, and cleaning, the transformation was complete. This dresser is a beautiful solid wood piece that just needed a little TLC. With some elbow grease (okay a LOT of elbow grease) and some creativity, this dresser now looks timeless and classic and will be a beautiful addition to someone’s home decor.

If you're inspired to tackle your own furniture makeover, I've curated a list of the products I used, conveniently linked in the supplies box above. You can watch the full YouTube tutorial here.
I hope this blog post inspires you to see the potential in every piece and embark on your own journey of creative transformation.
I’ll be back soon with another furniture makeover!