
Tips for Painting Furniture: Beginner’s Guide
Disclosure: This blog contains affiliate links. I will receive a commission for items purchased through these links at no extra cost to you. I appreciate your support. Please read all labels and follow all manufacturer safety recommendations when working with paints, stains, and other equipment.
If you love scrolling through furniture flips on TikTok and Instagram reels but think to yourself, “there's no way I could ever do this” … this blog is for you! It’s actually not that hard to flip a piece of furniture on your own! And in this blog, I’ll give you tips for painting furniture in just 5 steps.
Not only that, but I’ll share with you some of my favorite products along the way. By the end, I hope you’re inspired to makeover a piece in your own home!

Product to Paint Your Furniture
Zinsser BIN Primer - Find at your local hardware store
Synthetic paintbrush Kit-5 Piece (code CHRISTINA10 for 10% off)
General Finishes High Performance Flat
Paint Recommendations
Lilly Moon Paint - **Use code PRETTYDISTRESSED10 for 10% off

Step 1: Cleaning & Rinsing
Once you've picked your piece of furniture that you want to work on, the first tip for painting furniture is ALWAYS going to be cleaning! Cleaning is very boring, but it is the foundation of having a successful furniture makeover.
Clean

If your piece is dusty or dirty, has grease fingerprints on it, some polish or residual cleaner on it, the paint is not going to adhere to that.
Cleaning can be just as simple as getting some dish soap, warm water, and a sponge or a rag and wiping down your piece. I also like to use all-purpose cleaners like Simple Green.
If I have a pretty dirty or old piece of furniture, I like to use TSP cleaner like Dixie Belle White Lightning. TSP soap comes in a powder form that you mix with water.
Rinse
Another important step in cleaning your furniture is always rinsing it.
After you're done cleaning, you will see a lot of dirt and debris coming off of your furniture and that soap, whatever you're using, is gonna leave a residue behind.
So you always wanna get clean water and a clean rag and wipe all that back because you wanna have a fresh surface when you go to add your paint and your primer.
Take inventory
As I’m cleaning, I like to “take inventory” of my piece when it comes to repairs that may need to be made.
Step 2: Prep and Prime
It’s time for step number two which is to prep and prime your furniture. This can be broken down into repairs, sanding, and priming your piece!
Repair

It might be tempting to paint over the flaws, but I’m here to tell you that this will just highlight the damages even more. That’s why making the appropriate repairs is important.
If you find any cracks, you can simply use wood glue and a clamp to make the fix.
And for any knicks, dings, and imperfections, you’ll use an all-purpose wood filler. I like to use DAP Plastic Wood in white or natural.
Wood filler is really easy to use. Just make sure to read the back of your label to see the dry time. After it’s done drying, you’ll use a light sandpaper (anywhere from 150-220 grit) to smooth it out.
Scuff Sand
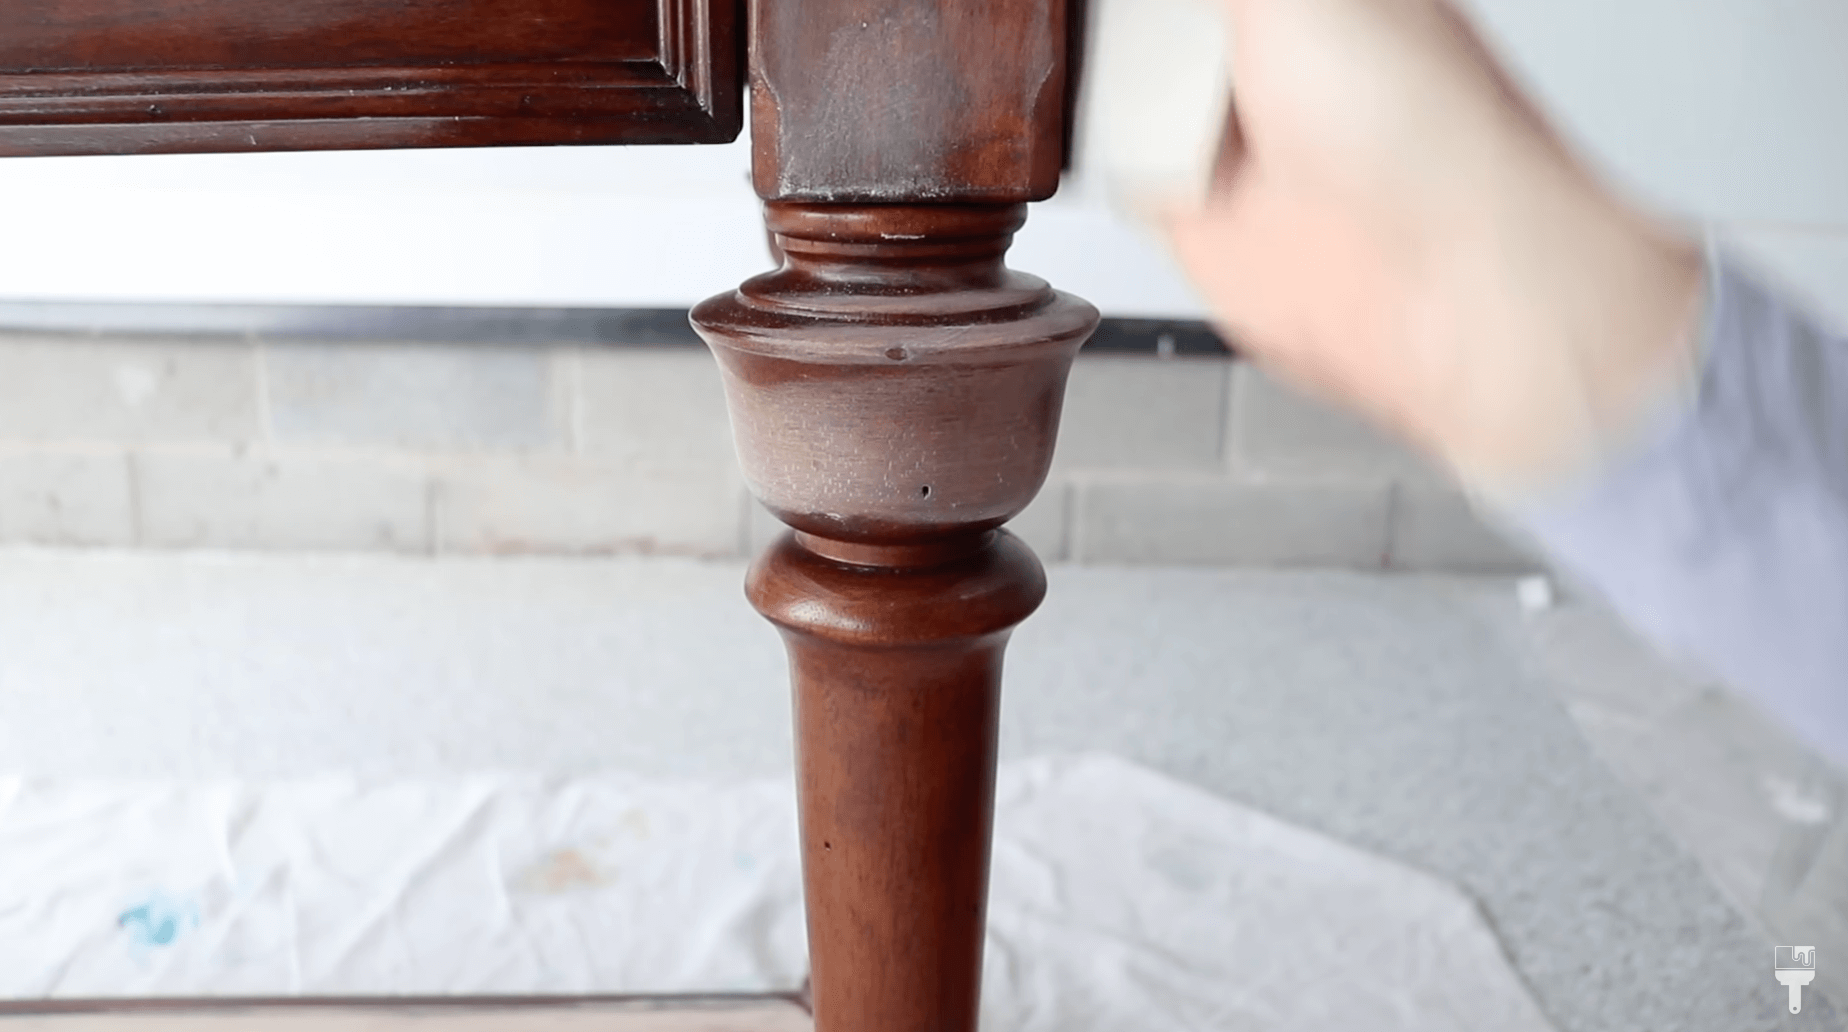
One of my favorite tips for painting furniture, although totally optional, is to scuff sand before painting. So after I’m done sanding down the wood filler, I take a fine 220 grift sandpaper and scuff sand the entire piece.
This doesn’t mean taking the finish off and getting it down to the original wood. You simply want to create what I like to call “teeth” or “grooves.” It will give your paint something to “grab onto” and adhere to.
I definitely recommend scuff sanding if you have a very smooth and slick piece of furniture.
Note: Make sure to wipe back the dust that the sanding creates before you move on to priming.
Prime

Lastly in step two is priming which, again, is optional. I would say I prime about 50% of my furniture makeovers. Here are a few signs that you might want to use primer:
You notice while cleaning that the stain is picking up on the rag.
The piece is old and has that “old furniture smell.” Primer has odor-blocking properties.
You plan to paint a light color over a dark finish (and you’re not using an all-in-one paint).
You’re working with mahogany or cherry wood.
Your piece is extra slick. Primer will give your paint something extra to adhere to.
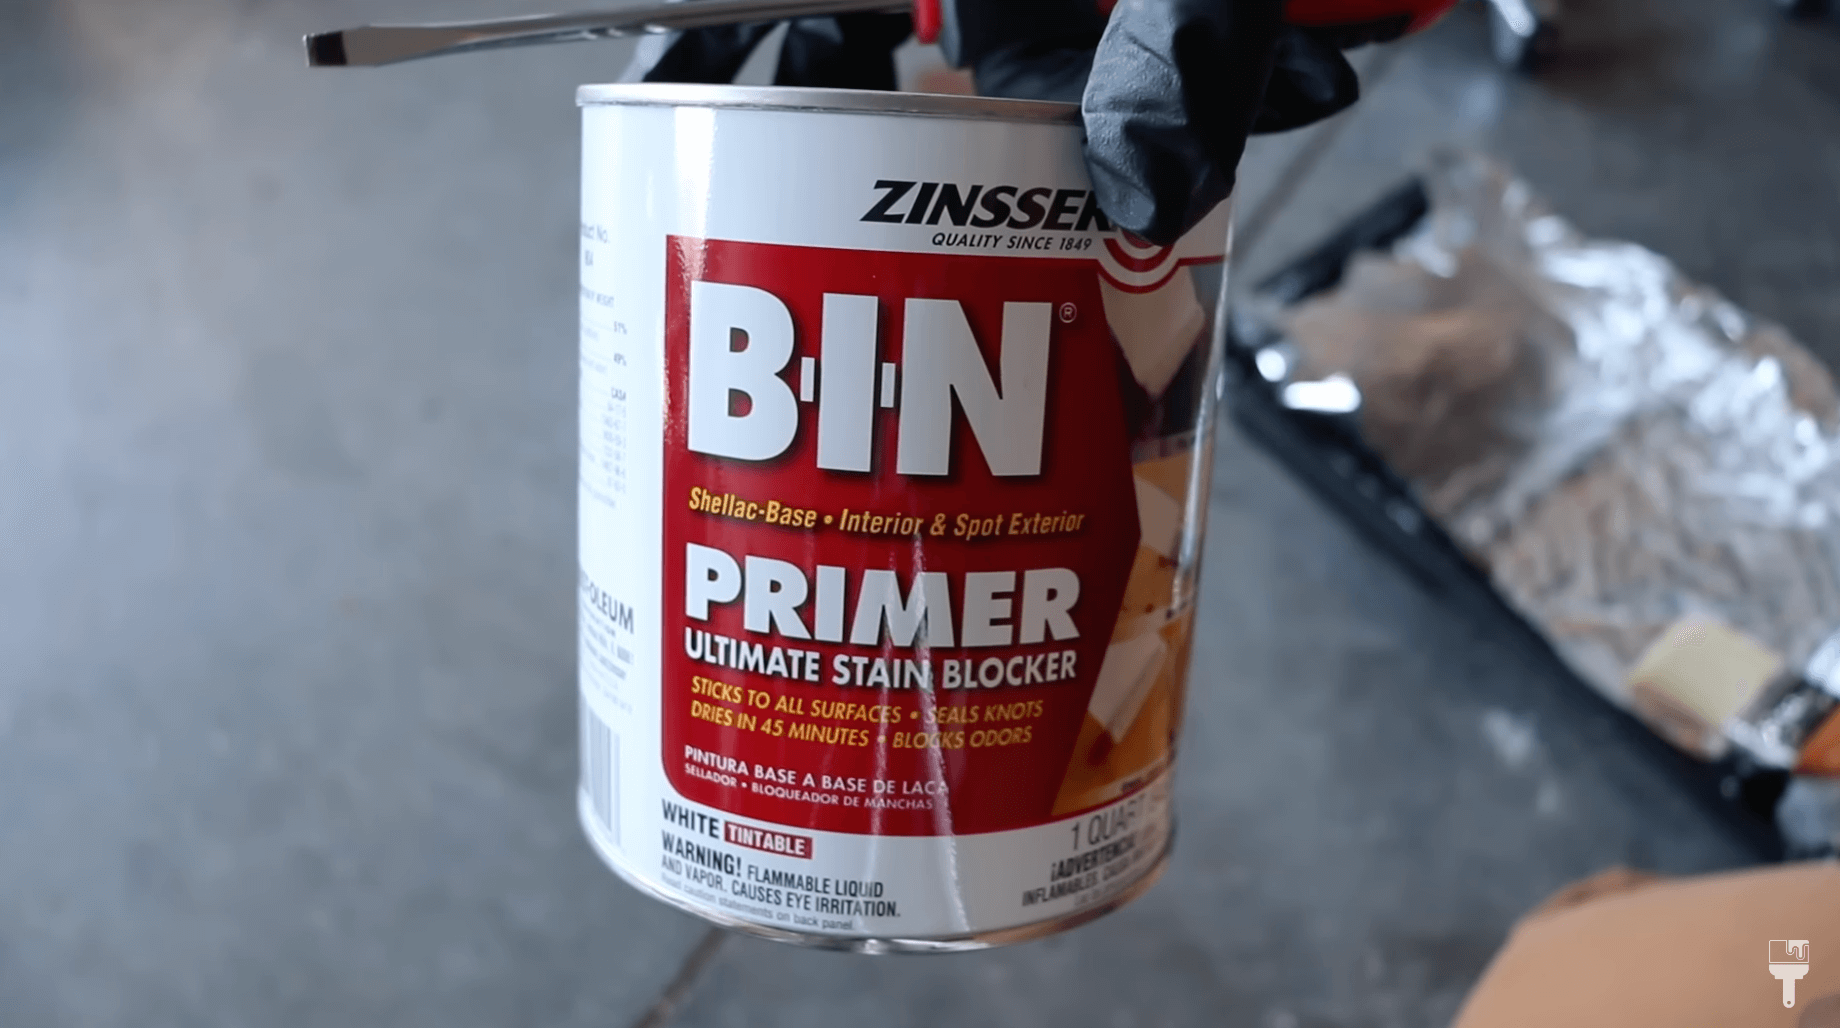
Two of my favorite primers that have stain-blocking properties are Dixie Belle and Zinsser 123. These are water-based primers and both come in white and gray which is helpful depending on the paint you’re working with. You would use gray if you’re using a darker paint and white for a lighter paint.
Another option that I like to use if I’m dealing with a major “bleeder” is BIN Shellac which is a shellac-based primer. It’s thin, stinky, and strong. You have to use ammonia to clean it up because soap and water won’t do the trick.
If I notice while cleaning that A LOT of stain is coming off, that’s when I know I need to use this second option.
Step 3: Paint
As you can see, if you’re looking to paint any furniture in your home, there’s definitely some prep to do before grabbing your paint can. :) You’ll be grateful that you took those steps though!
When it’s time to paint, there are a few things to think about. What paint am I going to use? What brush do I use? I’ve got answers.
Furniture paint vs. Latex paint
There are a lot of choices on the market today when it comes to paint. When I first started, there were hardly any!
What I want to mention first when it comes to choosing your furniture paint is that there is a big difference between furniture paint and latex paint. I definitely prefer furniture paint because it adheres better to furniture, easier to work with, and lasts longer. I also feel that latex paint peels easily and has a plastic look to it that I’m not a fan of.
Small Paint Companies vs. Hardware Store
When it comes to furniture paint, there are a couple of options. You can go to the hardware store and tint your color to anything you want. That sounds great, but personally, the wall of options at the hardware store overwhelms me!
The other option is to go with smaller paint companies. If you’ve been around, you’ll know this is my jam. I love supporting small businesses.
These companies have pre-mixed colors, but they do their due diligence to create colors that are on trend and so beautiful. Here’s a list of some of my favorite smaller paint companies:
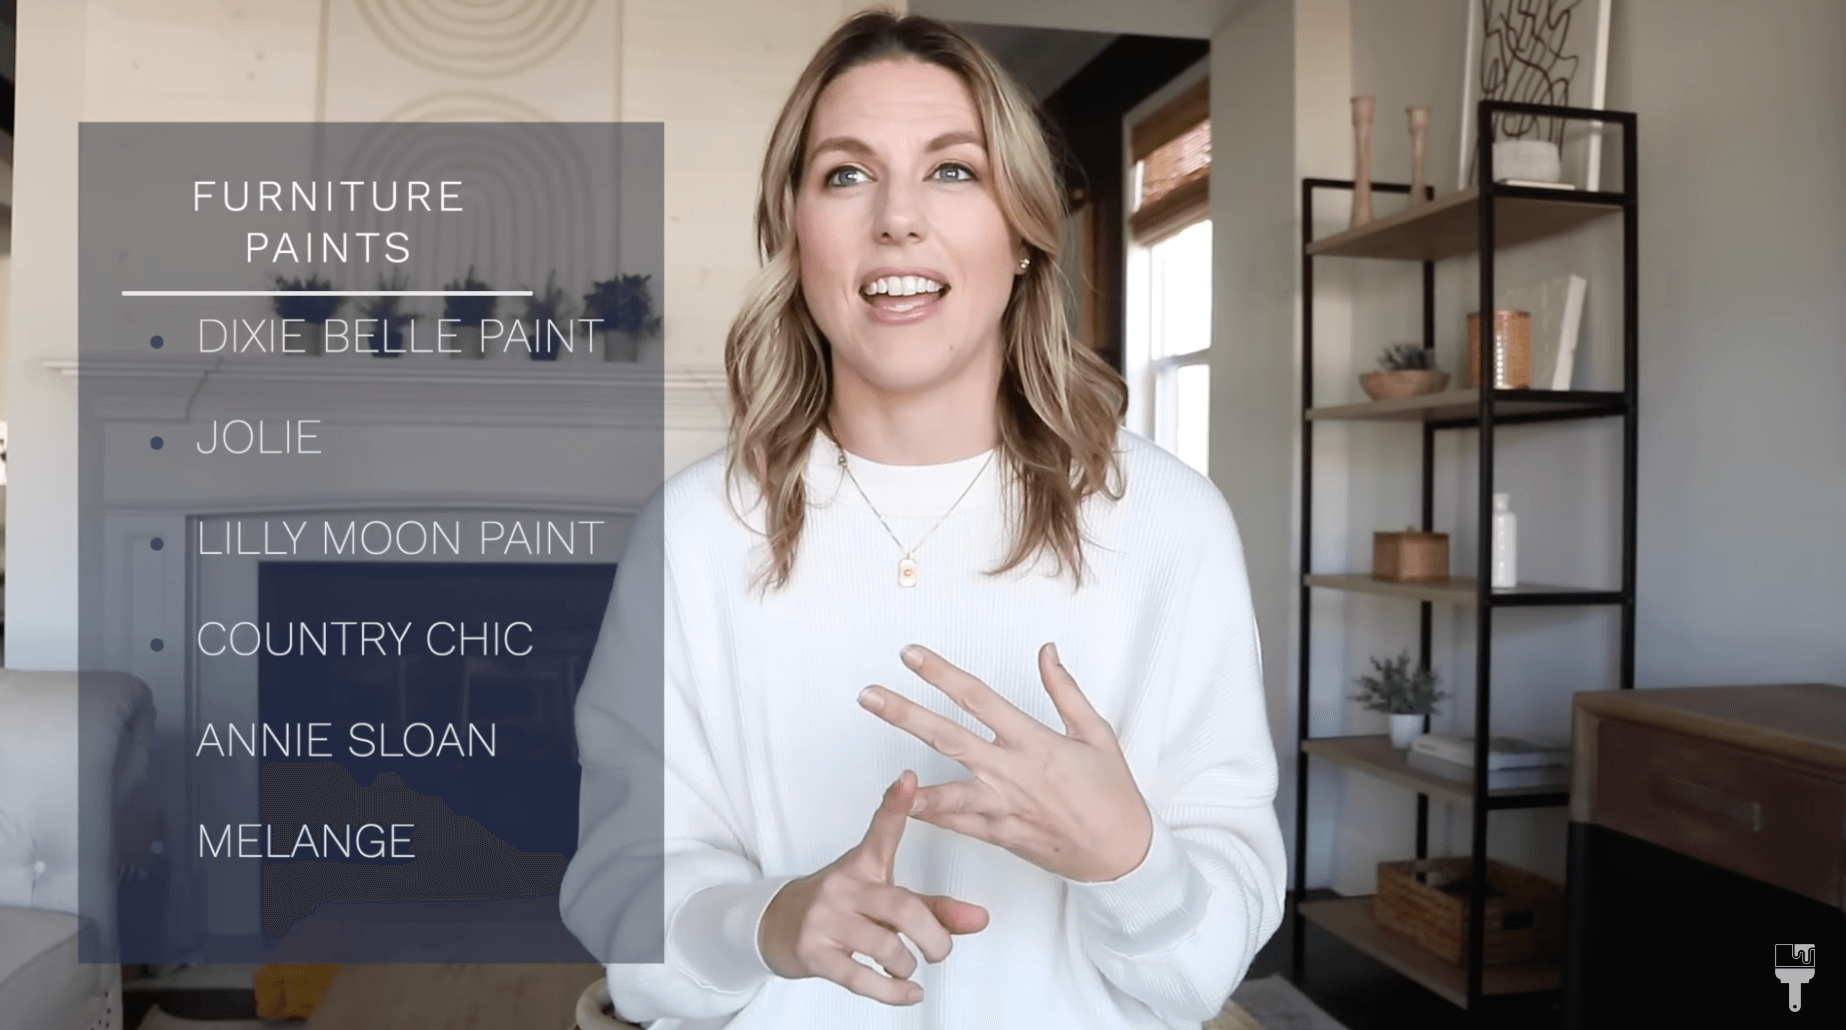
Dixie Belle
Lilly Moon
Country Chic
Jolie
Melange Paint
Annie Sloan
You really can't go wrong with any of these options.
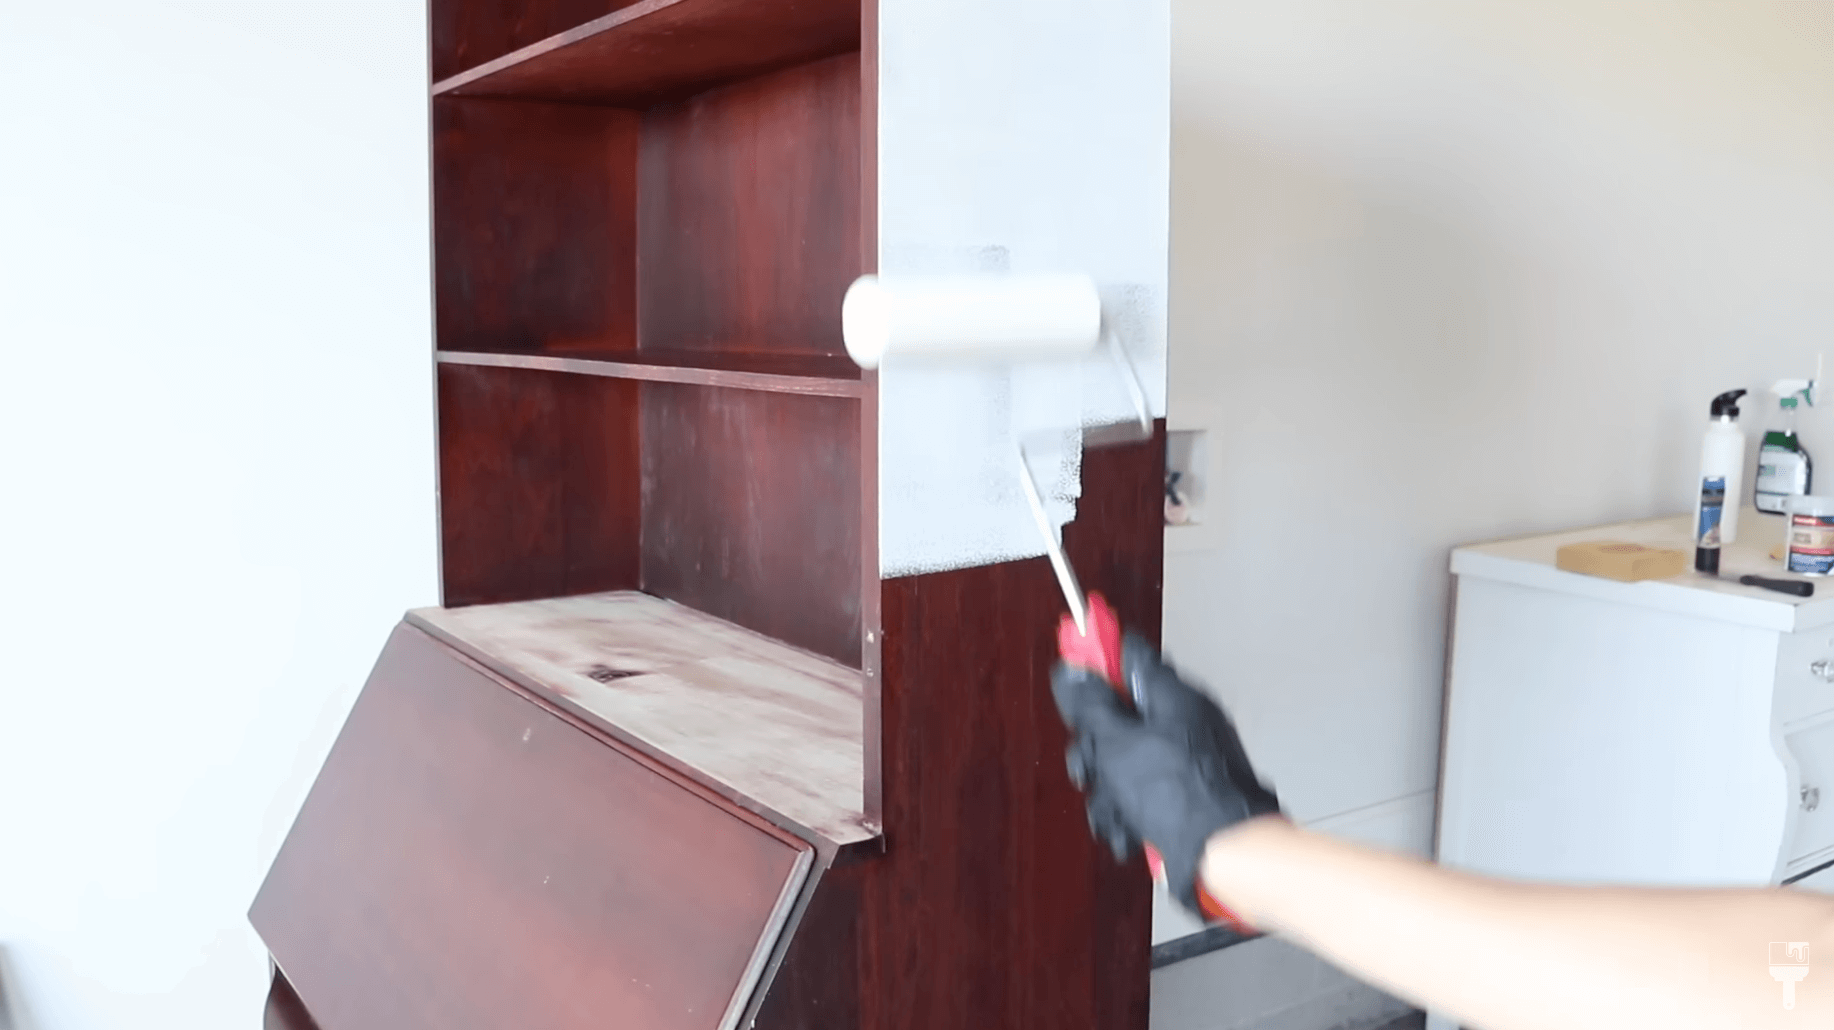
Paint Brushes or Rollers

For a beginner, I recommend using either a synthetic paintbrush or a roller to adhere your paint. Don't overthink it. It's just like painting a wall. :)
If you do go with a roller, you’ll most likely still need a brush to get into the little details and trims of your piece … then you can use the roller again to smooth it out.
Coverage
When it comes to coverage, you're most likely going to need at least two coats of paint. Sometimes I've had to do three or four depending on the color I'm working with. Yellow and reds are pretty tricky and need a lot of coats. And if you're going from a really dark dresser to something lighter, three or four coats is usually necessary. Just keep going until you get the coverage that you want.
Dry times in between coats will be on your can, but I typically wait anywhere from two to four hours.
Beginner tips for painting furniture

Optional tip: I like to dilute my paint a bit! I thin out my paints by about 10% to get a smoother finish.
One of the biggest pieces of advice I can give you as a beginner is to not overthink the brush marks. You’re hand painting, so there will be imperfections. And that’s perfectly okay. Remember that people won’t be inspecting your furniture up close. They’ll see it and think how beautiful the piece is! People are going to love it … trust me.
Step 4: Seal and Protect
Okay, step number four is to seal your furniture. You’ve taken all of that time with all of your prep work and now you want to be sure to protect that beautiful finish. Sealing it is going to give you that.
Flat, Satin, Gloss
There are three different types of topcoat finishes: flat, satin, and gloss. They get shinier as you move from flat to glass.
I love a flat finish. I’d say if you’re a beginner, satin is very forgiving, and I would suggest steering clear of glass.
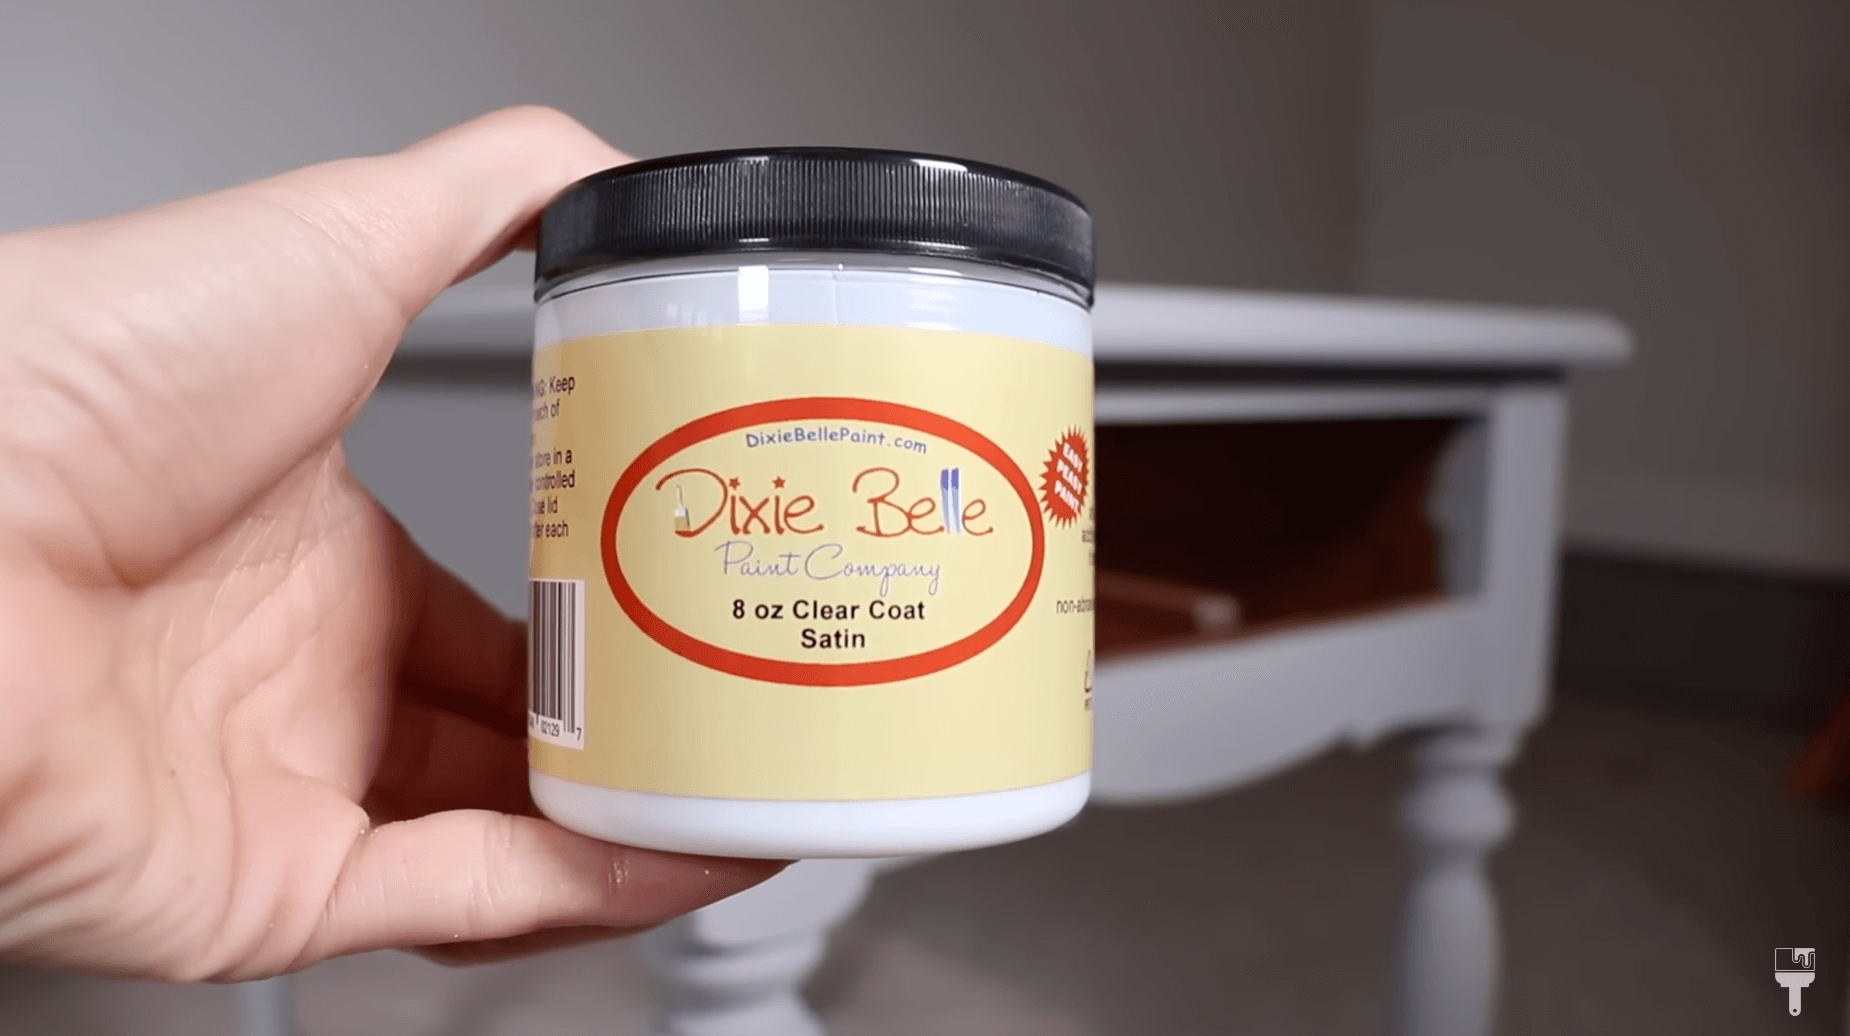
My favorite type of sealer for a beginner is a water-based clear coat.I have two favorite top coats: Dixie Belle’s Clear Coat in Flat and General Finishes High Performance Top Coat in Flat.
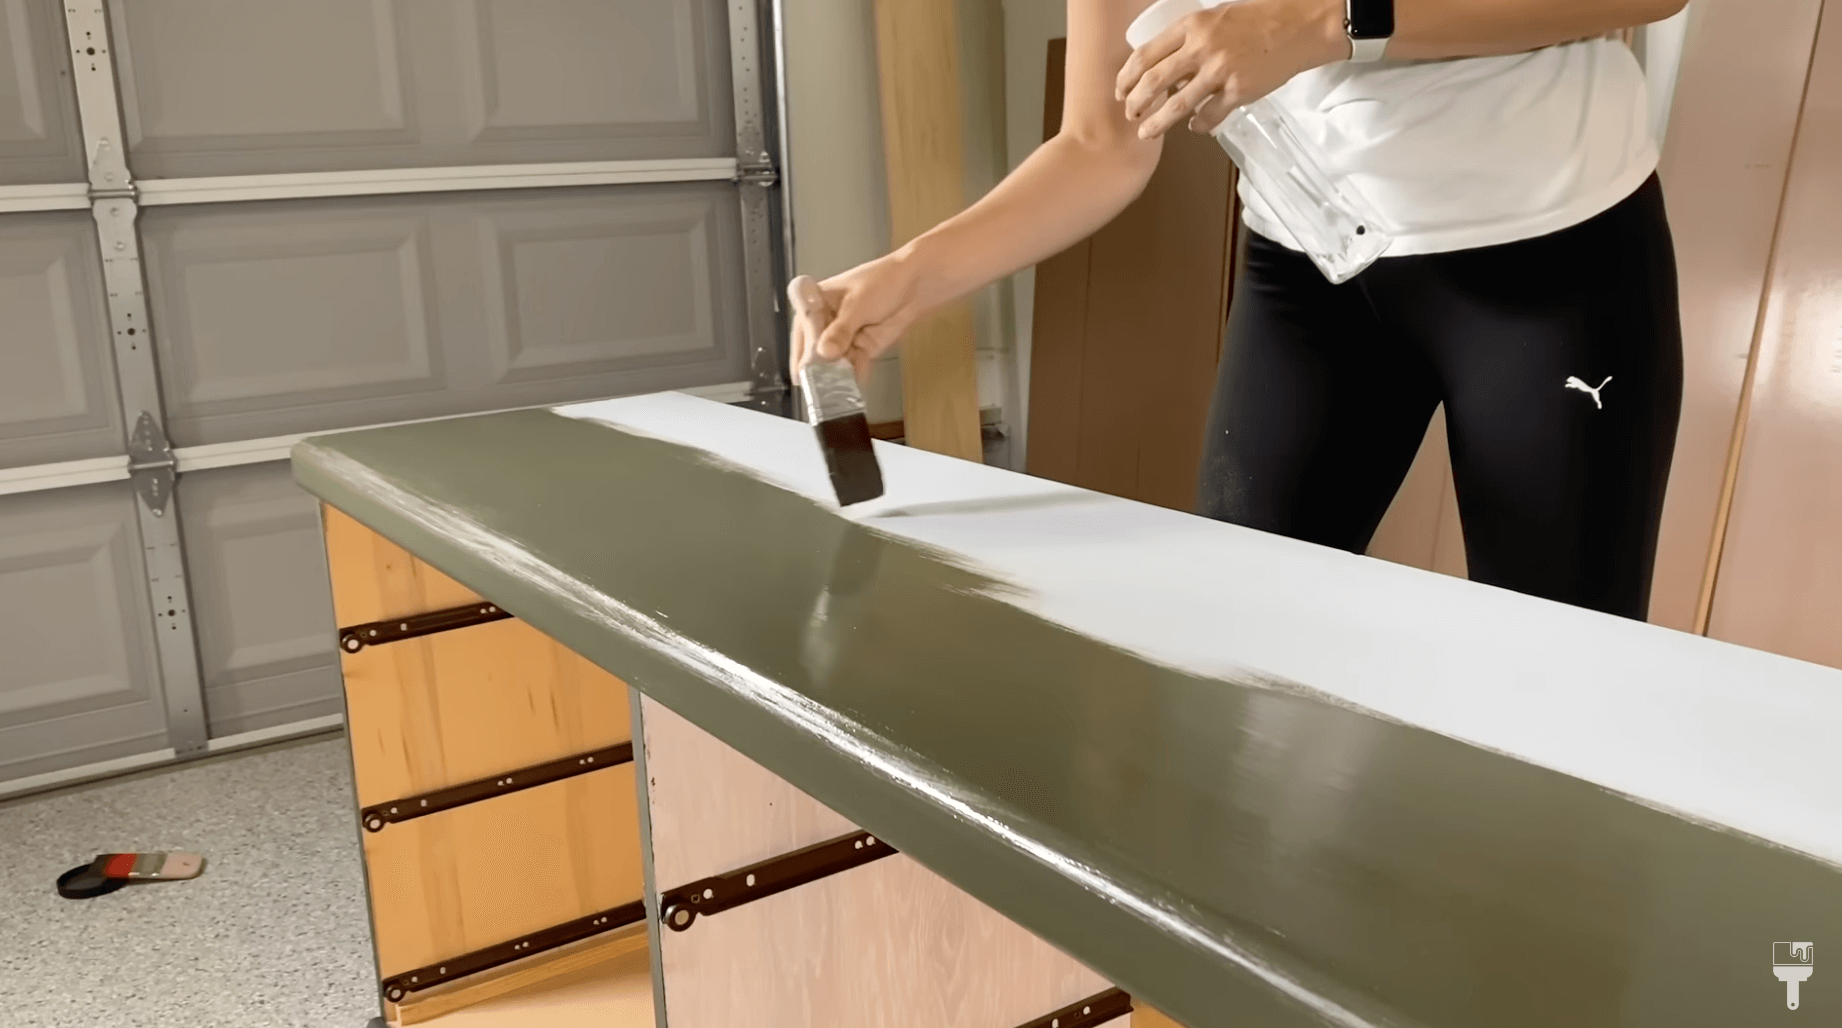
Foam Brush

My favorite application for a beginner is to use a foam brush. They're really affordable, and you can put them in a Ziploc bag or wash it out in between coats.
Here are some quick tips when it comes to application:
Work one section at a time.
Keep a wet edge which is making sure your strokes are right next to each other.
Don’t overwork the topcoat because you can get a lot of little fuzzies in it.
Just get it smooth and move onto the next section.
Two to Three Coats
When it comes to topcoat, two to three coats is usually necessary. Three will definitely offer you the best protection.
And I’ll give you the same advice as I did with the paint. There will be imperfections. Don’t stress!
Step 5: Cure and Care

We’ve made it to the last step! Step number five in your first furniture makeover is to CURE AND CARE.
Now that you've taken all this time to make over this piece of furniture and have it be a showstopper in your home, you want to protect it and take care of it really well. Here are some tips.
Drying vs. Curing
I want to say right away that dry time and cure time are two totally different things. Your furniture will be dry within two to four hours of completing it, but it's not going to be cured down to its hardest state for probably 30 days. So during those 30 days, you want to be careful with it. Refrain from putting your clothes in it, drinks on it, etc.
I know this is hard because you want to use your updated furniture! But it’s necessary if you want your work to last!
Cleaning Your Newly Painted Furniture
When cleaning your furniture, gentle is the best policy. Remember that you hand painted it! I suggest spot cleaning with mild soap and warm water if necessary. The only other thing I do is a little dusting.
Lastly, if you really feel you need to, you can wipe it down with a Clorox wipe once or twice a month.
Bonus Tip: Update Decor with Leftover Supplies!
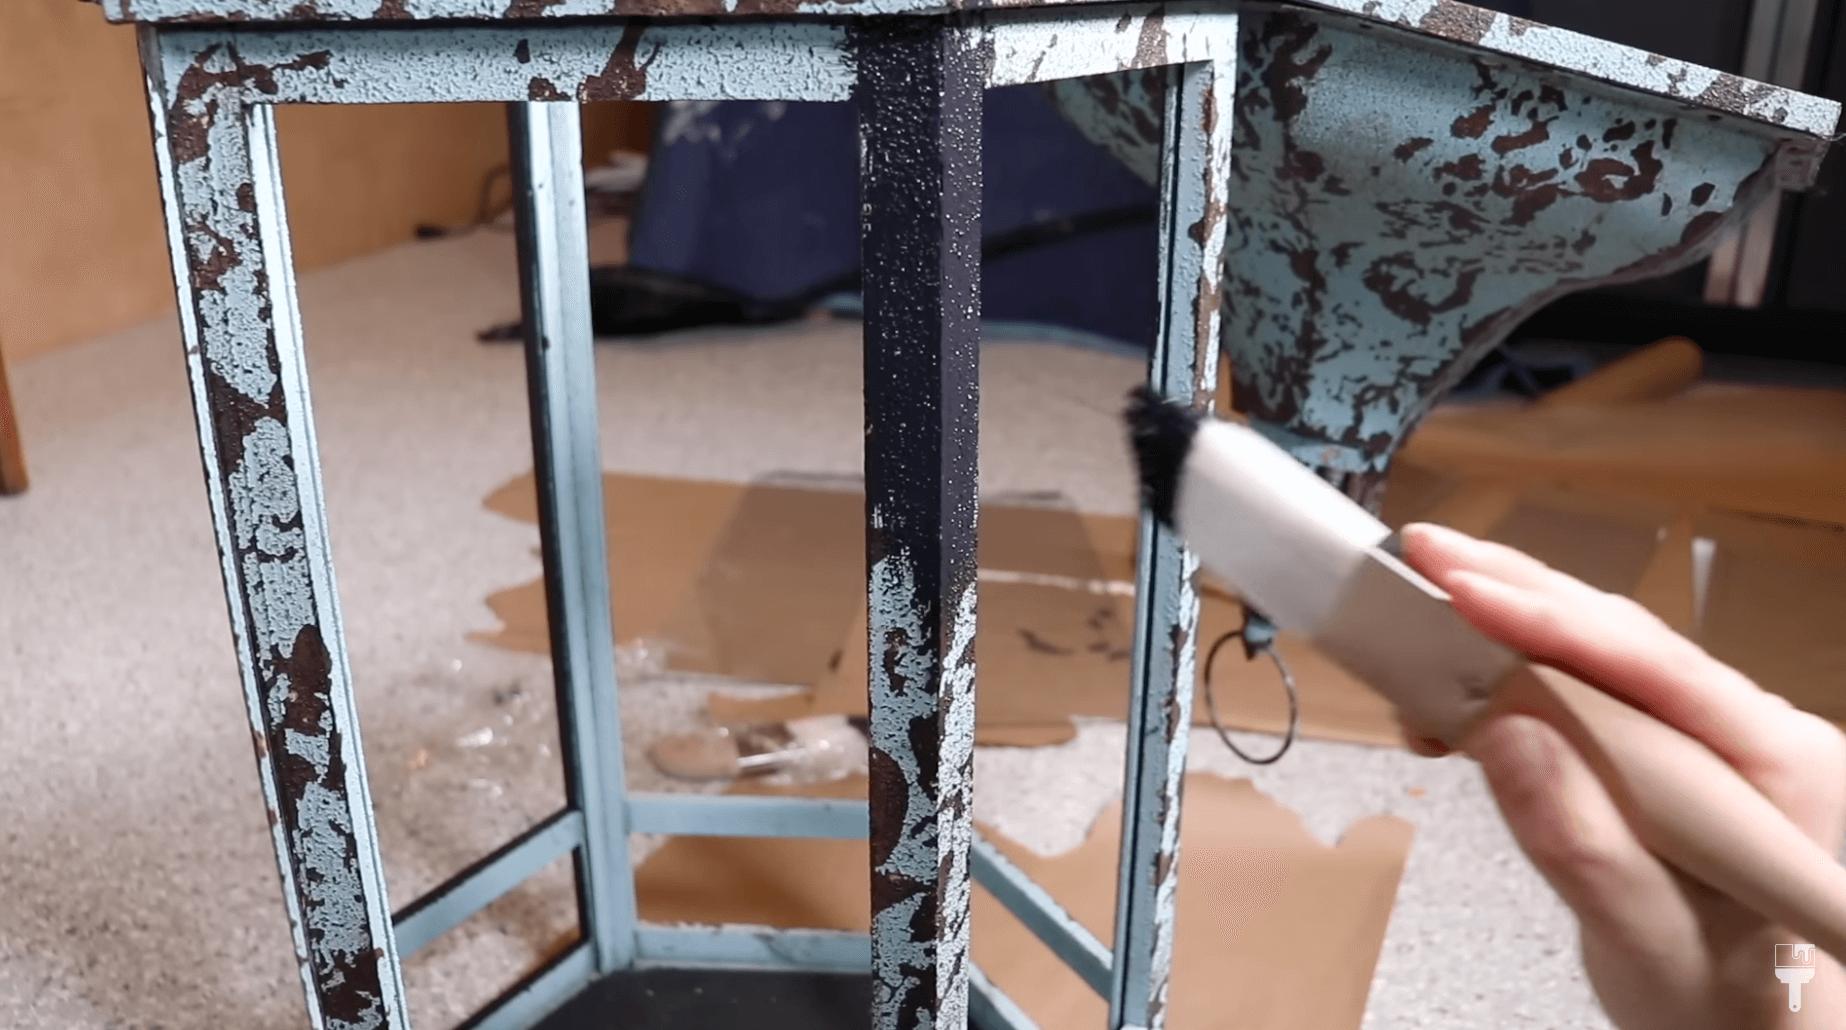
We’re not done yet! I have a fun bonus tip for you! I love making updates to the decor around my house. I’ve done that a lot this last year in moving away from my farmhouse decor and making it more modern. Stretch those leftover supplies and use them creatively!
For the Love of Painting!
My first love of painting furniture came simply as a hobby. I was just doing it for myself and to decorate my home. I’ve come a long way from my first furniture flip back in 2013.
I love being able to update my home affordably and sustainably, and I hope you enjoy your home makeovers just as much as I do! If you want to see all of these tips for painting furniture in action, check out my video over on YouTube!