WoodUBend: Anthropologie Enchantment Dresser Part 2
Disclosure: This blog contains affiliate links. I will receive a commission for items purchased through these links at no extra cost to you. I appreciate your support. Please read all labels and follow all manufacturer safety recommendations when working with paints, stains, and other equipment.
You might be having Deja Vu! So I’m here to tell you that, yes, you have seen me do the most duped piece of furniture on the market: The Anthropologie Enchantment Dresser. But there’s a different twist this time because originally I created this Enchantment Dresser dupe using epoxy molds, and today I’ll be using WoodUBend.
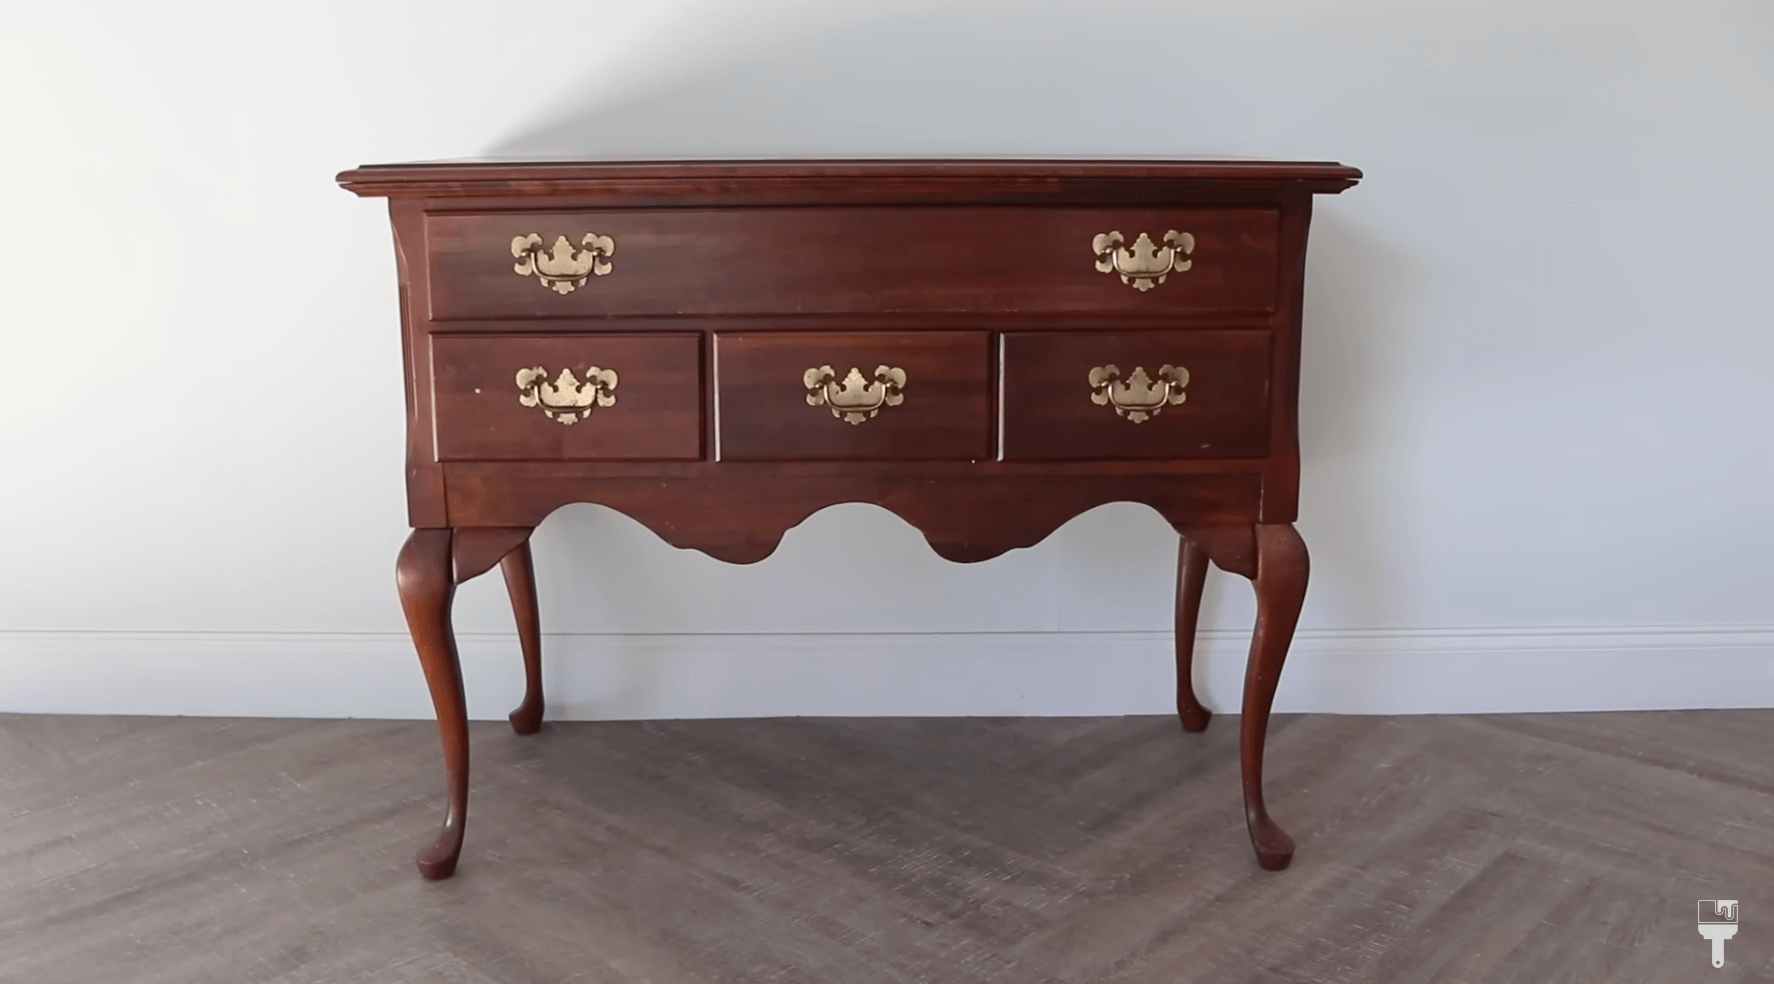
I got this dresser for $45 which is a really great price for my market. The top was completely destroyed and pretty stinky, so there was a bit of prep work to do before I got started with the fun stuff.
So let’s get started!
WoodUBend Enchantment Dresser Products & Tools
Shop this project on AMAZON
Dresser Prep
Like I mentioned, this dresser was in need of some TLC before getting to my whitewash and WoodUBend project. Here’s what I did to prep this piece for my dupe.
Clean

I spent a lot of time washing the whole piece with White Lightning. I also did a vinegar wash on the inside of the drawers to help with the odor. After all of that, I let it air out overnight, and by the morning, it was looking and smelling pretty good.
Strip Finish and Sand

I wanted to get the reddish brown stain off of my piece to give me a clean slate to work with, I used an 80-grit sandpaper to sand everything down (including the hardware holes that I filled in before I got started with everything else).
I didn’t do a perfect sanding job because this is going to be a rustic piece, and the whitewash that I'm doing will hide the imperfections. So don't overthink sanding when you're doing a rustic piece like this.
Camouflage Hole Filler

Because the holes I filled are very white, I wanted to camouflage them a bit to match the color of the wood. I used some Mud Puddle on the spots. The color doesn’t match perfectly, but it’s close enough to blend in when I paint over with the whitewash.
I also picked up some wooden knobs that I’ll whitewash over as well, so I installed those before moving onto paint.
Whitewash with Dixie Belle
I'm ready to start my whitewash! When doing whitewash, you have a couple of options with Dixie Belle whites. 1) Drop Cloth which is a creamier white, and 2) Cotton which is their brightest white I went with Cotton for this project.

Mix Whitewash
When I make a wash, I typically do 50% water and 50% paint, but I wanted this to be a little thicker. So for this project I did 2 parts paint to 1 part water.
How to Paint a Whitewash Finish
Just in case you haven't seen me do a wash before, here are the supplies that I use:
Mixed paint wash
Paint brush
Mister bottle
Lots of lint-free rags to wipe back excess
Gloves to keep my hands clean
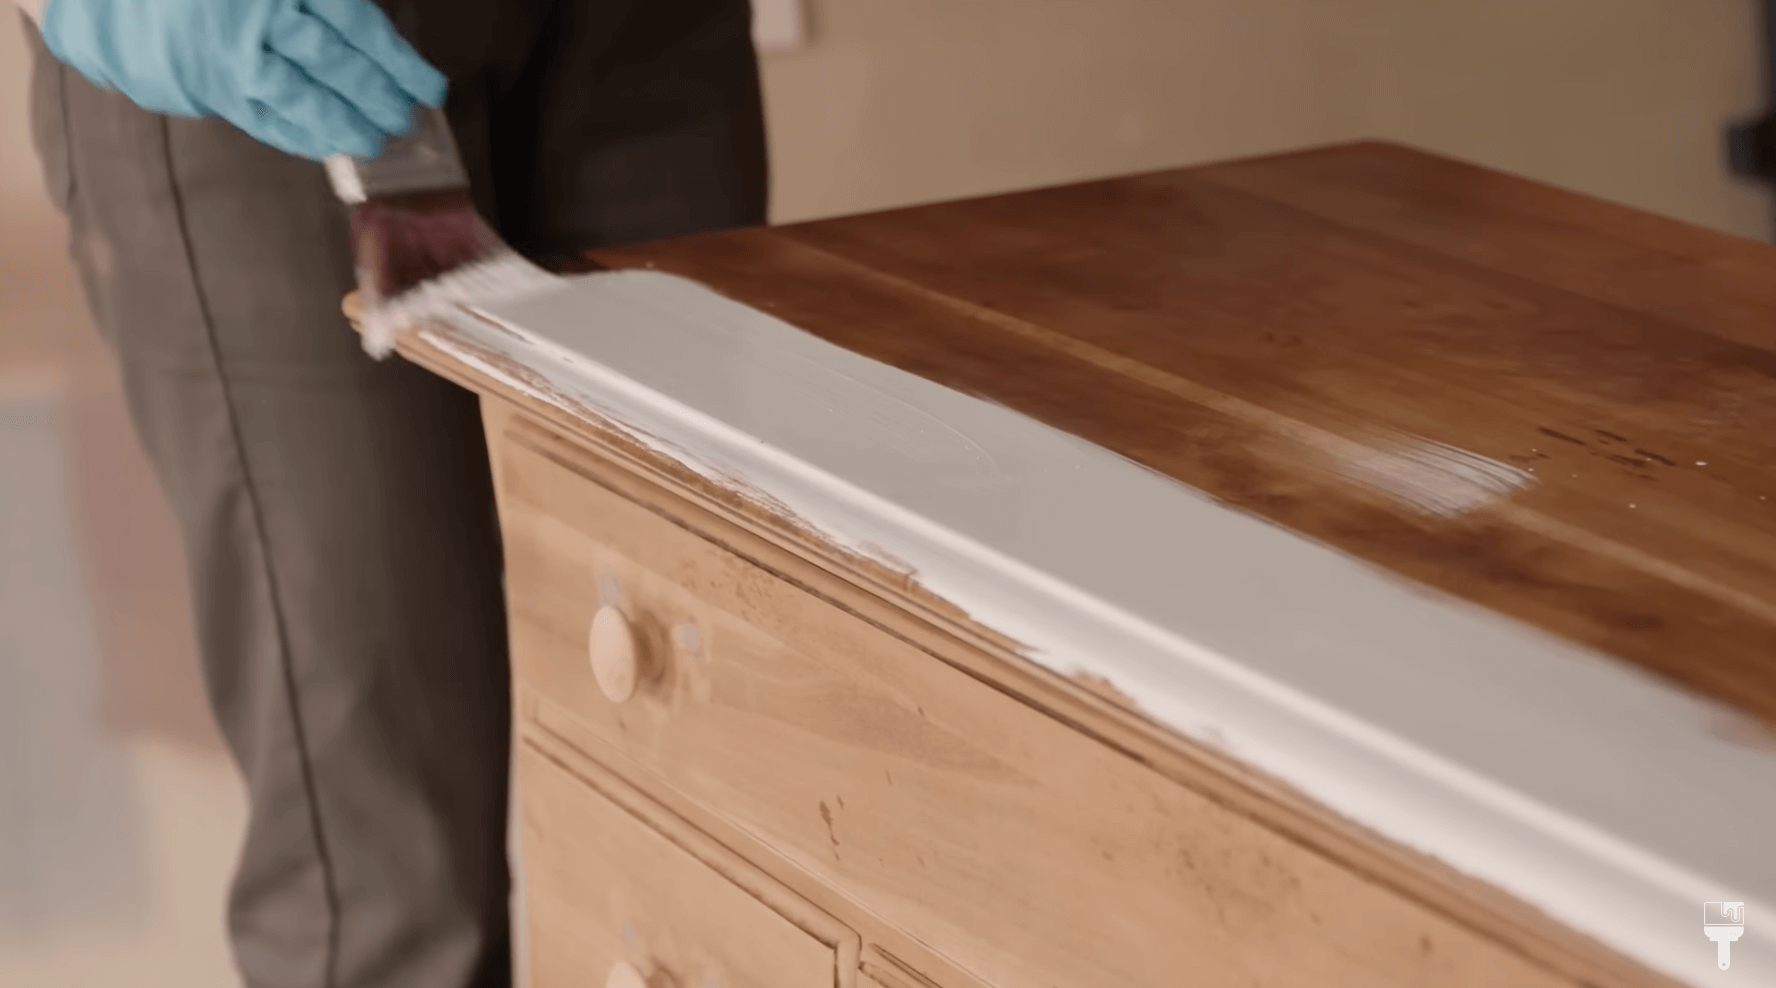
I like to work in sections, so when I’m whitewashing a piece. So I start with the top, paint the whole surface, and wipe back the excess. Then I’ll move onto one side, and then the other, and so on.
You do want to work fast on each section to make sure it doesn’t dry too much before wiping it back with the lint-free cloth. So when you're doing a top, you wanna paint pretty quickly so it doesn't dry up on you.
Why Whitewash Over Stain?
I want to talk a little bit about why I'm using a paint wash versus using a stain here. My inspiration piece, the Enchantment Dress, is rustic and “imperfect.” A stain would be too perfect.
It’s also less messy than stain and you don’t have to deal with the vapors!
After the wash is complete and dry, you can do a second coat, which is what I did.

Add WoodUBend Molds
And now time for the fun part! We are working with WoodUBend flower molds to recreate the Enchantment Dresser look. What’s so cool about these is that it acts and looks a lot like wood, but if you heat it up, it gets pliable. You can cut it and bend it, and when it cools, it sets again.
Like I mentioned earlier, the last time I did the Anthropologie dupe, I used molds and epoxy. I really like the WoodUBend better because it will save me time not having to wait for the epoxy to set! Also, once the epoxy was set, there was no going back. With the WoodUBend, you can simply reheat it to make it pliable again.
Step 1: Heat mold

The first thing you wanna do is heat up your mold a little bit. I used the low heat on my heat gun, and if you don’t have one, you can use a hair dryer. If you need to bend the wood a lot, you’ll want to heat it up a bit more. Once you get as pliable as you need, you’re good to go.
Step 2: Put glue on the back

The next step is getting your glue on the back. I used the Titebond Quick & Thick Multi-Surface Glue, and I applied it generously to the back of the flower molds. You want to make sure you cover every bit.
Step 3: Place your WoodUBend mold on the dresser

Okay, friend, this is the part where we have to let our inner perfectionist go, which is a challenge! But when you’re doing something like this, you don’t want to overthink where you’re putting your molds. Go with your gut, lay it down, and the worst case scenario is that you take it off and try again.
Step 4: Heat up again and press down

Once you get it in place where you want it, you’re going to take the heat gun and heat it up just a little bit more again. Press down really firmly to that every surface of the mold is touching your furniture.
Step 5: Wipe back excess glue

I would recommend having a lot of Q-tips on hand because as you're pressing and squeezing down, some glue will come out from underneath it. You’ll take the Q-tips and wipe back that excess glue.
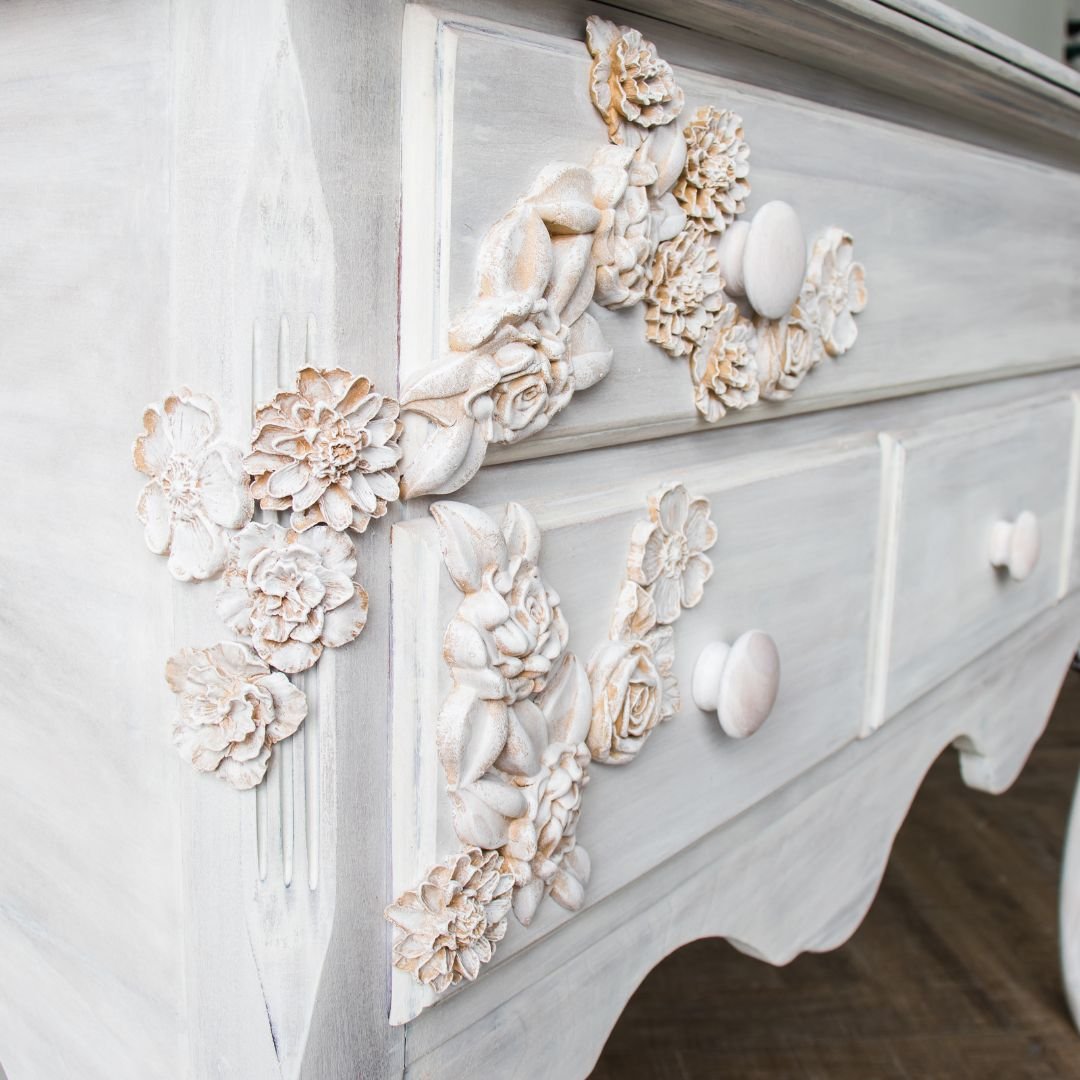
Step 6: Tape down pieces if needed

The fun of working with WoodUBend is that you can bend it! So I tried to make some really fun, interesting pieces that bend around the edges. If you experiment with this like I did, you want to make sure to tape it down to help the glue out a bit. After it’s dried, you can remove the tape.
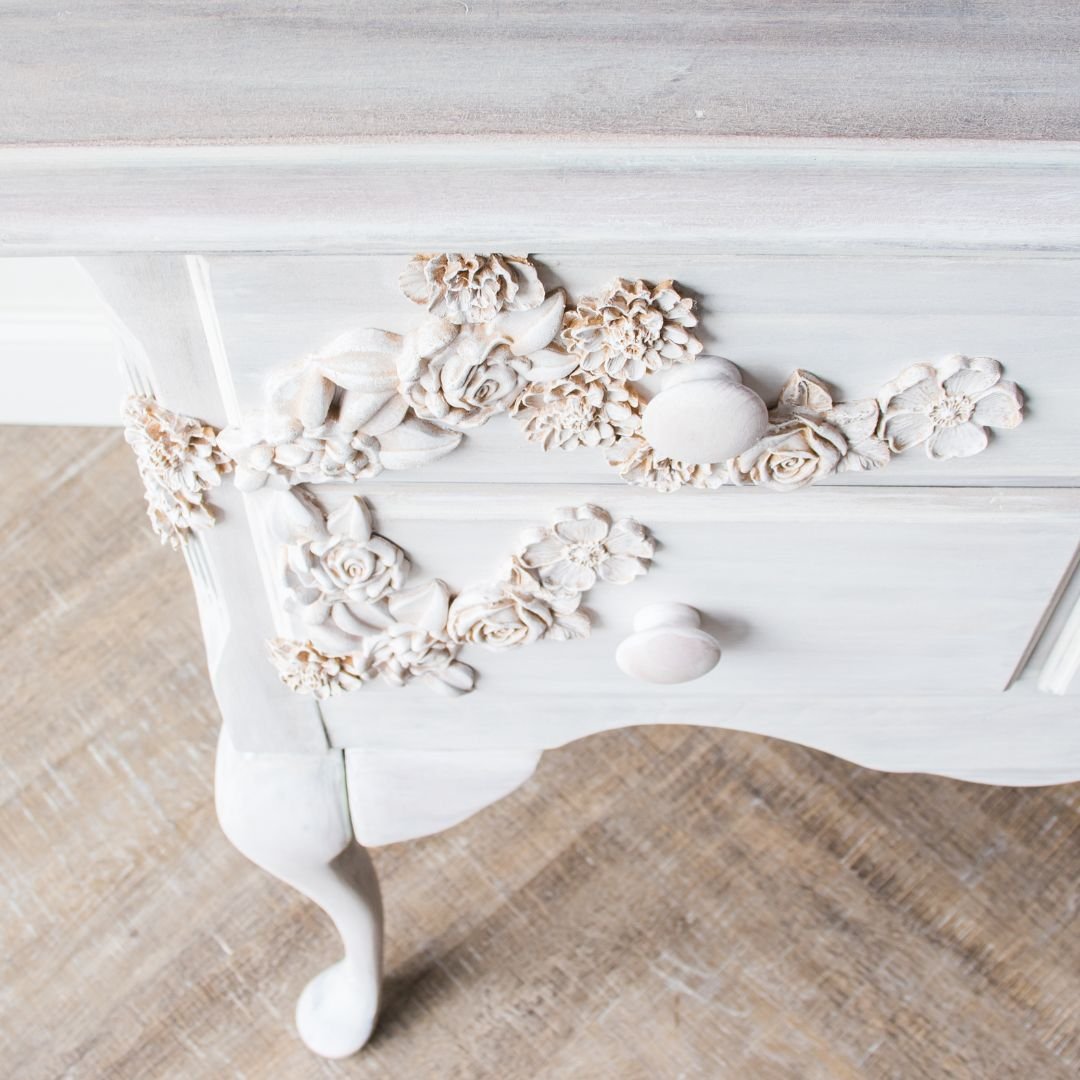
Paint the WoodUBend Molds

I want the WoodUBend flowers to look like the rest of the dresser with a rustic feel. To accomplish this, I used a French tip brush with natural bristles to dry brush my whitewash on.
I didn’t want to slap the paint on, so I started dry brushing very lightly and continued to work the paint in until I got the coverage that I wanted. I also used a small artist’s brush to get in the details and used a paper towel to wipe back any excess paint.
Seal Enchantment Dresser Dupe!

I’m obsessed with how this is looking, and I don’t want to change the color of it at all. I wish I didn’t have to seal it, but I need to protect it. So I decided to go with a natural sealer—Big Mama’s Butta in my favorite scent, Orange Grove. I used the Best Dang Wax Brush to apply it.
After applying it, I took a lint-free cloth to wipe back any excess.
This cures in seven days. And just a note, it will be a little tacky until it dries overnight, so that sheen look will go away a little bit.
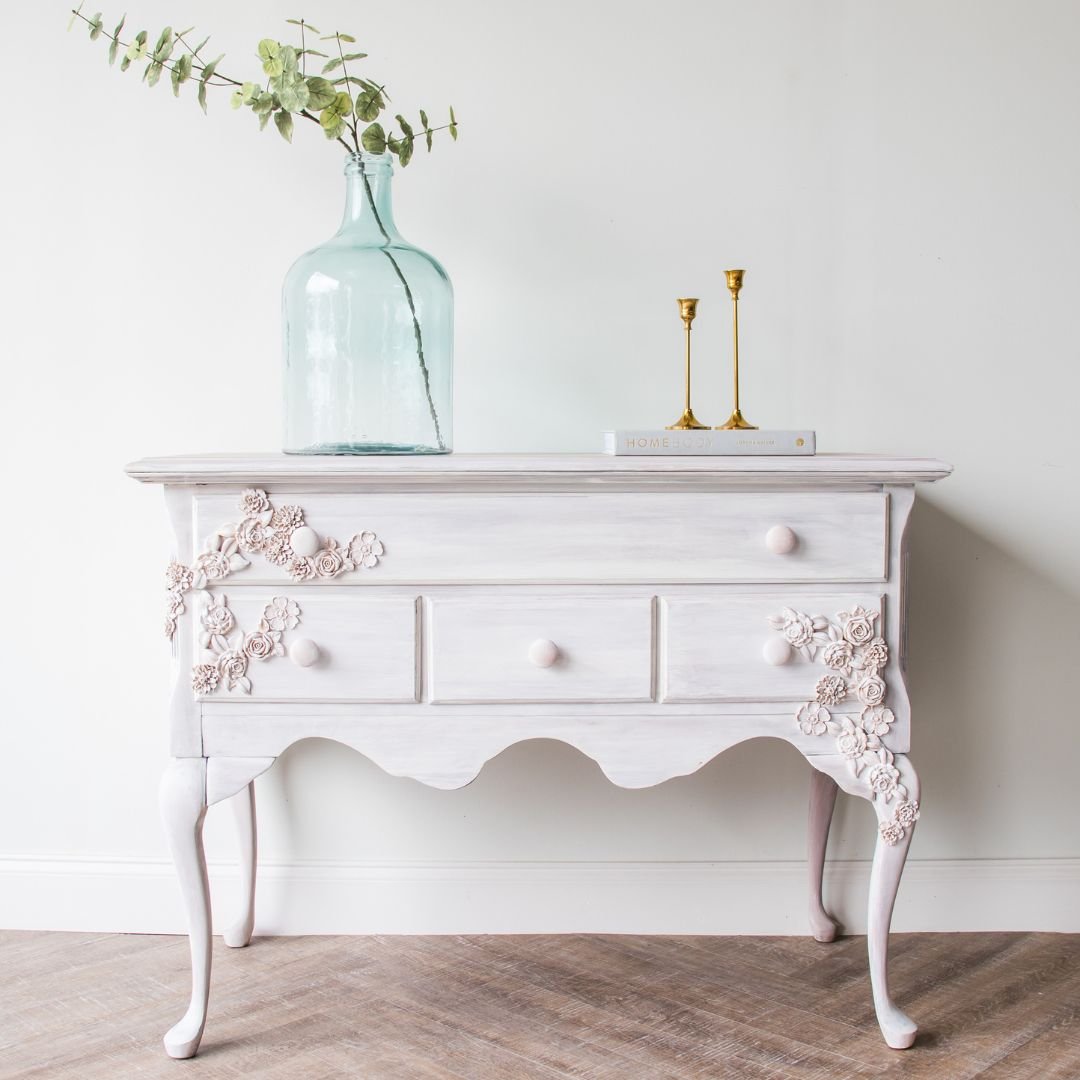
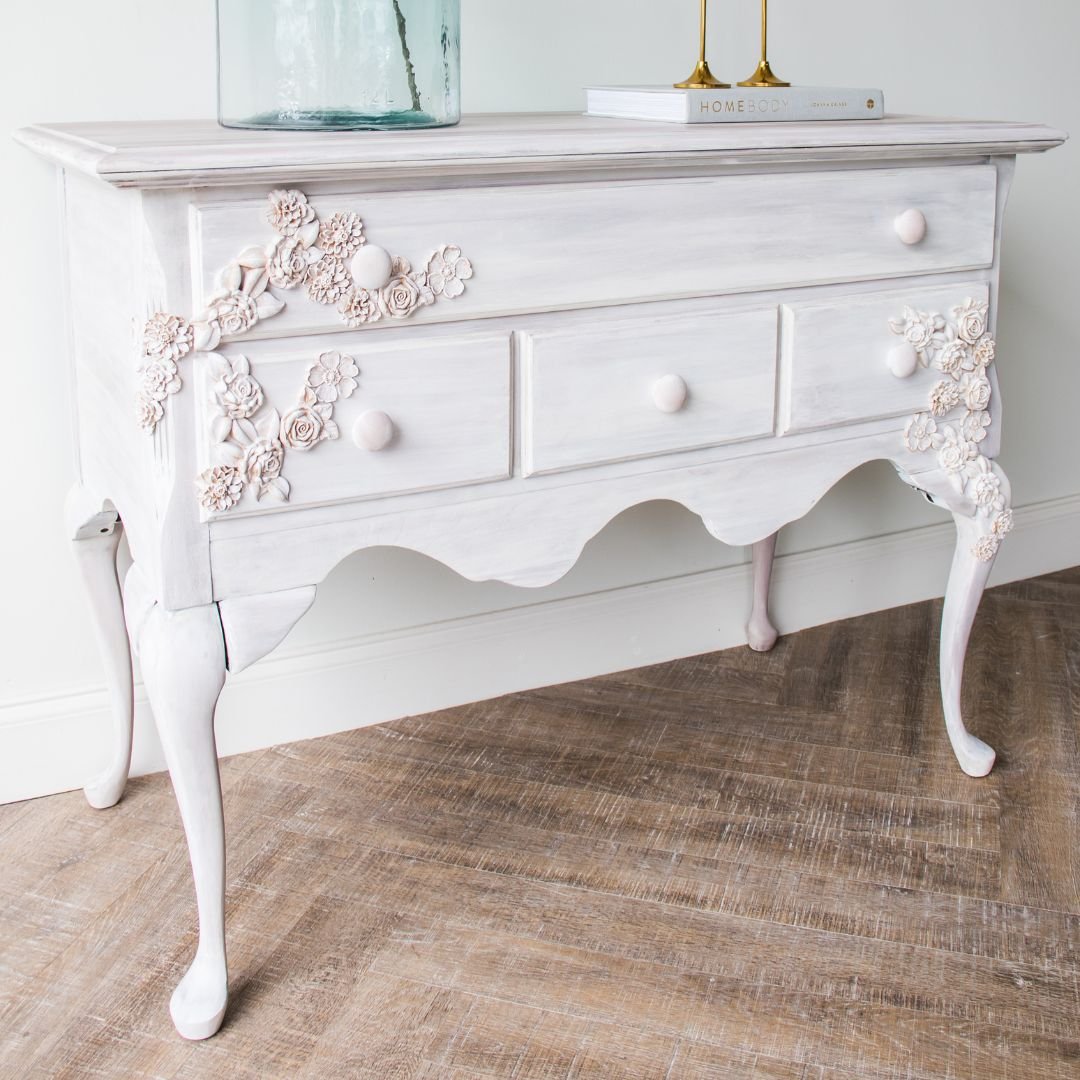
WoodUBend Enchantment Dresser Dupe Reveal
You guys … this was SO MUCH FUN! I really loved using the WoodUBend flowers. It was easy to work with, and it gave me that rustic wood look I was going for. I honestly didn’t believe that I could love it more than my first Enchantment Dresser Dupe, but I do!
Check out the final reveal below, and remember that you can watch this full tutorial over on my YouTube Channel. See you next time!