How to Cane Furniture: It's Easier Than You Think!
Disclosure: This blog contains affiliate links. I will receive a commission for items purchased through these links at no extra cost to you. I appreciate your support. Please read all labels and follow all manufacturer safety recommendations when working with paints, stains, and other equipment.
Cane furniture is still trending, and I’m all about it. I’ve done a couple other caning projects on my YouTube™ channel and here on my blog (a DIY Cane Headboard and this Extreme Furniture Makeover). But here today, I’m actually revisiting a project that I did where I had to quickly change my plans when I majorly messed up the doors of a media console.
I had put too much Bondo on the doors, couldn’t fit my sander in there, and after two days of hand sanding, I gave up on them all together. The piece ended up being a beautiful open concept media console, but today, I’m being brave and picking those doors back up to make something fun out of them.
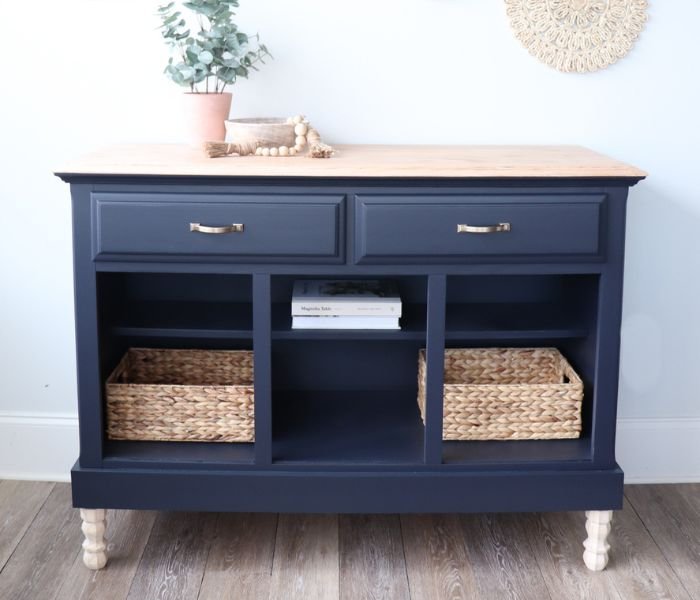
You can decide which you like better! But first, here’s my makeover piece before adding some beautiful cane to it!
Cane Furniture Products & Tools
Wagner Flexio 3000 (detailed nozzle)
Dixie Belle Chalk Paint In The Navy
Surf Prep 3" x 4" Electric Ray (Use Code PRETTYDISTRESSED10 for 10% off your order)
3M Household respirator w/ particle filters for sanding
Miter Saw
Jigsaw
Air compressor Staple gun
Fixing the Doors

Before I got to the cane, I needed to prep the doors. As I mentioned, I kind of ruined the center of these doors that had an ornate design on it originally. So today, I’ll be cutting the center out completely and putting cane in place of it.
I decided to start with my miter saw to give me a nice head start before using a jigsaw to remove the center. This method worked great, but if you don’t have a miter saw, you can definitely do it all with a jigsaw.

I repeated this process on all three of the doors and then grabbed my sander to make sure everything was smooth and even on the inside of the frame.
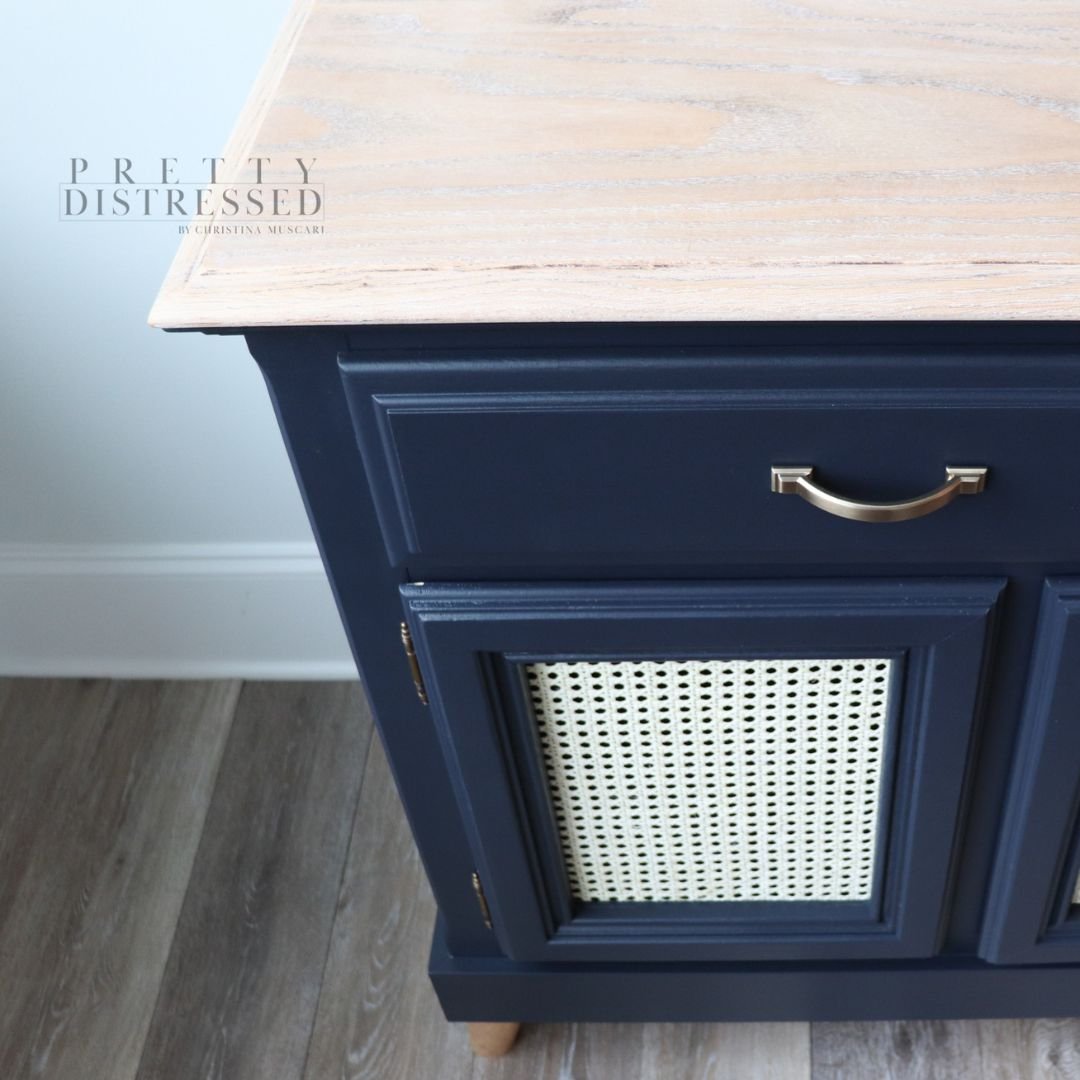
I want the finish of these doors to look the same as the rest of this project, so I used some water down wood filler to fill in the grain of the wood like I did in the original makeover. I sanded that back and was ready to do a quick spray paint.
Painting the Doors
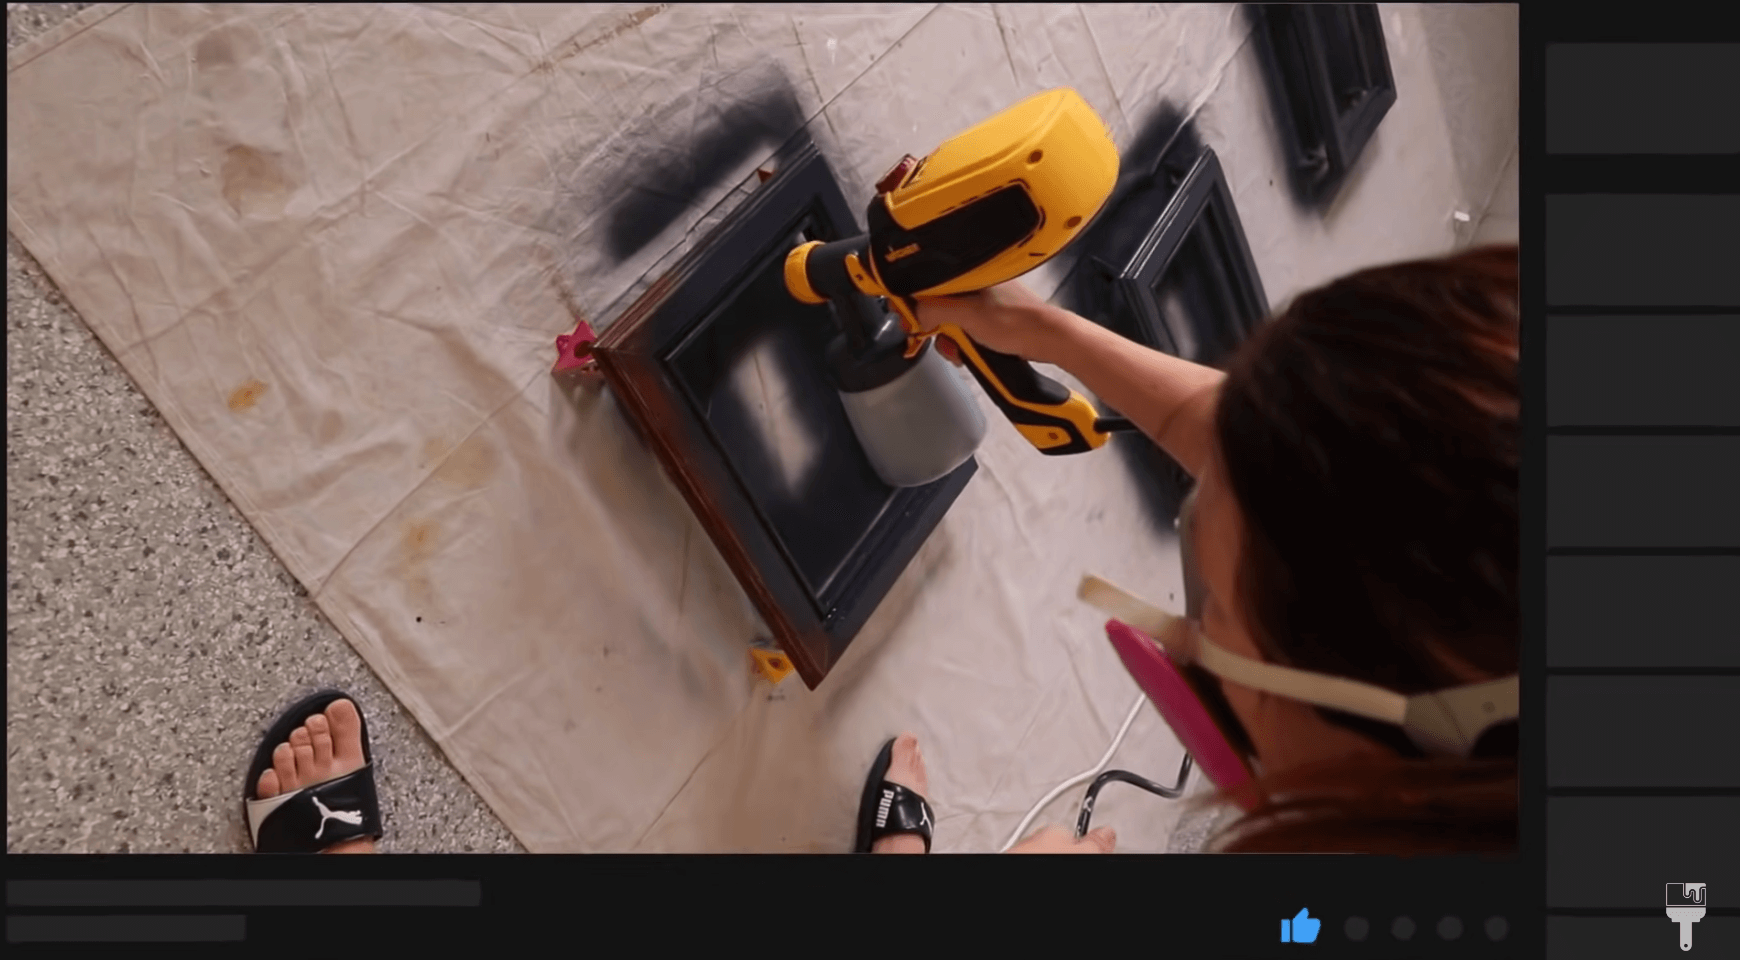
I’ll be painting the doors with my Wagner Flexio 3000 with a detailed nozzle to give me a smooth finish. And the paint I’m using is Dixie Belle’s chalk paint in Navy. After spraying the doors, I added three coats of Dixie Bell Gator Hide which will give it a nicce protective finish.
And one complaint I got about the console was that the feet were really country for the modern style I was going for, so I got some more modern feet on Amazon and replaced them. Now we’re ready to get caning!
How to Cane Furniture: Step by Step
After my doors were dry, it was time to add the cane webbing. Honestly, this process is so easy that It can be broken down into three simple steps.
Step 1: Soak the cane in water for 15 minutes so that it’s stretchy and easy to work with. It will also shrink a bit when it dries making it nice and taught on your piece.

Step 2: Measure your can and cut it down to size. The cane webbing I got was actually already in square pieces, so that made it much easier for me.

Step 3: Use a staple gun to attach the cane to your piece. Pro tip: get a helping hand for this part so that they can hold it taught as you staple it down.
That’s it! These three steps can be applied to pretty much any cane furniture project you have!
Now that this media console is complete, again, you can decide which one you like the best! Check out the before and after.
Bonus: Cricut Art Work
Just for fun, we’re going to make a couple of fun art pieces to stage the new console. I’ll be using the Cricut Joy, some vinyl, and some canvases that I got from the dollar store. The Cricut Joy is their smallest machine, so it’s portable and works with smart materials so that you don’t have to have a cutting mat for it. I’ll break down this art project into a few simple steps.
Step 1: Use the Cricut Design Space App

The Cricut Design App is amazing because you can easily use it straight from your phone. It’s Bluetooth enabled and easy to use. You can search for your artwork in the app (I selected a couple of leafy images). You can pay for a subscription to get a bigger selection of artwork, but I chose ones that were a part of the free selection!
While you’re in the app, you’ll also want to size the artwork according to your canvas size.
Once I have the measurement set up, it’s time to select the material I’m using which is the smart vinyl.
Step 2: Make the Cut

Next it’s time to make the cut. So I loaded my smart vinyl and selected my machine on the app.
What's awesome about this machine is you can do up to 20 feet. So I could see myself making custom transfers for furniture or even decals for hardware. I also love that I can make custom art pieces for staging my projects.
After it’s done cutting, your app will give you the option to unlead the vinyl and the machine will spit it out!
Step 3: Weed the Design

Once my decals were cut, it was time to get them on my canvases. I bought these 8x10 canvases at the dollar store.
I cut the vinyl so that I could work with each design individually. Then I used a weeding tool to remove the excess around the design and get into the little details.
Step 4: Apply to the Canvas

The next step is to use transfer tape to peel the vinyl from the backing in order to apply to the canvas. Once it was on the transfer tape, I placed the design were I wanted it on the canvas and used a burnishing tool to scrape the back of the transfer tape. When you start to peel back the tape, the design should stick to your surface. If it doesn’t, place it back done and do some more burnishing.
I grabbed some inexpensive frames that I had from Amazon, took the glass out, and

Once they were finished, I grabbed some inexpensive frames I had from Amazon, removed the glass, and hung them on the wall to stage my new media console.
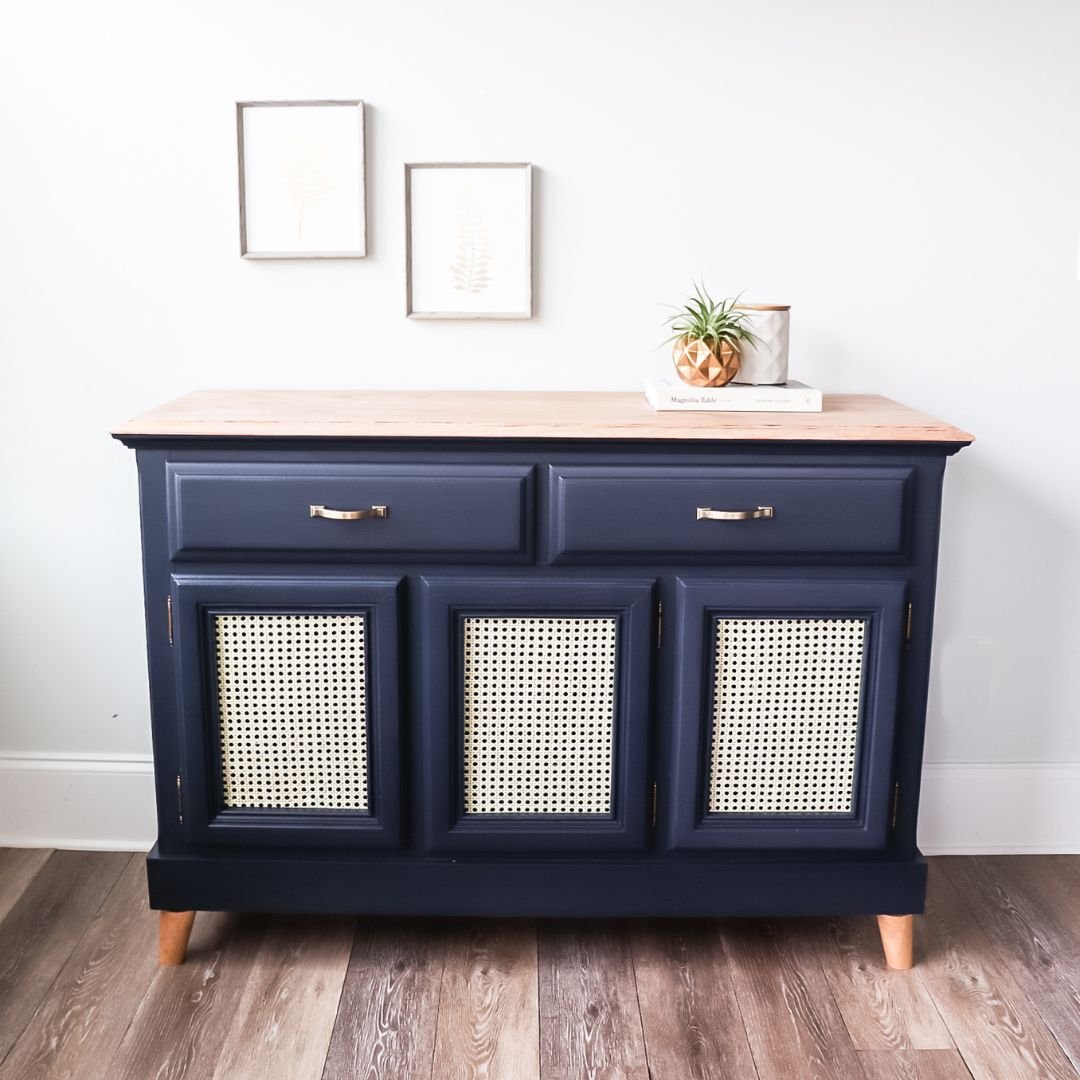
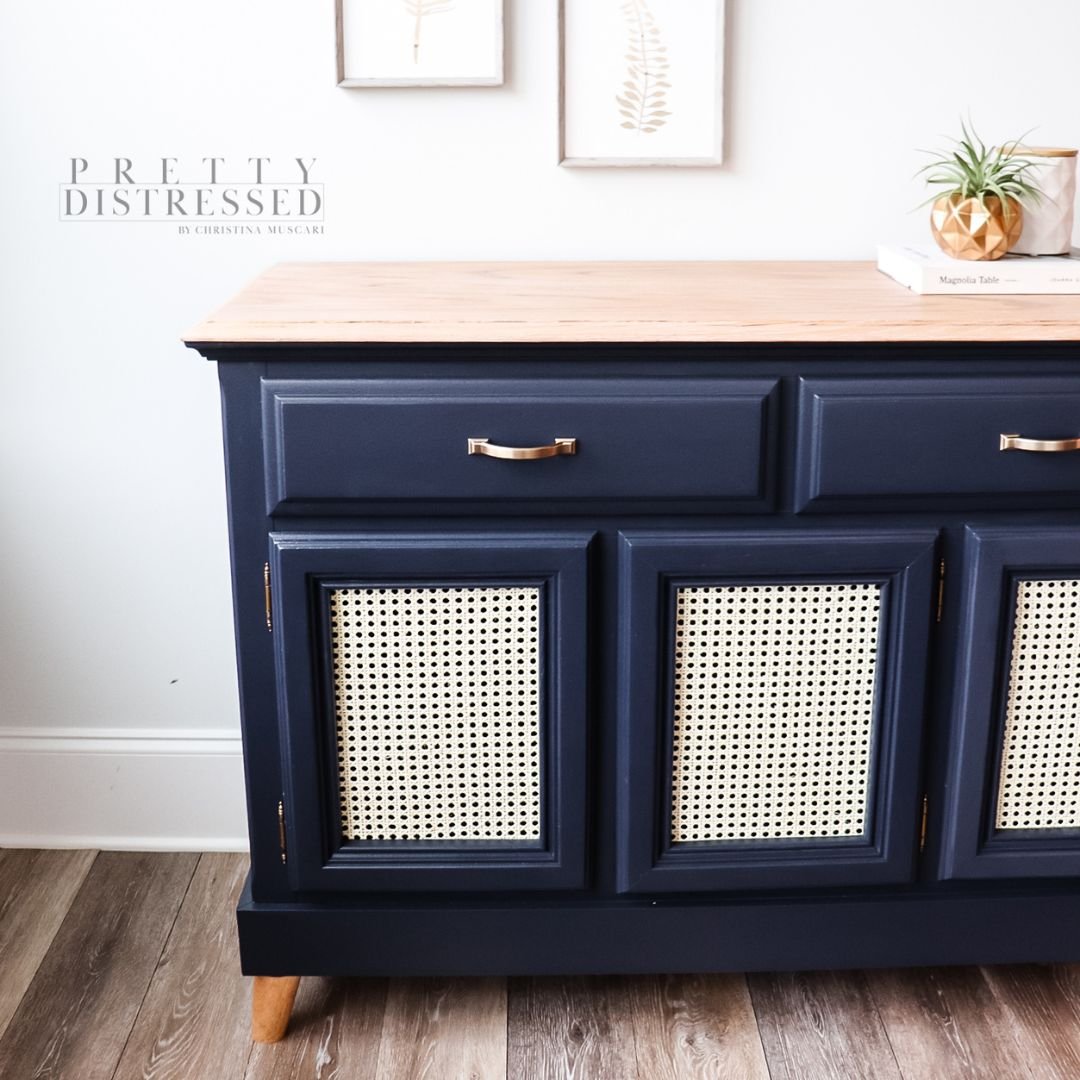
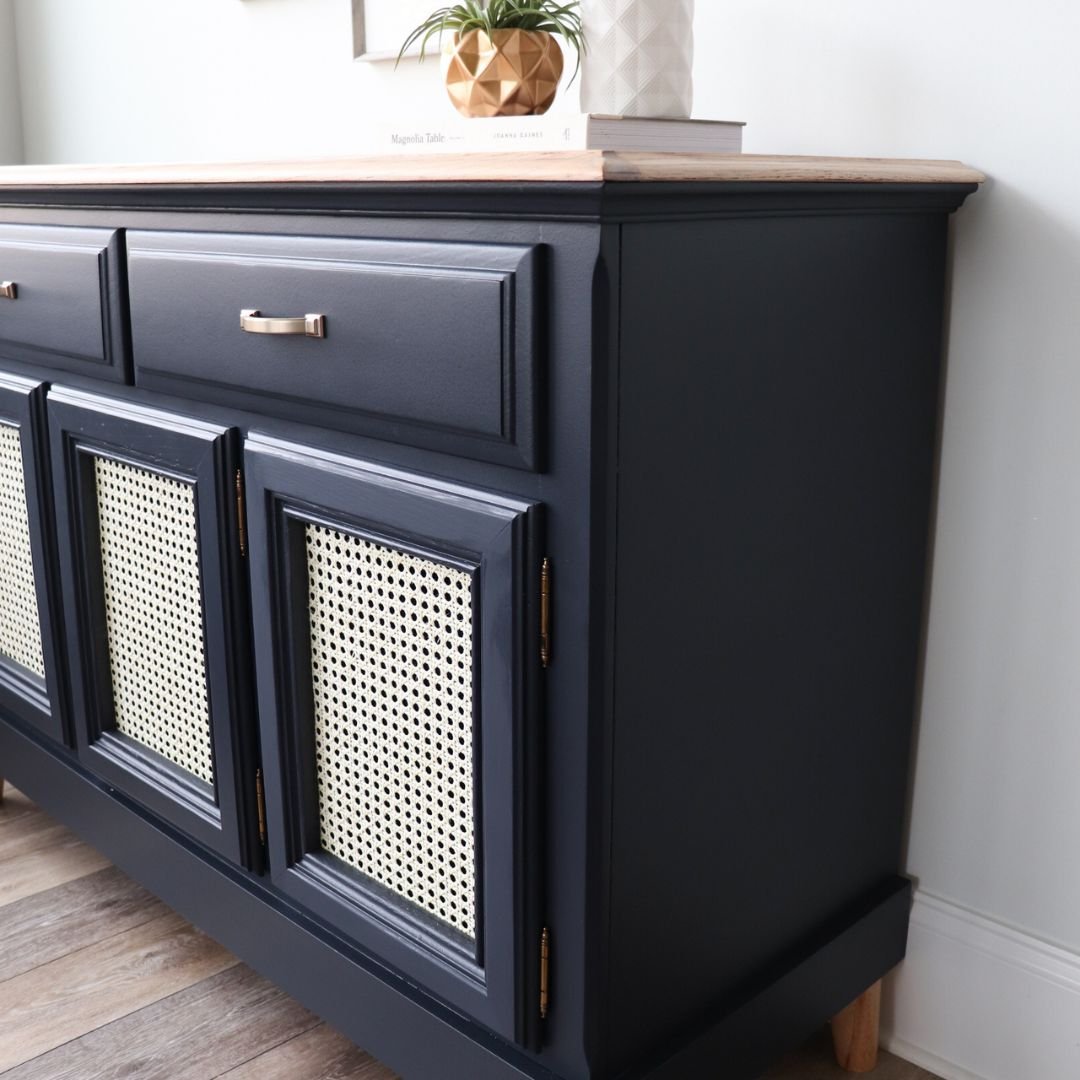
Cane Furniture Reveal
Okay, who is ready for the big reveal? I already loved the piece that I originally madeover, but with the addition of the new modern feet and the cane furniture look on the doors, I have to admit that I love it even more!
If you want to check out this full tutorial, head over to my YouTube video to watch! And don’t forget to comment which version of this makeover you liked the best.