
Guest Post: Creating Your Own Stencil
I am back from vacation, but I have a bonus guest post for you today. I had so many submissions I couldn't narrow them down. This post comes to you from interior designer, Rachel Rossi. Rachel blogs about home design and décor on her site, www.Rachelrossi.co/blog. Today she is sharing her stenciled side table project with us and showing you how to create your own stencil, too. Take it away, Rachel.
Stenciled Side Table
It started with a yard sale, as most good things do. I found this tiny, adorable, and foldable table! I saw a ton of potential the moment I laid eyes on it, I had to laugh when I first saw it, it seemed so small, I wasn’t sure how it could be useful. But, once I looked over it again, I noticed that it the top folded down, making it a perfect piece for small spaces! I wanted to put a modern spin on it with some fresh colors and the shape was just begging for a stencil, so that’s exactly what I did!


I’d love to share with you how you too can create a lovely little table like this! I’ll briefly go over how I refinished it and how you can create your very own custom stencil for the table top.
What I Did
It started with a yard sale, as most good things do. I found this tiny, adorable, and foldable table! I saw a ton of potential the moment I laid eyes on it, I had to laugh when I first saw it, it seemed so small, I wasn’t sure how it could be useful. But, once I looked over it again, I noticed that it the top folded down, making it a perfect piece for small spaces! I wanted to put a modern spin on it with some fresh colors and the shape was just begging for a stencil, so that’s exactly what I did!
I’d love to share with you how you too can create a lovely little table like this! I’ll briefly go over how I refinished it and how you can create your very own custom stencil for the table top.
To begin, I took everything apart that I could. Then after some serious sanding and a quick wipe-down, I was ready to stain. I chose to paint the legs a lovely shade of turquoise and refinish the top in slate grey.
I love how this grey water based stain went on, it’s a fresher look than mahogany stain!

The Stencil
The Stencil
After I stained the table top and painted the legs I was ready to stencil. I’ve blogged about using stencils before (click here to see that post), but haven’t had too much experience with making my own - it’s a pretty cool process! Here’s what I did:
Supply List:

2) I taped the stencil template to the front of the frame, lining up where I wanted the pattern on the stencil.
3) Using the stencil burner, I traced my design.

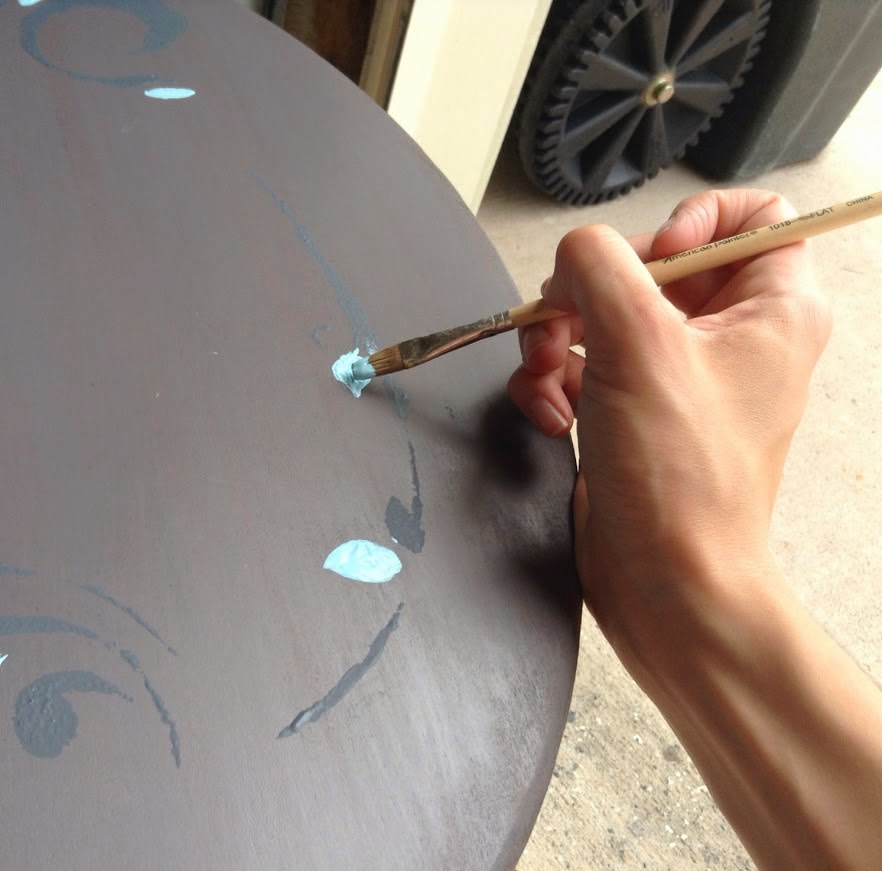
4) I placed my stencil on my table top, taping it down with painter’s tape. Then I began to dab on paint with a stencil sponge.

This does take some practice—don’t worry if it isn’t perfect the first time. Go back through after you remove the stencil and do any necessary touch ups with a detail paint brush.
5) Now for the final touch. I put my table back together and finished the top with polyurethane. I do one coat of poly, let it dry, and then go through with steel wool (don’t worry, you won’t ruin your table top). After that, I do one last coat on the top and let it dry thoroughly.
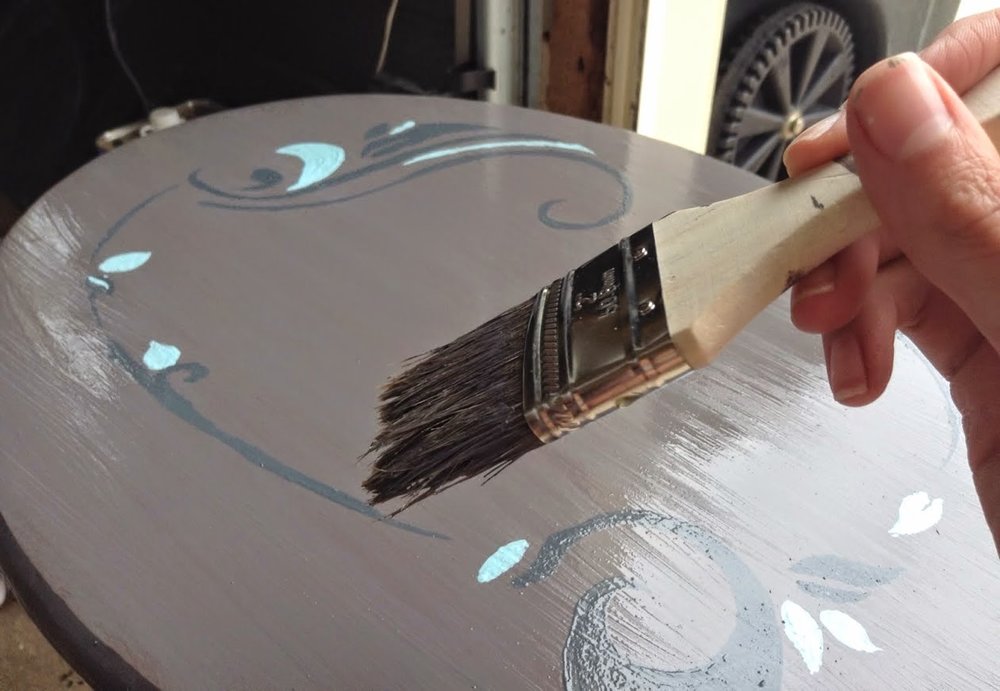
That’s it! Pretty easy, eh? Look at my finished product!

Here are some tips for creating your own stencil that I learned along the way:
- Stencil burner (Martha Stewart has a great one)
- Stencil template
- Glass (I used a cheap picture frame)
- Tape
- A pattern to trace (that you drew or printed)
1. Don’t create long, thin lines — It’s very difficult to get a clean edge on a continuous line, and paint doesn’t sink in very well on a thin opening.
2.Take your time when cutting out the stencil — It’s a VERY slow process...don’t rush it or it will look rushed!
3. Make sure there is adequate room between openings on the stencil. It’s very hard to keep skinny pieces of the stencil in place. The paint tends to bleed if the separation between openings is too thin.
I hope you enjoyed this project as much as I did. Stencils are a great way to create a cohesive feel within your space. You can add them to walls, floors, rugs, pottery, anywhere really! It was such a blast to see this worn out table get a fresh look and new function.
--------------------------------------------------------------------------
Thank you so much for the great tutorial, Rachel! I am looking forward to collaborating more with Rachel in the future, not only is she a great blogger but she is professional designer with years of experience and education.
Thank you to all the amazing ladies for guest posting this past week! Don't forget to check out their blogs: Hot Commodity, brepurposed, and Rachel Rossi.