
How to Install a DIY Shiplap Fireplace Wall
This video and project is sponsored by Jolie Home. This post contains affiliate links and purchases made after clicking them will result in a small commission for Pretty Distressed.
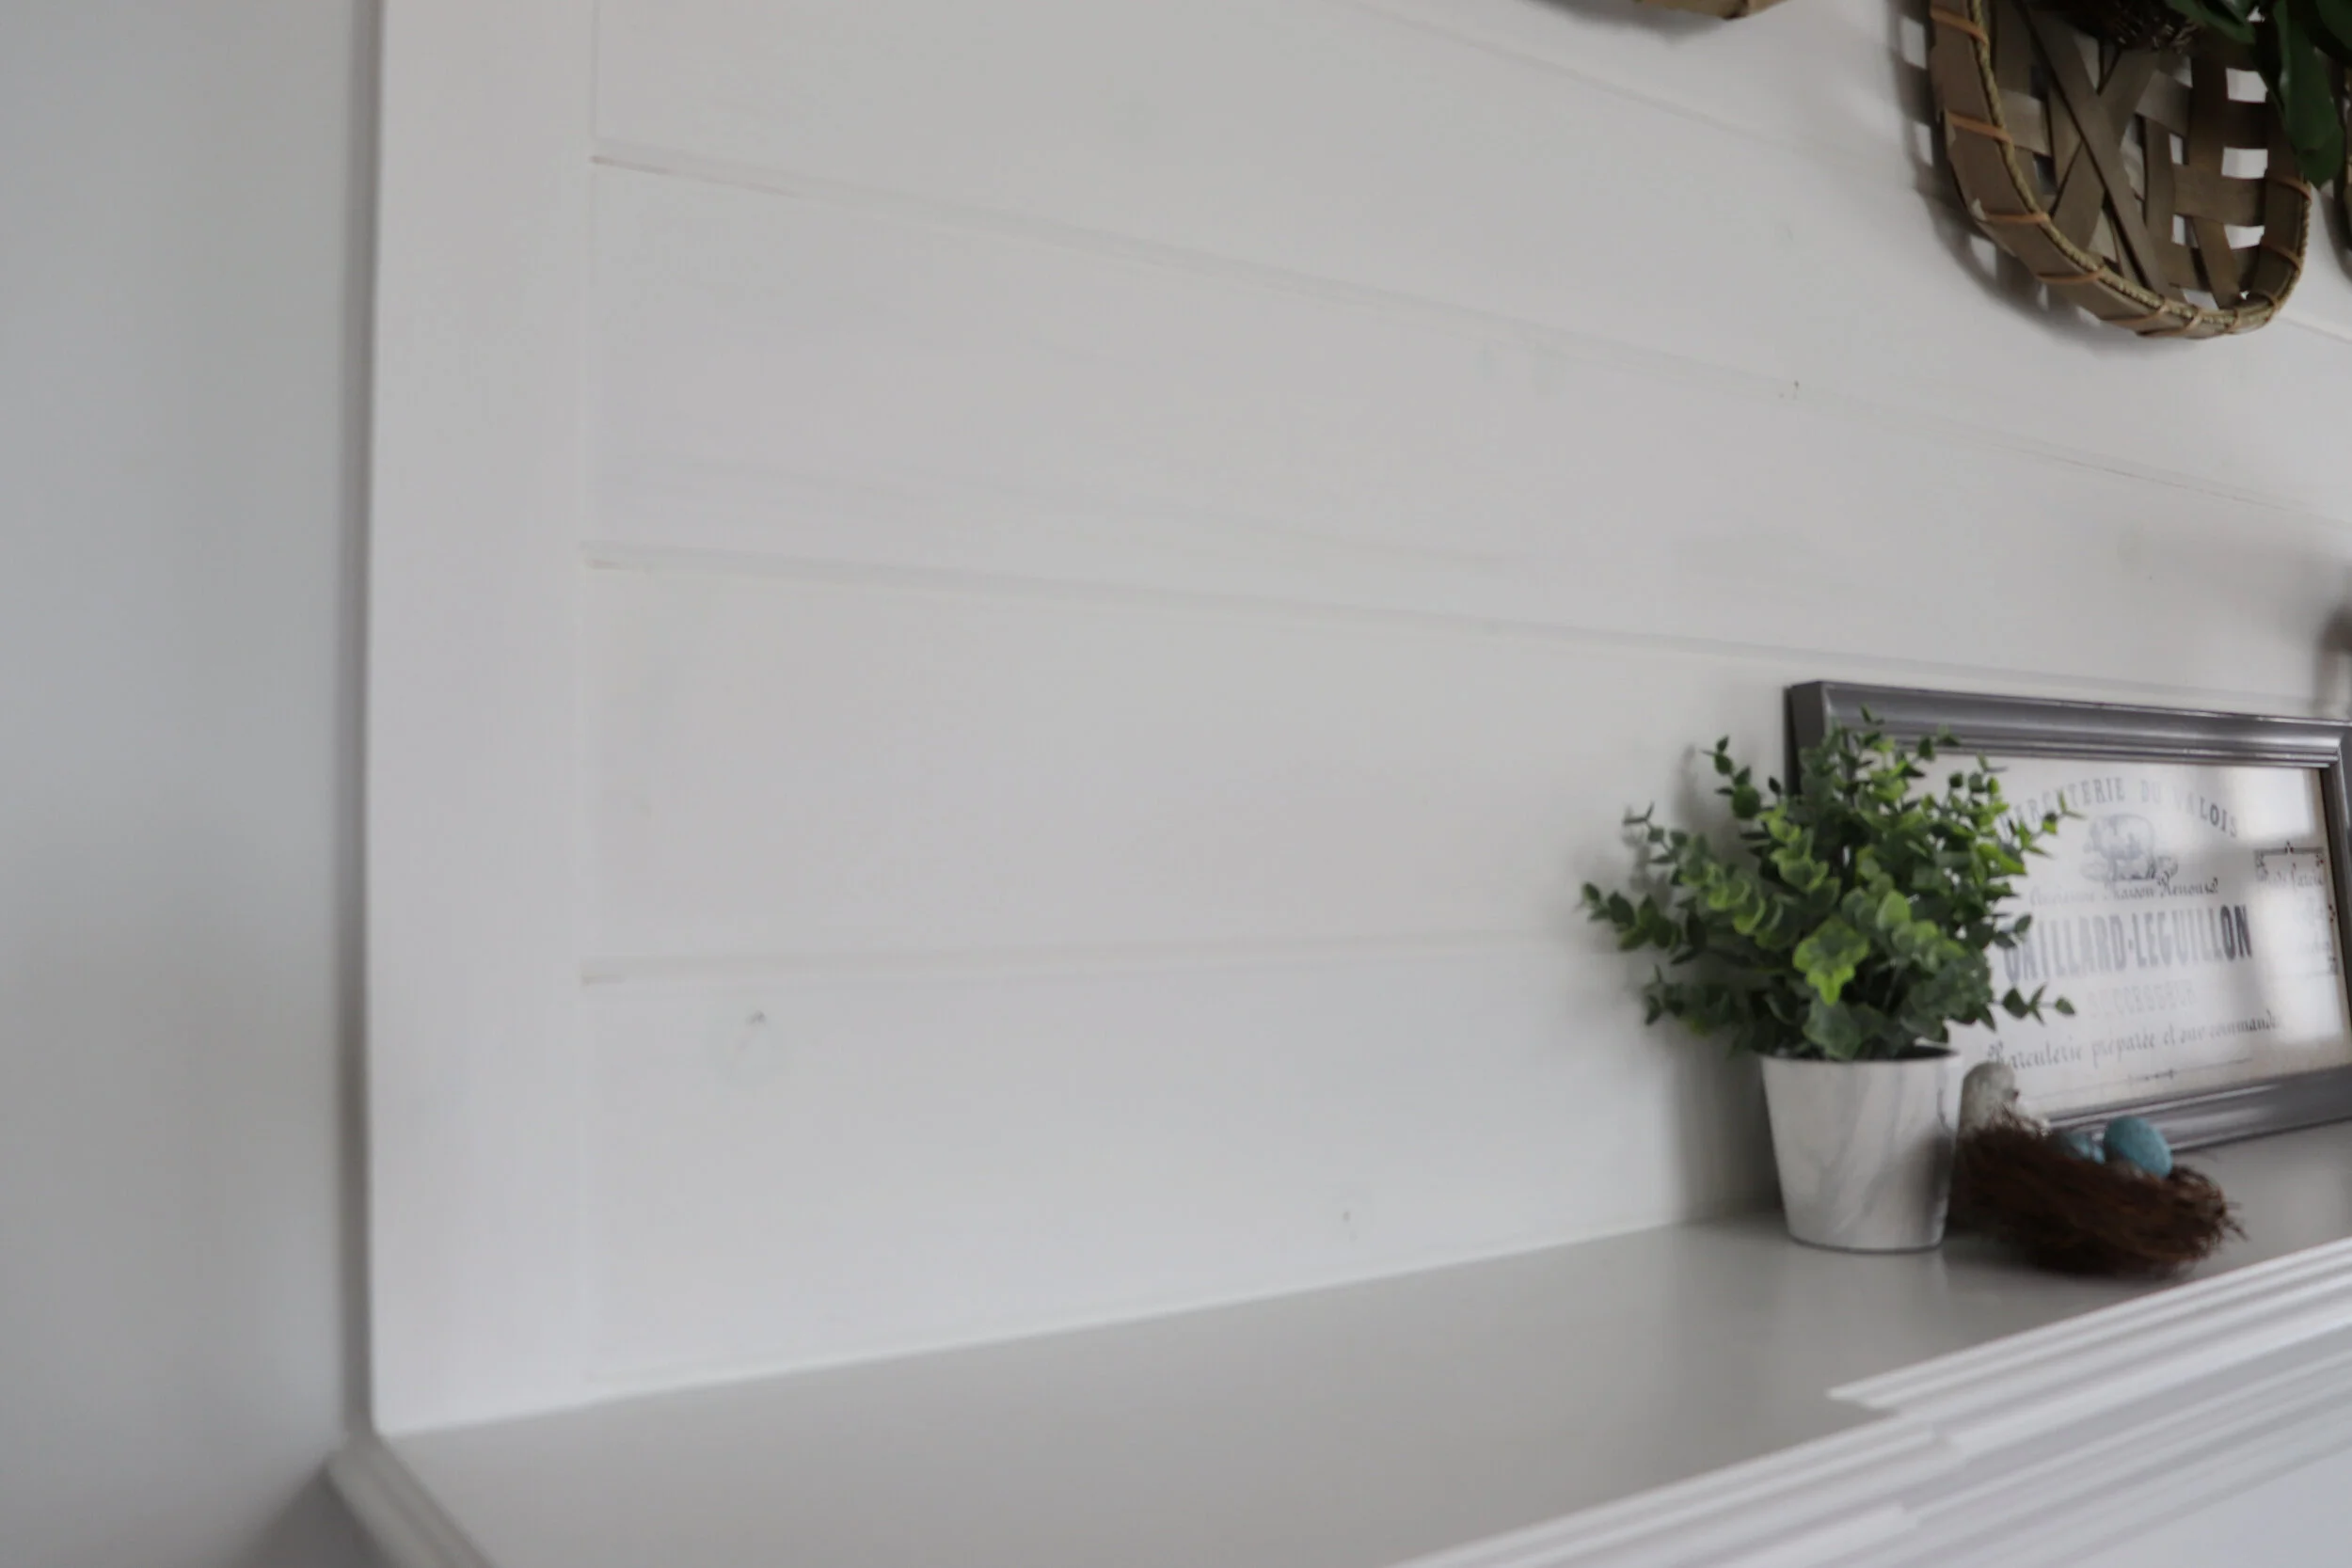
I recently upgraded my builder grade fireplace to give it a shiplap look. I was pretty shocked how easy this was and how quickly we got it done. You will find all the products you need below, and jump to the bottom of this post to see the DIY shiplap fireplace wall video tutorial.
Product List
1” x 6” x 12’ Pine Board Pattern Tongue and Groove
1 in. x 2 in. x 8 ft. Spruce/Pine/Fir Common Board (border)
ScotchBlue Pre-taped Painter’s Plastic
Hanging Shiplap
I used tongue and groove boards from Home Depot and some common boards for the border on both sides. My hubby helped me cut and hang the boards. We have a miter saw and air compressor nail gun which made the job a lot easier. If you don’t have those items, you can always borrow, rent or just measure your cuts and take them up to Home Depot to get them cut. We simply marked the studs with a stud finder and nailed all the boards to the wall using the studs as anchors.
We bought the pine boards from Home Depot. Using tongue and groove boards is an easy way to get a shiplap look without having to use spacers or paint the wall behind the boards. They fit together like puzzle pieces, and like I mentioned it only took my hubby an hour to get this whole thing up on the wall.
Painting Shiplap
I used one of my new favorite furniture paints to finish off the boards, Jolie Paint in Palace White. This paint has a matte finish and provided a more rustic, farmhouse look by letting some of the grain and knots poke through. This specific color is just a touch warmer than a pure white. It was designed by the founder of Jolie for all the cabinetry in her home. It coordinated perfectly with my mantel and trim, but had just enough difference to really make the shiplap stand out.
You can certainly use a latex trim paint to finish this off if you want a more polished look or if you want it to match your mantel. Most mantels will be painted with a door and trim semi gloss or high gloss paint. If you do use a latex paint to finish it off, I would recommend using a primer first. I like to use Zinsser Bin primer with pine because it is shellac based and will really hide the knots in the boards.
Finishing Shiplap
The thing that will really make this project look finished is caulking any gaps you have. I filled in all the gaps between the tongue and groove boards and the border boards as well as the gap between the wall and the boarder boards. I got a premium caulk that it is designed for crown molding so that it would look really seamless with the build.
Shiplap Fireplace Video Tutorial
For a step by step tutorial, watch my YouTube video on the entire project. And consider subscribing to my channel so you won’t miss a DIY or furniture makeover from me.
No too hard, right. Do you think you will try it out?