
How To Get a Smooth Paint Finish on Wood Furniture
This video and project is sponsored by Jolie Home. This post contains affiliate links and purchases made after clicking them will result in a small commission for Pretty Distressed.
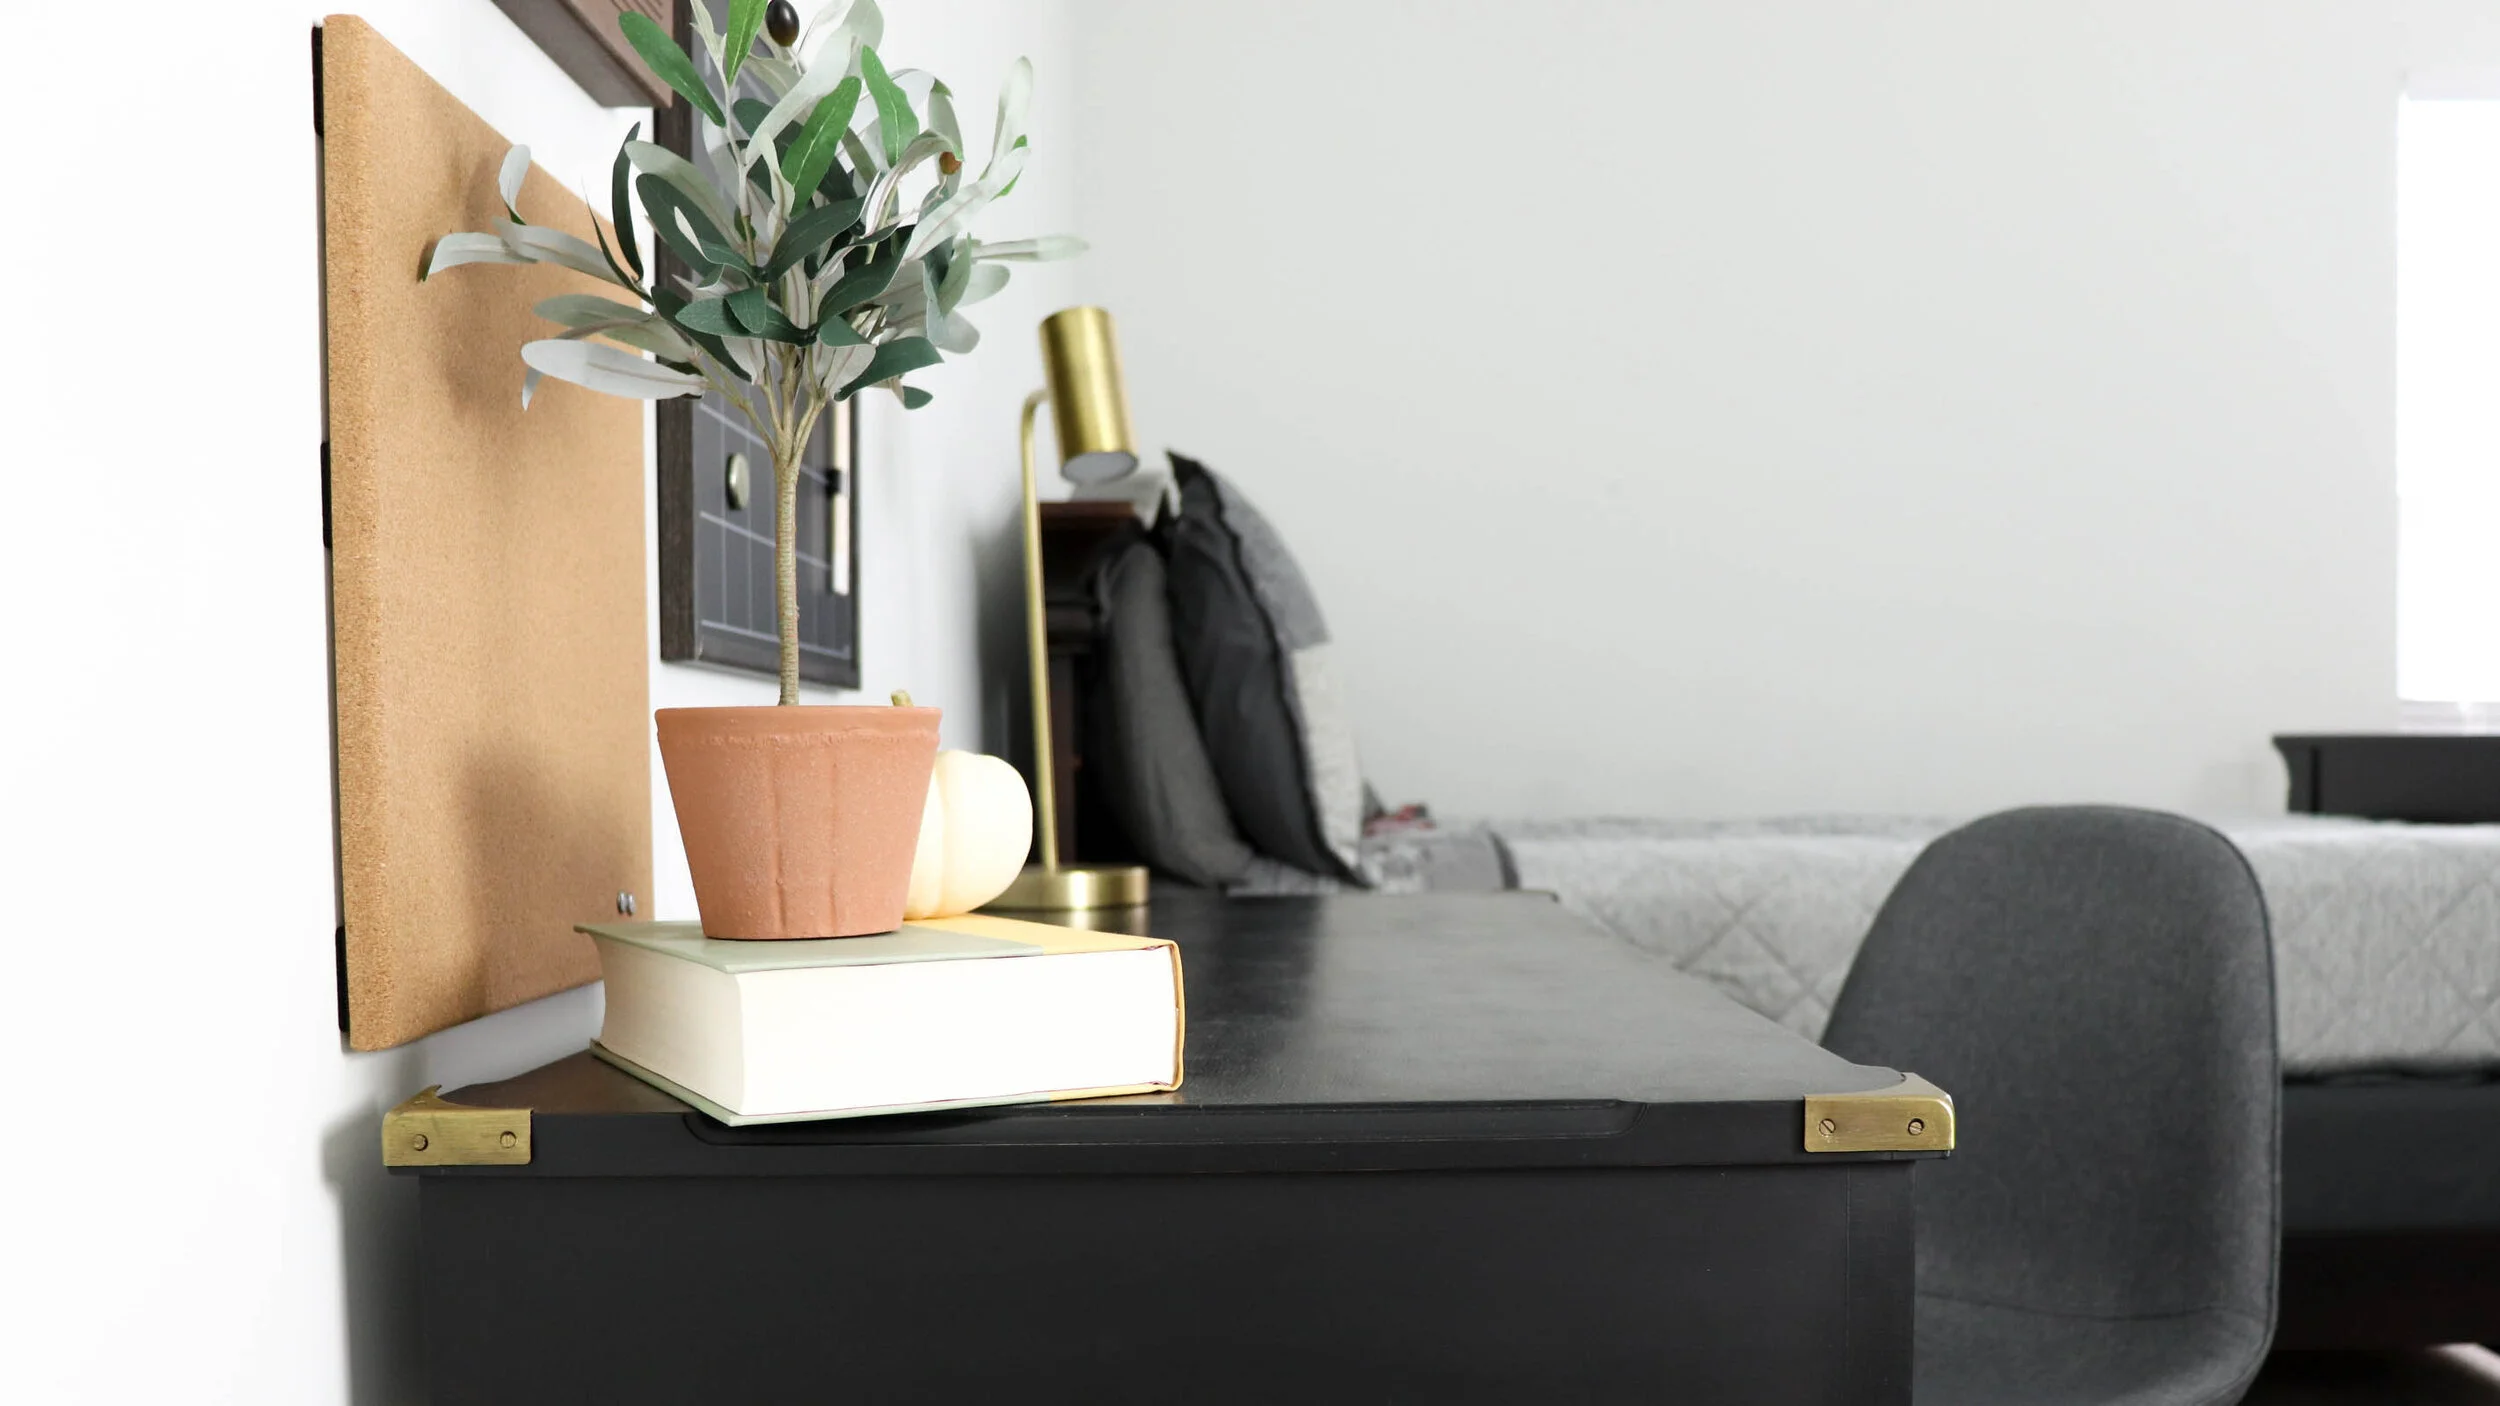
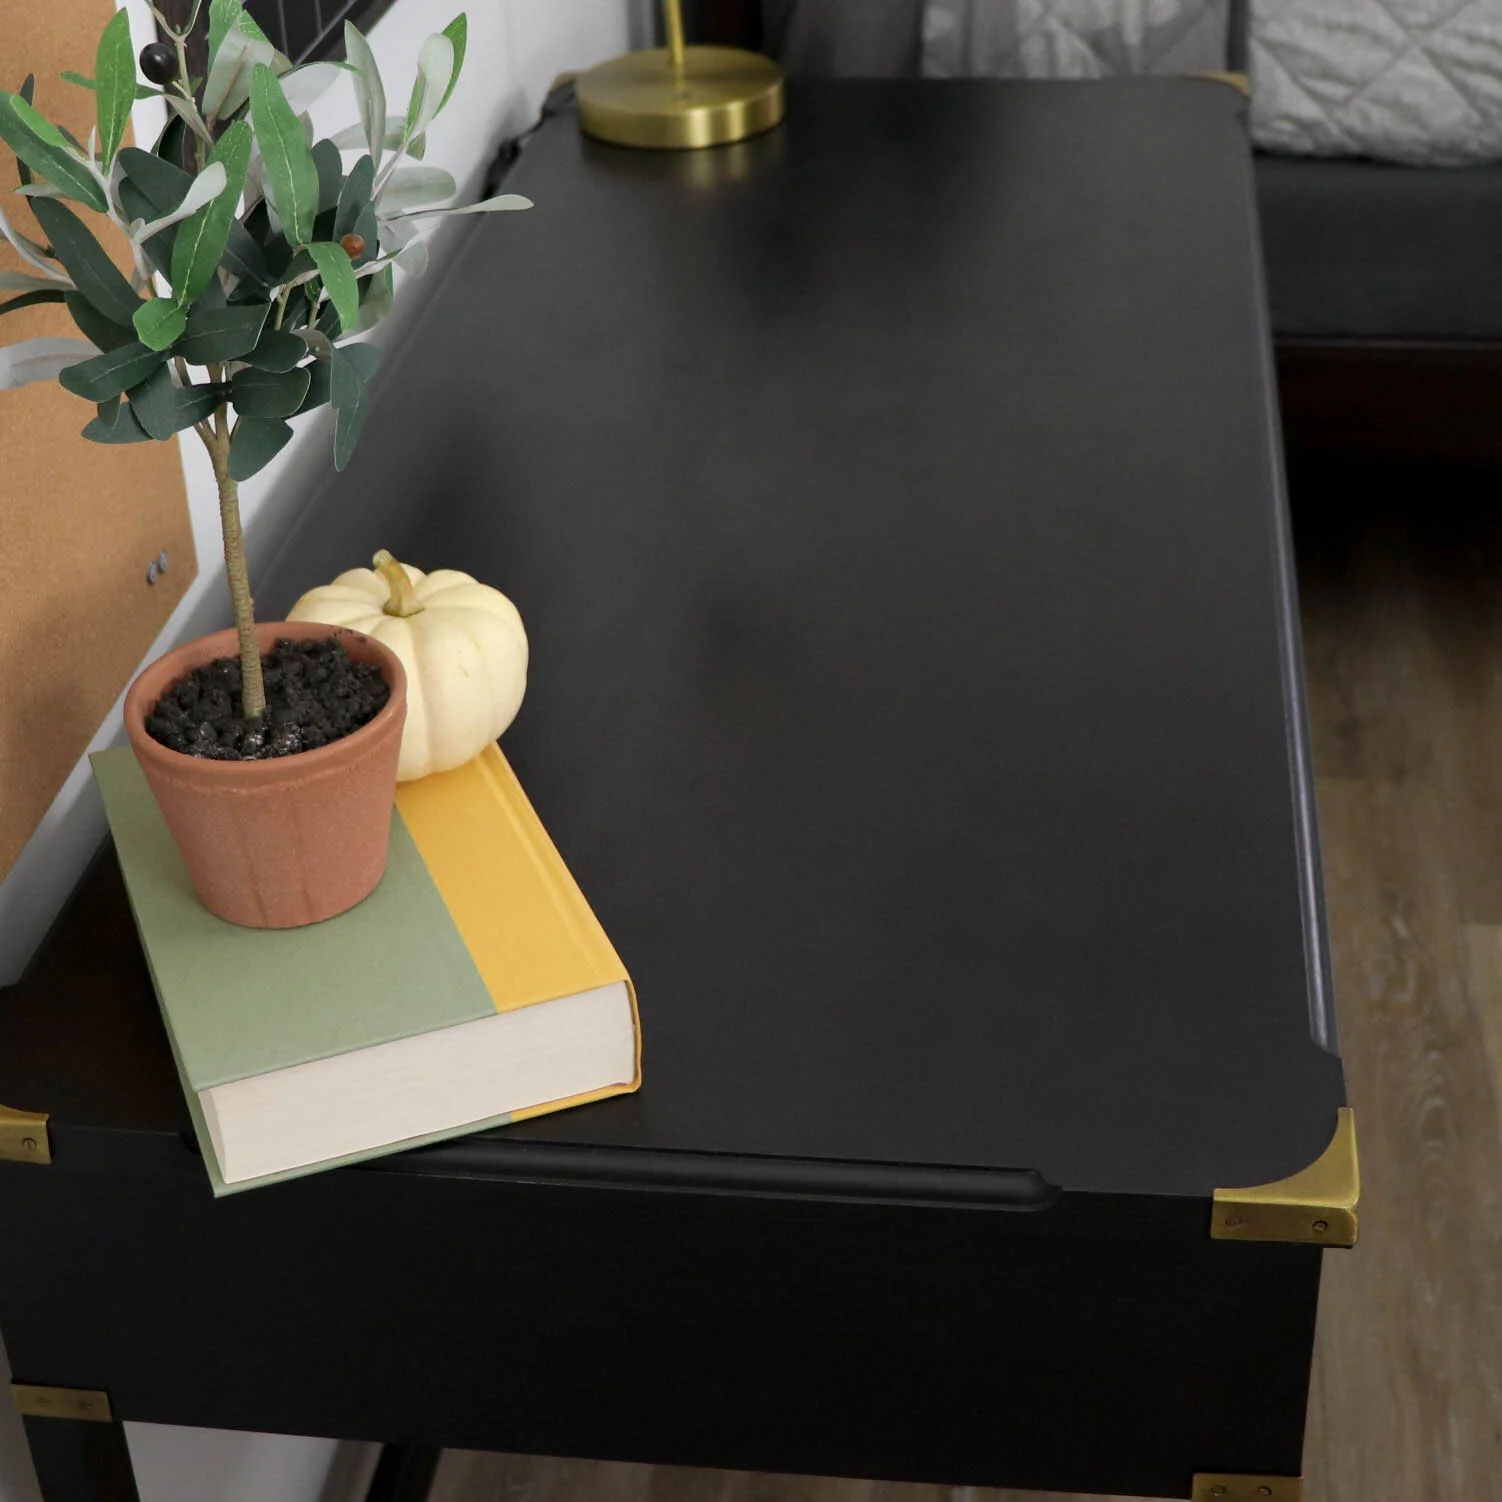
Even if you are new here, my name will give away that I usually like things distressed and shabby. I was scared of a smooth finish for a long time, but I know a lot of you are interested in achieving a modern looking finish for pieces you have. When this desk came into my life (after our neighbor put it on the curb), I knew it was the perfect candidate for a smooth paint finish, so I decided to step out of my box and try it out.
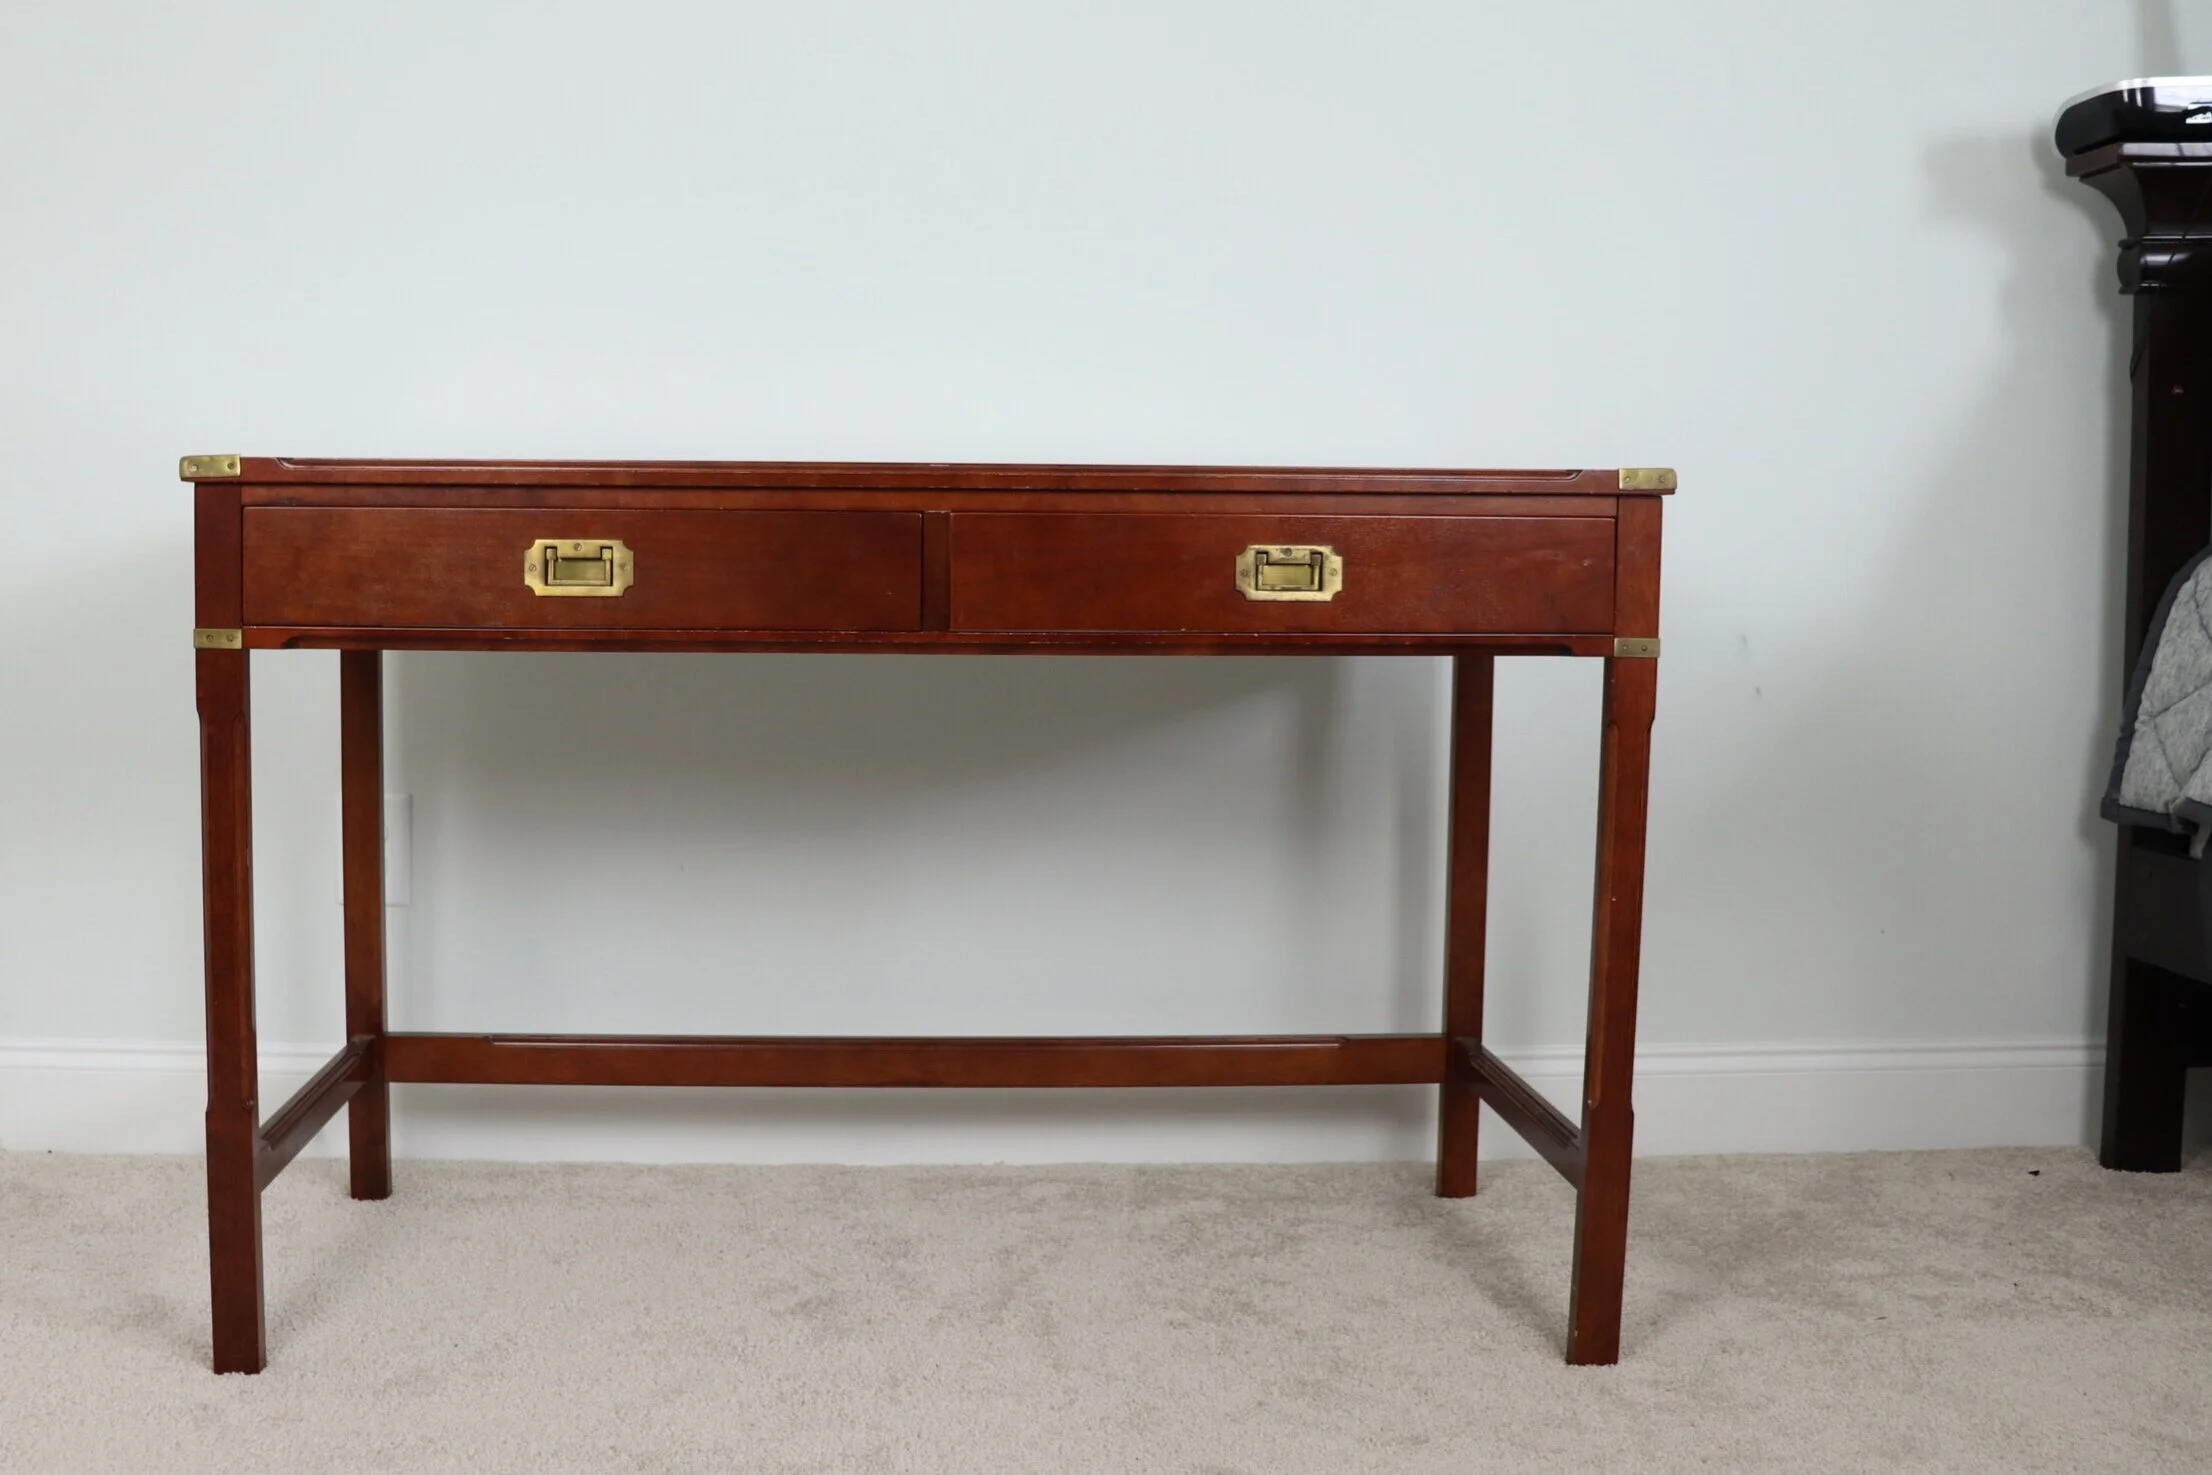
before
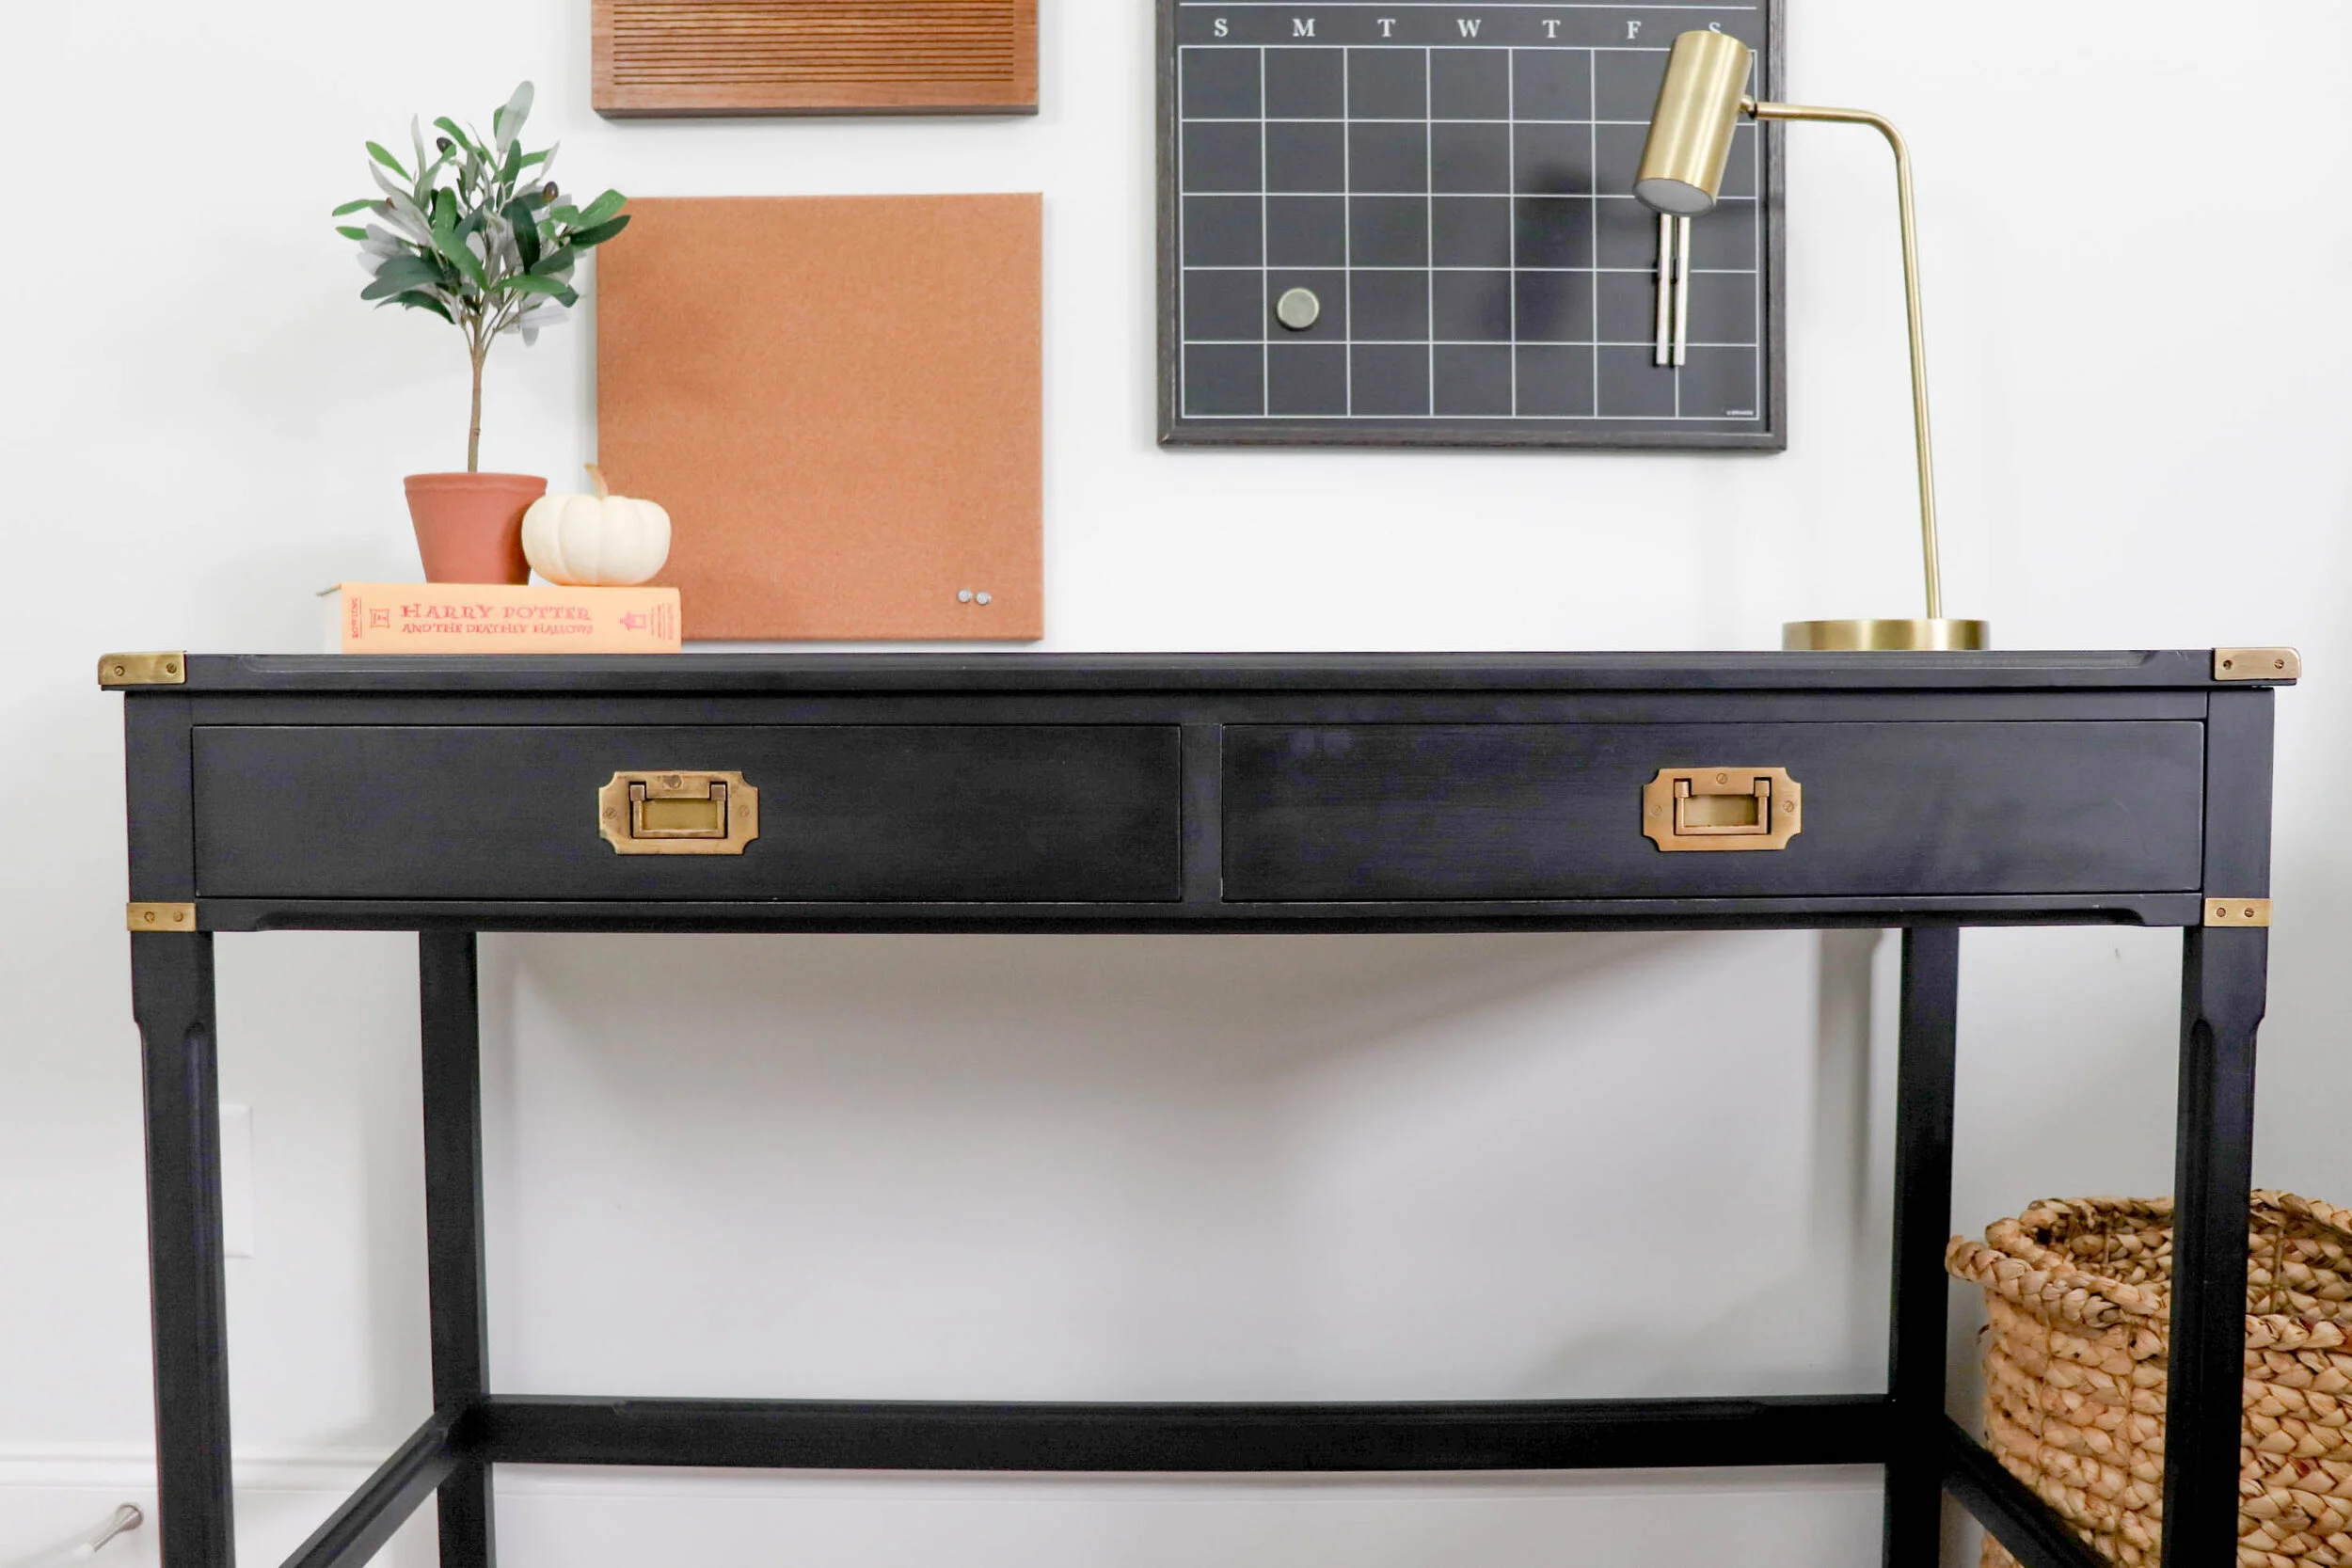
after
Project list
Use code INF-PRETTYDISTRESSED for 20% off your order of $200+ on the Jolie website. If you prefer to shop on Amazon, here is a link to all the items used in this project.
Smooth Finish Details
I know you might think that furniture paint is just for distressing, but there are actually a lot of different looks you can get with it. Lucky for me I had the Jolie Everyday Guide to assist me along the way to achieving that perfect modern, smooth finish. This step by step guide is available for free on their website and it gives tips on how to achieve a number of looks including the smooth finish. The pictures and tips were a huge help to this smooth finish beginner.
Prep
I prepped the piece by cleaning it with some mild soap and water, and then gave it a light sand with the Jolie Medium Sanding Pad to get rid of any imperfections in the finish. I removed all my hardware because I thought that would be easier than taping it off.
Paint
I put my paint in a separate container and added about a teaspoon of water to thin the paint out. Furniture paint can be used to really build up texture, so when you are doing a smooth finish it’s a good idea to thin it out a bit. I used the large Jolie Flat Brush which is designed to help reduce brush strokes, and it really works. I put my paint on by keeping the brush strokes going in the same direction and then doing one sweeping motion from side while the paint is still wet to remove any stop/start marks in the coat.
Smooth
In between coats you can sand the finish down to get it ultra smooth. I only did this on the top, and I ended up rolling the top with a foam roller just to make it extra smooth. The top is definitely the hardest part of any piece, so a roller can be a helper but the brush will work as well. I did two coats on this piece. I did not sand my last coat because that can affect the consistency of the color when you go to wax it.
Wax
I used the Jolie Clear Wax to seal my piece and the large wax brush. Once I put the wax on I wiped it down with a clean, lint free cloth with medium pressure. After this dried for 2 hours, I took a Jolie Fine Sanding Pad to smooth out the top coat by sanding in the direction on my brushstrokes. Have I said smooth enough yet? I wiped back the dust the sanding kicked up and did one more coat of wax with my brush and lint free cloth.
Video Tutorial
If you want a more detailed step by step tutorial on how I created this finish, check out the video below. I put out new videos every week on painting furniture and DIY projects, so consider subscribing to my YouTube channel if you are interested in following along on my projects.
The Styling
This desk is for my son’s room, and I had a lot of fun shopping for items to style is at Target. Everything you see in the photo can be found in one place. How awesome is that? I kept that brass hardware because I loved the way it popped with the black noir color of the desk. And it really inspired the items I chose to style.
You can shop the photo below for all these great finds.
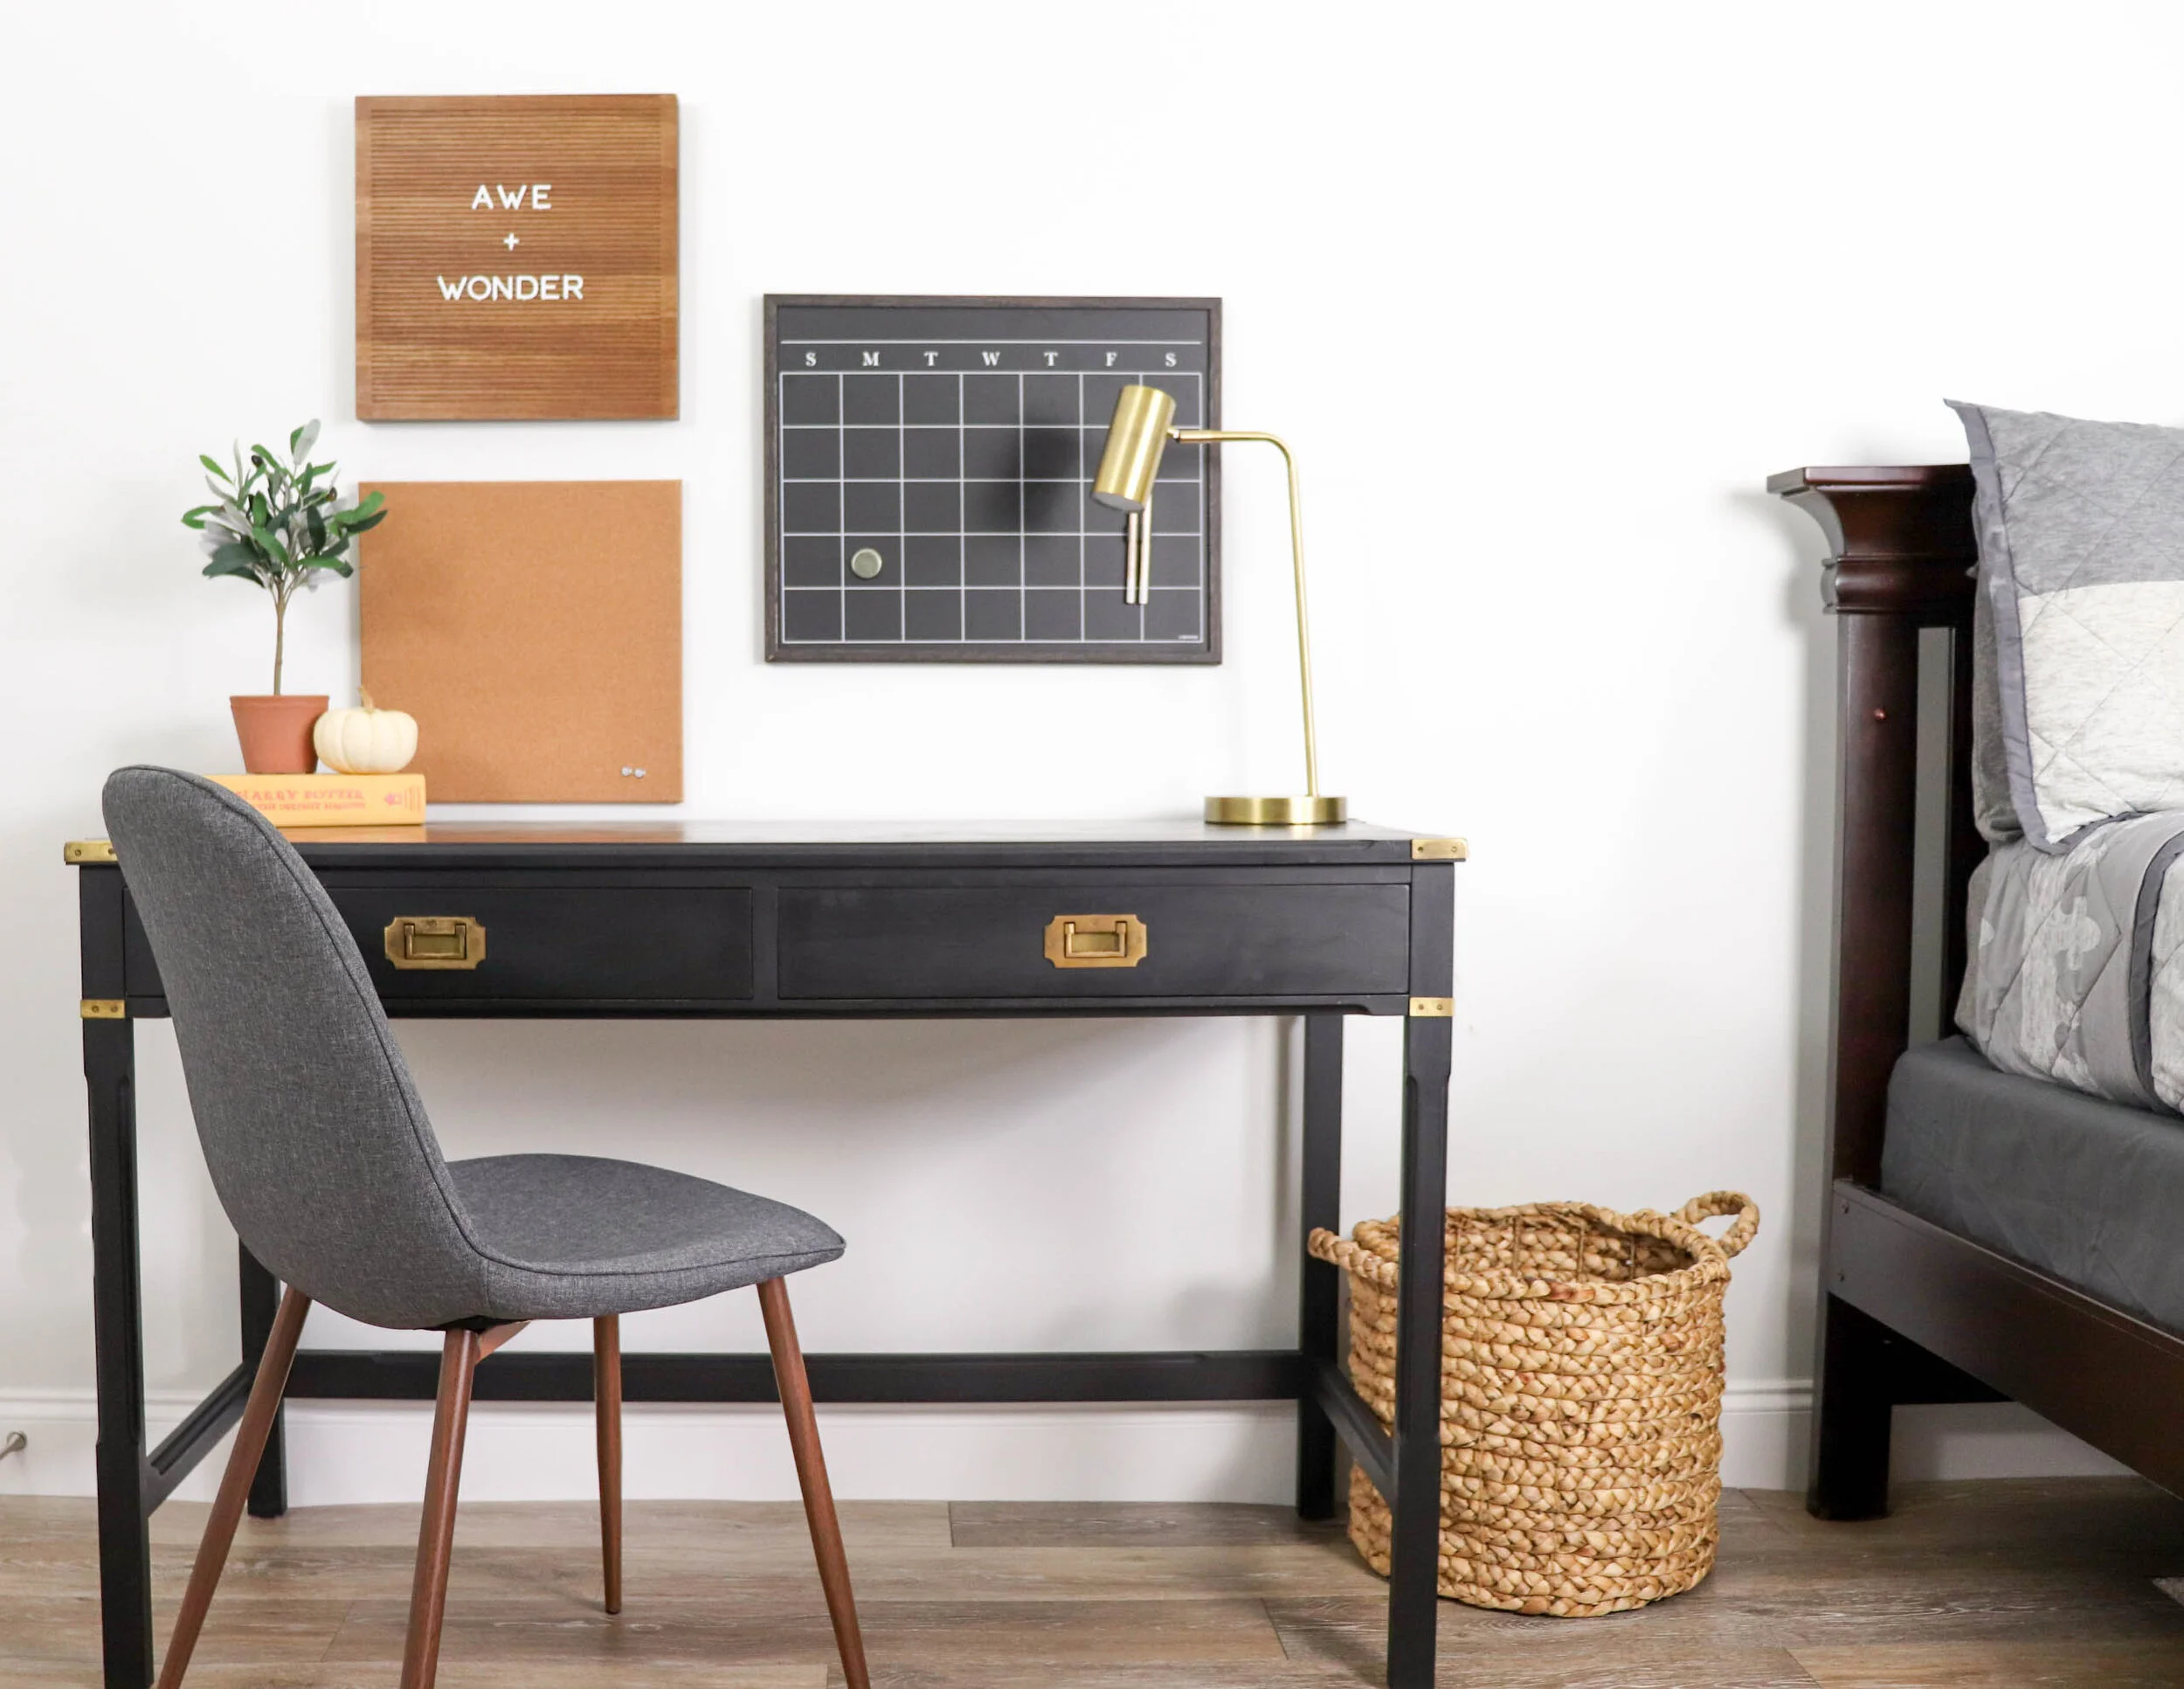

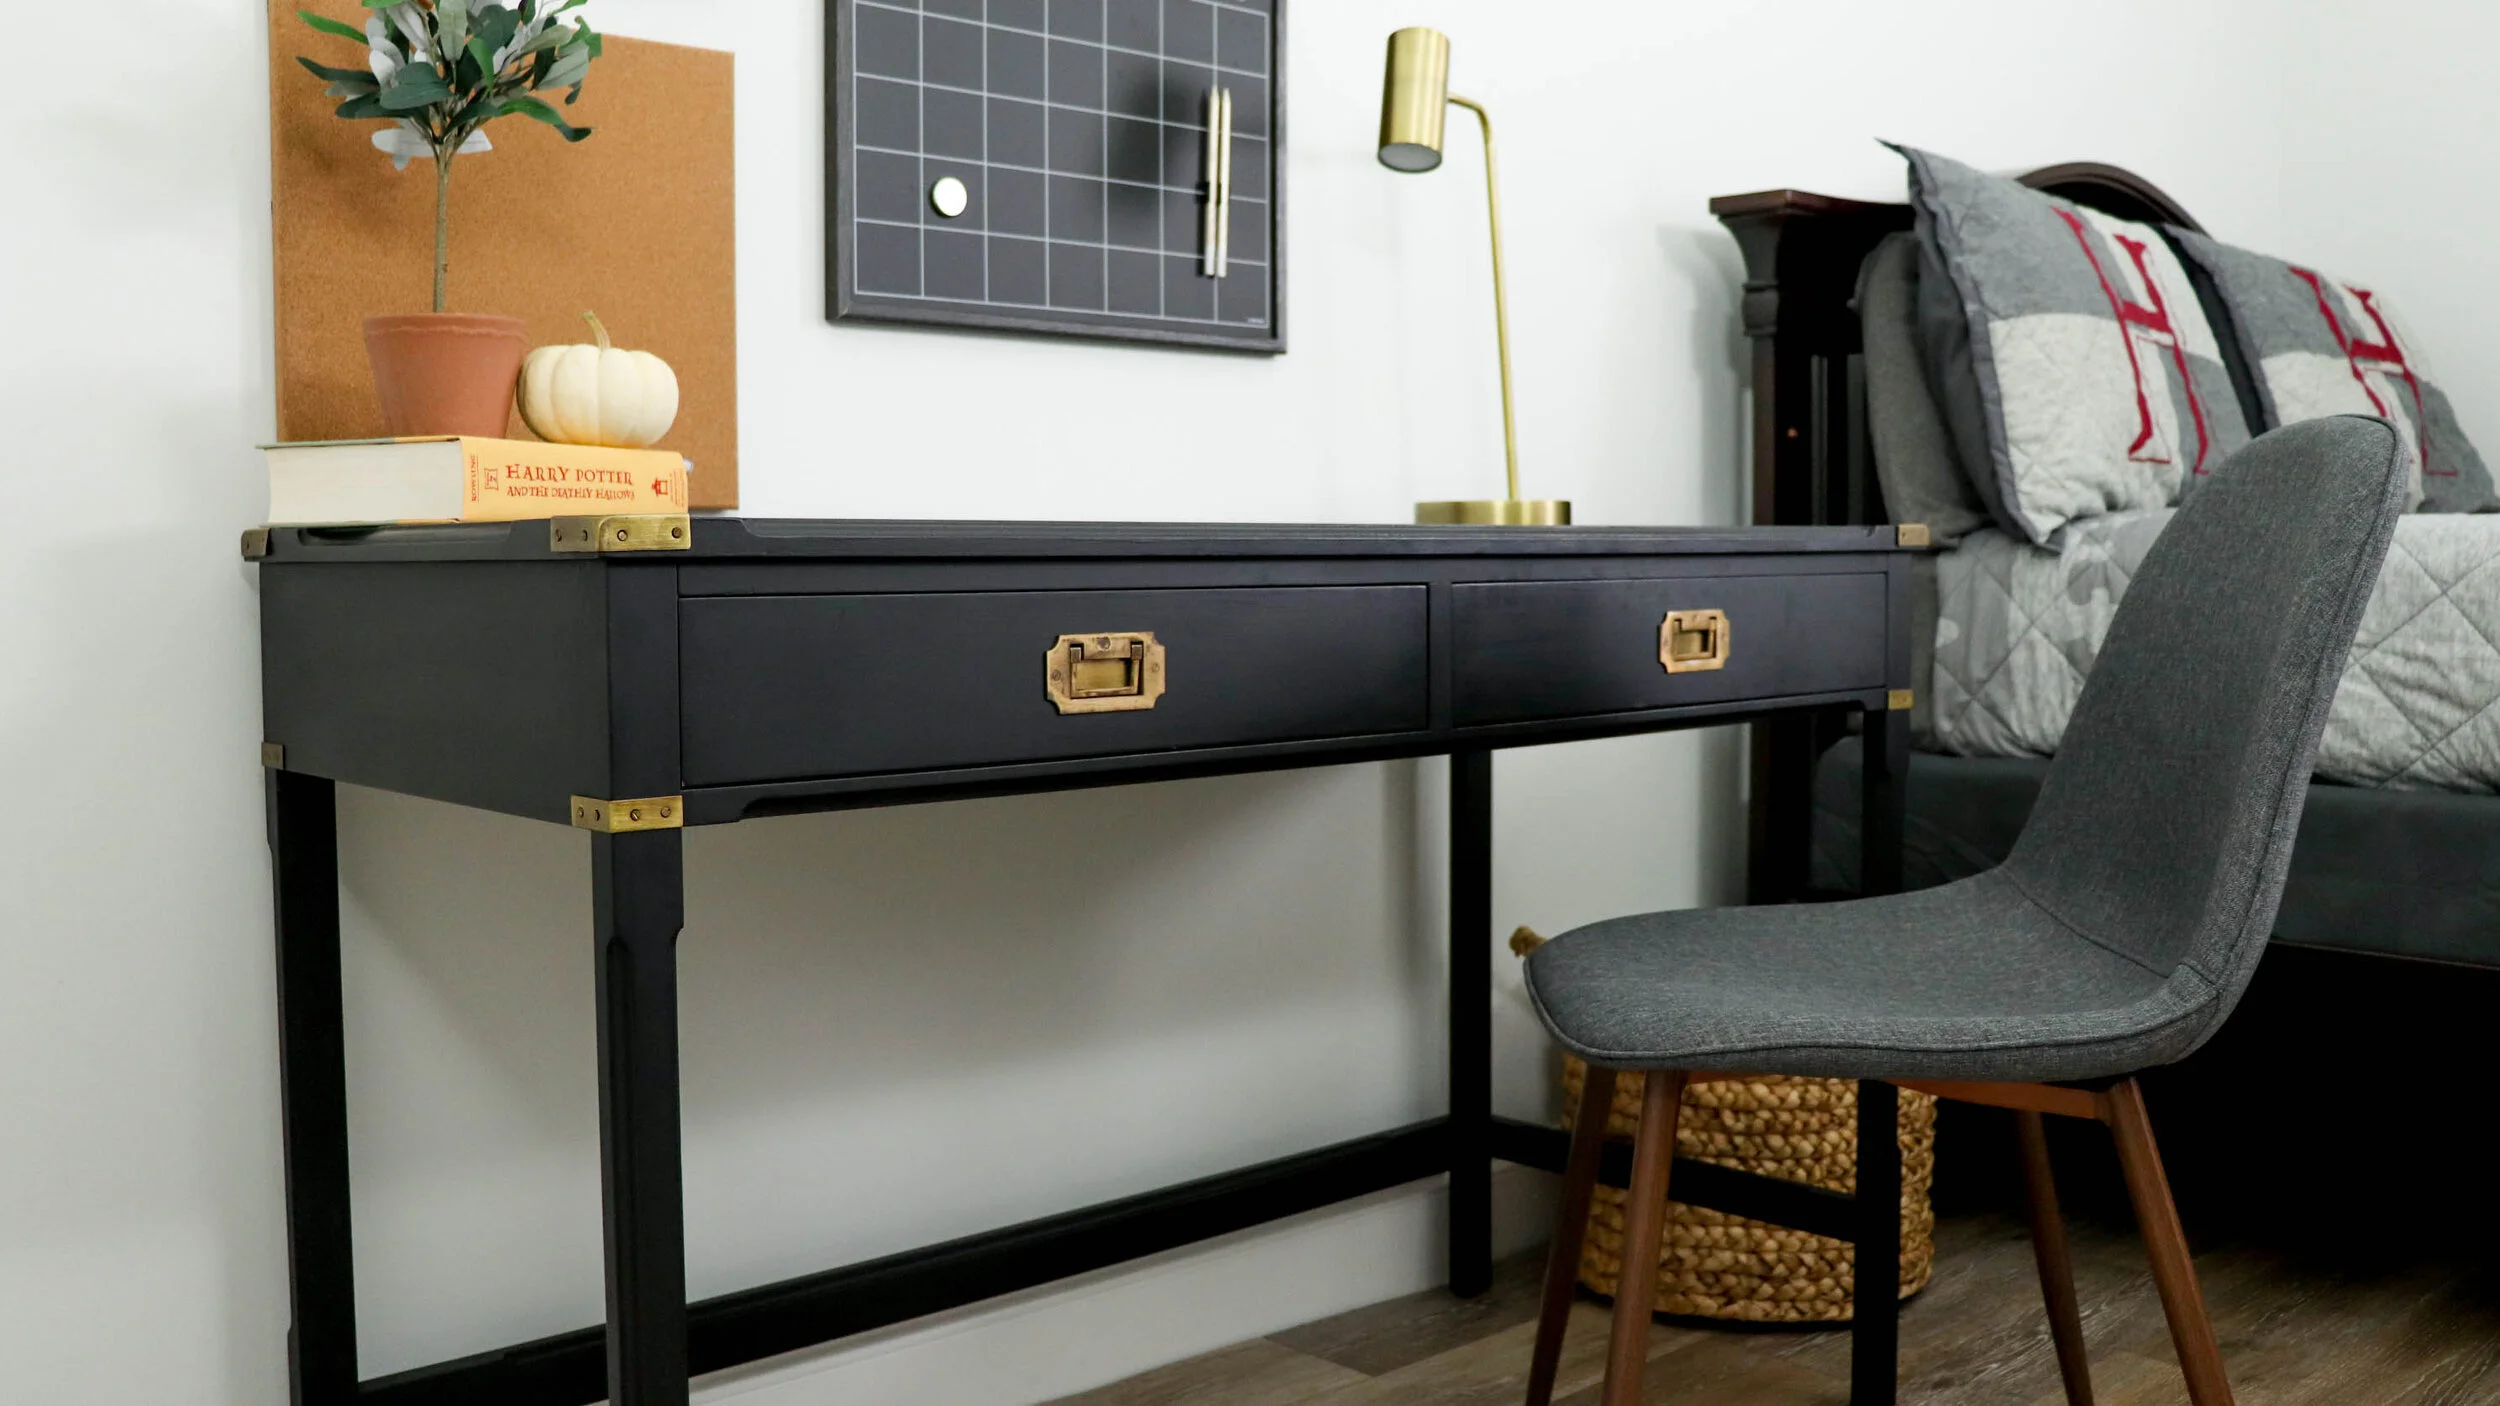
Here’s a few more shots of the completed desk.
Do you have a piece you want to try the smooth finish on? Tell me about it in the comment section.