Dixie Belle Products Dresser Makeover
Disclosure: This blog contains affiliate links. I will receive a commission for items purchased through these links at no extra cost to you. I appreciate your support. Please read all labels and follow all manufacturer safety recommendations when working with paints, stains, and other equipment.
This piece was actually destined for the dumpster. And I have to say, this is why I love what I do. Sustainability is important to me, and if I can save this dresser from adding to a landfill…I’m all about it! So today, I’m reviving and making over this old dusty dresser using Dixie Belle products! I’m going to be using their paint, their stain, and their top coats today.
Dixie Bell recently reformulated their No Pain Gel Stain, so I’ll definitely include a little review in here on how that performs.
I’m also going to be using their Gator Hide on top, which is their most protective topcoat. I’ll be doing a two-color finish on the base, and I’ll be finishing it off with one of Dixie Belle’s natural waxes.
I can’t wait for you to see how I flipped this trash to treasure.

Dixie Belle Products and Materials Used in this Dresser Makeover
Dixie Belle Mineral Chalk Paint (Dried Sage)
Dixie Belle Mineral Chalk Paint (Sea Glass)
Dixie Belle No Pain Gel Stain (Picklin’ White)
Dixie Belle BOSS stain blocker
Klean Strip Paint Stripper
Oderless Mineral Spirits
150 Sand Paper
3M Chemical Splash/Impact Goggle
3M Particulate Filters (for sanding)
Since I’m using Dixie Belle products for this entire project, I’m going to break down each section of this DIY tutorial into each product. You can refer to the list above to see exactly what products I’ll be using today.
Cleaning with Dixie Belle’s White Lighting cleaner
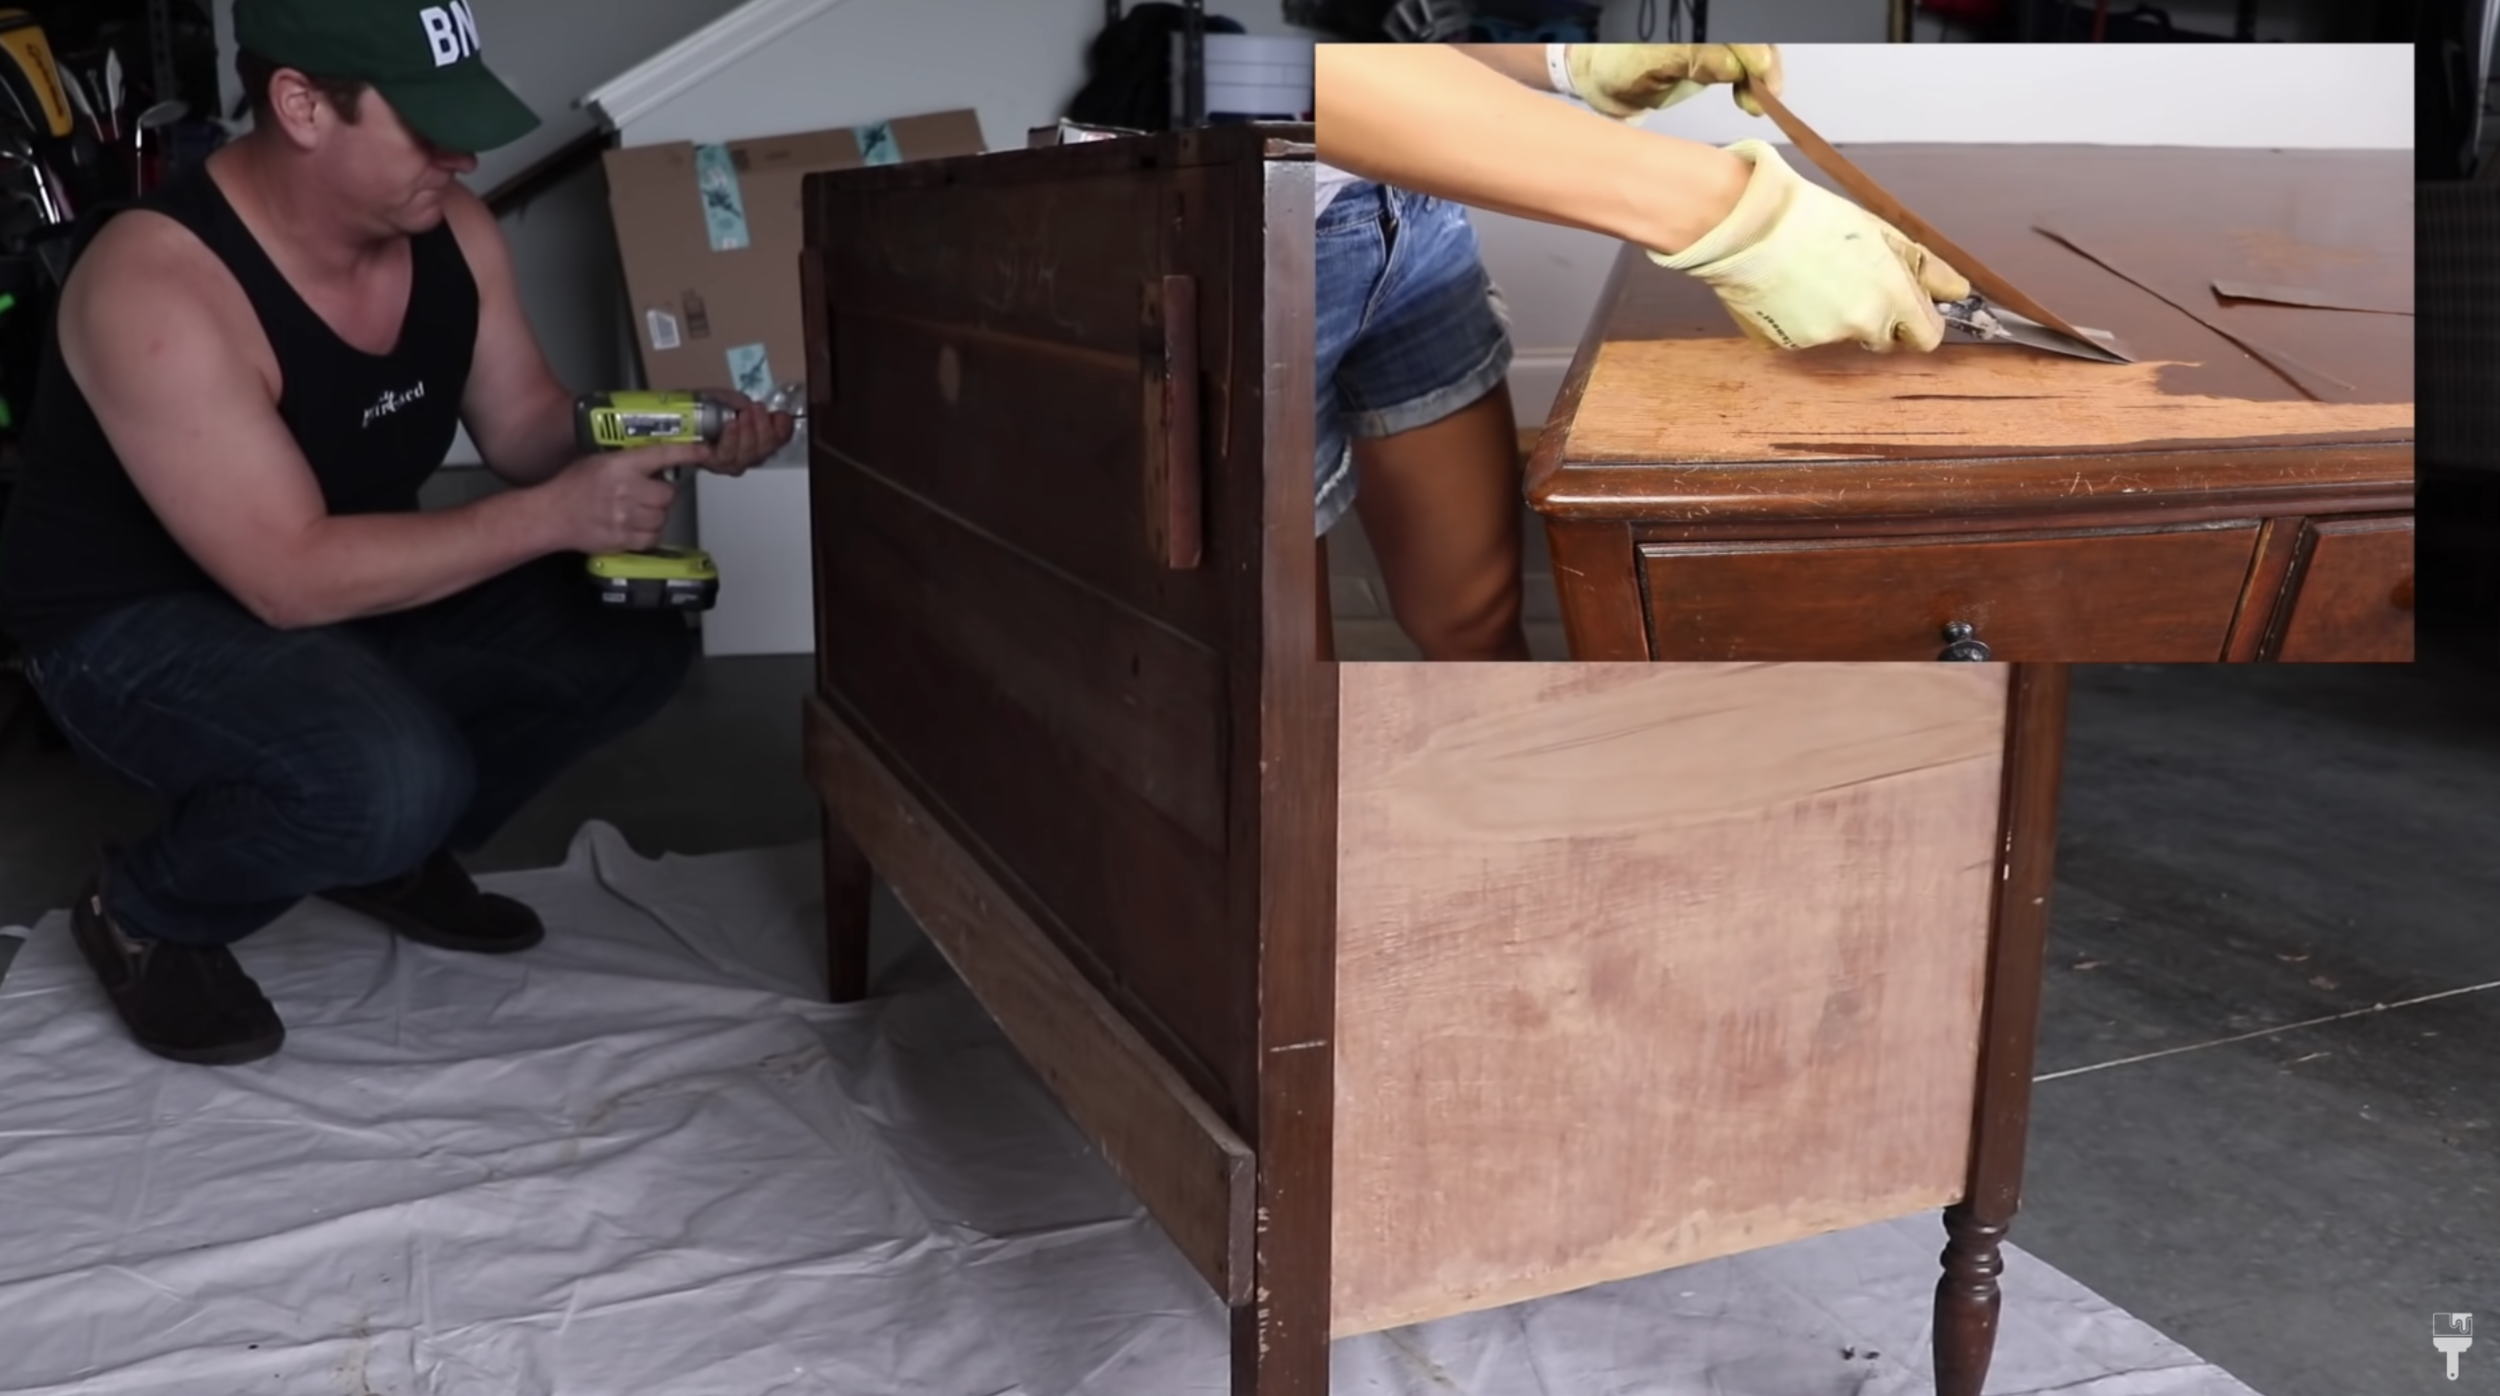
To say that this piece was destined for the dumpster was a bit of an understatement. I got this dresser from a picker who goes into houses and gets stuff out for estate sales. And Salvation Army wouldn’t take this. The veneer was chipping off, it was really wobbly, and very dirty.
It was in need of much love. I did get some assistance from the husband today to reinforce this piece of furniture so that it was sturdier.
I also had to work on getting the veneer off of the top of this piece. Even though I had done this before (ON THIS PIECE), I noticed that a second layer of veneer was chipping. So I put a wet towel over the top to soak into the veneer. Check out the full tutorial I did on How to Remove Veneer from Wood here!
Now to the cleaning. I used Dixie Belle’s White Lightning Cleaner to clean off the dirt and dust from this piece. I love this stuff…it works really well in getting that gunk off. To use it, you simply mix it with some warm water and use a scrubby sponge to wipe it all down. As always, make sure to rinse your freshly cleaned piece with some clean warm water.
Removing Varnish from Furniture

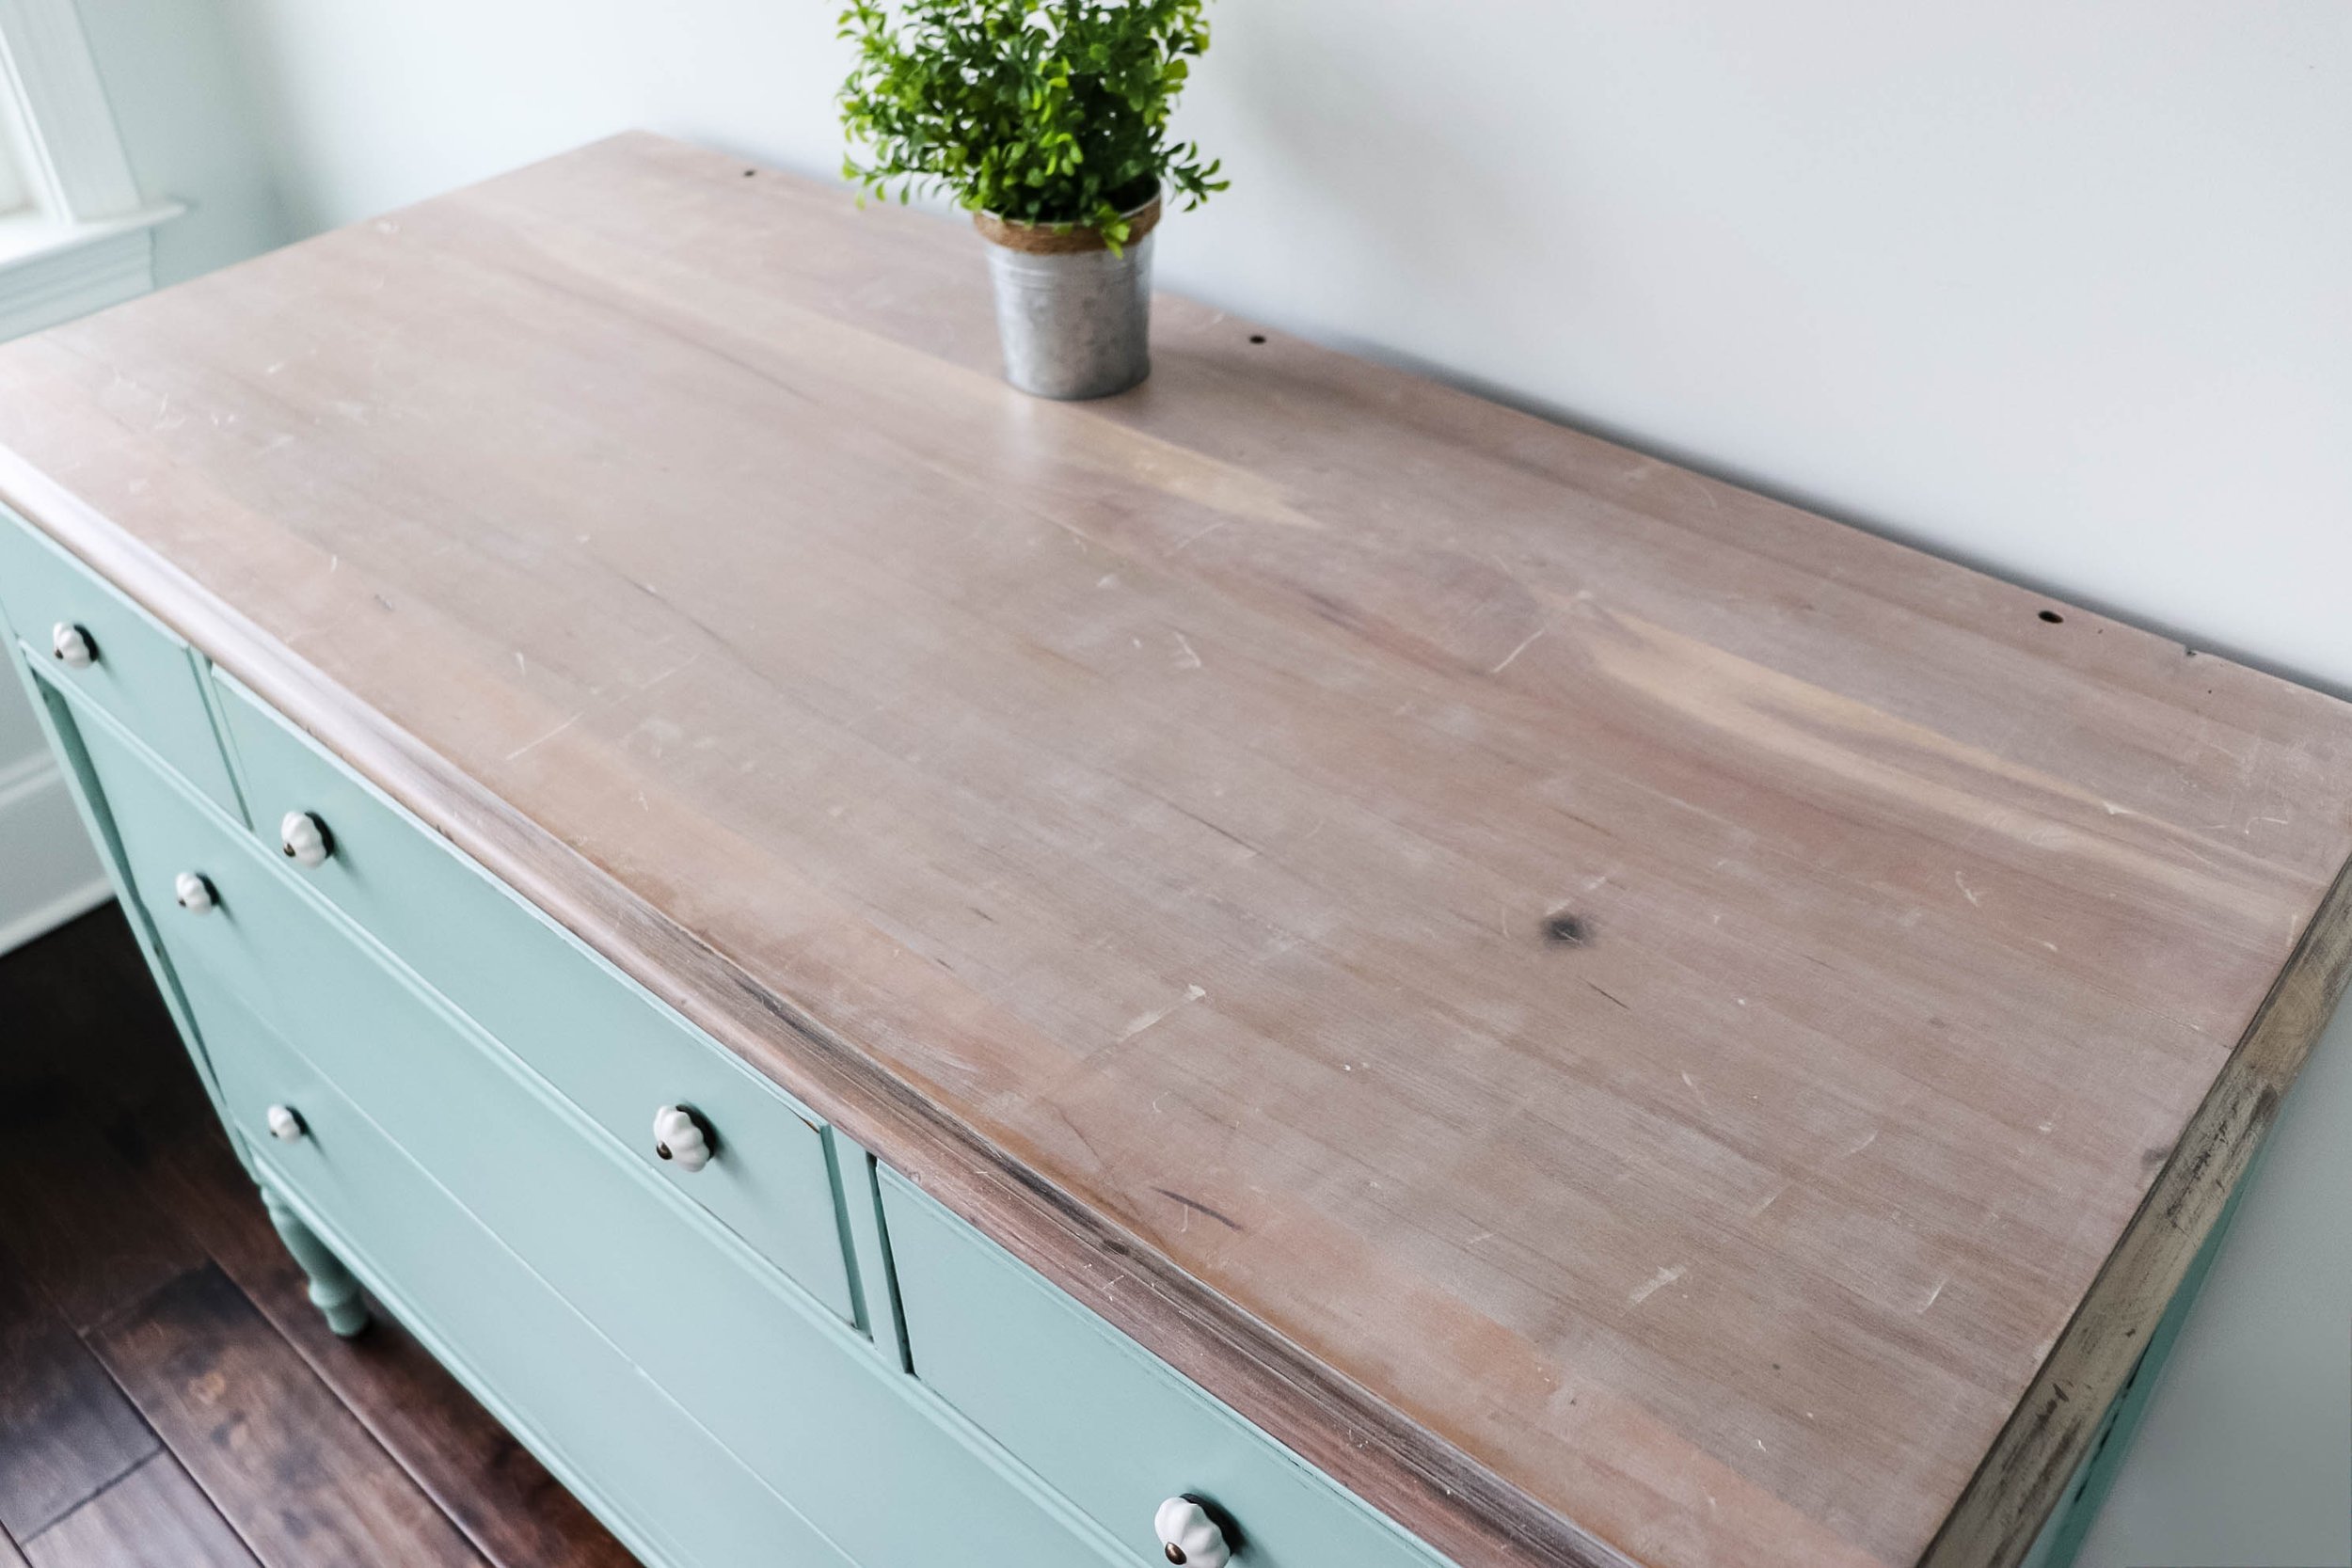
Once I stripped off this paint I found planks that somebody put together underneath, and I LOVE this look. So I just sanded down with my orbital sander to get any of those remaining residual bits off the top.
Before I stain this though, I need to get some varnish that’s still along the edge. I used a paint stripper to get this done after taping off the base with my 3M painter’s plastic. After applying the paint stripper, let it set for about 30 minutes and then scrape it off.
When you're working with this stuff, definitely use gloves, definitely use a mask, or work outside in a really ventilated area because these chemicals are really strong to strip this varnish, but it is the easiest way to get it off.
After I go in with a scraper, I like to grab some steel wool that’s really coarse and oil-free. I put a little bit of that paint stripper in there because helps get in those edges and corners on a side like this to get that residual varnish off.
Lastly, I took a shop towel and dunked it in some mineral spirits, and wipe it back to make sure that the surface is clean. I let that dry and then came back into sand any spots that I'd missed.
Dixie Belle’s Dried Sage Chalk Paint

I started out painting with Dixie Belle's Dried Sage and their mini synthetic brush. This is a very beautiful, neutral khaki color. In fact, I just used this to make a wash to create a stain for my daughter's canopy bed that we built. This is Dixie Belle's Mineral Chalk paint, so it's very similar to the furniture paints you’ve seen me use in the past. You don't have to prime or sand before you apply this paint. It just goes right on.
I have to say, I’m also really enjoying Dixie Belle's synthetic brushes because it gives you a little bit of a smoother look.
I am going to distress this up a bit when I'm done just because of the shape that the piece is in. But I am going with the grain and keeping my brush strokes all going in one direction, just because I want a little bit of a smoother finish on here. And this brush is really helping me achieve that look.
A lot of times when I'm doing a two-tone project like this, there's not a lot of paint companies that make stains. So it's really cool to be able to use a one-stop shop like Dixie Belle products that were made to formulate together. You can just buy it, do shipping for one set of products, and you don't have to go from store to store to get them. So that's a really positive thing about working with Dixie Belle products.
Dixie Belle’s No Pain Gel Stain in Picklin’ White

After the (longer than expected) process of getting the 2nd layer of veneer off, I'm finally ready to stain this top. So I grabbed a few items to protect myself. Since this is an oil-based product, I am going to use my vapor respirator. And don’t forget about eye protection and gloves!
For my Dixie Belle stain, I have my No Pain Gel Stain in Picklin' White, and I’m going to be applying it with Dixie Belle’s applicator pad.
Before applying the stain, I went ahead and used a tack cloth to wipe down the top to be sure it’s dust-free.

Applying the No Pain Gel Stain is quite simple! This new formula is very pigmented, so, as I mentioned, I used the applicator sponge and worked it in 2-3 foot sections. I applied it with the grain and wiped the excess back with shop towels.
I really loved the way this stain performed.
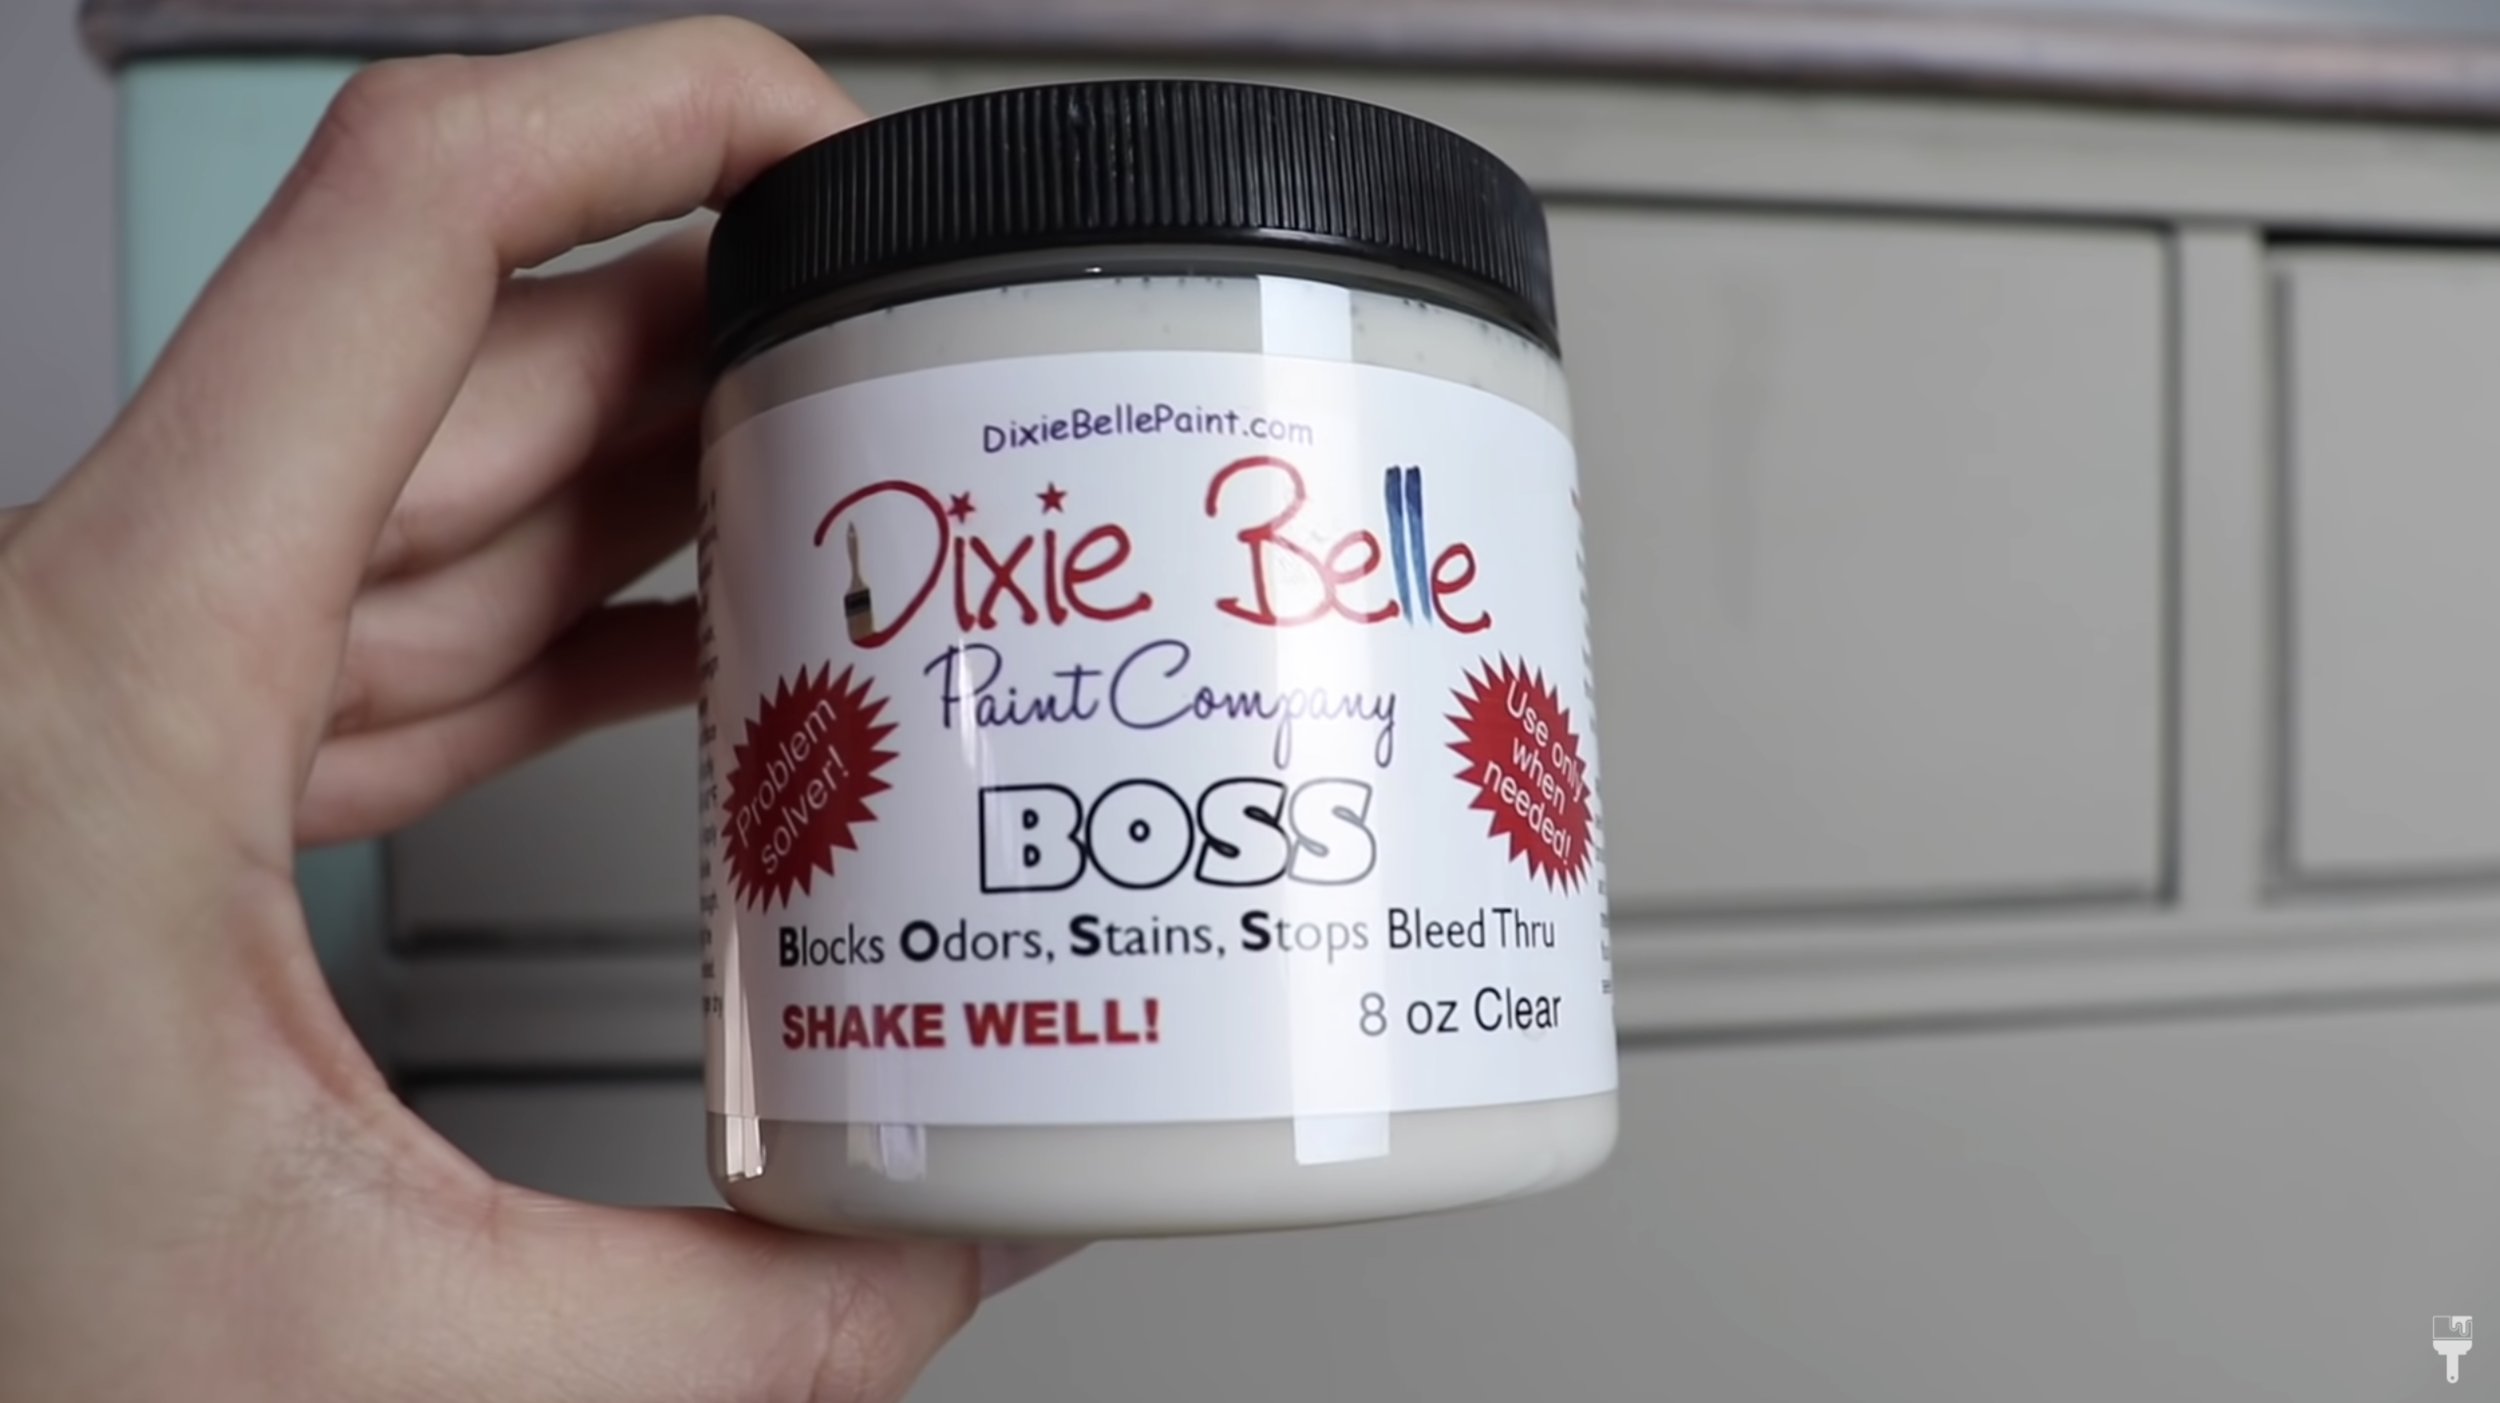
Dixie Belle Boss
When going back for my second coat of paint for the drawers, I had some bleed-through on my first coat. It happens. In order to alleviate this, I grabbed a can of Dixie Belle Boss which blocks odors and stains and stops bleed-through.
To apply, I just shook it up really well, grabbed a chip brush, and painted it on the entire drawer just to make the application even. When I put on my second coat of paint, it's going to stop that bleed-through.
Sometimes this just happens when there's some type of oil under the surface that you can't see, even though I clean the piece. So it is really nice to always have a can of Boss on hand in case you see bleed-through like this.
Dixie Belle’s Chalk Paint Sea Glass
At this point in the project, I decided I wanted to add a little bit more color to this piece. So I am going to be using Dixie Belle’s Chalk Paint in Sea Glass to create a two-toned finish.
I just felt like the top once I did it was too close a match to the Dried Sage color. And even though the Dried Sage is beautiful, I just thought this piece needed a little something, and this Sea Glass color is super beautiful.

The second coat goes on just like the first, and then when we go to distress it, it's going to give this two-toned effect. When you sand it and distress it back a little bit, you're going to see some of that Dried Sage color underneath, and it's going to be really pretty.
I typically take my drawers out when I'm painting, but I've seen a lot of people that don't. So this time I just tried to keep them in and see how that went.
Dixie Belle’s Gator Hide
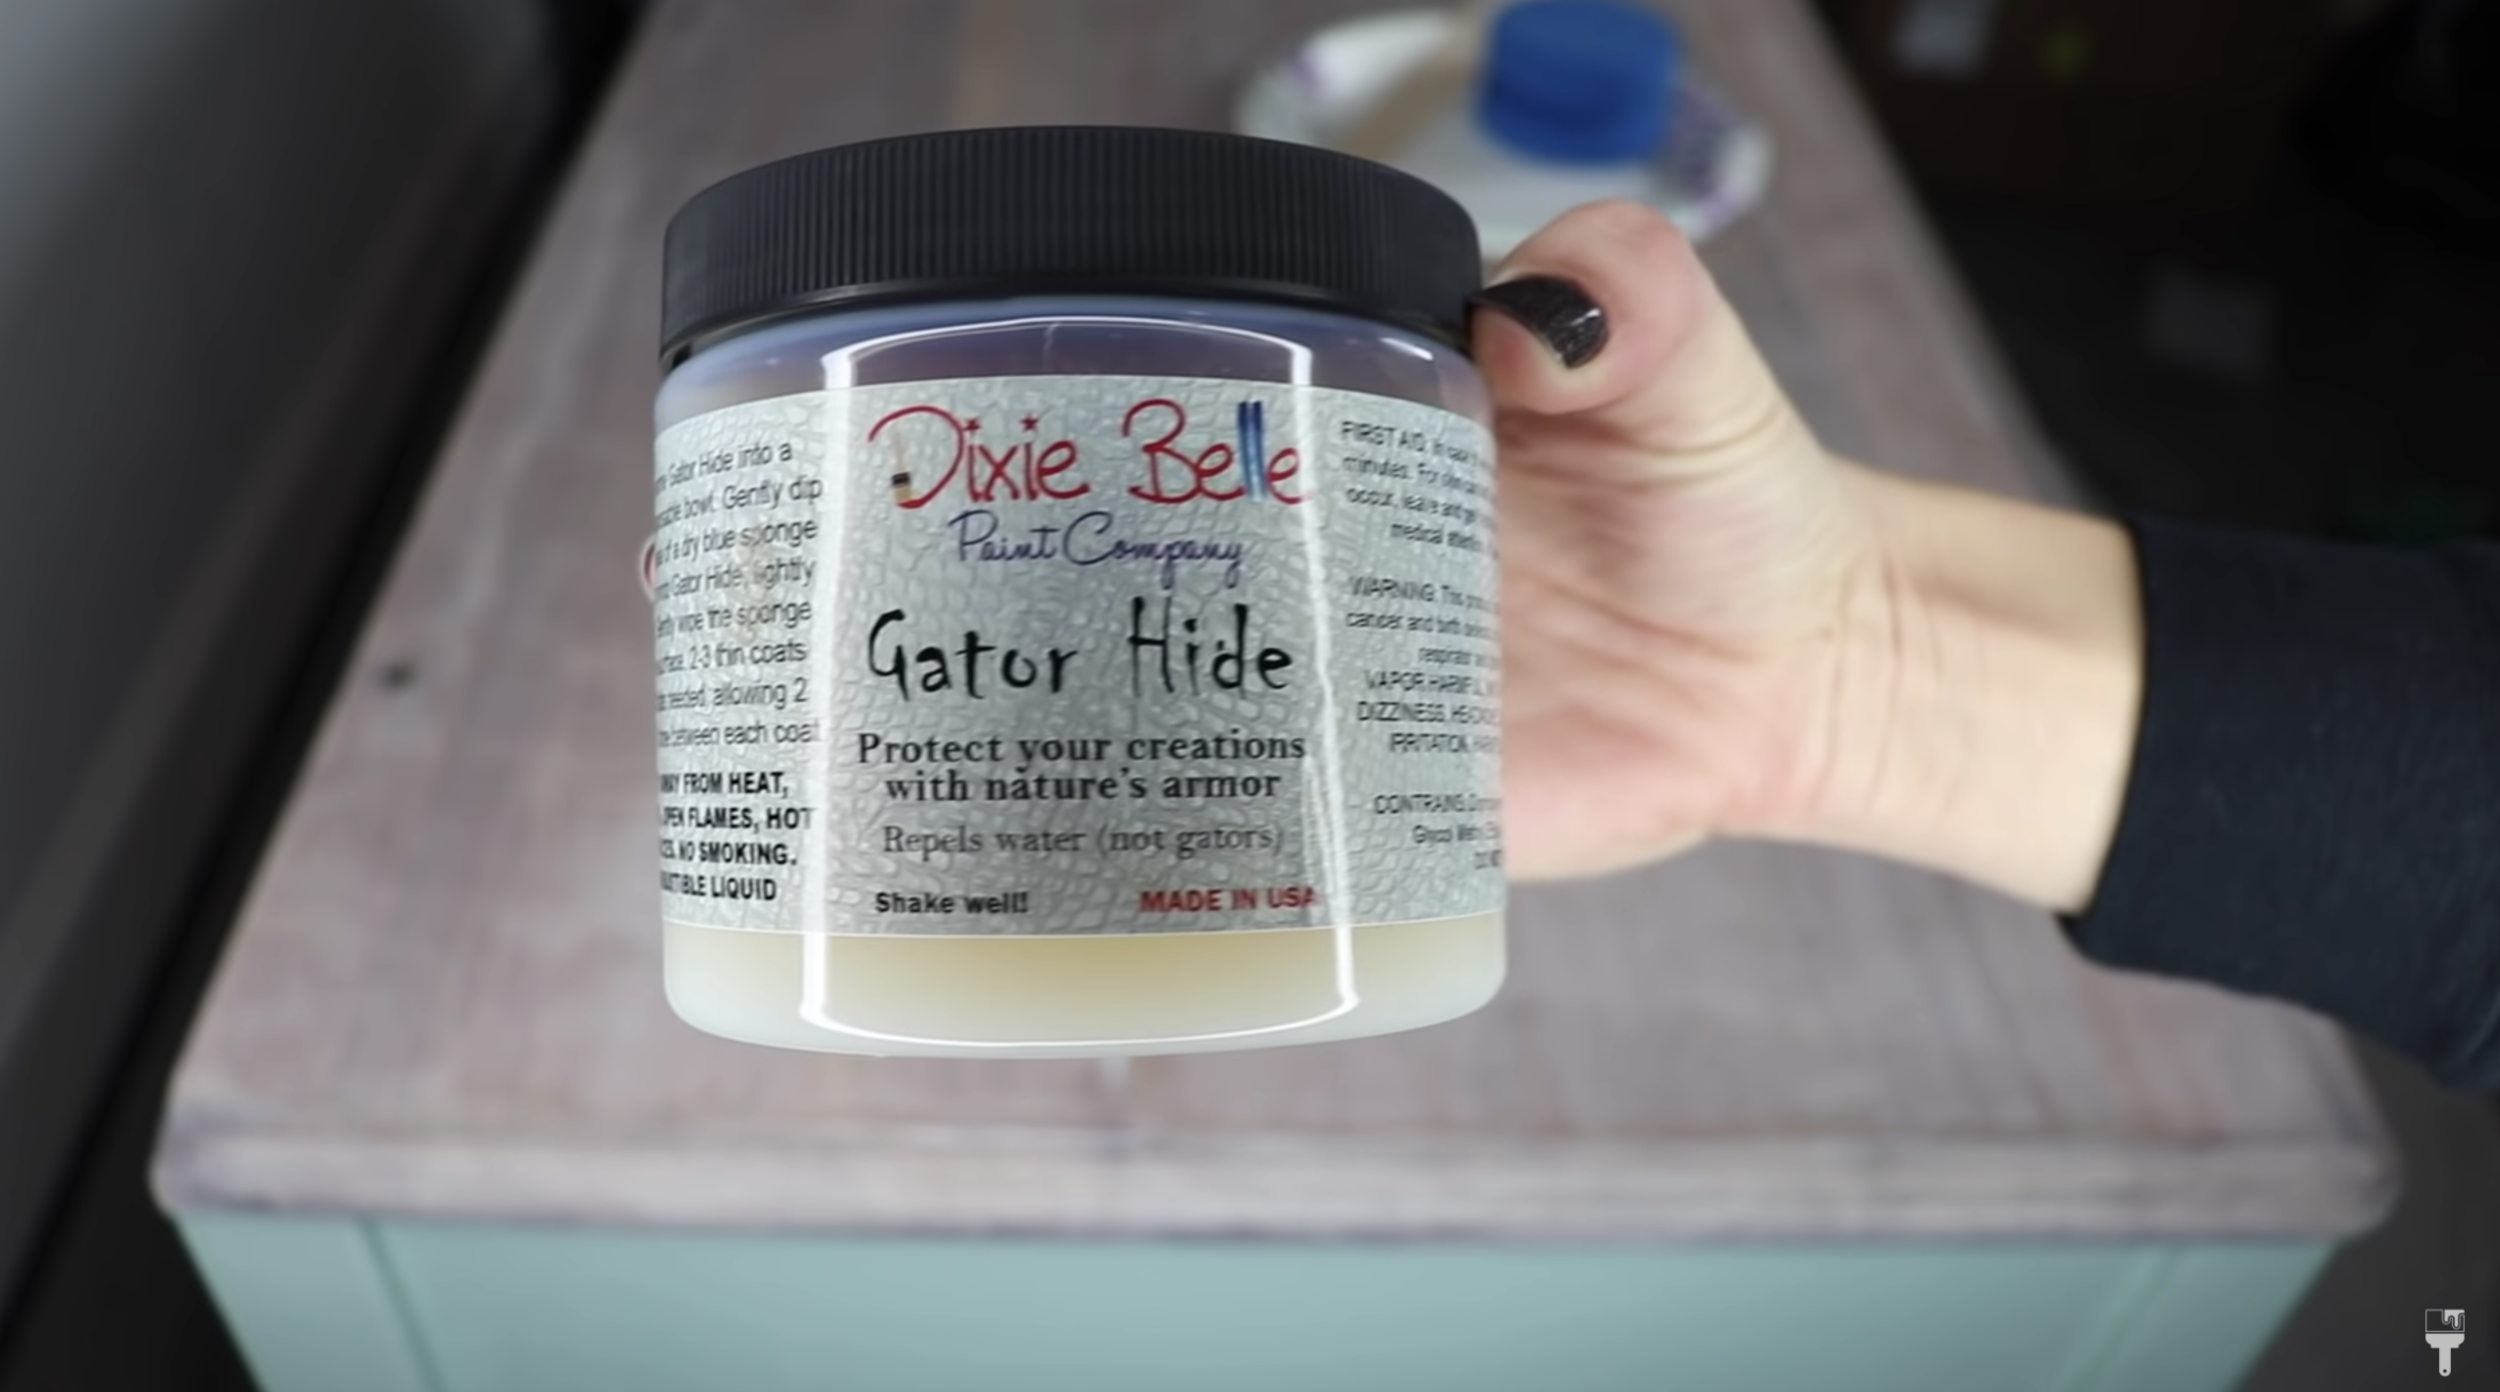
I am ready to topcoat my stained top. So I'm going to be using Dixie Belle's Gator Hide and their blue applicator sponge that is made specifically for this top coat. This is my first time using this topcoat. It’s waterproof, and you can use it inside or outside. So a lot of people are interested in this one. I’m happy to try out with this project!
VERY IMPORTANT SIDE NOTE: If you haven’t caught it yet, I’m going to be putting a water-based topcoat over my oil-based stain. If you’re going to do this, you have to be sure the stain is COMPLETELY DRY before putting on the topcoat. So I let this sit for 72 hours…I know that seems like a long time, but when you’re moving between oil-based and water-based products, it’s better to be safe than sorry.
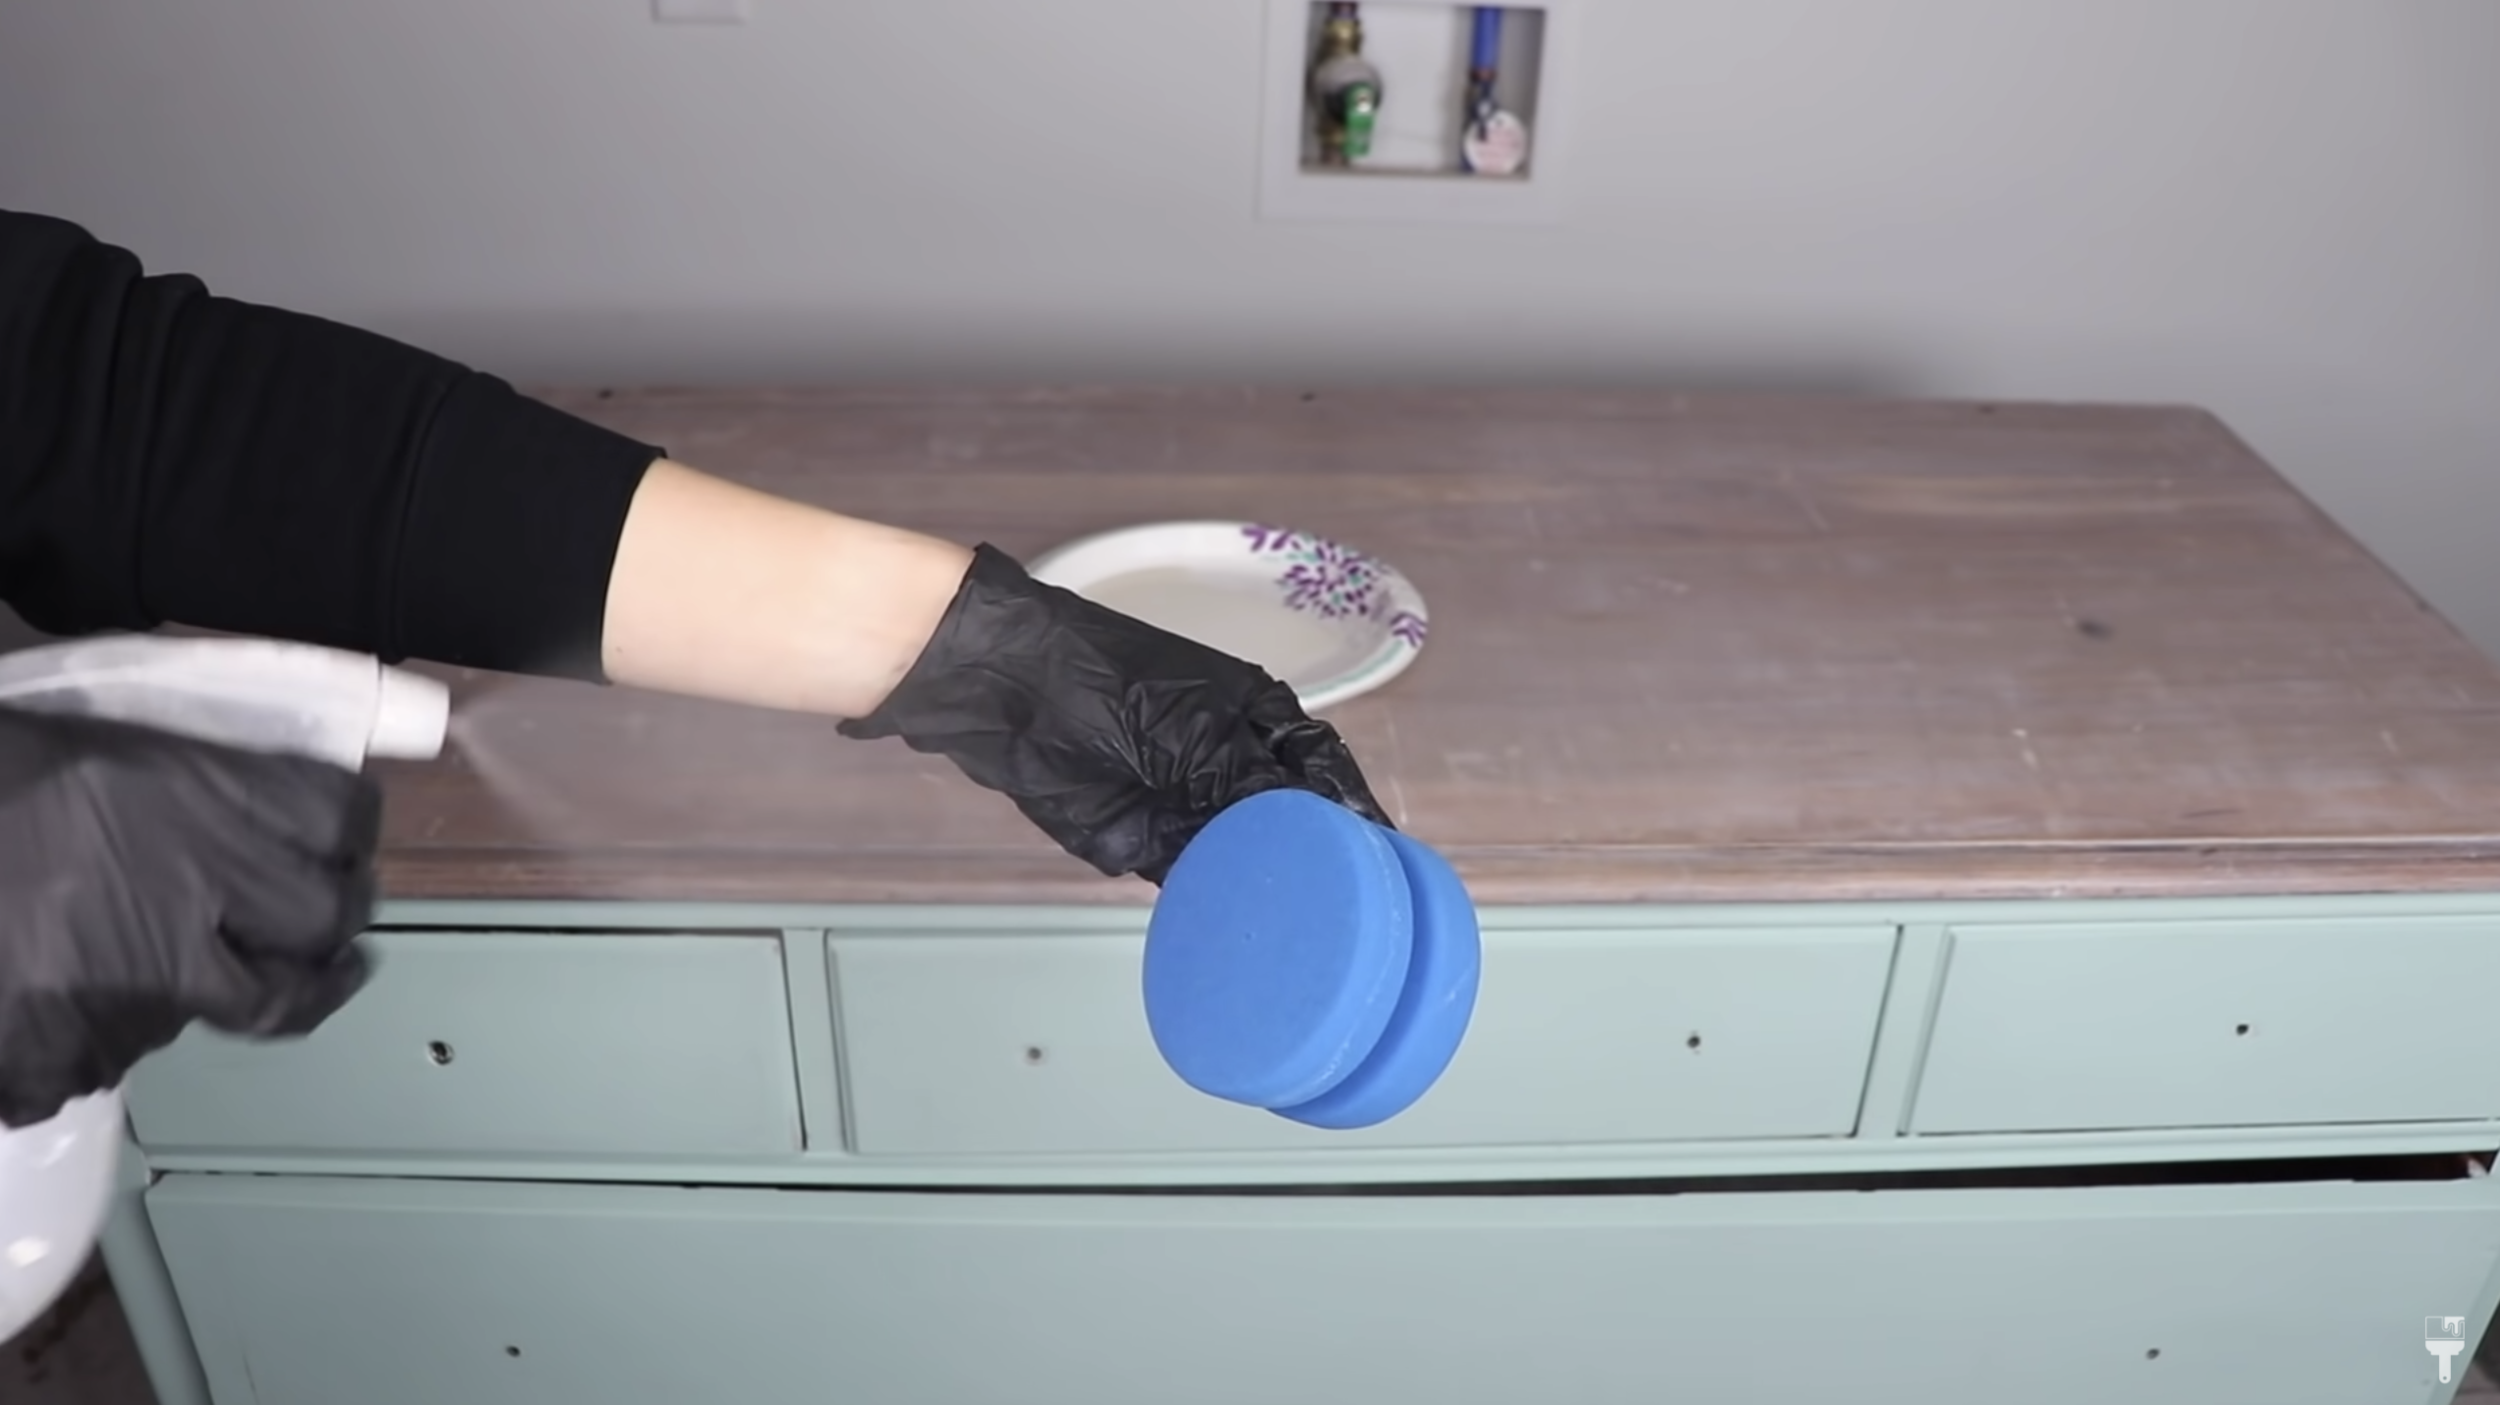
Top Takeaway Tips for Using Dixie Belle’s Gator Hide

Pour the Gator Hide topcoat into a paper plate
Dip the sponge in the topcoat and scrape the excess off of the sponge with the side of the paper plate.
DON’T STOP in the middle of strokes. Take the stroke from one side all the way to the other without stopping.
In between coats, wash the sponge out with a little bit of soap and water.
Wait 2 hours between coats.
Okay, now we're going to add our second coat of Gator Hide to this top. It has been two hours for this to dry and I'm just taking that same sanding block, that 320 sanding block that I used to distress my piece. I'm lightly sanding this just to buff out any of those streaks that I had. And I also like doing this to give the second coat something to stick to. And before I apply that second coat, I'm just taking it tack cloth and getting rid of any of that dust.
On to the second coat, so you’re going to want to take notes again. Here is what I learned in between coats 1 and 2 while watching some Dixie Belle’s tutorials.
Top Takeaway Tips for Using Dixie Belle’s Gator Hide: Part 2
Make sure to dampen your sponge just a little bit before you’re applying the Gator Hide. it will help with the application and make it smooth.
It’s ok to go back and forth with the sponge when applying, you just don’t want to stop in the middle because that will give you streaks.
Keep the layers thin…and you can do up to three coats!
The Gator Hide dries so fast, so don’t go back and rework once you’ve moved on from a section. This will also create streakiness.
Save the edges for last so you can soak up any globs that may have happened while doing the top.
Like I told you in between coats, I watched a lot of different videos on working with the Gator Hide since I haven't worked with it before. Just like you guys, I need knowledge. I need to learn. I am not perfect. So I will link those videos below that I found on Dixie Belle's website if you guys are interested in seeing a couple more furniture artists working with this topcoat.
Distressing the Dresser

Okay, now it’s time to distress this piece up a little bit. I took a 320 sanding pad, so it's a really fine sanding pad because I don't want to take this distressing too far. I just want it to be really light because I am going to try to sell this piece.
I had my mask on and I fit it with my particle filters versus my vapor filters just to protect my lungs. When I distress, I just go along the edges of the drawers, and I always go to the feet and rough those up a bit too. You don't really want to attack any of the flat spots because that won't look as natural. So I try to stick to the edges in the detail when I'm distressing,
You can really see that Dried Sage color underneath peeking through which is exactly what I wanted. That two-toned finish is beautiful.
Dixie Belle’s Big Mama’s Butta
After distressing, I grabbed a tack cloth (or you can use a soft clean brush) and wiped away any of that dust before getting ready to seal it.
To seal my paint off, I used Dixie Belle's Big Mama's Butta and used my other applicator pad that I have. This is actually the orange-scented one. It smells amazing. So you want to use a lint-free cloth to apply this or you can use one of these Dixie Belle applicator pads. And since I had a second one in my pack, I used it to apply it. It's really easy to see where it goes on, and a little bit goes a long way.
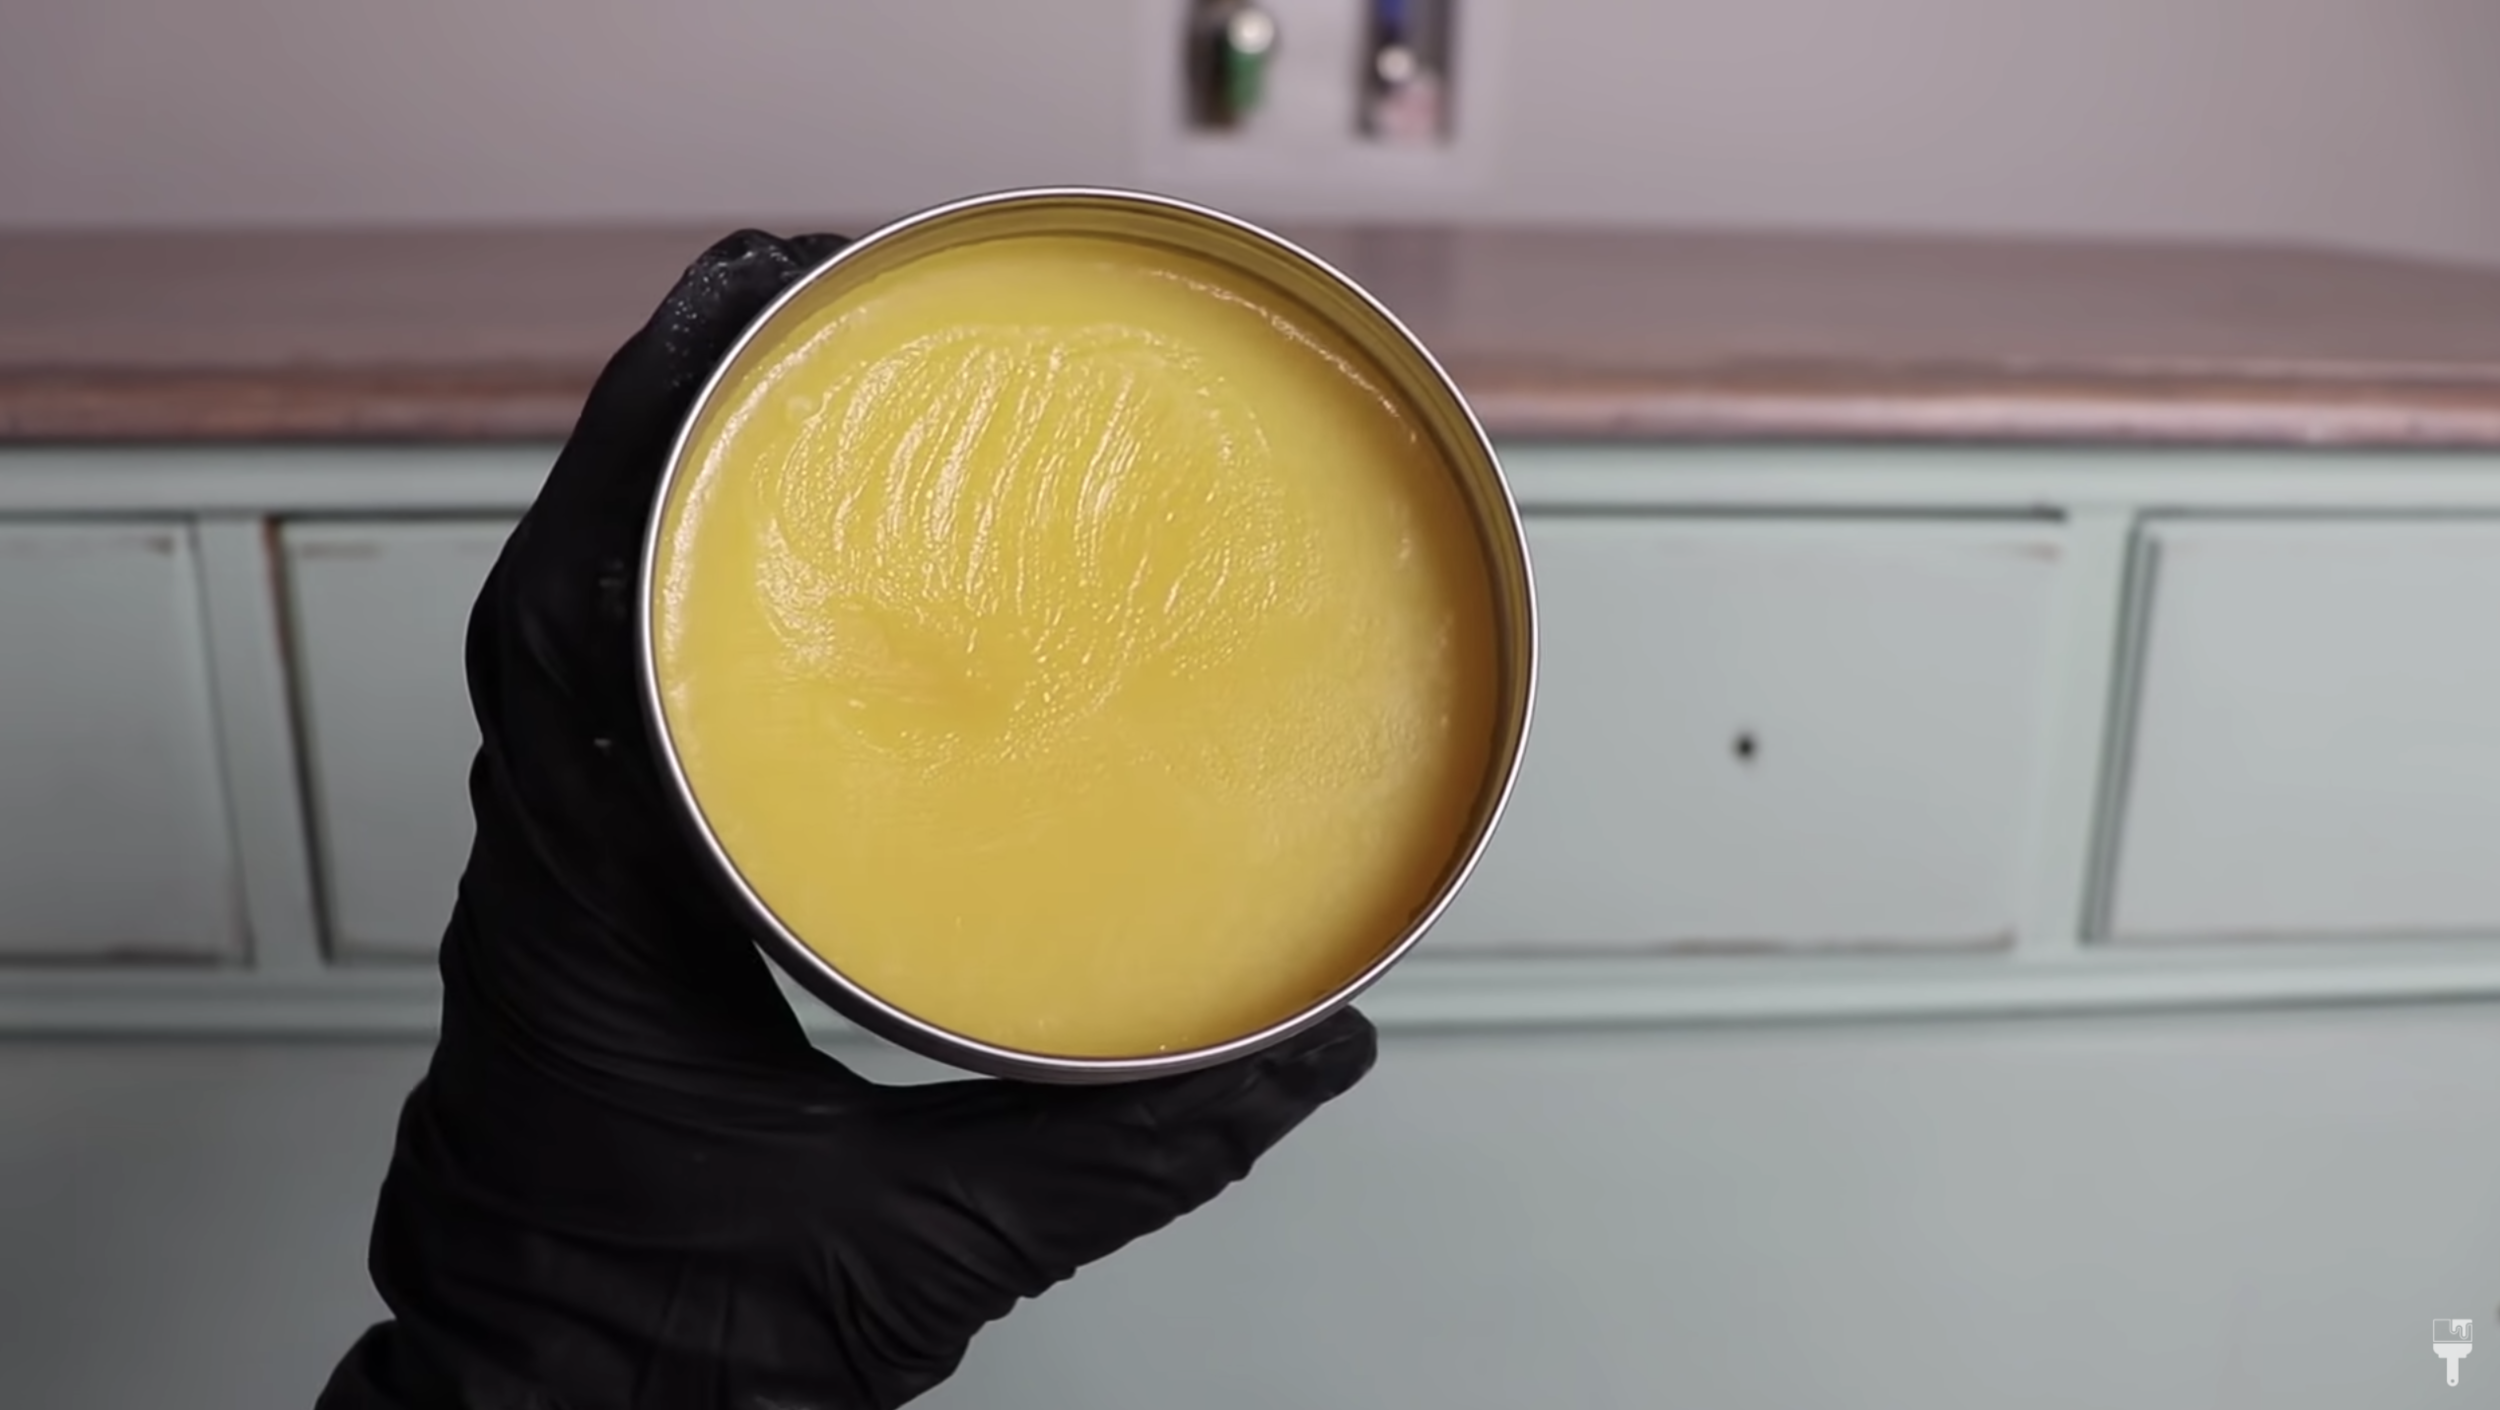
They released this product last summer, so it is a little bit of a newer one. And how it's different from their Best Dang Wax, which you guys have seen me use before, it that this is more of a natural wax. It’s oil-based, and it's the fastest curing topcoat that they have. It actually cures in seven days.
Once I got this wax on, I let it set for a little bit, and then I took a lint-free cloth and wiped it back a bit to remove any of the excess.
Finishing Touches on this Dixie Belle Products Makeover
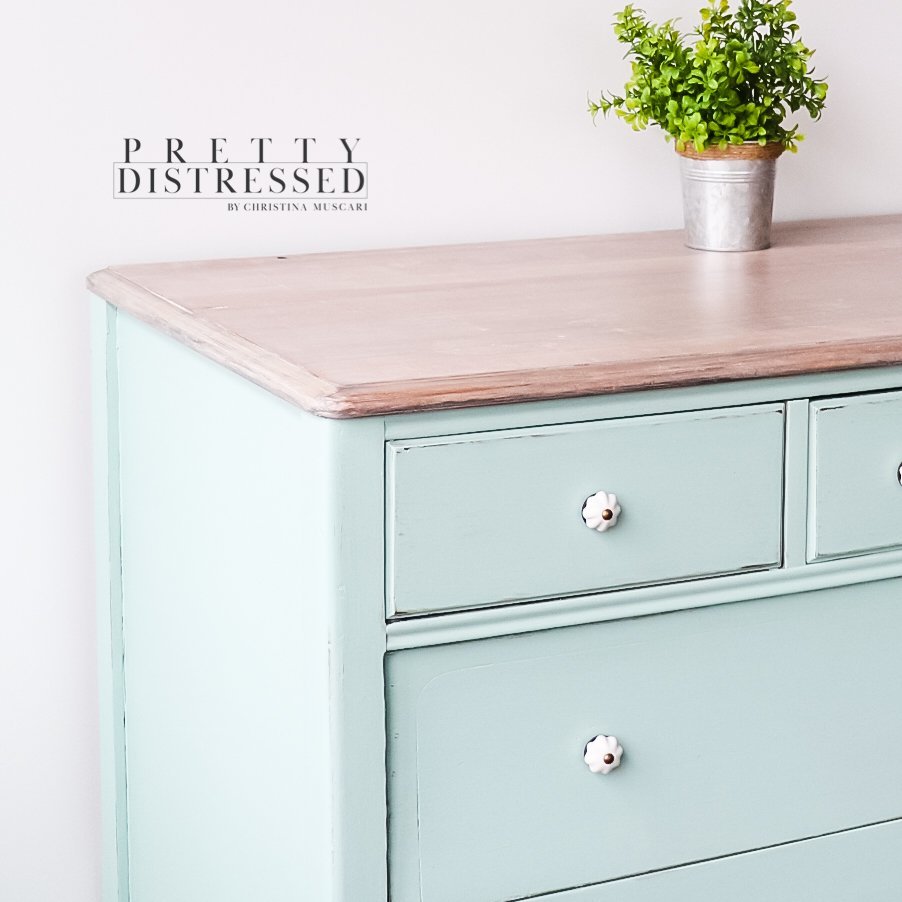
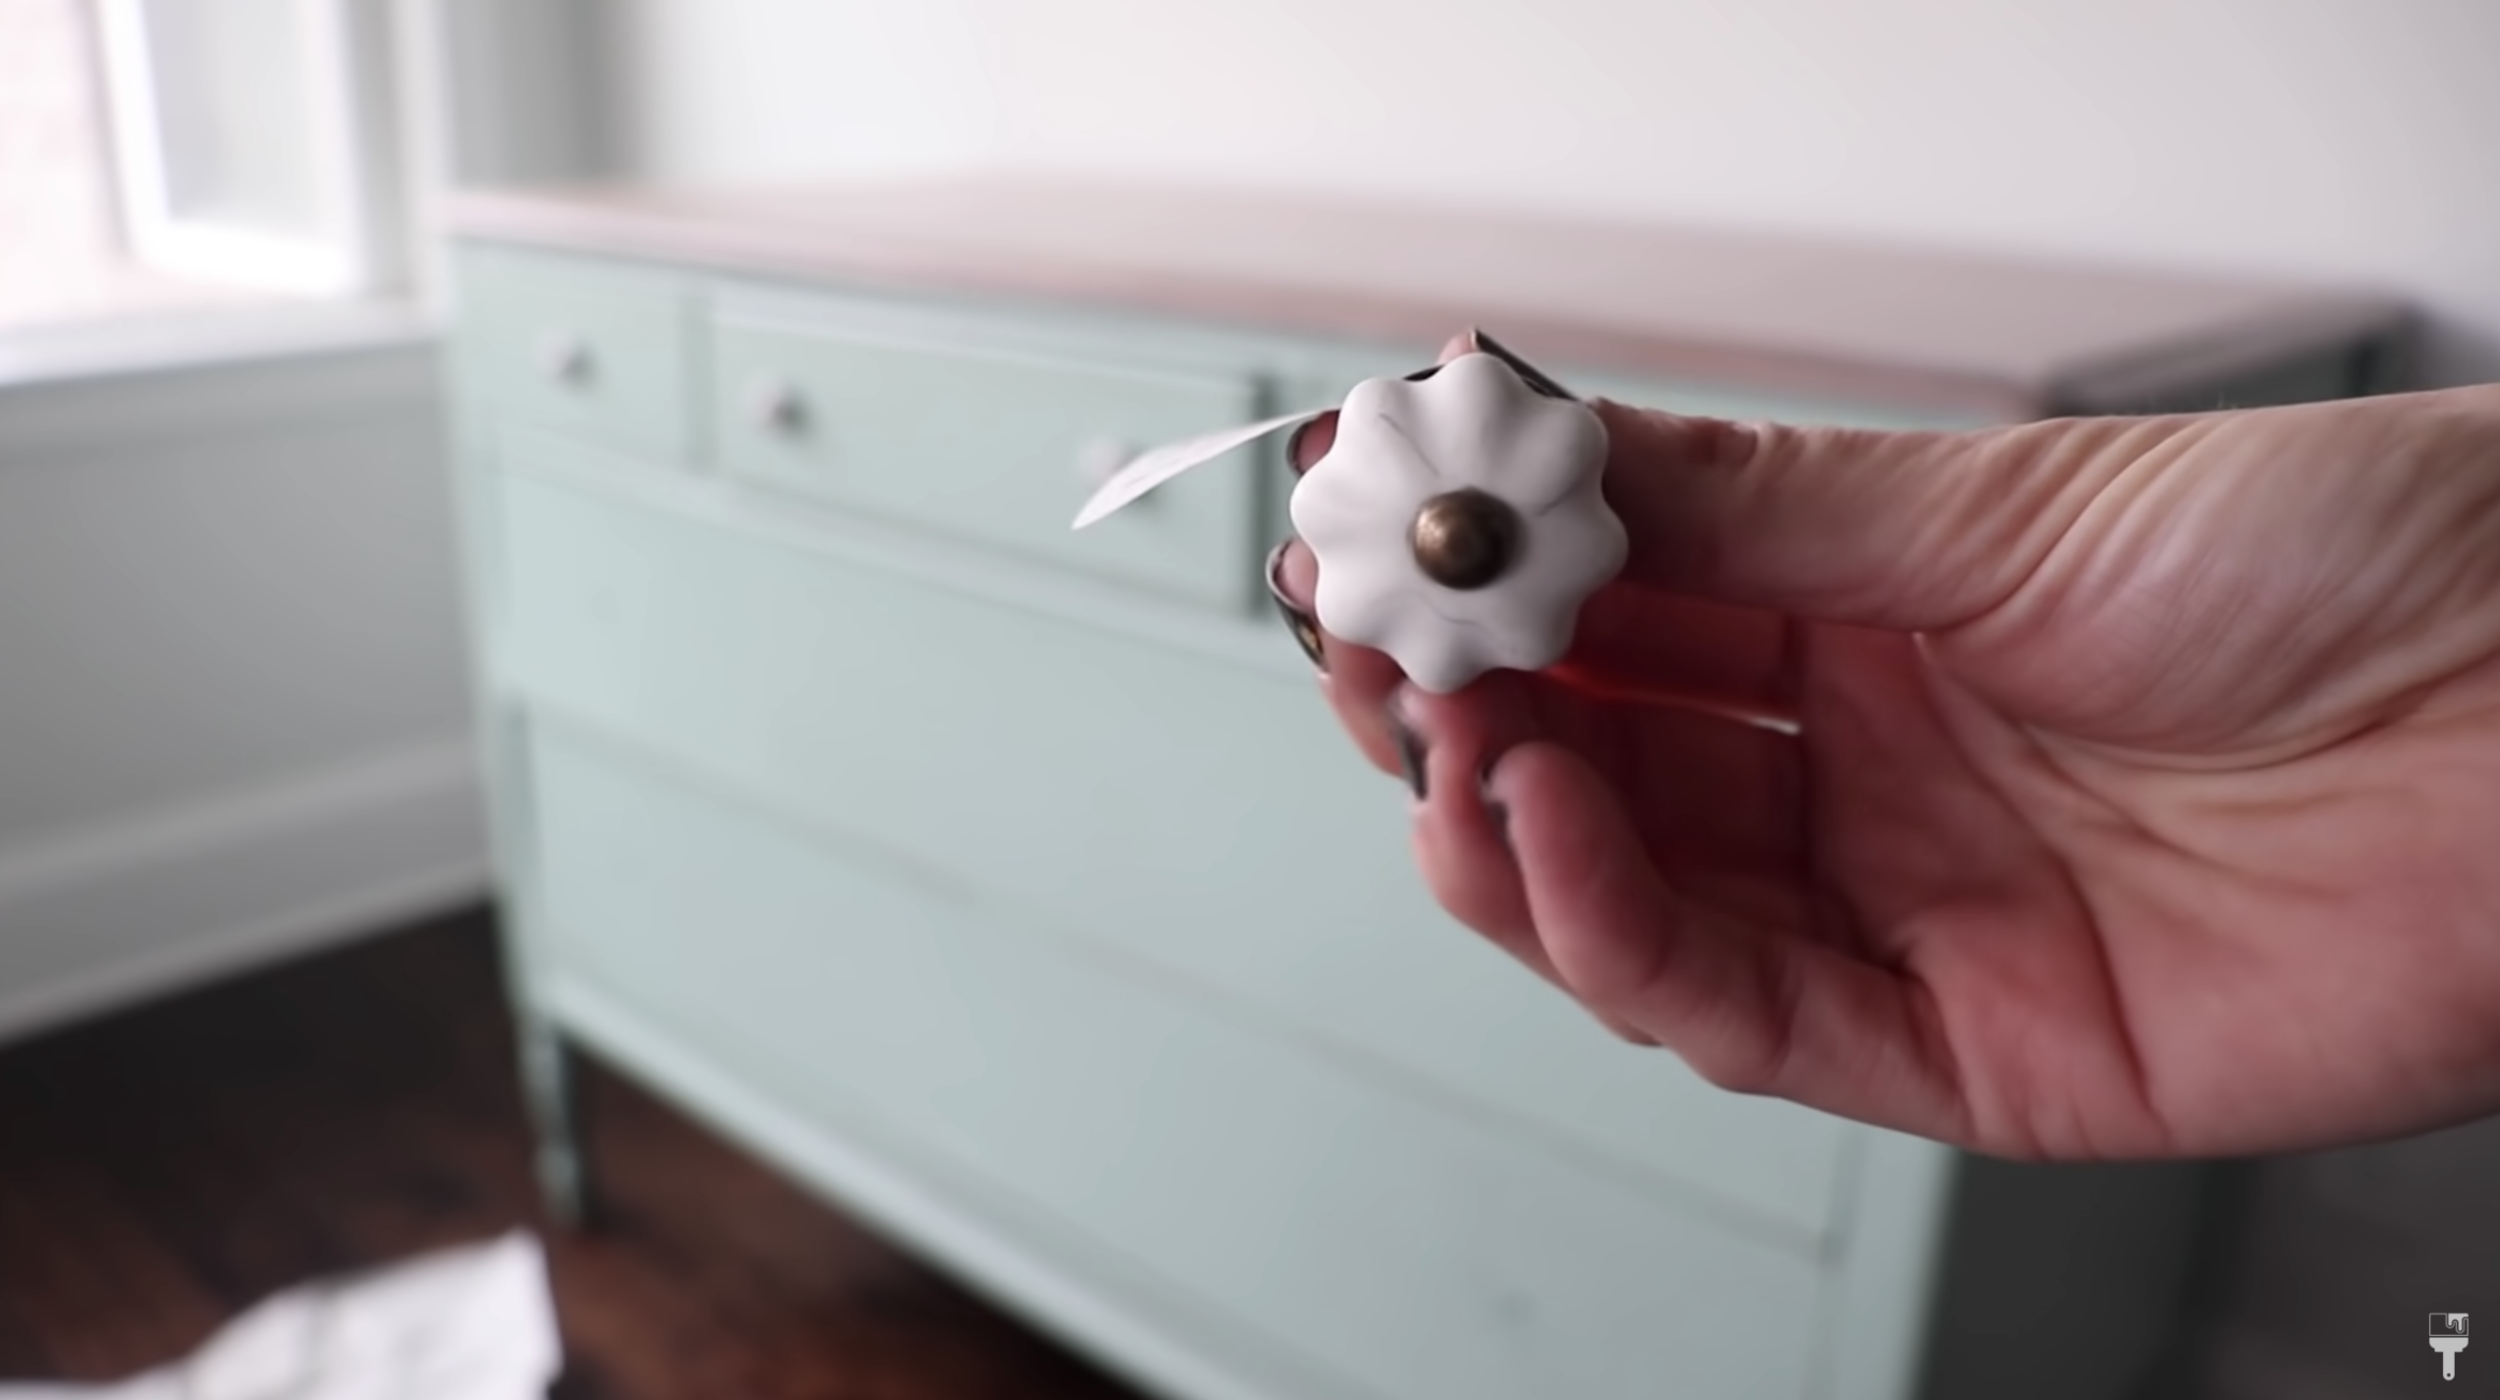
I decided to get hardware to brighten this piece up a little bit. These little knobs (pictured below) are from Hobby Lobby. They were $3.99 a piece. If you wait every other week, their hardware goes on sale 50% off. But I was in a rush to get this video done for you guys, so I paid full price for them. But $3.99 per pull is not bad at all. I love this design. I think it just brightens up the piece and just makes it look really cute.
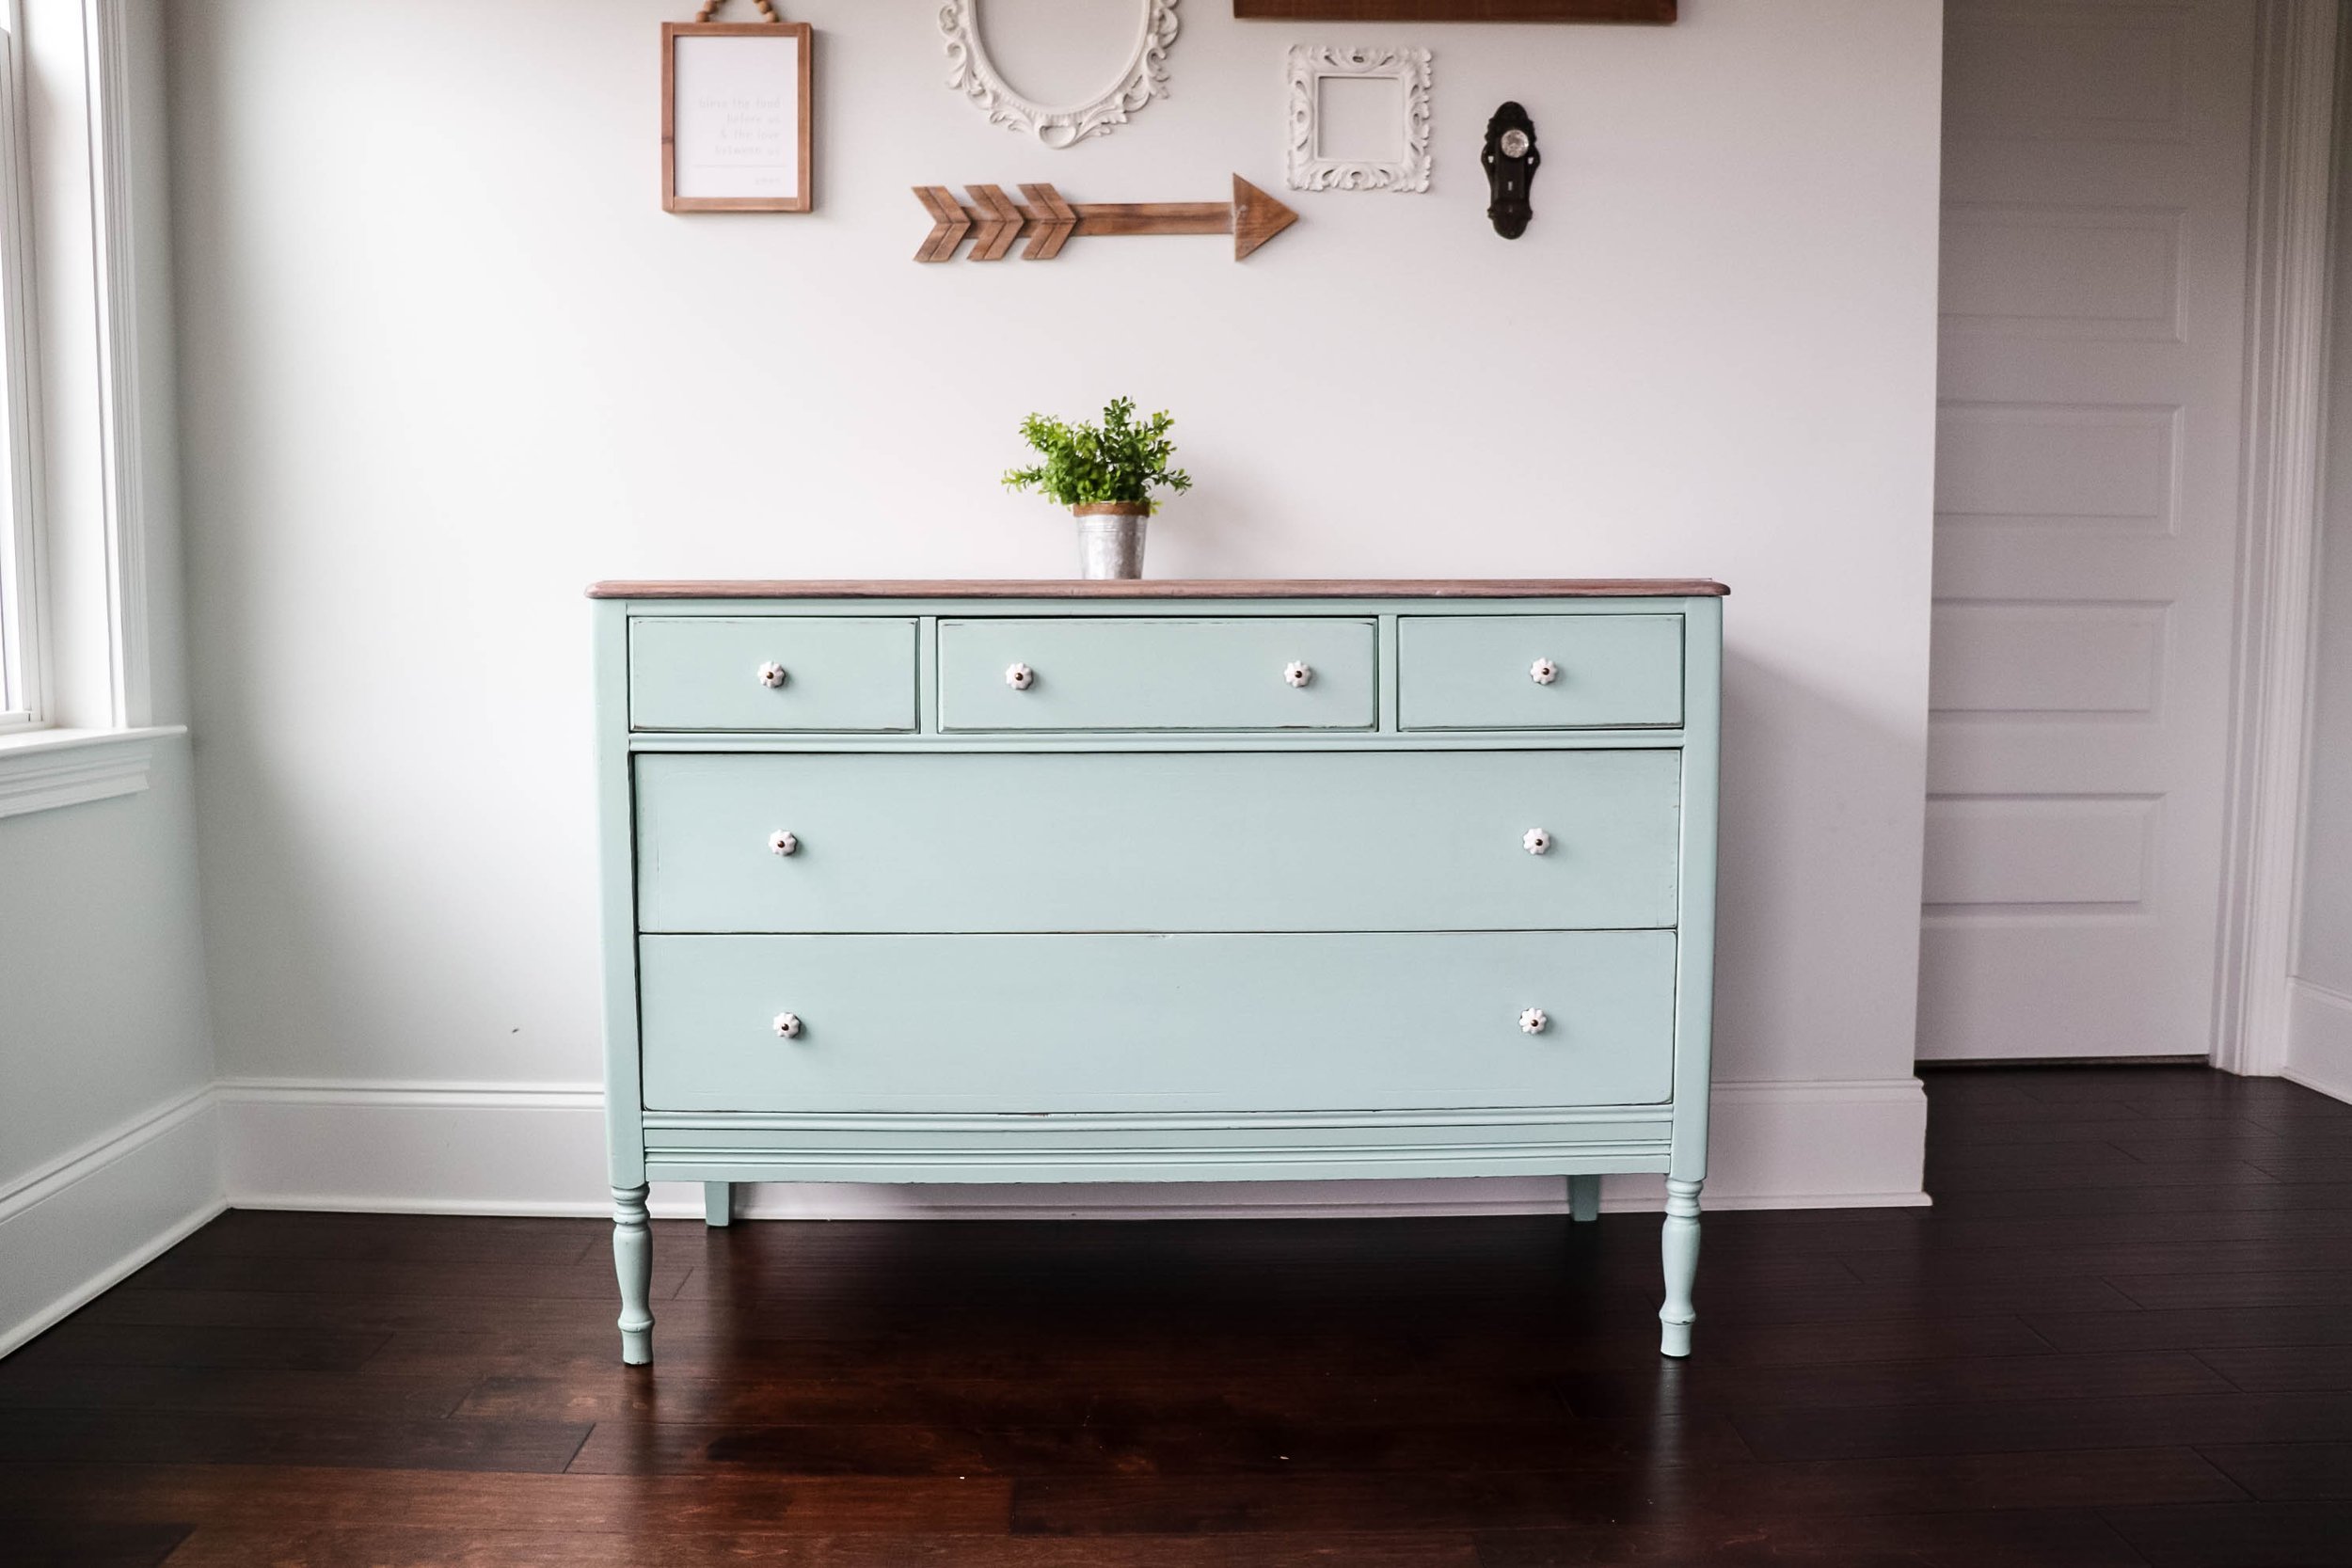
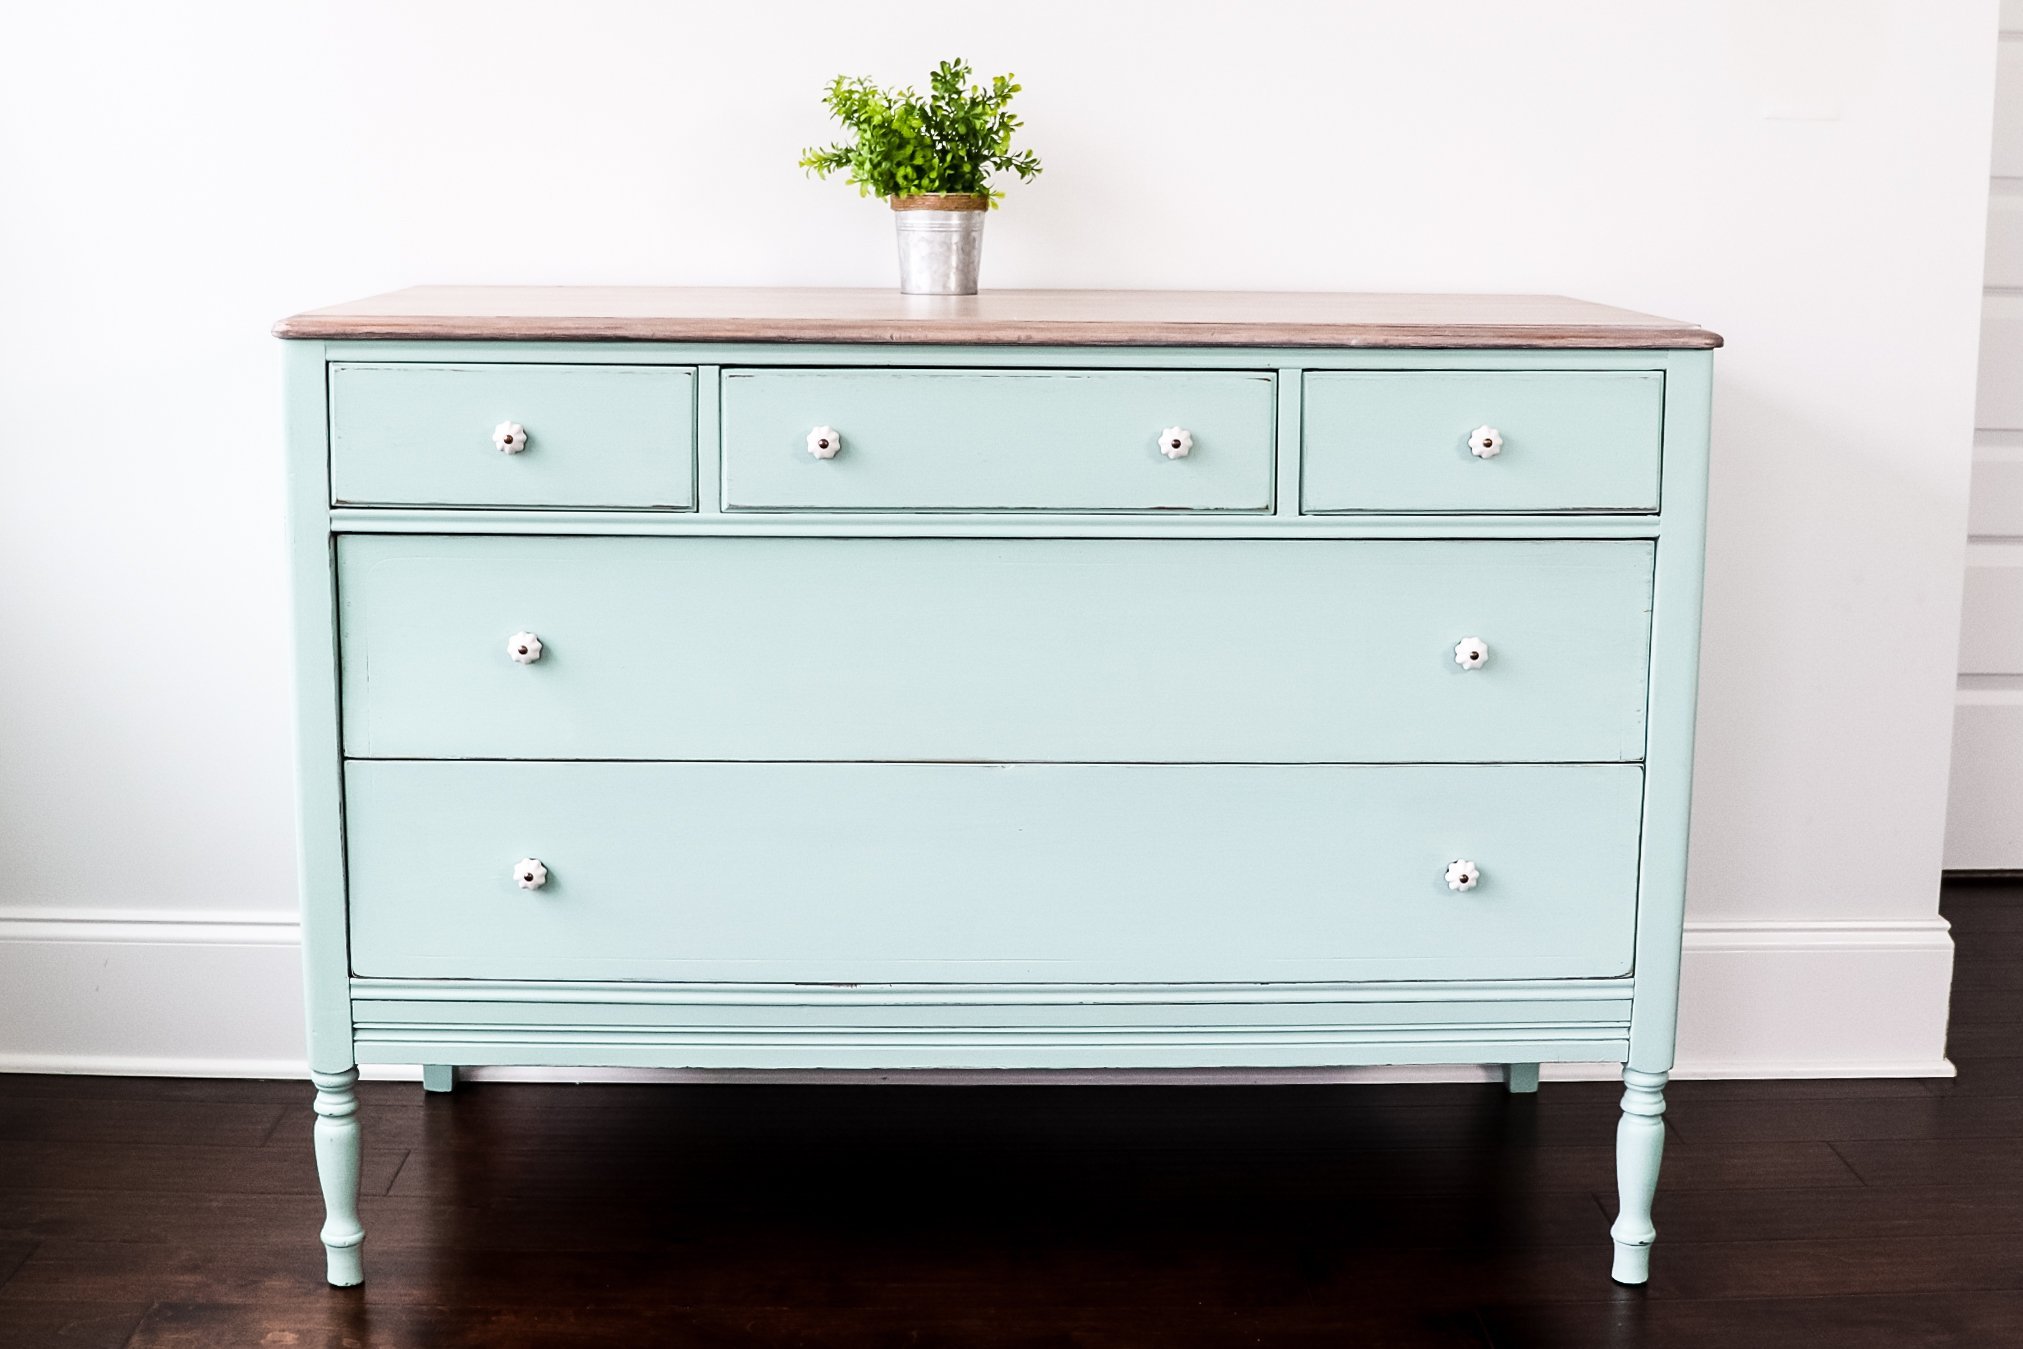
All Dixie Belle Products Dresser Makeover Reveal
Remember what that sad, sad dresser looked like before it got this beautiful makeover with all Dixie Belle products? I love the Sea Glass color, it is so bright and beautiful. I am obsessed with how this top turned out. That stain just gave it the perfect whitewashed weathered look, and it really brought out those areas where I had scuffed and scraped it up to give it kind of that rustic farmhouse feel.
So I set this up in my little eat-in kitchen area, just to show you how cute it would be as a coffee bar. I think it would also look great in an entryway or in a dining room.
I’d love to know if you’re going to try out some of the Dixie Belle Products from today! Let me know in the comments!
Don’t forget to watch the video tutorial of this project on YouTube.