Faux Bone Inlay Furniture Makeover
Disclosure: This blog contains affiliate links. I will receive a commission for items purchased through these links at no extra cost to you. I appreciate your support. Please read all labels and follow all manufacturer safety recommendations when working with paints, stains, and other equipment.
This project was actually my first one in 2022. I took 3 weeks off to recharge and be with family over the holidays, and I have to say… it has been HARD to get back into the groove. And when I’m feeling unmotivated or uninspired to paint furniture, I take the pressure off of myself by creating a piece just for fun.
I love doing this because I’m able to experiment and not worry about the outcome. So that’s what I did to hit the road running in 2022. I grabbed a piece in our home that I’ve repainted twice and was actually the first piece of furniture that I ever painted a few years ago. I did a textured finish on it, and it’s been shipping off a little bit.
This piece has been in my kids’ playroom, so it’s seen better days.
I’ve always wanted to do a bone inlay stencil, and the thought of doing that on a bigger piece overwhelmed me. So this little piece is the perfect one to try this technique on and get 2022 going without any pressure.
I had these really cool stencils from Annie Sloan and some Wise Owl paint, so let’s get on with this project. But first, here is the before picture so you have an idea of what I’m working with here.

Materials use for Faux Bone Inlay Project
Zibra Palm Pro - USE CODE CHRISTINA10 for 10% OFF
Wise Owl One Hour Enamel INKWELL
Annie Sloan Faux Bone Inlay Stencil
DecoArt Satin Enamel Warm White
Sanding
There were a lot of layers on this piece, so the first thing I needed to do was strip all of the texture and paint from it. I got out my sander to get the job done on this one.
Sometimes when needing to get through multiple layers, picking the right grit sandpaper is a bit of trial and error. I first started with a 60 grit, but that ended up stripping it all the way down to the particleboard which I didn’t want to do. So I grabbed a lighter 120 grit sandpaper to see if I could protect some of the original finish under there.
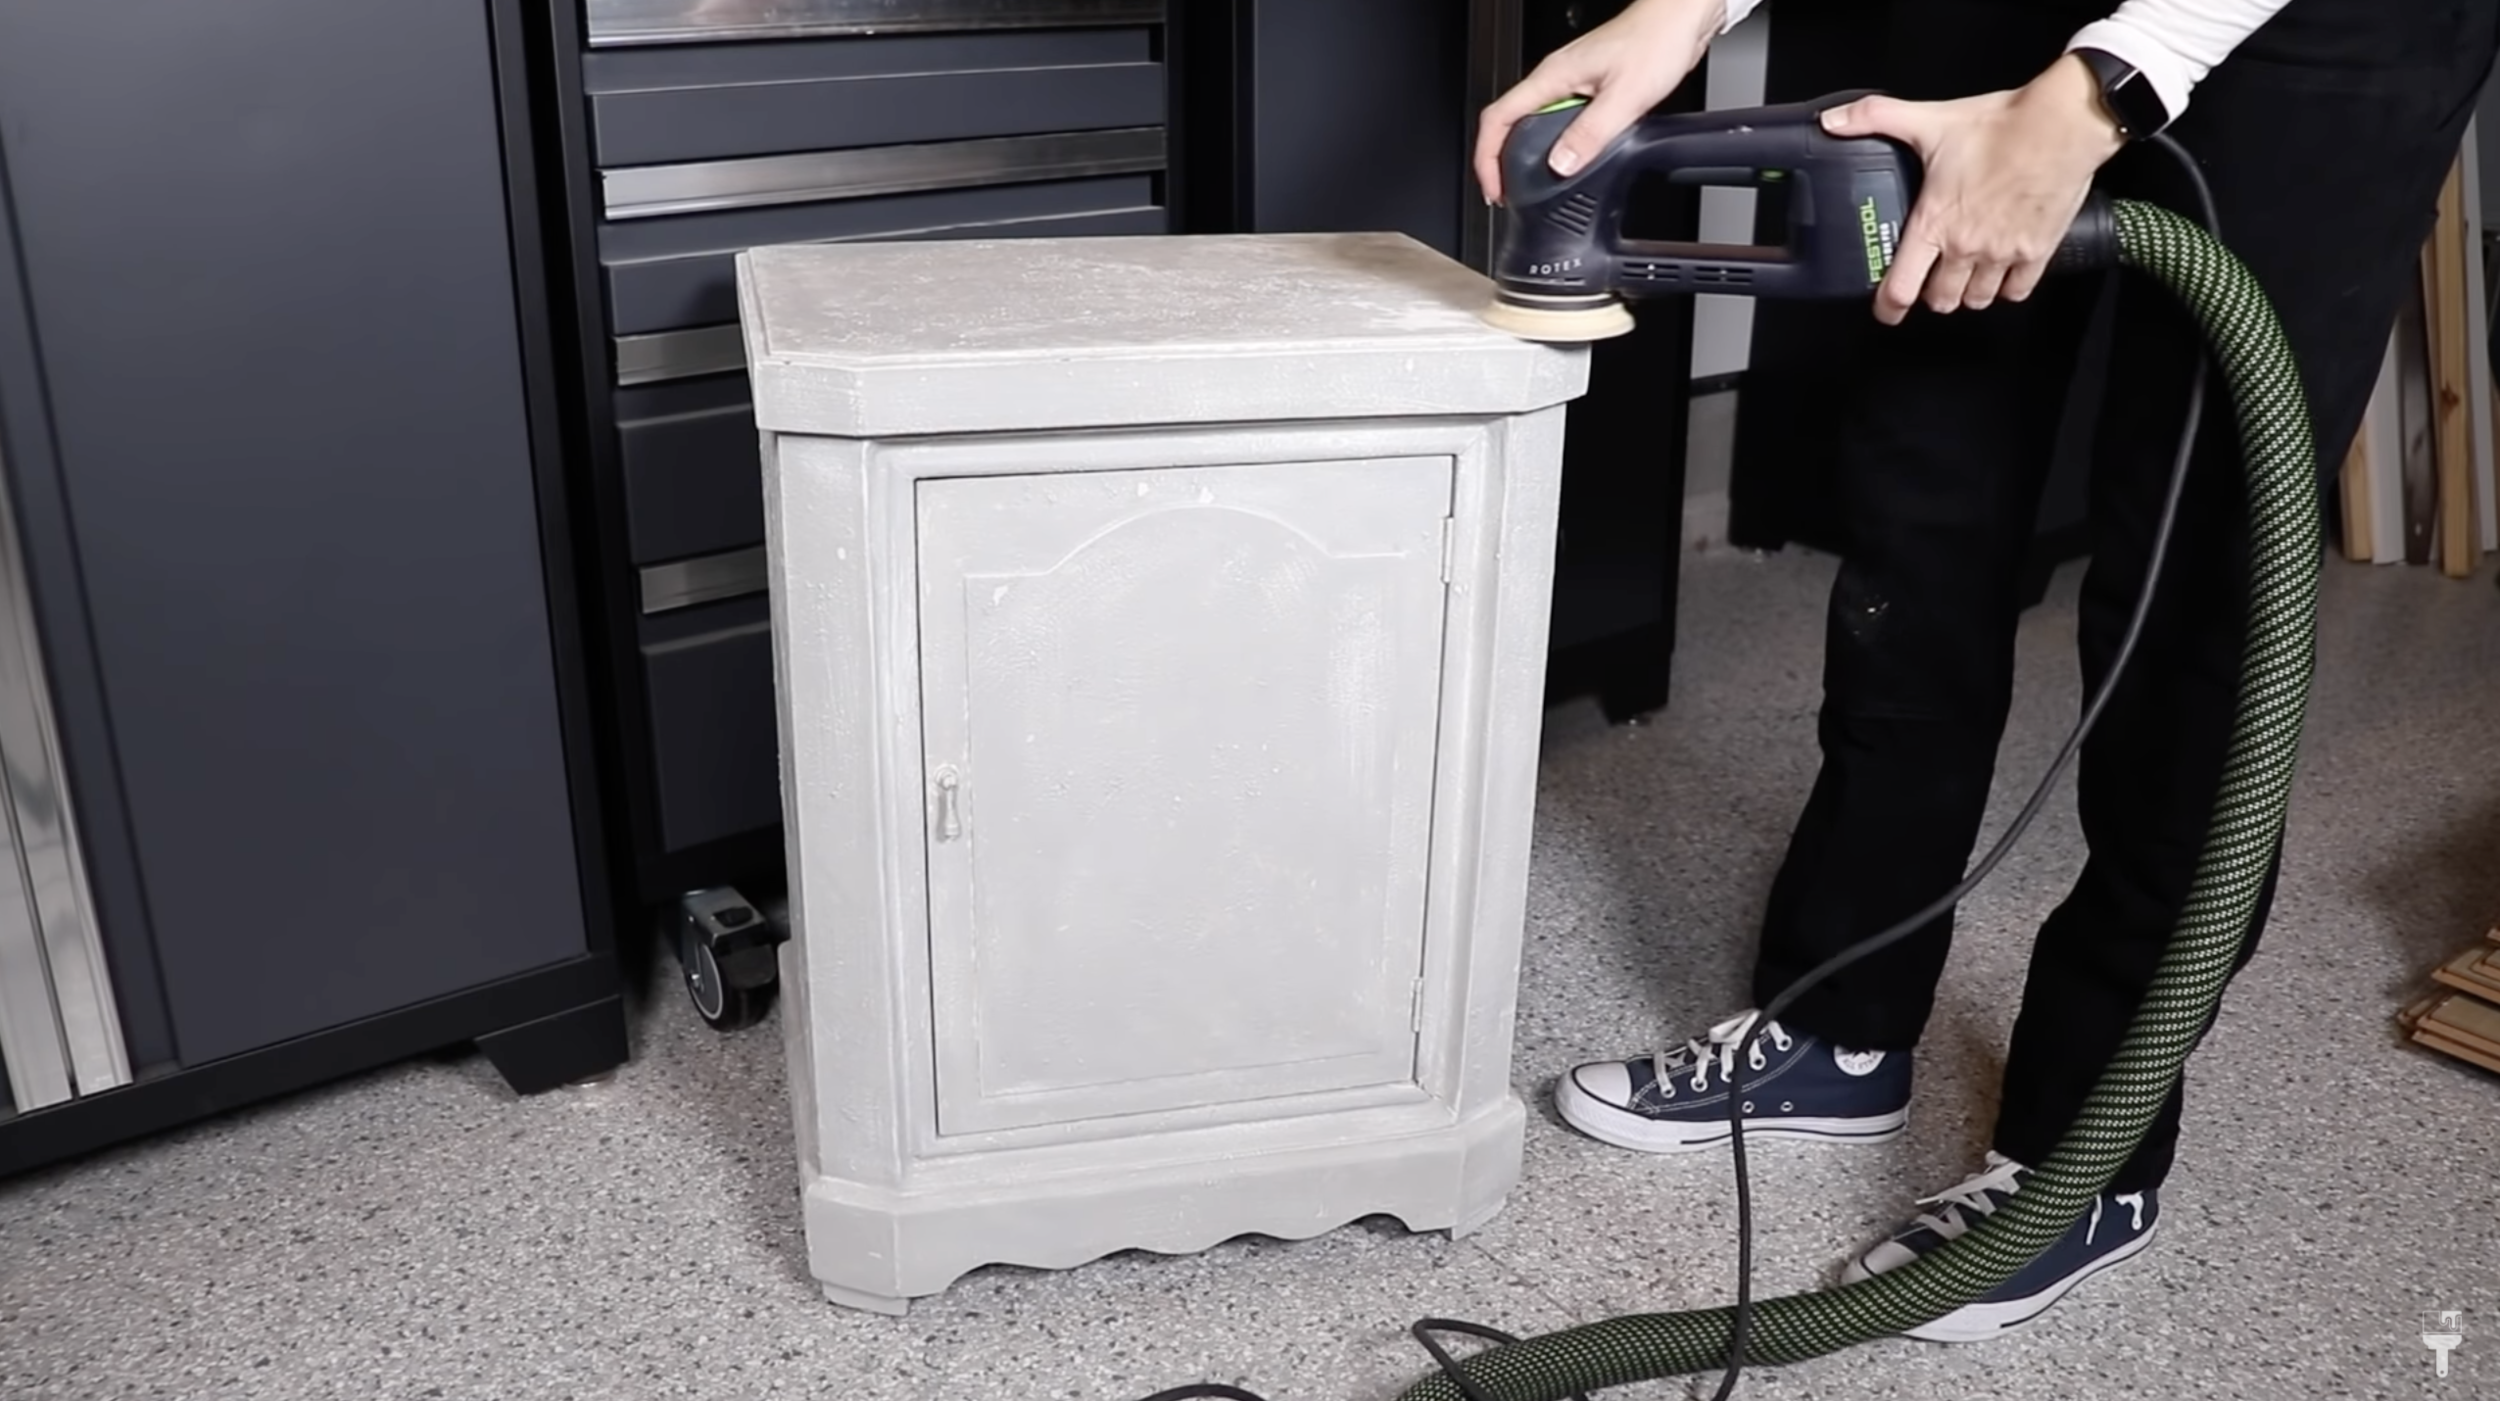
I originally thought this piece wasn't wood, but it is! Ideally, I would have like to strip it down to the wood finish, but that would have taken forever. So I opted to simply get a nice, smooth finish without going all the way to the original wood.
After wiping back the dust, I was ready to add a coat of primer.
Primer

For this project, I used a dark gray stain blocking primer from Wise Owl. I’m using it mainly for adhesion just because I don’t know what this was painted with before. For the paint, I’m going to be using a really dark blue color called Inkwell, so I really don’t want the yellow color to come through.
Pro Tip: If you aren’t sure what you’re working with, the safest bet is to sand it down, prime scuff, and prime. If you’re going to be painting with a light color, use white primer, and if you’ll be working with a dark colored paint, use dark primer.
Wise Owl Paint

First Coat
This primer would dry in just an hour, but I was at the end of my day, so I let it dry overnight. If you’re worried about bleed-through and want to do a second coat of primer, you would need to wait 4 hours… so be sure to plan on that.
As I mentioned, I used the One Hour Enamel by Wise Owl Paint in the color Inkwell. This paint doesn’t need a topcoat and dries in about two hours.
With this project, I wanted to try out a new brush. But I didn’t want to have any unnecessary setbacks, so I’m using the new brush on the back of the project and a tried and true brush on the front.

So I grabbed my Country Chic Oval Brush which I’ve used before and really love. There’s no grain on this piece, so I applied the paint in the same direction. Try to go the shortest distance that you can so that you get the paint on as smooth as possible. And watch out for drip marks as you go.
And as a reminder, this is an all-in-one paint, so I didn’t need to add water. It’s a little runnier than chalk or mineral paint.
Okay… now onto the back where nobody sees. Haha. So I went ahead and tried out the Cling On brush here. I actually liked it! It picks up a lot of paint which is good for all-in-one paint.
Second Coat
I came back after 2 hours and really loved the way this paint leveled out. It’s looking good! So onto the second coat which didn’t have any hiccups at all.

Third Coat (Unexpected)
I let the piece dry for two more hours and was super bummed when I came back to it because it turns out I needed to do a third coat. That’s ok though! Things happen. I went ahead and applied my unexpected third coat and let that dry to get ready for the stenciling!
Faux Bone Inlay with Annie Sloan Stencils

Stenciling ended up being day 3 of my project which still isn’t bad. There are a lot of different ways you can do this, but I decided to map it all out on my own.
I used Annie Sloan’s stencils to get the faux bone inlay look. Normally a bone inlay is actually hand-carved, so this is a fun way to get the same look.
What I liked about these stencils is that there were three different stencil designs that I was about to mix and match to create my own pattern.

I decided to grab a different paint to do the stencils. I have this DecoArt Satin Enamels, and it's very similar to the type of paint I used on the piece. This paint is more of a bargain paint that you’ll find at a craft store instead of a specialty store. So I’ve chosen a warm white because I want it to look like ivory.
I did have a stencil brush and a sponge brush on hand. I started with the sponge brush first, but when I switched to test out the stencil brush, I liked that one better.
I do like to eyeball things often, but just to be safe, I went ahead and measured to make sure my stencil was centered.
I’m not much of a planner, so I designed it as I went along. But you can definitely plan it all out before you get started painting so that you don’t run into any surprises.

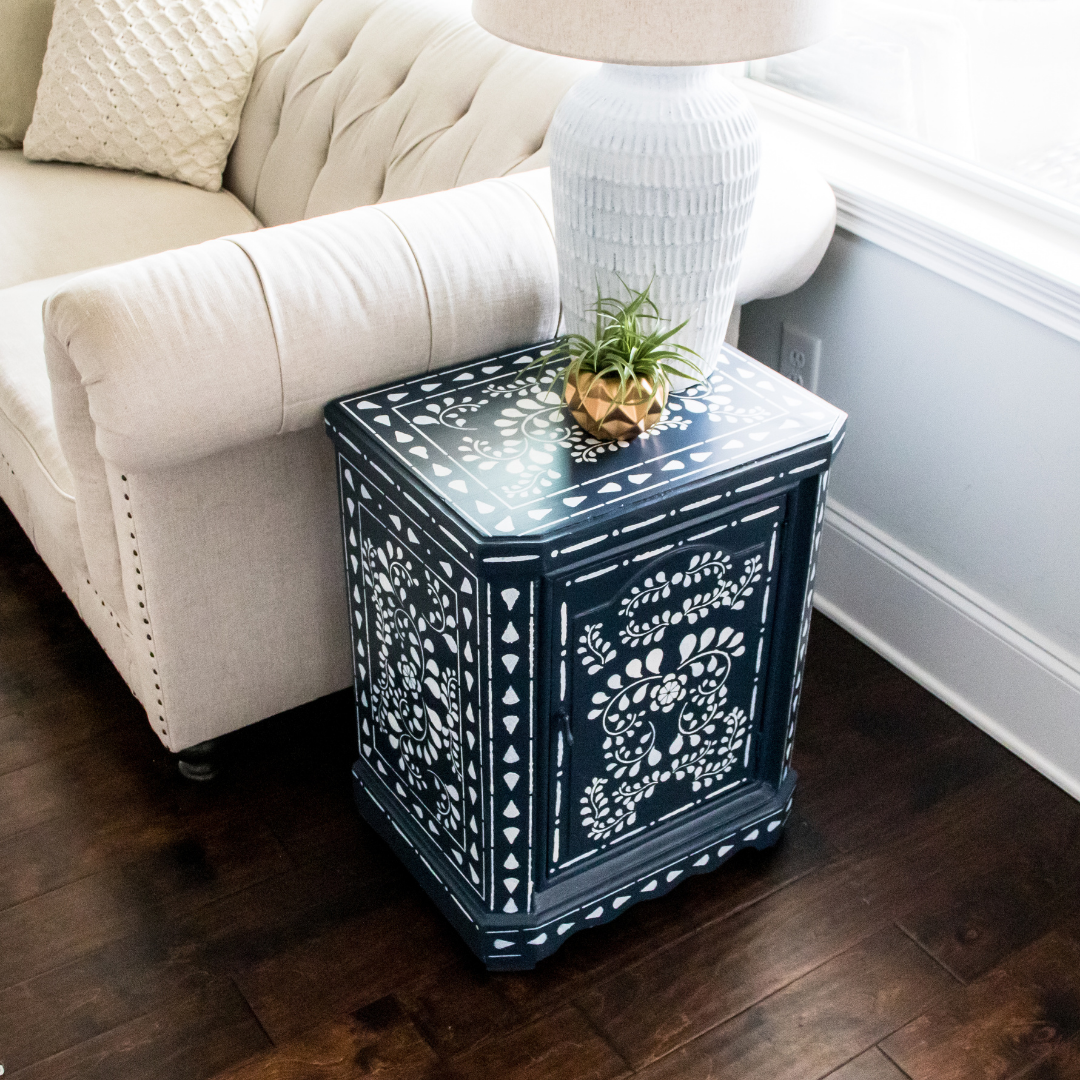
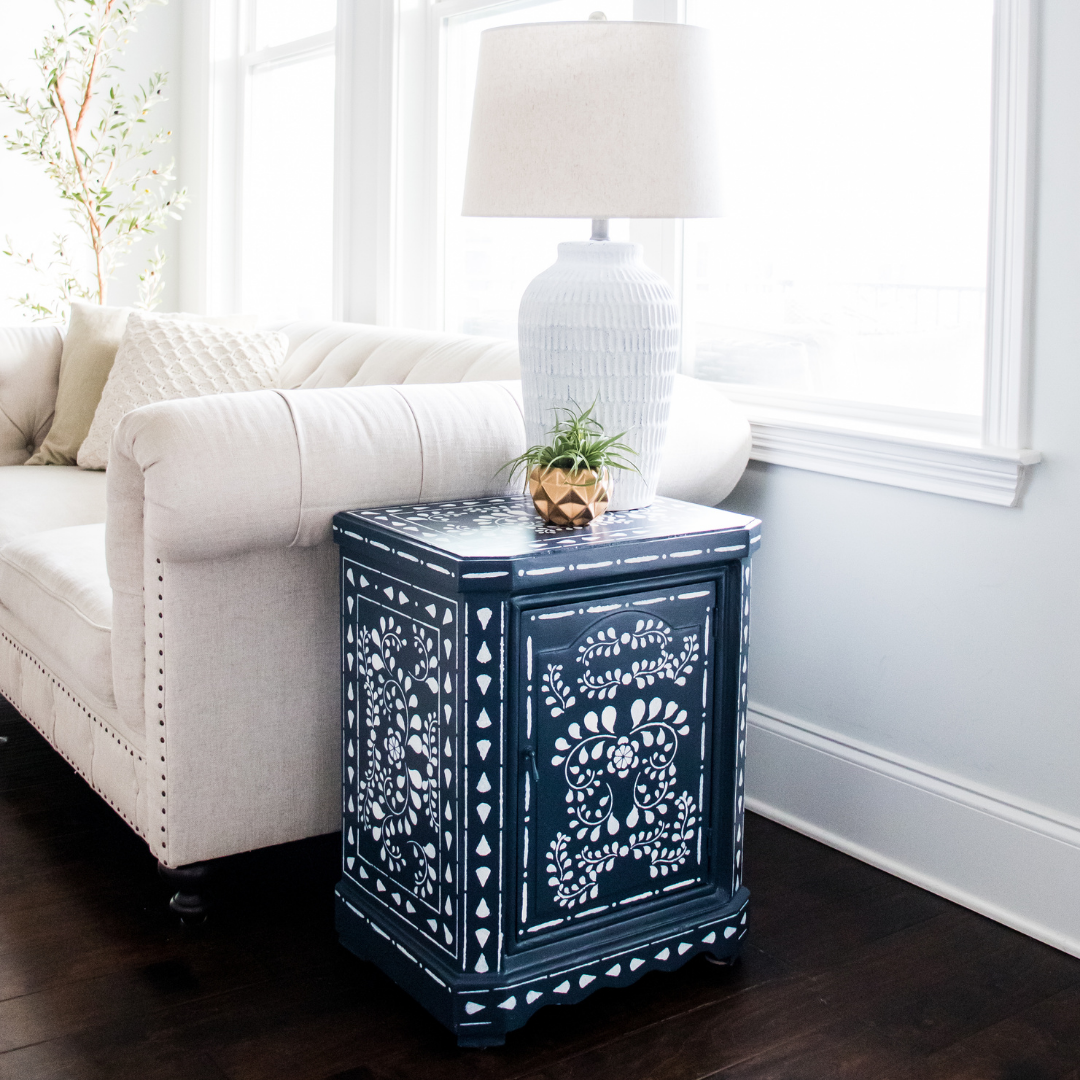
Faux Bone Inlay Reveal
Yay! I’m all finished. Honestly, it’s not perfect, but I think it’s really cute from far away. There might be a few little imperfections, but I’m really proud of myself for finishing this one. But as I said, I didn’t put any pressure on myself for this piece, and so I’m happy about the way it turned out.
My final thoughts… Do I think I’ll do this faux bone inlay technique on a larger piece? Probably not. LOL. It took me a long time for such a tiny piece, so I just can’t imagine how daunting a big dresser would feel. But if you love working with stencils on this kind of project, would you LOVE this!
I have to admit though, this definitely got me out of my funk and I’m ready to rock n roll for the rest of 2022!
Remember, you can watch this entire project which also included some fun Q & A on my YouTube Channel. Take a look!