Trash to Treasure Entryway Table
Disclosure: This blog contains affiliate links. I will receive a commission for items purchased through these links at no extra cost to you. I appreciate your support. Please read all labels and follow all manufacturer safety recommendations when working with paints, stains, and other equipment.
Today, I'm bringing you another trash to treasure furniture makeover. I got this little entryway table off of Facebook Marketplace for $30, and I'm going be giving it a major upgrade.
This entryway table can also be used as a couch console because the back is finished as well. I’ll be doing a monochromatic finish today with part whitewash technique and part full strength paint.
I’ll be using Jolie paint for the entire project…and I can’t wait to show you the finished project. First, let’s take a look at the before image of this entryway table in need of much love.

Materials for Trash to Treasure Entryway Table
Surf Prep 3" x 4" Electric Ray (Use Code PRETTYDISTRESSED10 for 10% off your order)
Prep for Trash to Treasure Entryway Table
Strip stain on top surfaces

First things first with this project…I’ve gotta strip the veneer off of the top surfaces of this entryway table. It’s really going to be the highlight of this trash to treasure makeover.
So I grabbed my Surf Prep Electric Ray, and I have an 80-grit screen sanding abrasive that’s going to help me strip all of the varnish off the top. I’m going to do this on the bottom surface as well.
I want to have a natural look on top and on the bottom console shelf, so I want to see the natural wood on those two flat surfaces. But in the meantime, I took a 120-grit sandpaper to smooth out both of my surfaces that I stripped down to bare wood.
Once I was done sanding, I wiped off all my dust with a tack cloth.
Cleaning the Piece
Before I started staining, I cleaned the rest of the surface that I didn't sand. I used grease-cutting soap and rinsed with some clean water after.
Epoxy for Hardware Holes

I'm going be updating the hardware on this piece, so I removed the existing hardware and it was really funky. It had two holes in it. So I grabbed some quick wood and filled up the extra hole.
After that dries, I’m going to sand it down.
Scuff Sand
All right, now I have to prep the rest of the piece to paint. This entryway table is really shiny, so I went ahead and did a scuff sand with my light Jolie sanding pad (the light gray one) to give my paint something to stick to. I also used this pad to sand back the epoxy that I used to fill up the hardware holes.
After I bit I wanted to speed things along, so I grabbed my Surf Prep and put a fine sanding pad on it. I realize not everybody has a fancy sander like this, so those Jolie sanding pads really do work well!
After I was done sanding, I wiped it down to remove all that dust. And then I taped off the areas on the top and bottom to protect them from paint over splash.

Tips for Making a Paint Wash
Half Paint & Half Water
Like I mentioned, I’m going for a monochromatic look with this piece. I’m using Jolie’s Uptown Ecru which was their color of the year for 2021. With the top surfaces I’ll be creating a wash to act as a faux stain. To do this, I just mixed 50% paint and 50% water.
Apply With a Natural Bristle Brush
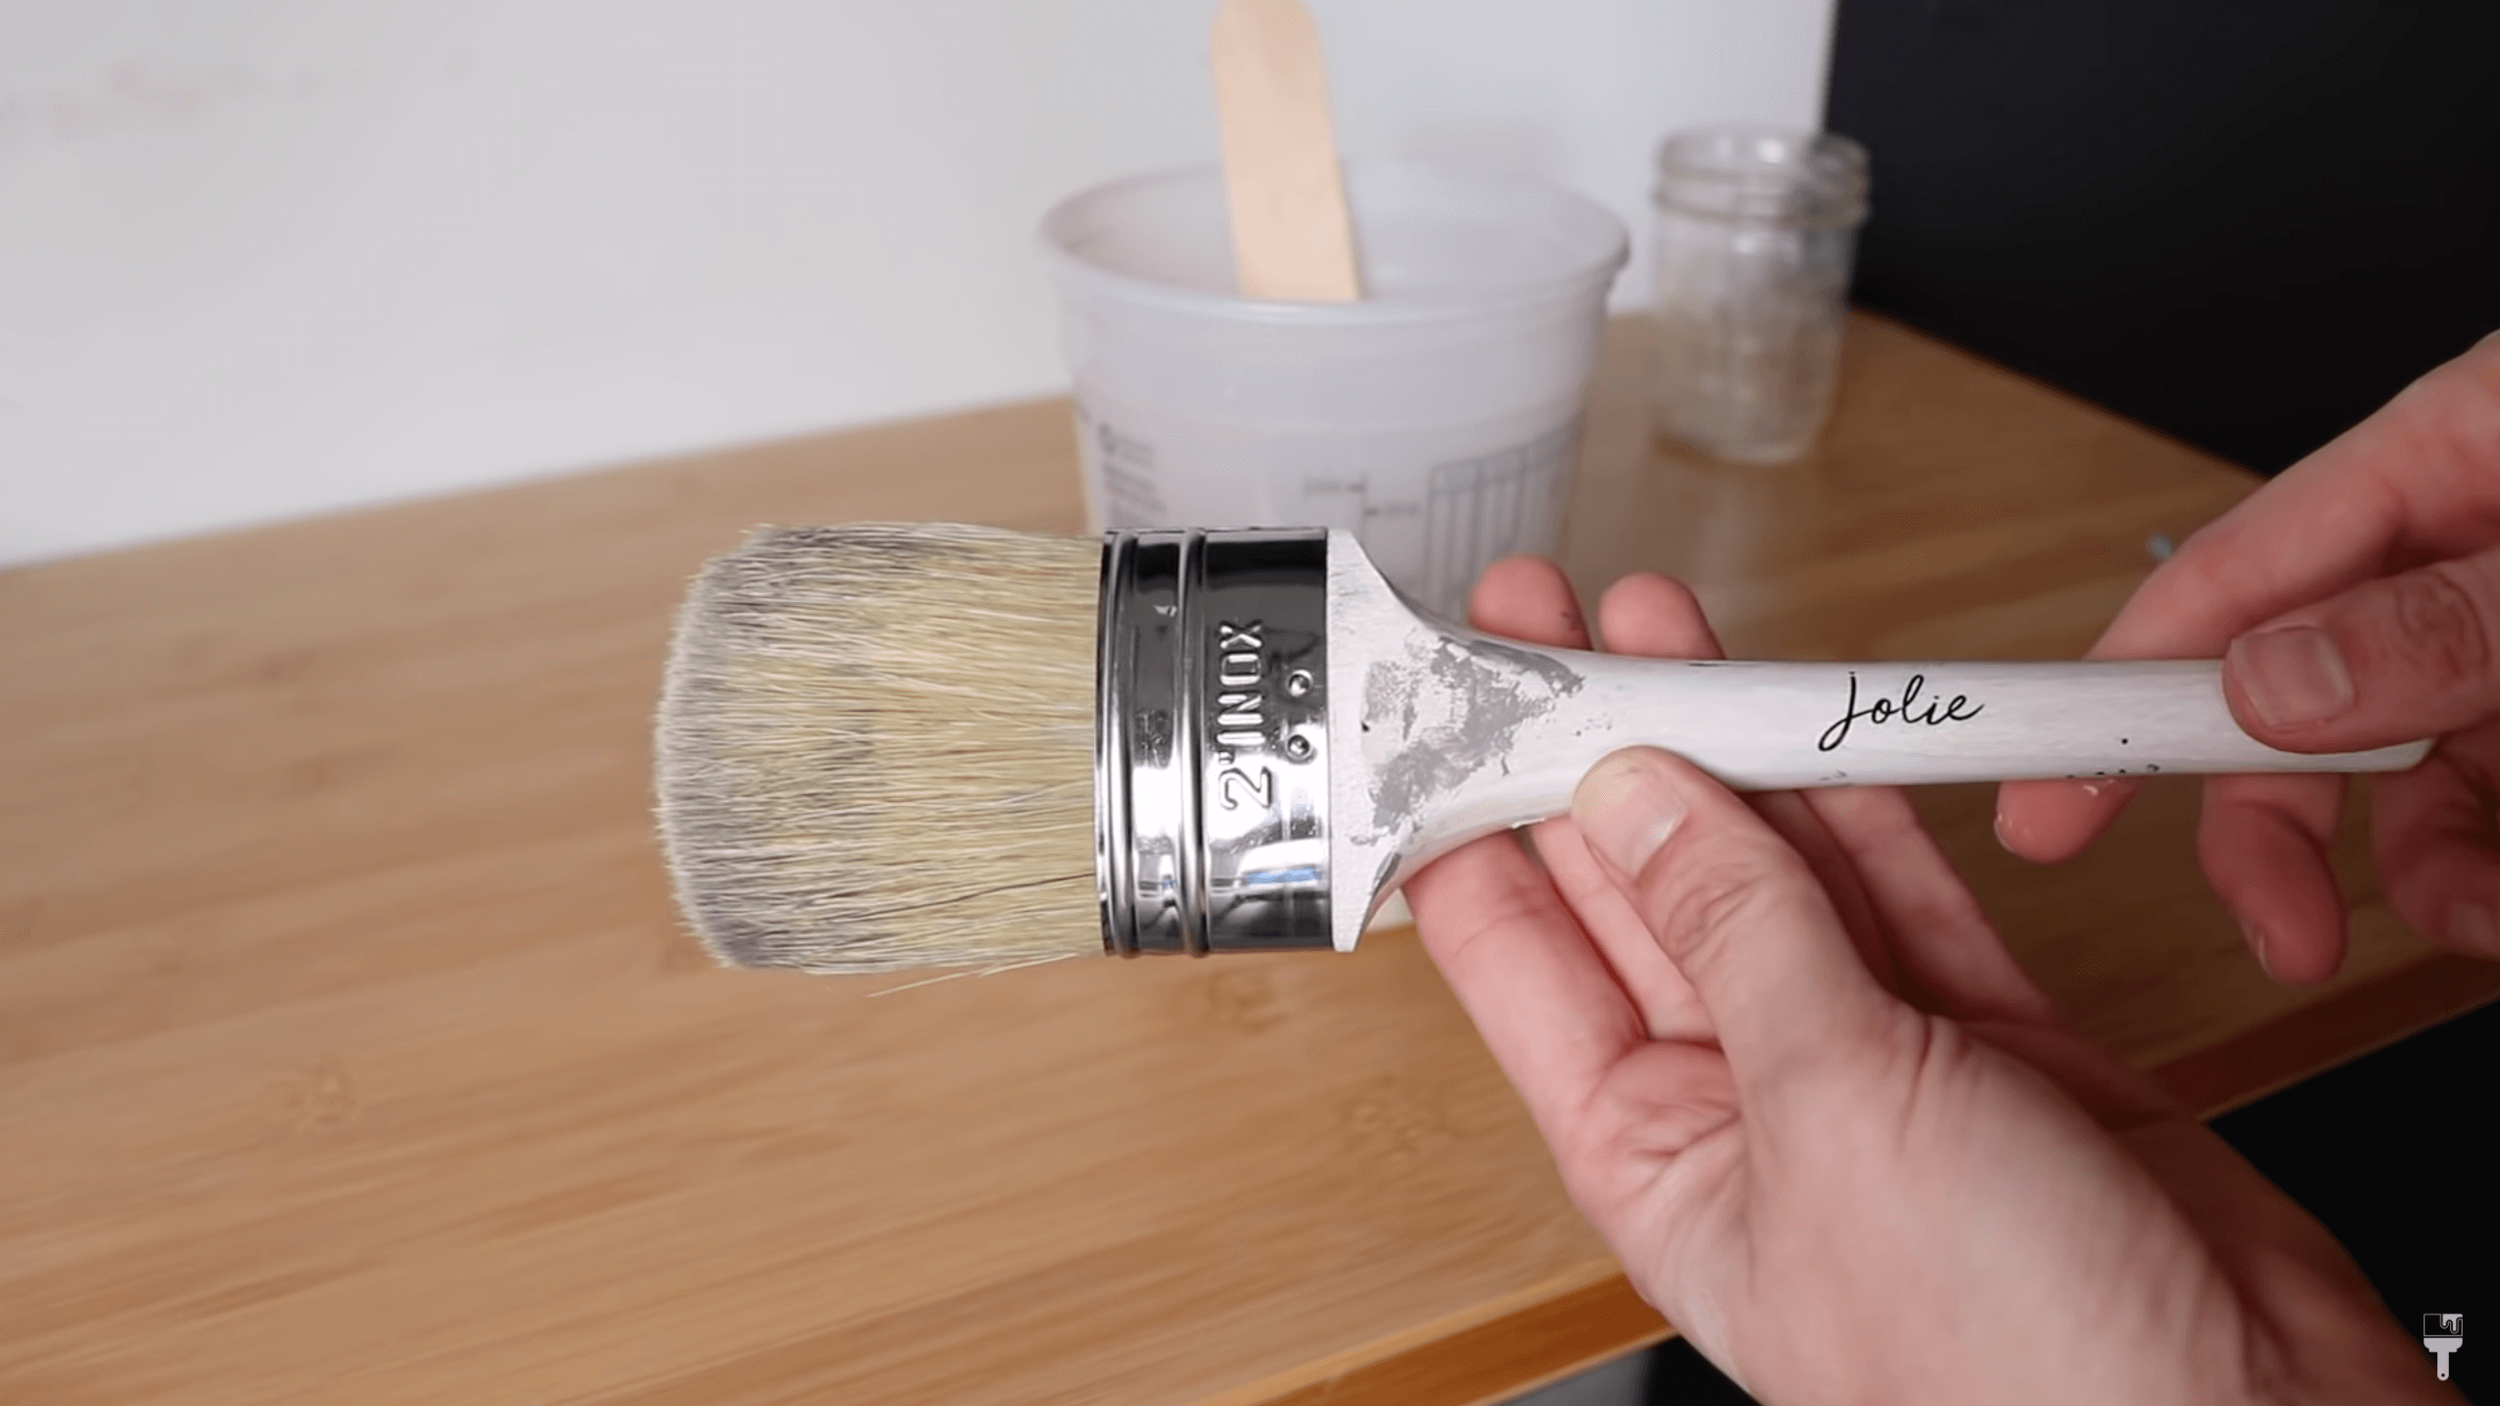
I like to apply my washes with a natural bristle brush, and I grabbed my large brush to help me get the job done quickly. Before I applied my paint stain, I put down a slip coat of water first.
Go With the Grain
I like to go with the grain when I can, but this top was kind of funky with patterns going in every direction. So I just followed the grain of the wood for each of the little sections.

Absorbent Rags
I did have my absorbent rags ready to go to wipe up my excess paint. Since this is a smaller piece of furniture, I went ahead and covered the whole surface before wiping it back. I did want this wash to be pretty light though, so I did wipe it back right away.
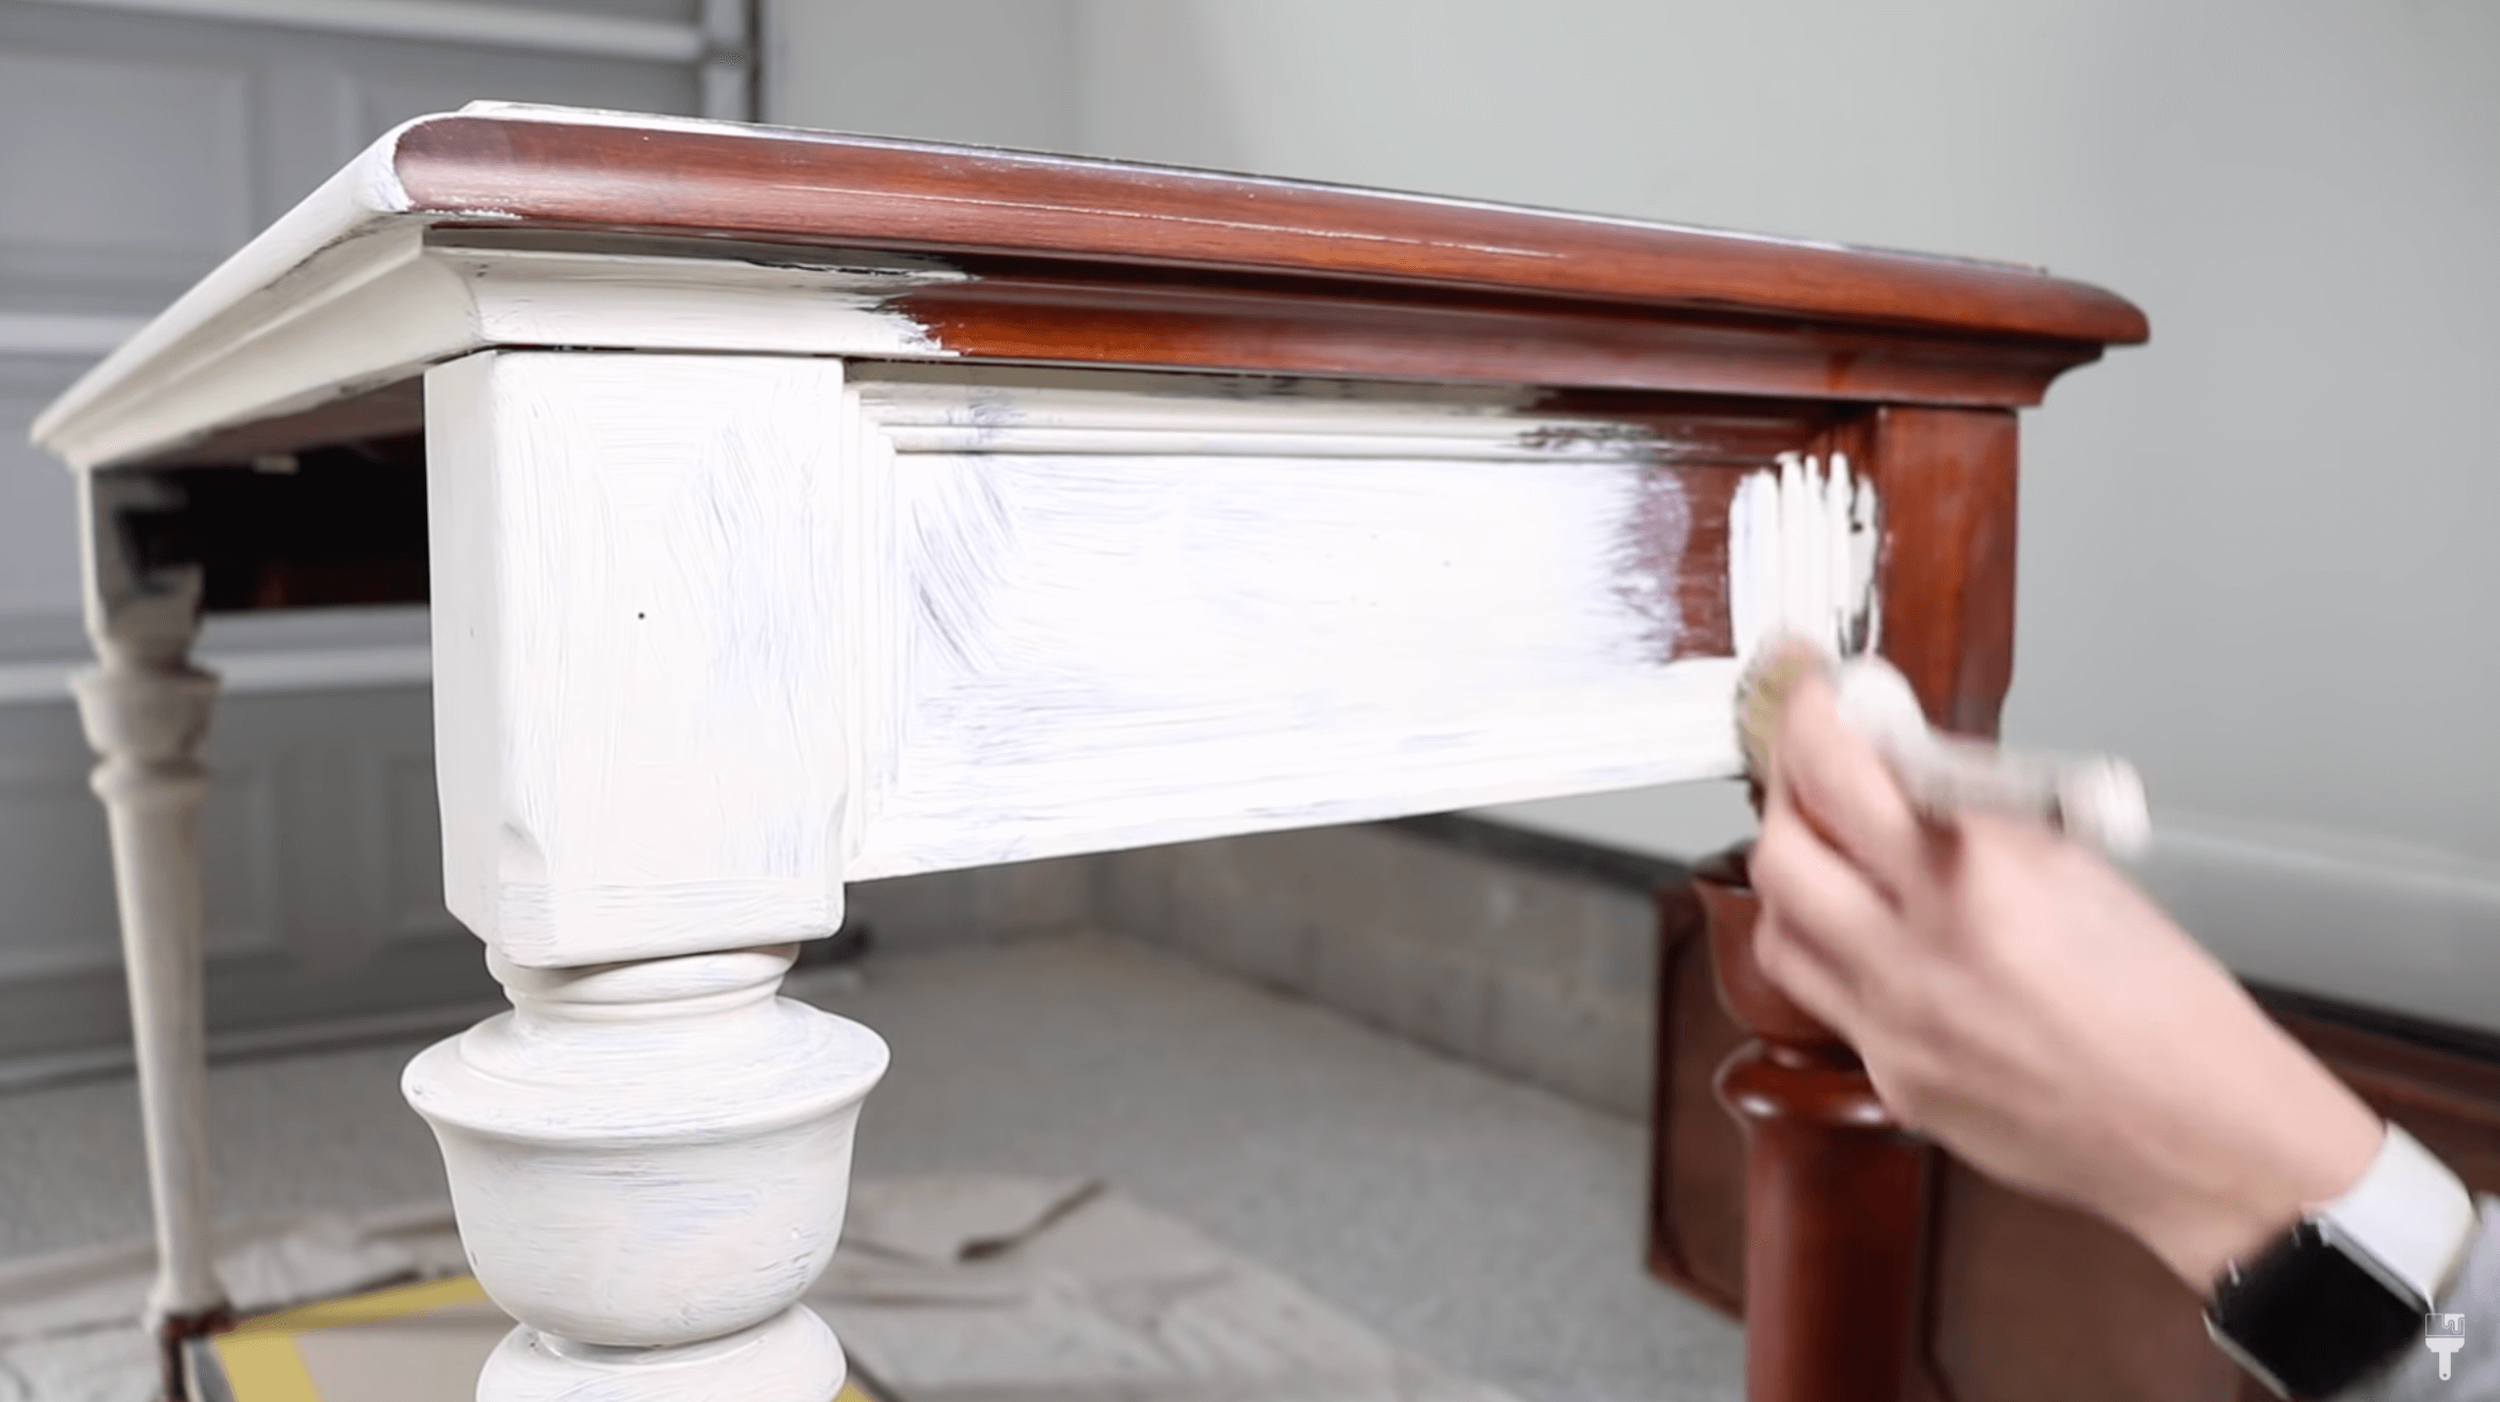
Paint Frame

I'm finally ready to paint my base. I used my smaller signature brush and grabbed the same color (Uptown Ecru). I’m just doing a basic finish here where I pain in every direction. This brush picks up a lot more paint than a synthetic brush, so it’s going to give you some brush strokes without getting too crazy with the texture.
This paint does dry pretty quickly, so for my second coat, I took the paint out of the can so that I could mist it before applying. I applied the paint in the same way for the second and third coats. Depending on your color you may not need a third coat…but since this is a light color I opted for three coats.
I did grab my small art brushes to get some of the hard-to-reach places on the legs. I pulled up my tape as soon as I was done with that third coat because I find this gives me a crisp line.
Beginner’s Tip
If you're a beginner, this natural brush stroke method is perfect for you because you don’t have to worry about imperfections. You don’t have to water down your paint or sand between coats. You’re not going to be stressed out by how smooth it all turns out.
The only thing to watch out for are drip marks because natural bristle brushes do hold a lot more paint. So watch out for those corners…that’s where the paint tends to build up and drip.
Seal with Wax

I let my paint dry for most of the day before I came in and sealed it. And today, I'm kicking it old school. I feel like people are scared to use wax, but I LOVE Jolie’s wax. It’s so good.
To apply this wax, I used both of their wax brushes, but I started with the large one because it helped me get some of these big areas. Waxing really isn't that hard. You just need to get a little bit on your brush and rub, rub, rub it into your paint.
This paint absorbs the wax in and just gives it this beautiful, gorgeous finish. It also gets in all those little textures that I created with my brushstrokes and creates a beautiful matte finish.

Once I got a good section coated with wax, I came back in with one of my lint-free clothes that I used earlier to absorb my paint and wiped away any excess. If you see any lint, no biggie, just pick it out and smooth it over. :)
I really love the color of this top, and adding the wax just took it to a whole other level. It adds so much more depth and richness to it…it’s gorgeous!
My last step was to grab my smaller wax brush with the pointed tip to get into the curves of the legs.
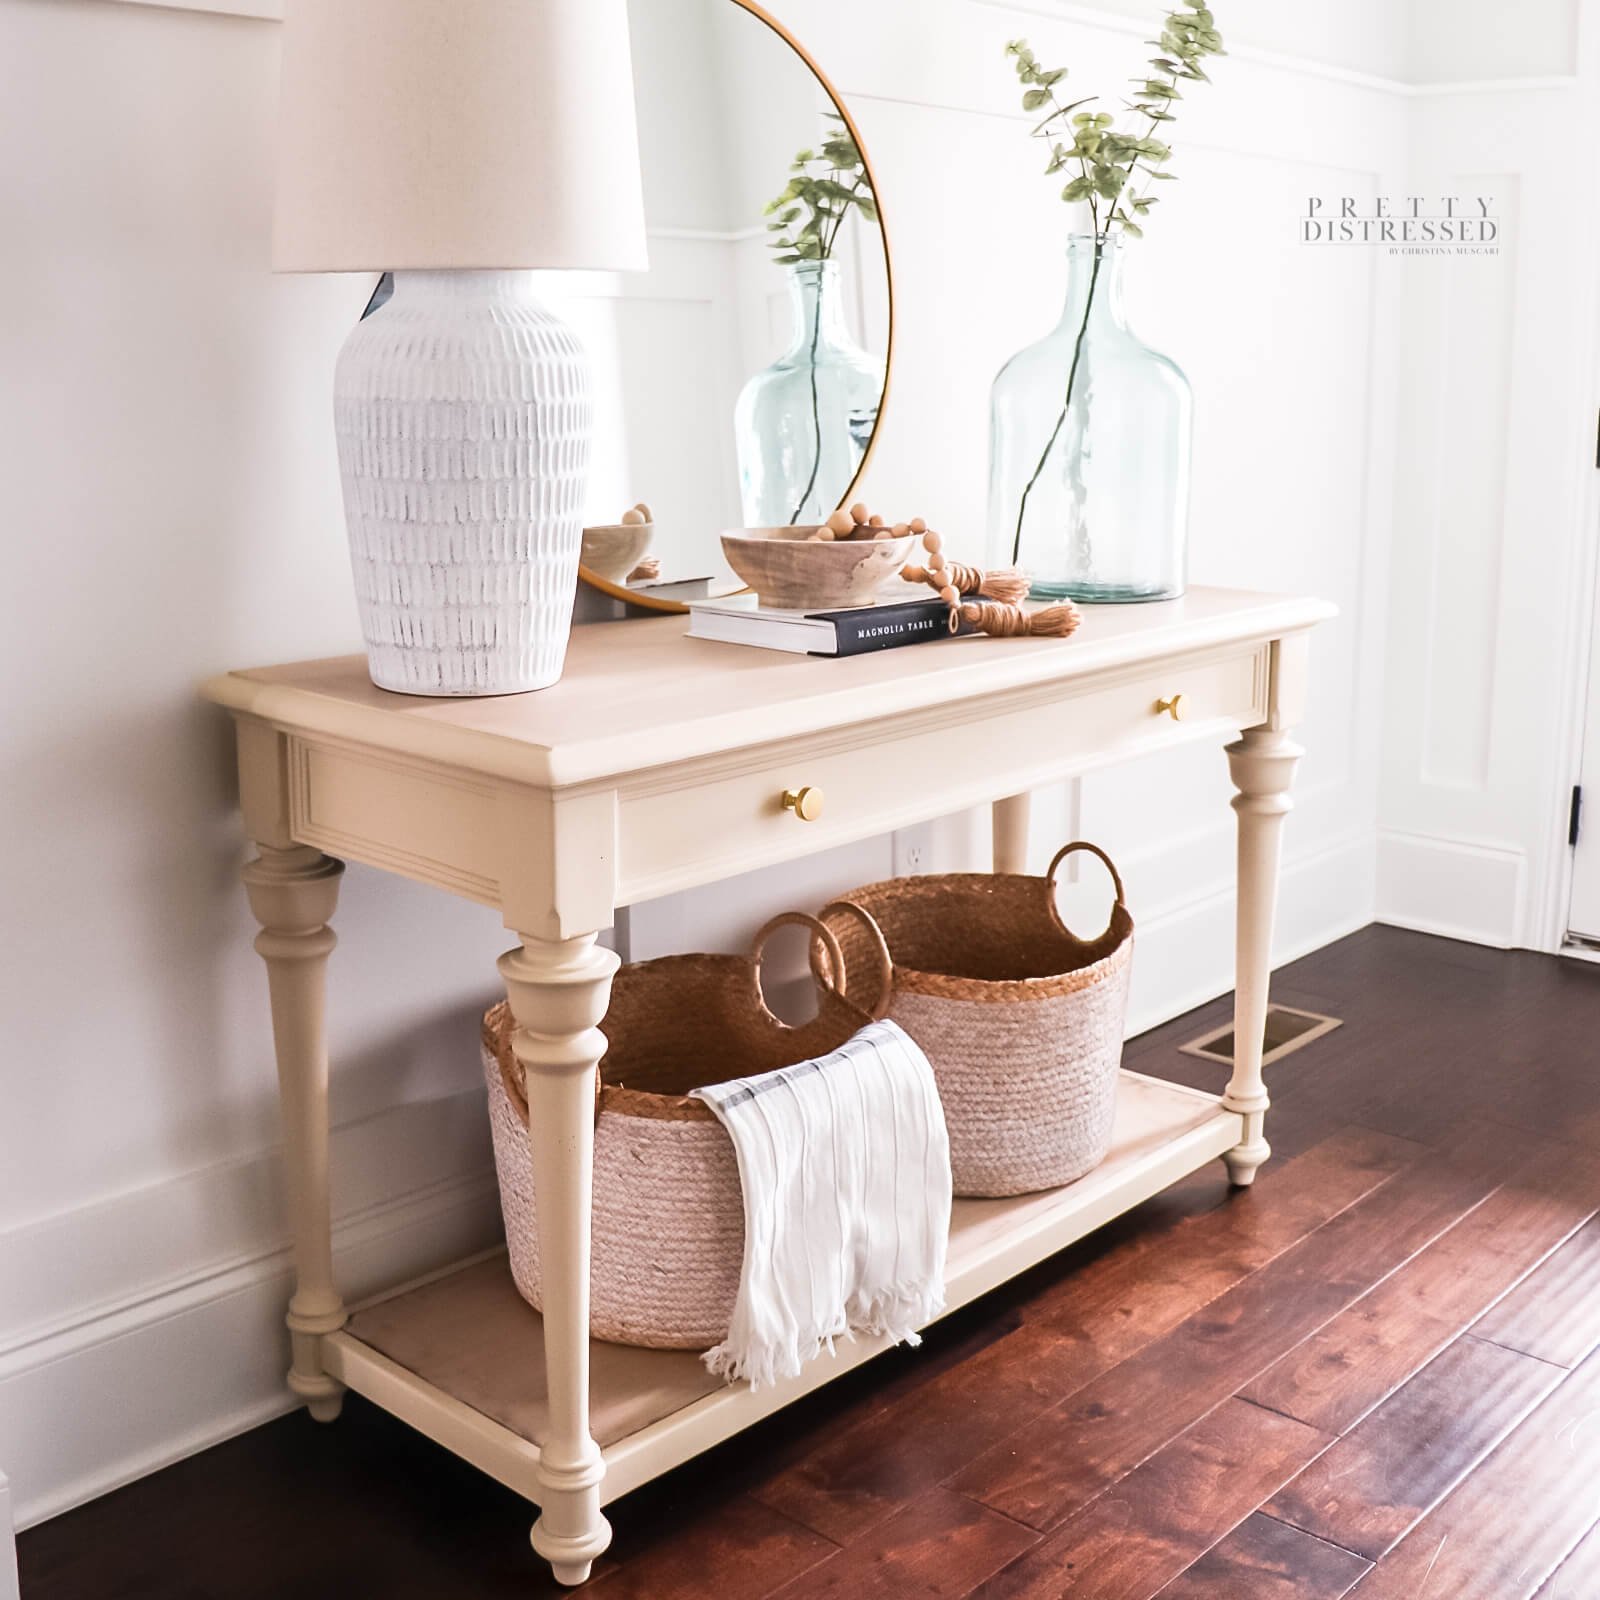
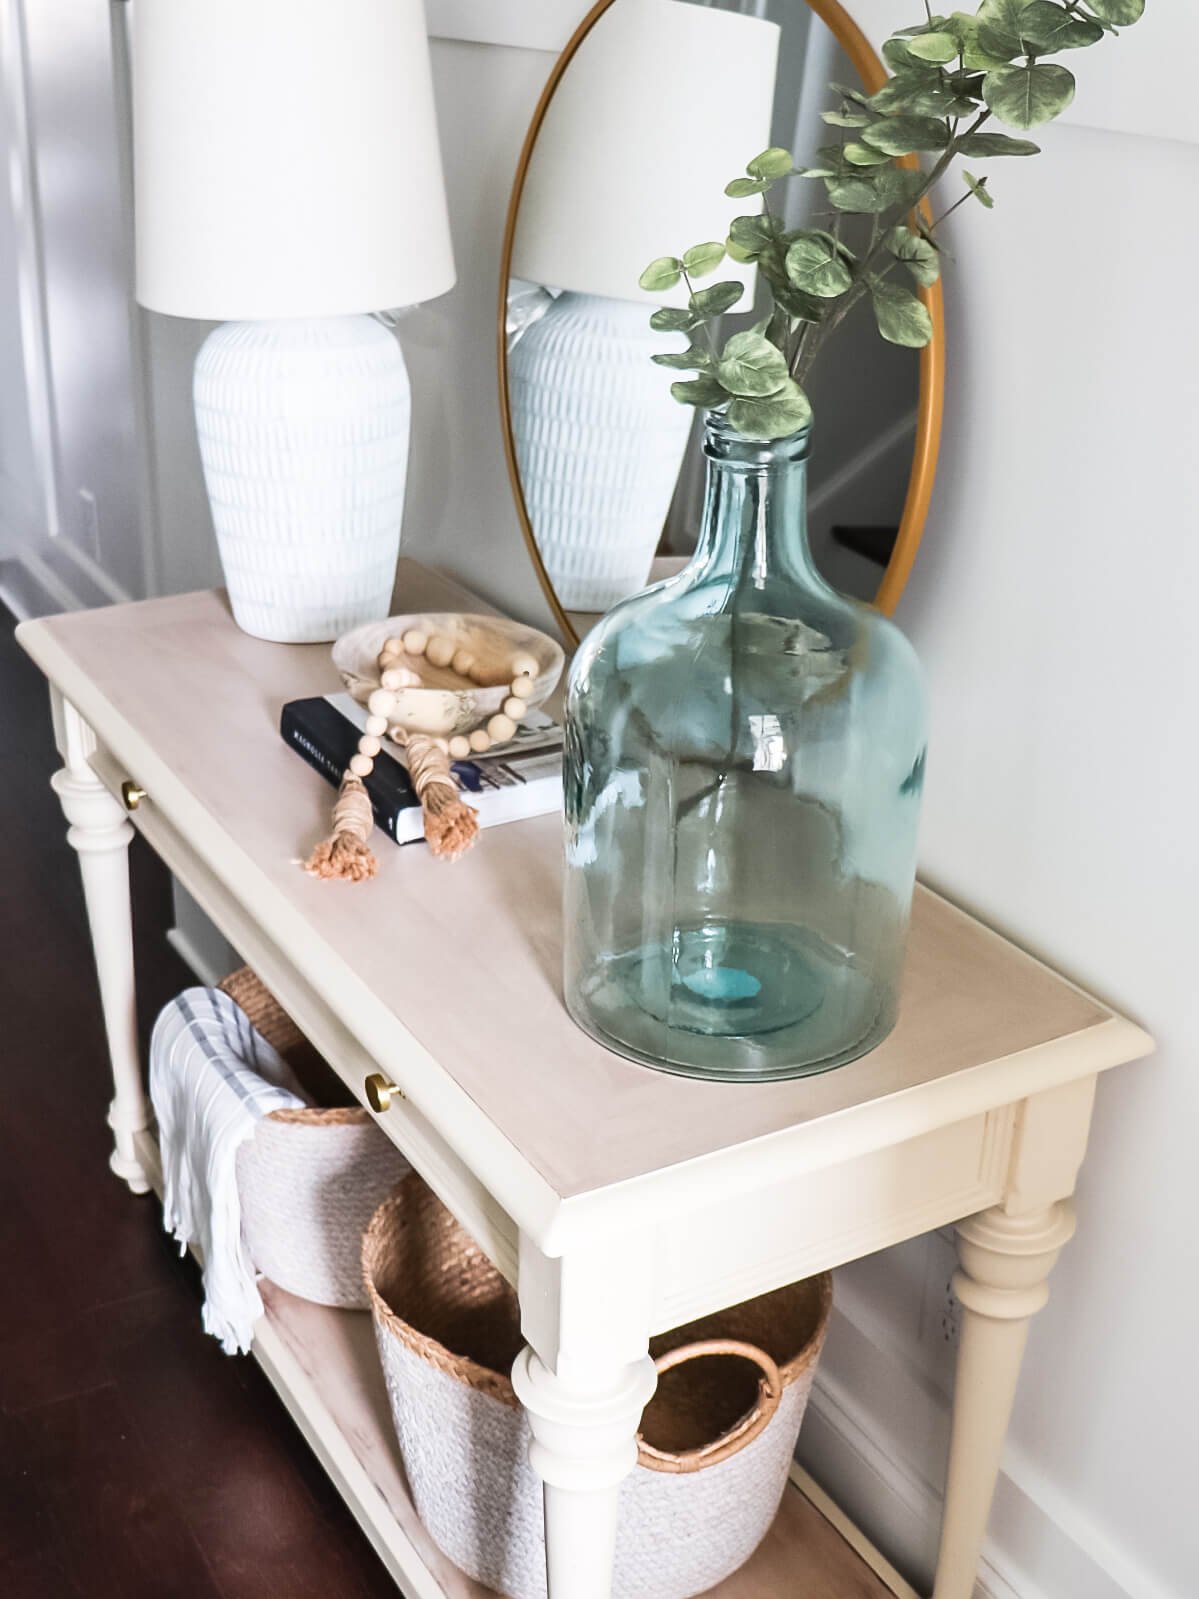
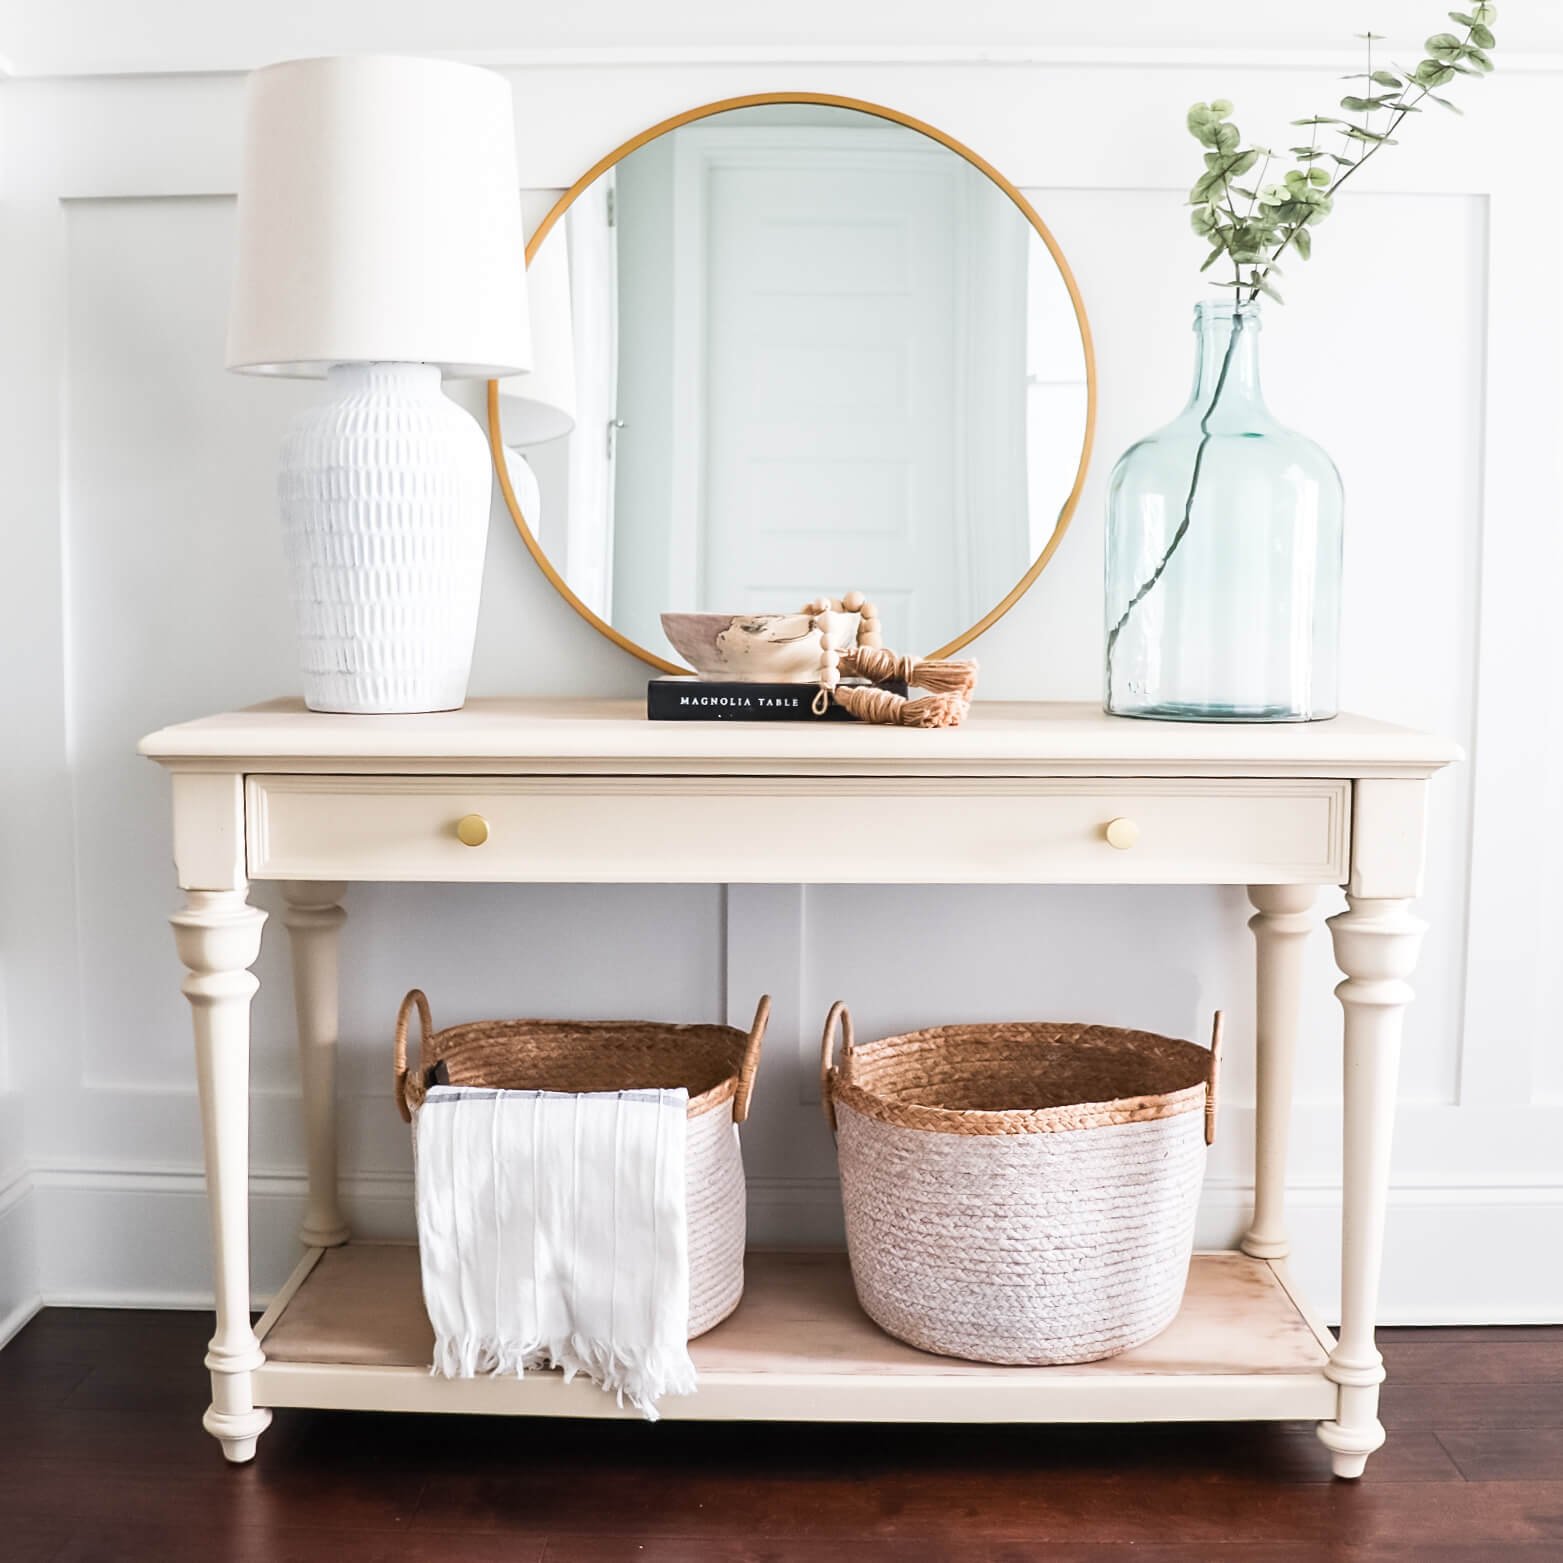
Trash to Treasure Entryway Table Reveal
Lastly, I added the brushed gold knobs from Home Depot. And now it’s ready for its big reveal!
Remember, I got this entryway table off of Facebook Marketplace, and it’s truly a trash to treasure makeover. When I put this piece in my entryway to stage it, I kind of fell in love. I’m thinking I’m going to keep it! Here it is…I hope you love it as much as I do!
Watch the video tutorial on my YouTube channel!