Trying Melange Paint: DIY Goodwill Furniture Makeover
Disclosure: This blog contains affiliate links. I will receive a commission for items purchased through these links at no extra cost to you. I appreciate your support. Please read all labels and follow all manufacturer safety recommendations when working with paints, stains, and other equipment.
Welcome back, friend. I’m excited to share with you this thrifted makeover where I finally try out Melange Paint! You may have seen this paint around the internet and on Instagram. They are a small company out of Texas, and I can’t wait to share how this makeover turned out.
I like to work on small pieces when I’m trying out a new paint, so I got this small dresser from Goodwill for $25. If you follow me on Instagram, you may recognize this piece in a little game I like to play called, “should I buy this or not?” Haha. Well, I ended up getting it...and it’s the perfect piece to try this Melange paint on today.

Materials Used for Melange Paint DIY Goodwill Makeover
Melange Paint Talley Green (Use Code Pretty10 for 10% off)
Wise Owl Salve Teakwood & Amber Furniture Salve
Surf Prep 3" x 4" Electric Ray (Use Code PRETTYDISTRESSED10 for 10% off your order)
3M Household respirator w/ particle filters
About Melange Paint

If you are involved in the furniture painting community in any way shape or form, I'm sure you've heard of Melange on YouTube or Instagram by now. They are a small mom-and-pop paint-making shop that is taking the furniture painting world by storm.
This is a mineral-based acrylic paint and everything is hand-poured into these eco-friendly glass jars. I absolutely love the packaging, and it comes packed really well, so don’t worry about the glass jars. I love to smell new paint when I receive it. This Melange paint has low VOCs, which is great, and it smells a lot like other mineral paints that I've worked with. It also has the same consistency. It's like that creamy, a little bit more runny formula that you might be used to with chalk paint.
Step 1: Prep Work for Melange Paint Project
Remove Duct Tape???
As I start any project, first I removed the hardware. I’m not going to be altering or changing it, so I’m just putting it aside for when it’s time to reassemble.

To clean this piece, I dissolved some TSP Cleaner in some warm water and gave it a good scrub with a sponge. This is the best way to prepare your piece for milk paint.
After that, I grabbed some fresh water and cleared off the soap residue with a clean rag.
Remove Hardware & Clean
I wanted to do new hardware on this piece, and luckily, this piece had a 3-inch opening which I have in stock. So I tested out a couple of hardware options just to make sure they would fit nicely and confirm that I didn’t need to fill in any holes.
The next step is to go ahead and start cleaning the piece. I used some Dawn Dish Soap, but you can use any type of degreaser, TSP, or soap to clean and prep your piece before you paint.
After cleaning, rinse it back with some water, and then you’re ready to move along.
Make Repairs
Now it’s time to make some repairs and adjustments. And I have to say...this was A LOT more work than I anticipated. Sometimes these smaller pieces really catch me off-guard with how much work they’re going to be!

I put this piece down on its back because I wanted to try to remove the skirting. The screw holes were missing a few covers and it felt a little dated to me anyways.
So after I removed the skirt, I really liked the clean lines underneath. But then I had to remove the trim that butted up next to it because that was bothering me. This was necessary but did present another set of problems.
Once I removed it, I noticed that the trim piece actually cracked the side of the base, so I grabbed a blunt-tip syringe, put some wood glue in there, and then clamped it down to dry.
Another small problem that surfaced when I removed the trim was that it revealed a trough along the side of the piece. I also have never experienced this, so I'm going to have to fill that. I grabbed some Bondo, an all-purpose putty, to get the job done. This is a two-part mixture that gets really hard, and the best part is that it's sandable within 15 minutes.
Sand Piece

I decided that I wanted to do a two-toned finish with this piece because the oak was in good shape and was just really pretty. However, the finish was failing, so while the putty was drying, I worked on stripping the top of the dresser.
By the time I finished stripping off the finish, my Bondo was dry, so I took a 120 grit sandpaper and sanded it down smooth. I ended up having to go in with a second round of Bondo which is pretty typical when you're refilling a big gouge like this. Once that dried I sanded it again, and guess what? I had to do tiny touch-ups on little knicks after sanding, so I fixed all of those, let it dry AGAIN, sanded it AGAIN, and I was finally done with this step.
To finish up with the top, I went over it again with a 120 grit sandpaper and then finished it off with a 220.
I also went ahead and scuff-sanded the entire piece and primed it with shellac.
User Primer before Melange Paint if needed

So about that primer. When I was cleaning this piece it was bleeding a lot which is pretty much a sign that it’s going to need some primer. And because of the shape it was in, I figured we were going to need a little insurance so I grabbed my BIN.
I was going for a smooth look on this piece, so I planned on sanding in between all of my coats of primer and all of my coats of paint as well as sanding after my final coat of paint as well.
So, basically, there was a lot of sanding and wiping back going on.
I ended up doing two coats of BIN...sanding it and wiping it down after each coat. I tell ya...these little pieces always end up taking up so much time! LOL.
But I’m finally done prepping this piece for my Melange Paint!
Step 2: Painting with Melange Paint
Some Quick Melange Paint Tips
Melange Paint recommends Zibra brushes to apply their paint, so I’m using my Zibra Stubby for this project.

This paint is water-based, and as I mentioned, it's low VOC. It's also self-priming, so if I didn't have the bleeding through with this piece, I wouldn’t have had to prime. It would stick to already finished wood, just like a lot of other furniture paints on the market.
Something that Melange really touts and I've heard a lot about in the industry is this has really great self-leveling properties. So I was excited to see how this leveled out as it dried. Spoiler alert...it turned out beautifully.
While painting with Melange Paint, you definitely don't want to overwork it just as in any case with any furniture paint. But this paint was even easier than others I’ve used, so it’s definitely great for a beginner.
Most acrylic paints tell you not to use water, but with Melange, you can mist the paint or mist your brush. I found that I didn't have to do that. So I just used it straight out of the can...no water added, no misting, etc...but it wouldn’t hurt if you wanted to!
On to the Painting
For this project, I used tally green and this color was curated by the one and only Jen Talley at Perfectly Imperfect Furnitures. If you aren’t following her, she’s a MUST! She is so talented, and I’m happy to be trying out her color today.

The dry time on this paint is about two hours, so after my first coat dried, I did a light sanding (as I mentioned I’d do to get that smooth finish I’m looking for.
I was really impressed with how smooth it was when I came back after it dried.
After coat number two dried, I continued to be impressed with their self-leveling claim. It was looking really good and really smooth at this point! But Melange recommends about three coats for most of their color line. I did see some primer poking through so I went ahead and sanded, wiped back, and applied a third coat.
Step 3: Finishing Touches.
Final Sanding
One last step, I'm going to use a super fine sanding pad all over my painted portions before I come in and seal. Again, this is just going to make it super smooth.
Seal Piece

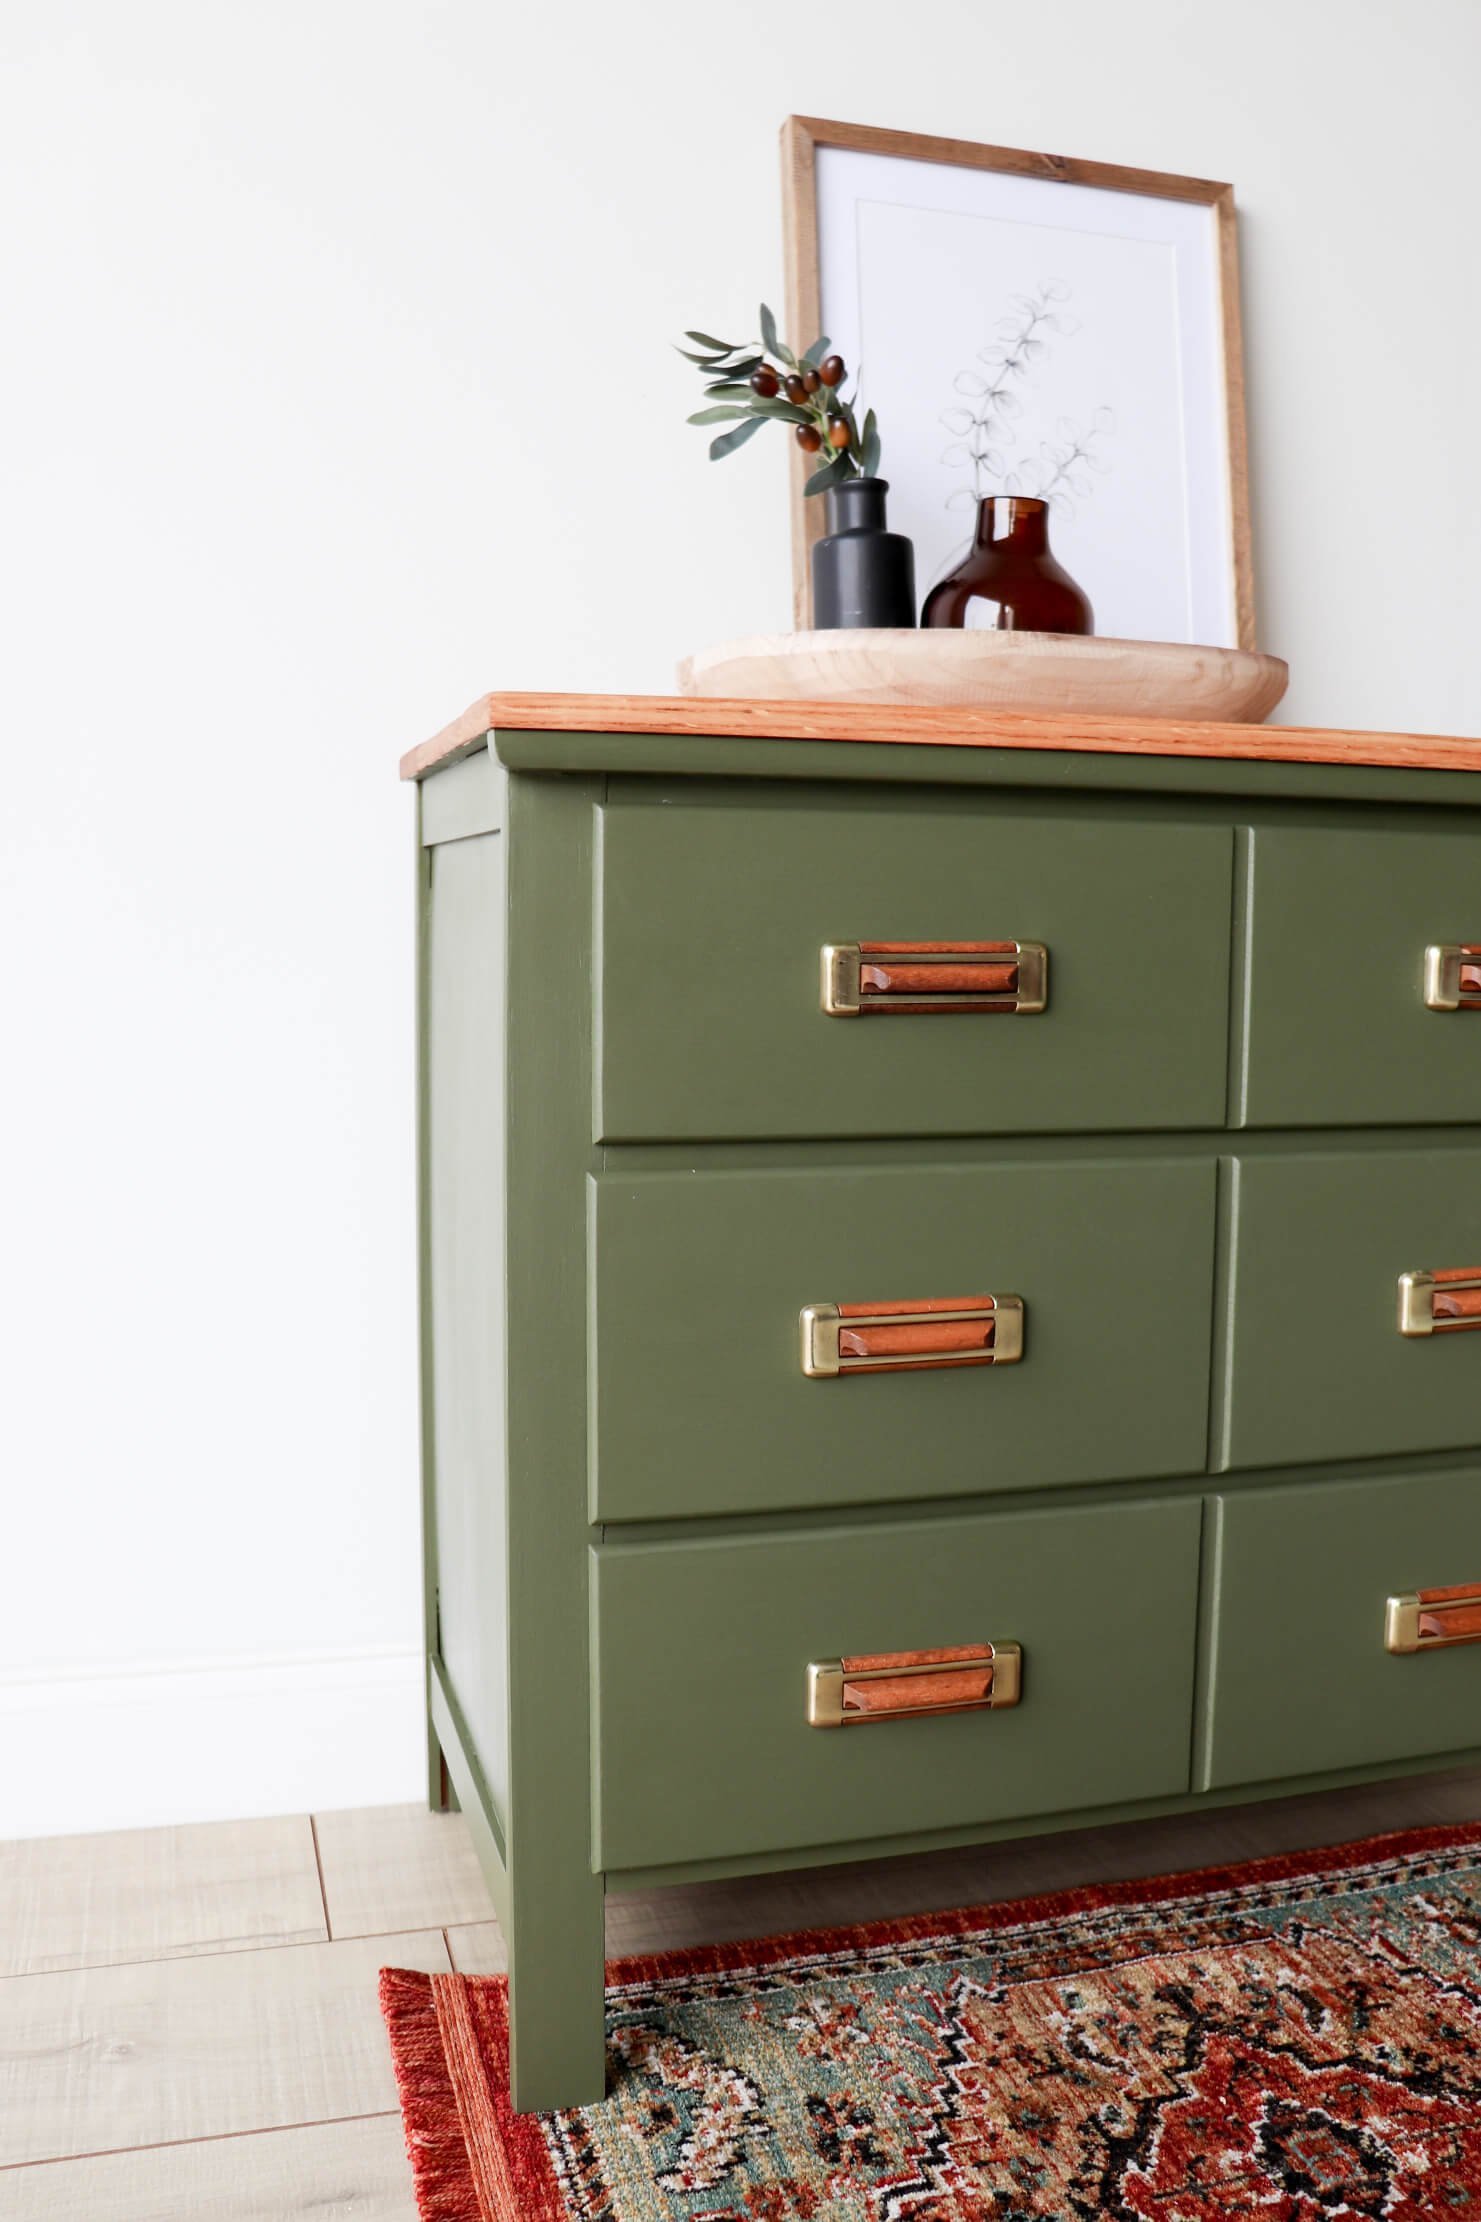
I didn't have any of the awesome top coats that Melange sells on their website, but I did have some of the Wise Owl Salve that I have been wanting to try out forever. I also have their two-inch Palm Brush as well. They have lots of scents, but this one is Teak Wood and Amber...and Oh. My.Gosh. It smelled so good.
My piece is Red Oak, so I thought that this salve would bring out the orange tones and go perfectly with the Tally Green.
Just remember, you can always seal a number of ways. You could use a water-based poly, you could use hemp oil, you could use a furniture wax, etc....tons of options to seal.
Once I was done putting on the salve, I just let that set for 20 minutes, and then I came back in and wiped down the excess.
Reassemble Hardware
I let that dry overnight and now I'm ready to put my piece back together and again.

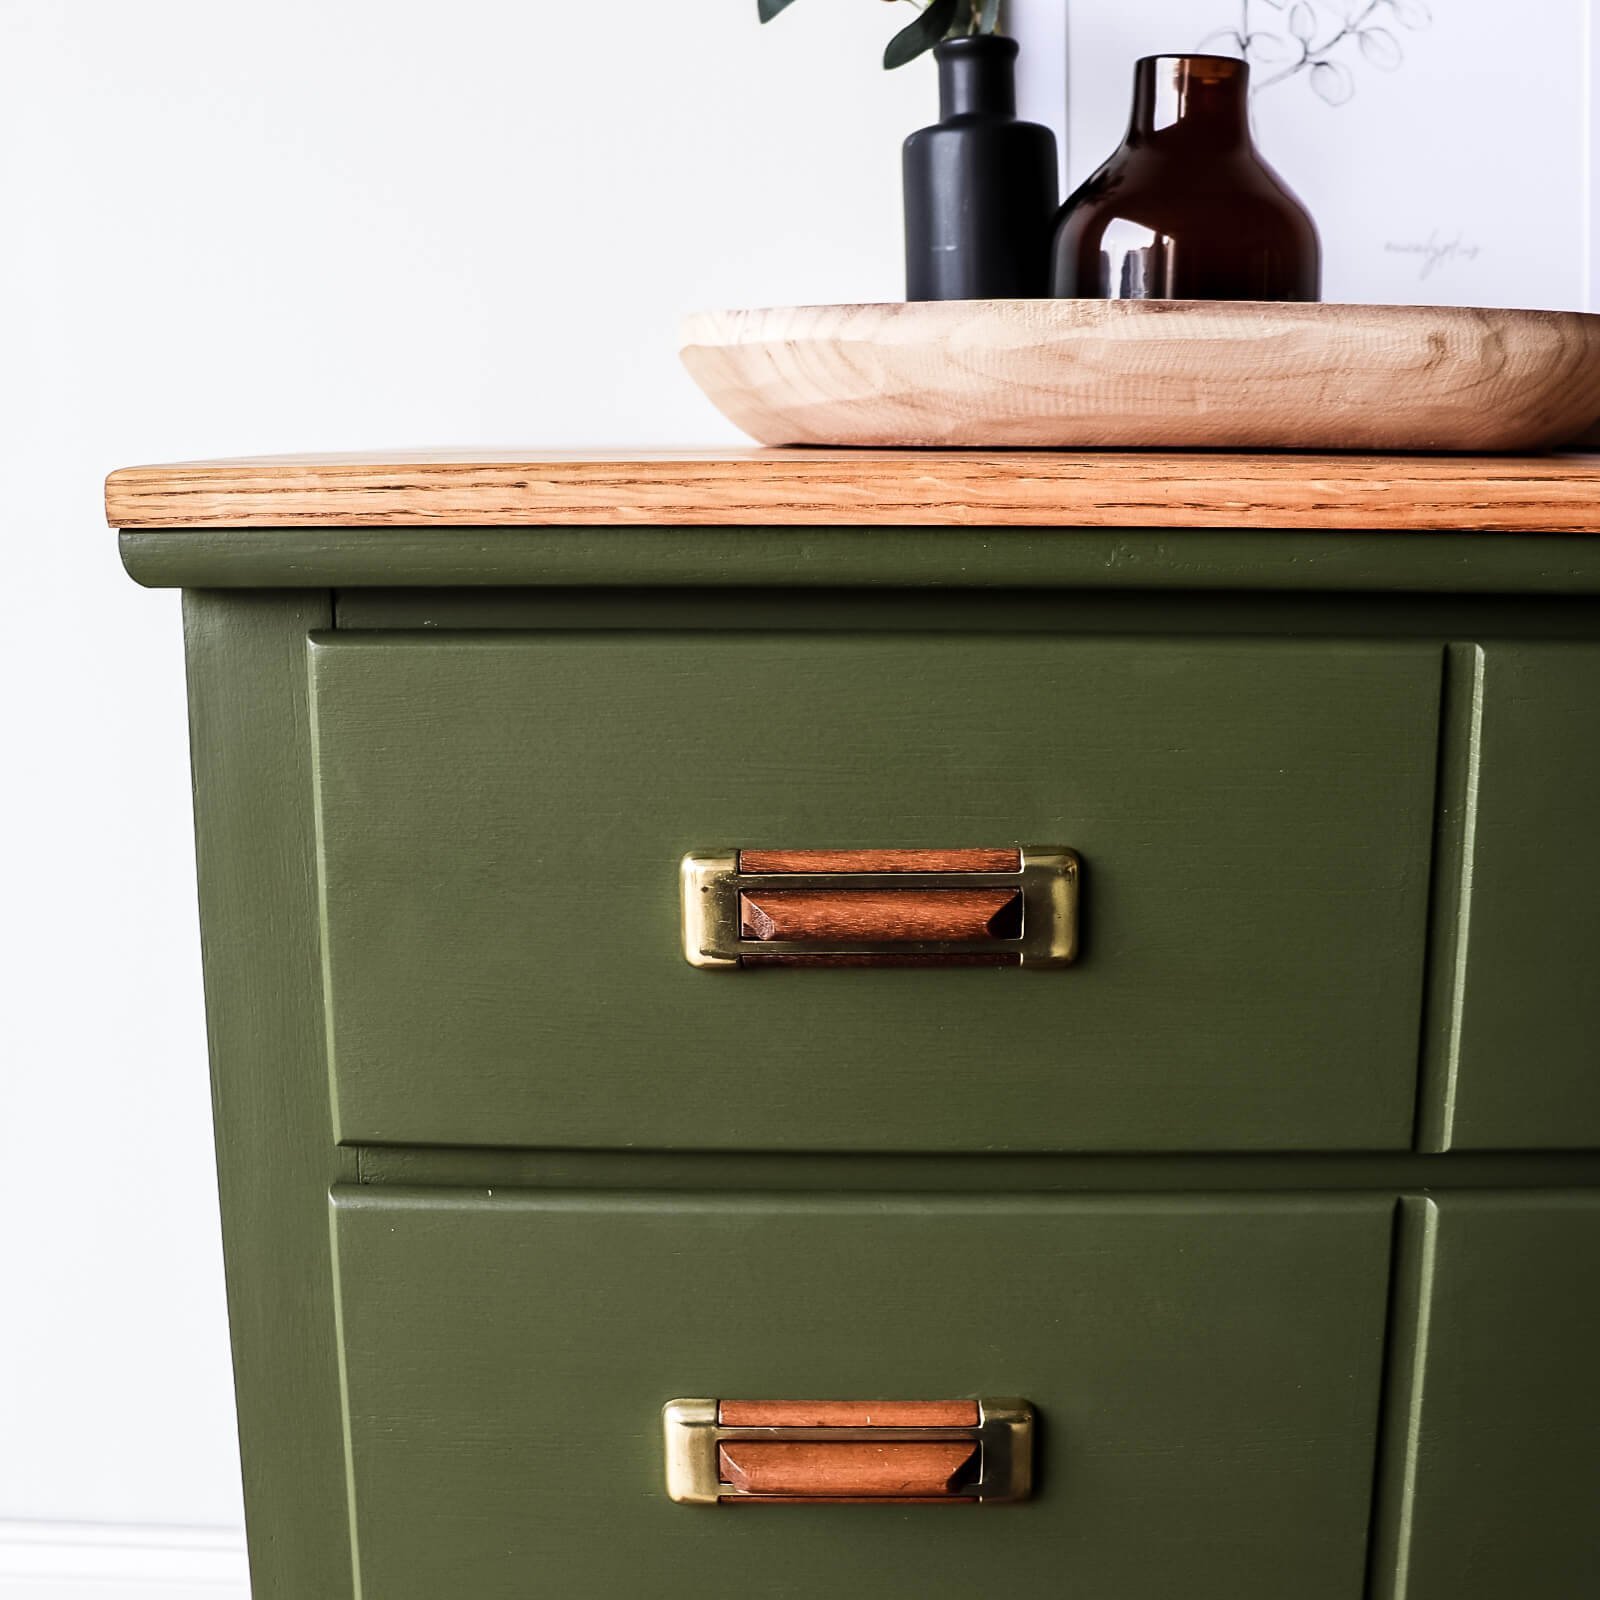
And here is where I decided to make things more complicated because once I was done with this piece, I wasn't in love with the hardware that I had chosen for it. I had some old pulls from my DIY Wife Base Flip that I thought would be perfect for this piece.
The problem was that the holes were 3 inches apart and these pulls were 4 inches. Ugh! So I ended up drilling extra holes. I would typically fill in the original holes, but too late for that now. I’ll just make sure to let potential buyers know that there are some hidden holes under the hardware.
So I quickly made a template so I could drill my new holes. And, my goodness you guys...I ran into another problem. Because this is real red oak, it’s really hard to drill. I just didn’t have the muscle strength to get the job done, so I enlisted my husband to help.
Finishing the Drawers

My final finishing touch was to get out any dust from inside the drawers and hit them with the salve as well.
The bottom drawer needed just a little love, so I grabbed my sander and sanded out all the little rough spots in there. Then added the furniture salve to it as well.
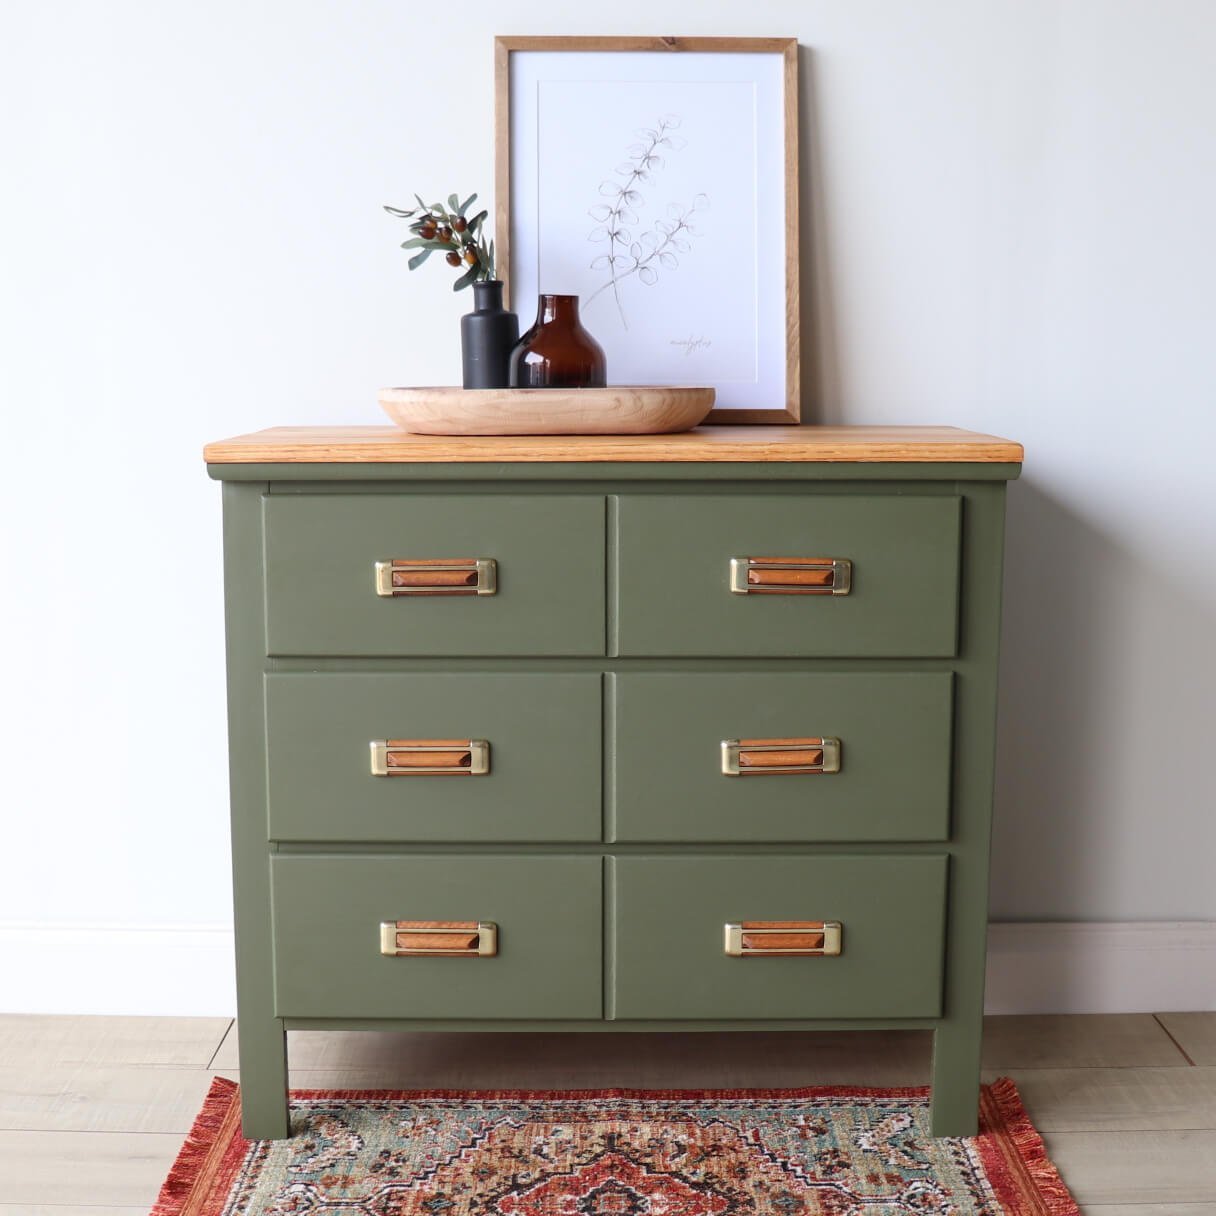
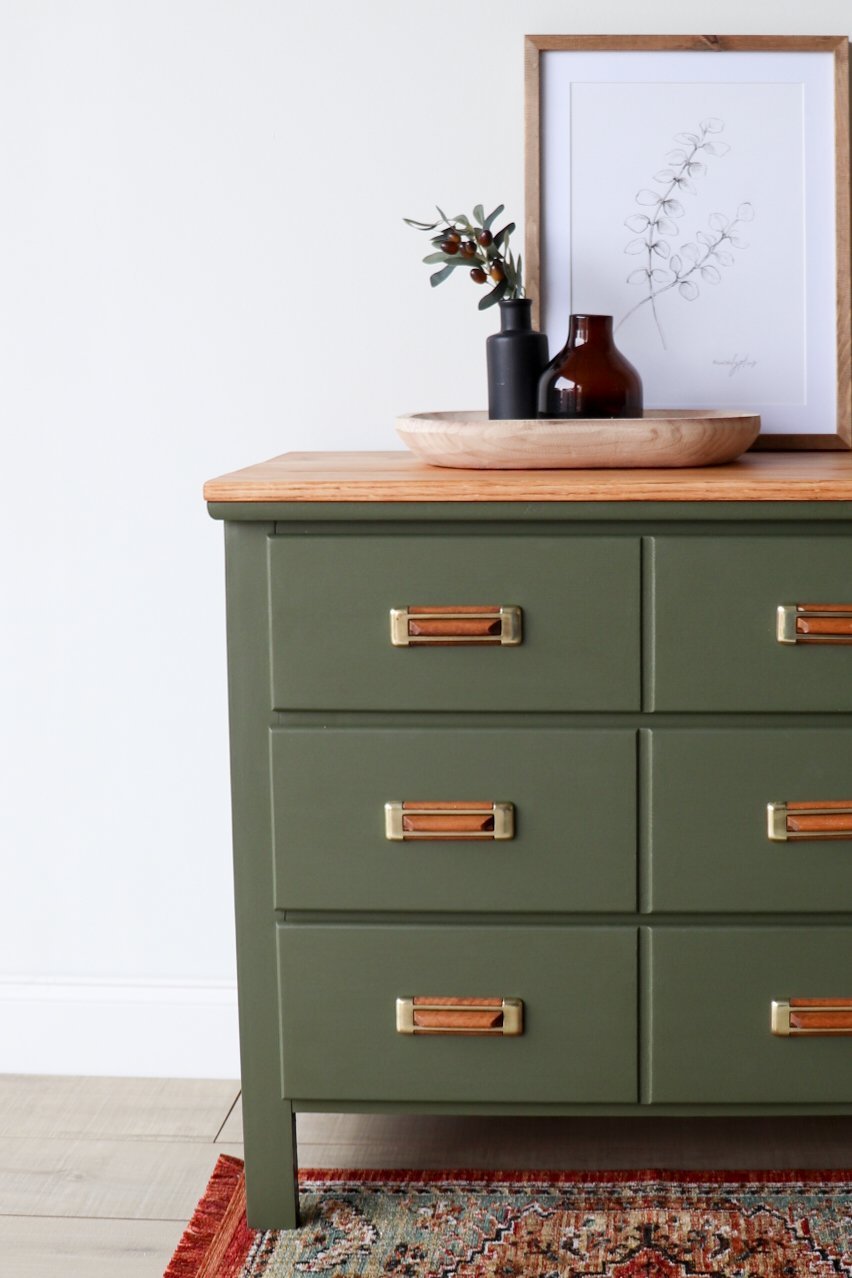
Melange Paint: DIY Goodwill Furniture Makeover Reveal
Geez! Okay, this little flip ended up taking a lot more effort than I thought it was going to take but here is my first Melange Paint makeover. I'm really loving this color. The tally green is really beautiful. I think it pairs perfectly with this natural Red Oak look with the salve, loving all the colors.
I think it turned out really beautiful and I had a lot of fun trying out Melange for the first time. It was really easy to use. I'm definitely intrigued by it, so I think you'll be seeing it again in the future. Check out the Melange Paint reveal! Let me know your thoughts in the comments & check out the full video tutorial here!