Milk Paint Furniture Makeover
Disclosure: This blog contains affiliate links. I will receive a commission for items purchased through these links at no extra cost to you. I appreciate your support. Please read all labels and follow all manufacturer safety recommendations when working with paints, stains, and other equipment.
Honestly, I can’t believe I spent money on this hutch. LOL. But it was just begging to be saved, and I just needed to give it some love. In this furniture makeover, I used a non-toxic, organic milk paint. I knew that The Real Milk Paint Company would be the perfect paint for this project.
I’m so excited to show you how this turned out. It’s definitely unique and not like any other piece that I’ve made over in the past. Take a look at this hutch that I purchased for $50!
Okay, so this piece I paid $50 for. I saw it last week in the thrift store came back, it was still there. I asked if they'd give it to me for lower and they said they weren't going to lower the price for three weeks and I just had to have it. I thought I could fix it and I knew milk paint was going to look really great on it.

Materials Used for Milk Paint Furniture Makeover
Real Milk Paint Co Milk Paint Mustard
Real Milk Paint Co Soft Wax Clear
Use code Christina10 for 10% your order at Real Milk Paint
TSP Soap
Waxwell Wax Brush
Surf Prep 3" x 4" Electric Ray (Use Code PRETTYDISTRESSED10 for 10% off your order)
3M Household respirator w/ particle filters
Step 1: Prep Work
Remove Hardware & Clean
As I start any project, first I removed the hardware. I’m not going to be altering or changing it, so I’m just putting it aside for when it’s time to reassemble.
To clean this piece, I dissolved some TSP Cleaner in some warm water and gave it a good scrub with a sponge. This is the best way to prepare your piece for milk paint.
After that, I grabbed some fresh water and cleared off the soap residue with a clean rag.
Remove Veneer
This veneer was really loose on the bottom section, and it was not repairable with Bondo. So I decided the best tactic here was to remove all the veneer in that section. I only had one spot that was really sticky with some glue, so I grabbed my heat gun, heated that up and everything came off. The drawer also had some really poorly repaired veneer. So I just scraped what I could get off and then sanded it down smooth.
Make Repairs

Aside from some pretty sketchy veneer, the decorative top section of the hutch was in bad shape.
And normally I would just rip this top portion off, but I decided to save it, because I thought it was going to look really great with a milk paint finish. So I hammered it back on, used a blunt tip syringe with some wood glue, and put slipped that behind the veneer that was chipping.
Now to make the rest of the repairs. I'm going to mix up some Bondo. This is an all-purpose putty.
It's a two-part system that you mix together. It gets really hard really quickly, so you only want to work with small batches at a time.
Since I'm painting it, I'm using the regular gray-colored one. If you're going to be staining something, you would want to use the wood filler Bondo. I mixed up a second batch of Bondo and then made the repairs on the top too.
Sand Piece
Once it was dry, I sanded it smooth with a 220 grit sandpaper and then I sanded this bottom trim piece because it had a bunch of glue and gunk on it, so I started with a 120 sandpaper and then finished it off with a 220, then I removed all my clamps that I used during my repairs and sanded it all down.
Prep Piece with Painter’s Tape
I'm used a mustard color, and I think it's going to pair well with the previous finish, so I taped off these legs to protect them from any paint. I taped around the glass of the hutch doors to protect paint from there as well.
Step 2: Painting with Milk Paint
The Real Milk Paint Company
So you're probably wondering what is milk paint and how is it different from the paint that you've seen me use on my projects before. Well, specifically, this milk paint from The Real Milk Paint Company is 100% organic, it's non-toxic, it's food contact safe so you can use it on cutting boards and such, and it's even biodegradable and compostable. I love the fact that furniture flipping is sustainable and finding products like this that are natural and better for the environment is a great addition to furniture flipping.
So how is this different from the chalk style paints that you typically see me use? Well, it is a lot thinner, but it will stick to raw wood, plaster, drywall, stone, brick, concrete and you can paint right on existing finishes and get a chippy or cracked look.

Mix the Milk Paint
I was really excited to be using The Real Milk Paint Company for this project. Milk paint comes in a powder form that you mix up yourself using water. I just love this container from The Milk Paint Company because they have a plastic bag inside with the powdered paint that you can mix it right in the container. It also comes with a marble to help you mix it up. Other milk paints I've used come in just like a paper bag and, you have to have a separate container to mix it. So it can get pretty messy.
So to mix it, you’ll just use one part powder to one part paint. Then toss in the marble and shake it up for five minutes! Easy peasy.

After you mix, let it set for 20 minutes so all those pigments can get nice and mixed up into the paint. If your paint is not the consistency you like, you can add a bit more water or more powder to adjust.
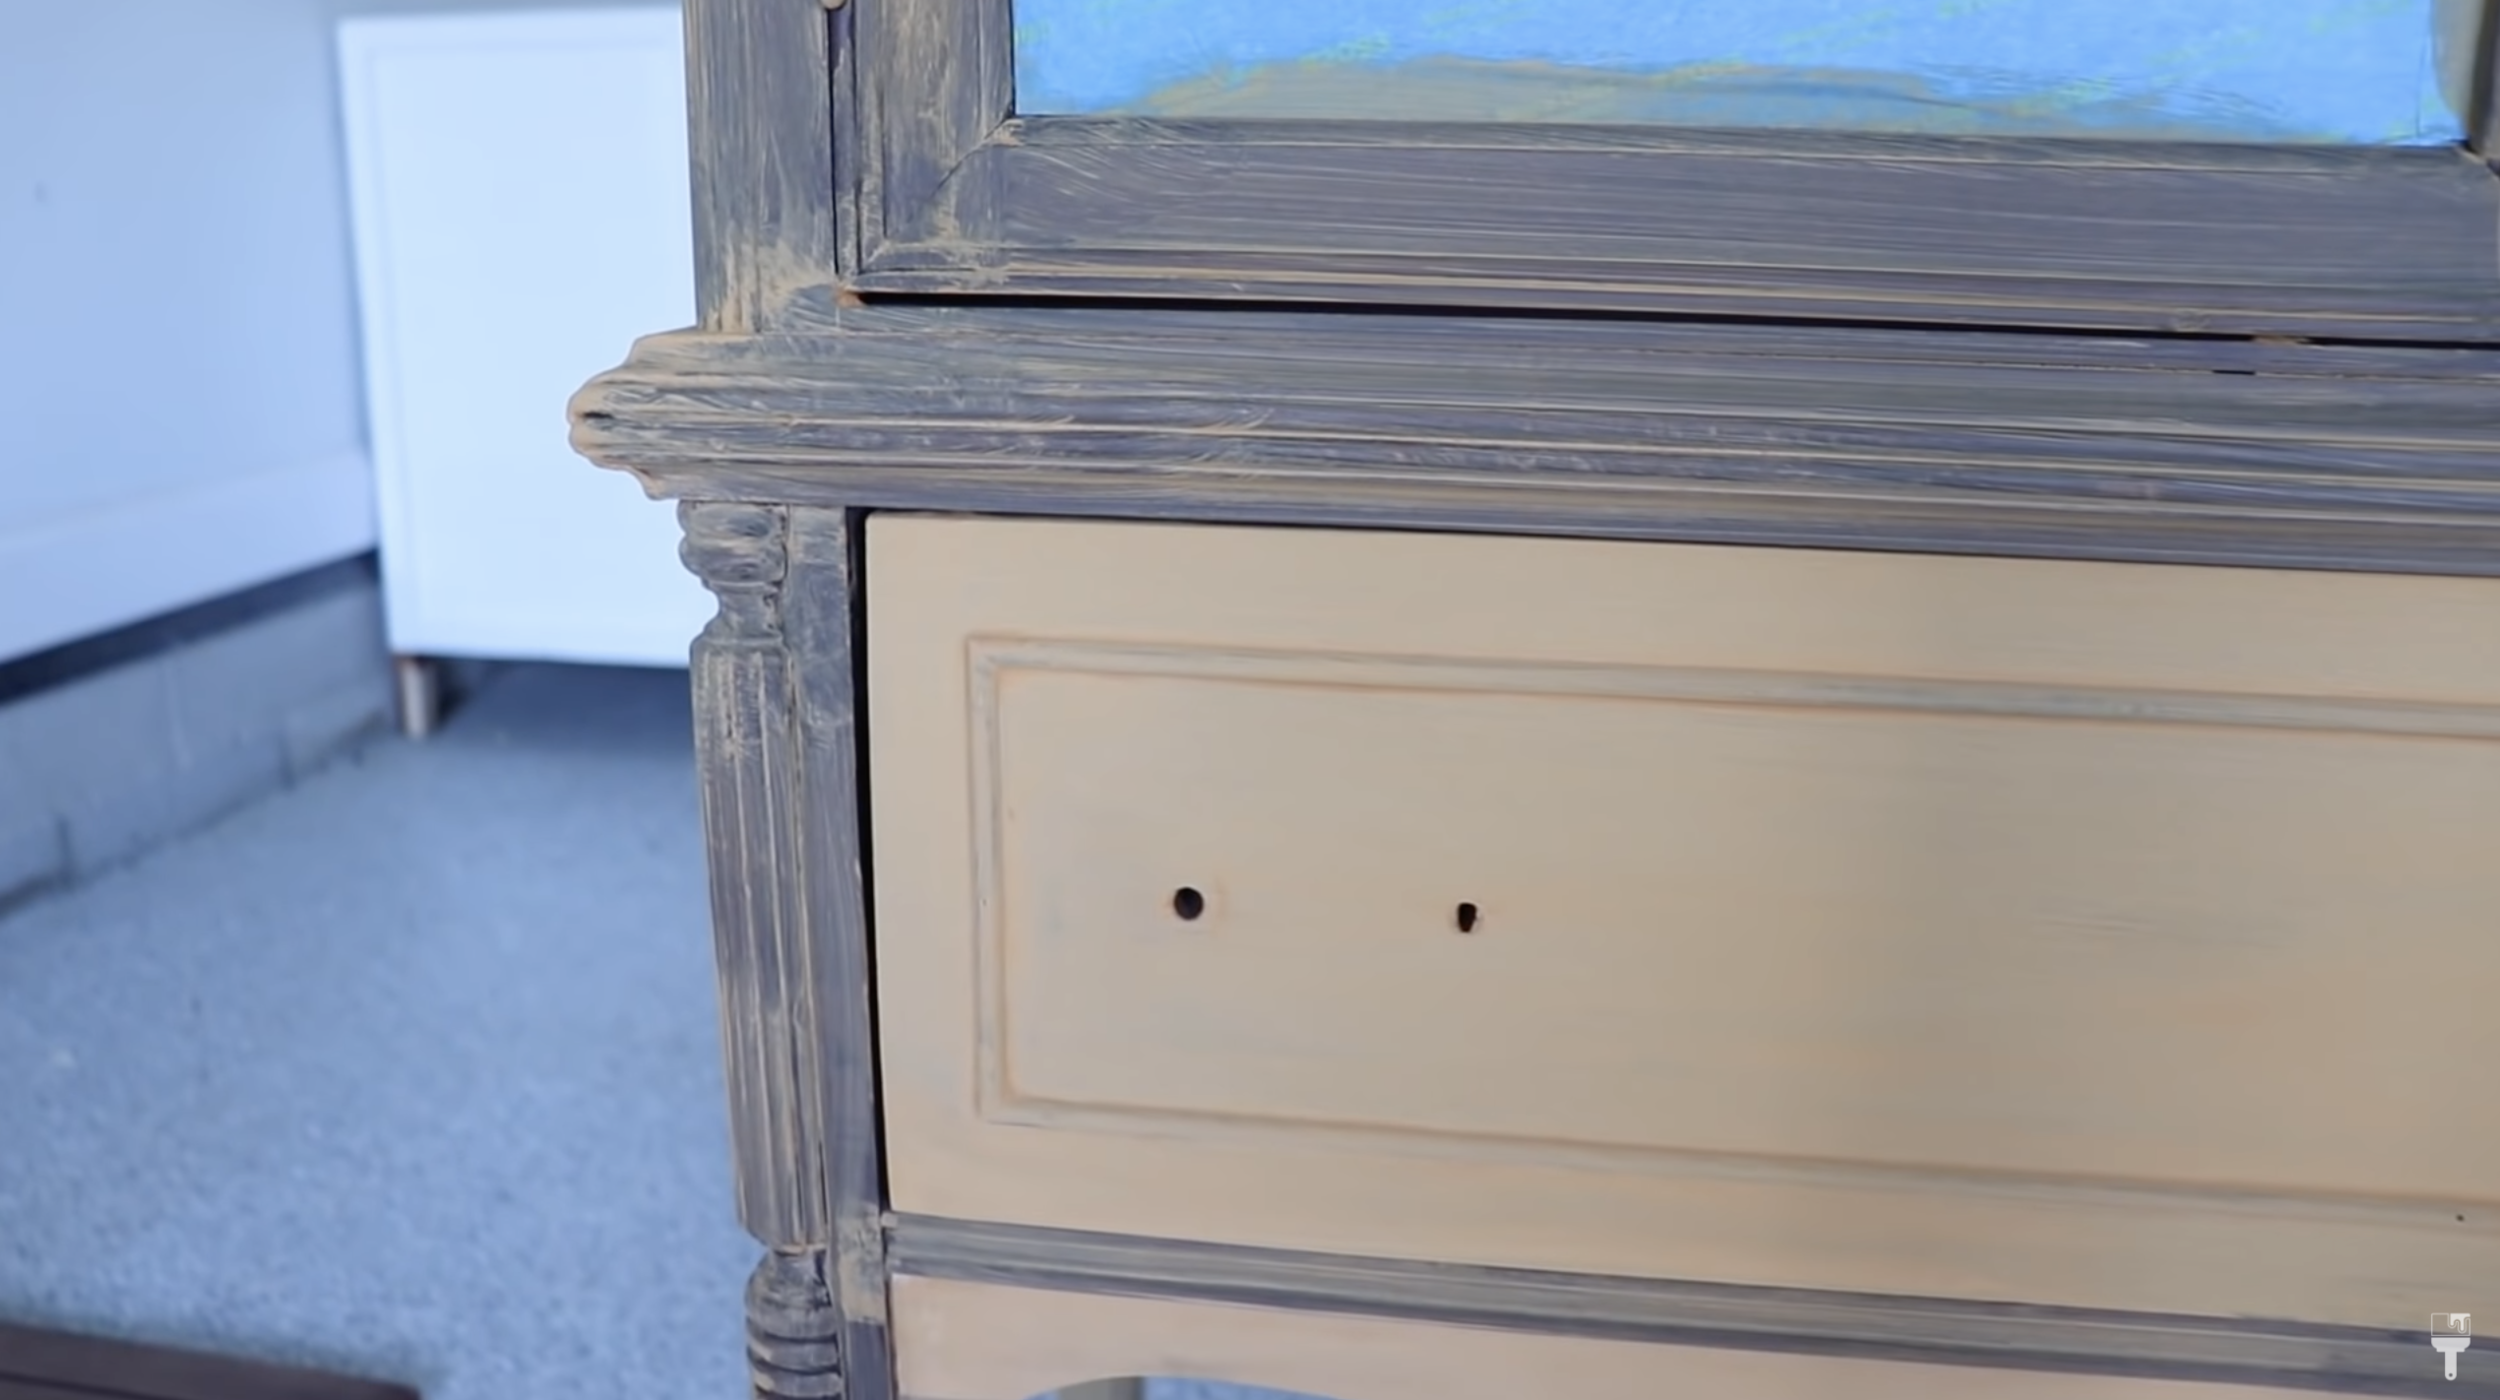
Small Tester
When using milk paint, I like to test it out before committing to the whole piece, so I used a drawer and a side of the piece. I want to see if I need to add the Ultra Bond to get it to stick. I was hoping for a little bit of resisting for chippy-ness because I've gotten that look before with milk paint.
My testers bonded really well, so I didn’t need to add any Ultra Bond. This will obviously be different for everyone depending on the piece you have.
Time to Paint!
With Milk Paint, you kind of never know what you’re in for because it reacts to each piece so differently. Not only that, each color does its own thing as well. Because I used yellow, I knew I’d be putting at least 3 to 4 coats on my piece.
The Real Milk Paint Company sells zebra brushes on their website, so I'm going to be using one of my favorites, the stubby two-inch to apply the milk paint.
There was such a huge different between my first and second coat. Look at this image below!
A couple notes about milk paint: I like to keep my milk pain in the refrigerator between coats. It helps it stay together better. And you may also notice that the paint can foam up, but you can easily skim the foam off the top and stick it in a garbage bag. The Real Milk Paint Co. does sell an anti-foaming agent, so you can use that as well to help!
There's really not a lot of technique to it when applying. It's really easy to paint with this paint. It’s just is thinner than you might be used to, so watch out for drip marks.
After my second coat, I ran out of paint. So I had to mix up a little bit more. I used in total one cup of the powdered paint. I love that I can just mix up what I need.
I was hoping for this to chip up, but after the third coat, it was just not happening. And if you don't see chipping at this point, you're probably not going to get chipping. They do have a chippy paste that you can put on underneath their paint, if you want to get more of that chippy look, but again with milk paint, I like to just go with the flow.
So yes, I am doing a fourth coat here. I want some of those brown wood tones coming through and I know they're going to come through even stronger when I put the wax on. If I was doing any other color besides yellow, you wouldn't need this many coats.
Step 3: Finishing Touches for this Milk Paint Project
Now it’s time for finishing touches.
Restore A Finish
The shelves on this thing were in rough shape, but I wanted to keep them natural to go with the feet. So I found this really cool product that's called Restore A Finish. It's just going to help cover up some of those nicks and dings on your natural wood. I used fine steel wool to apply this to the entire shelf, and then I took a clean rag and wiped back any excess.

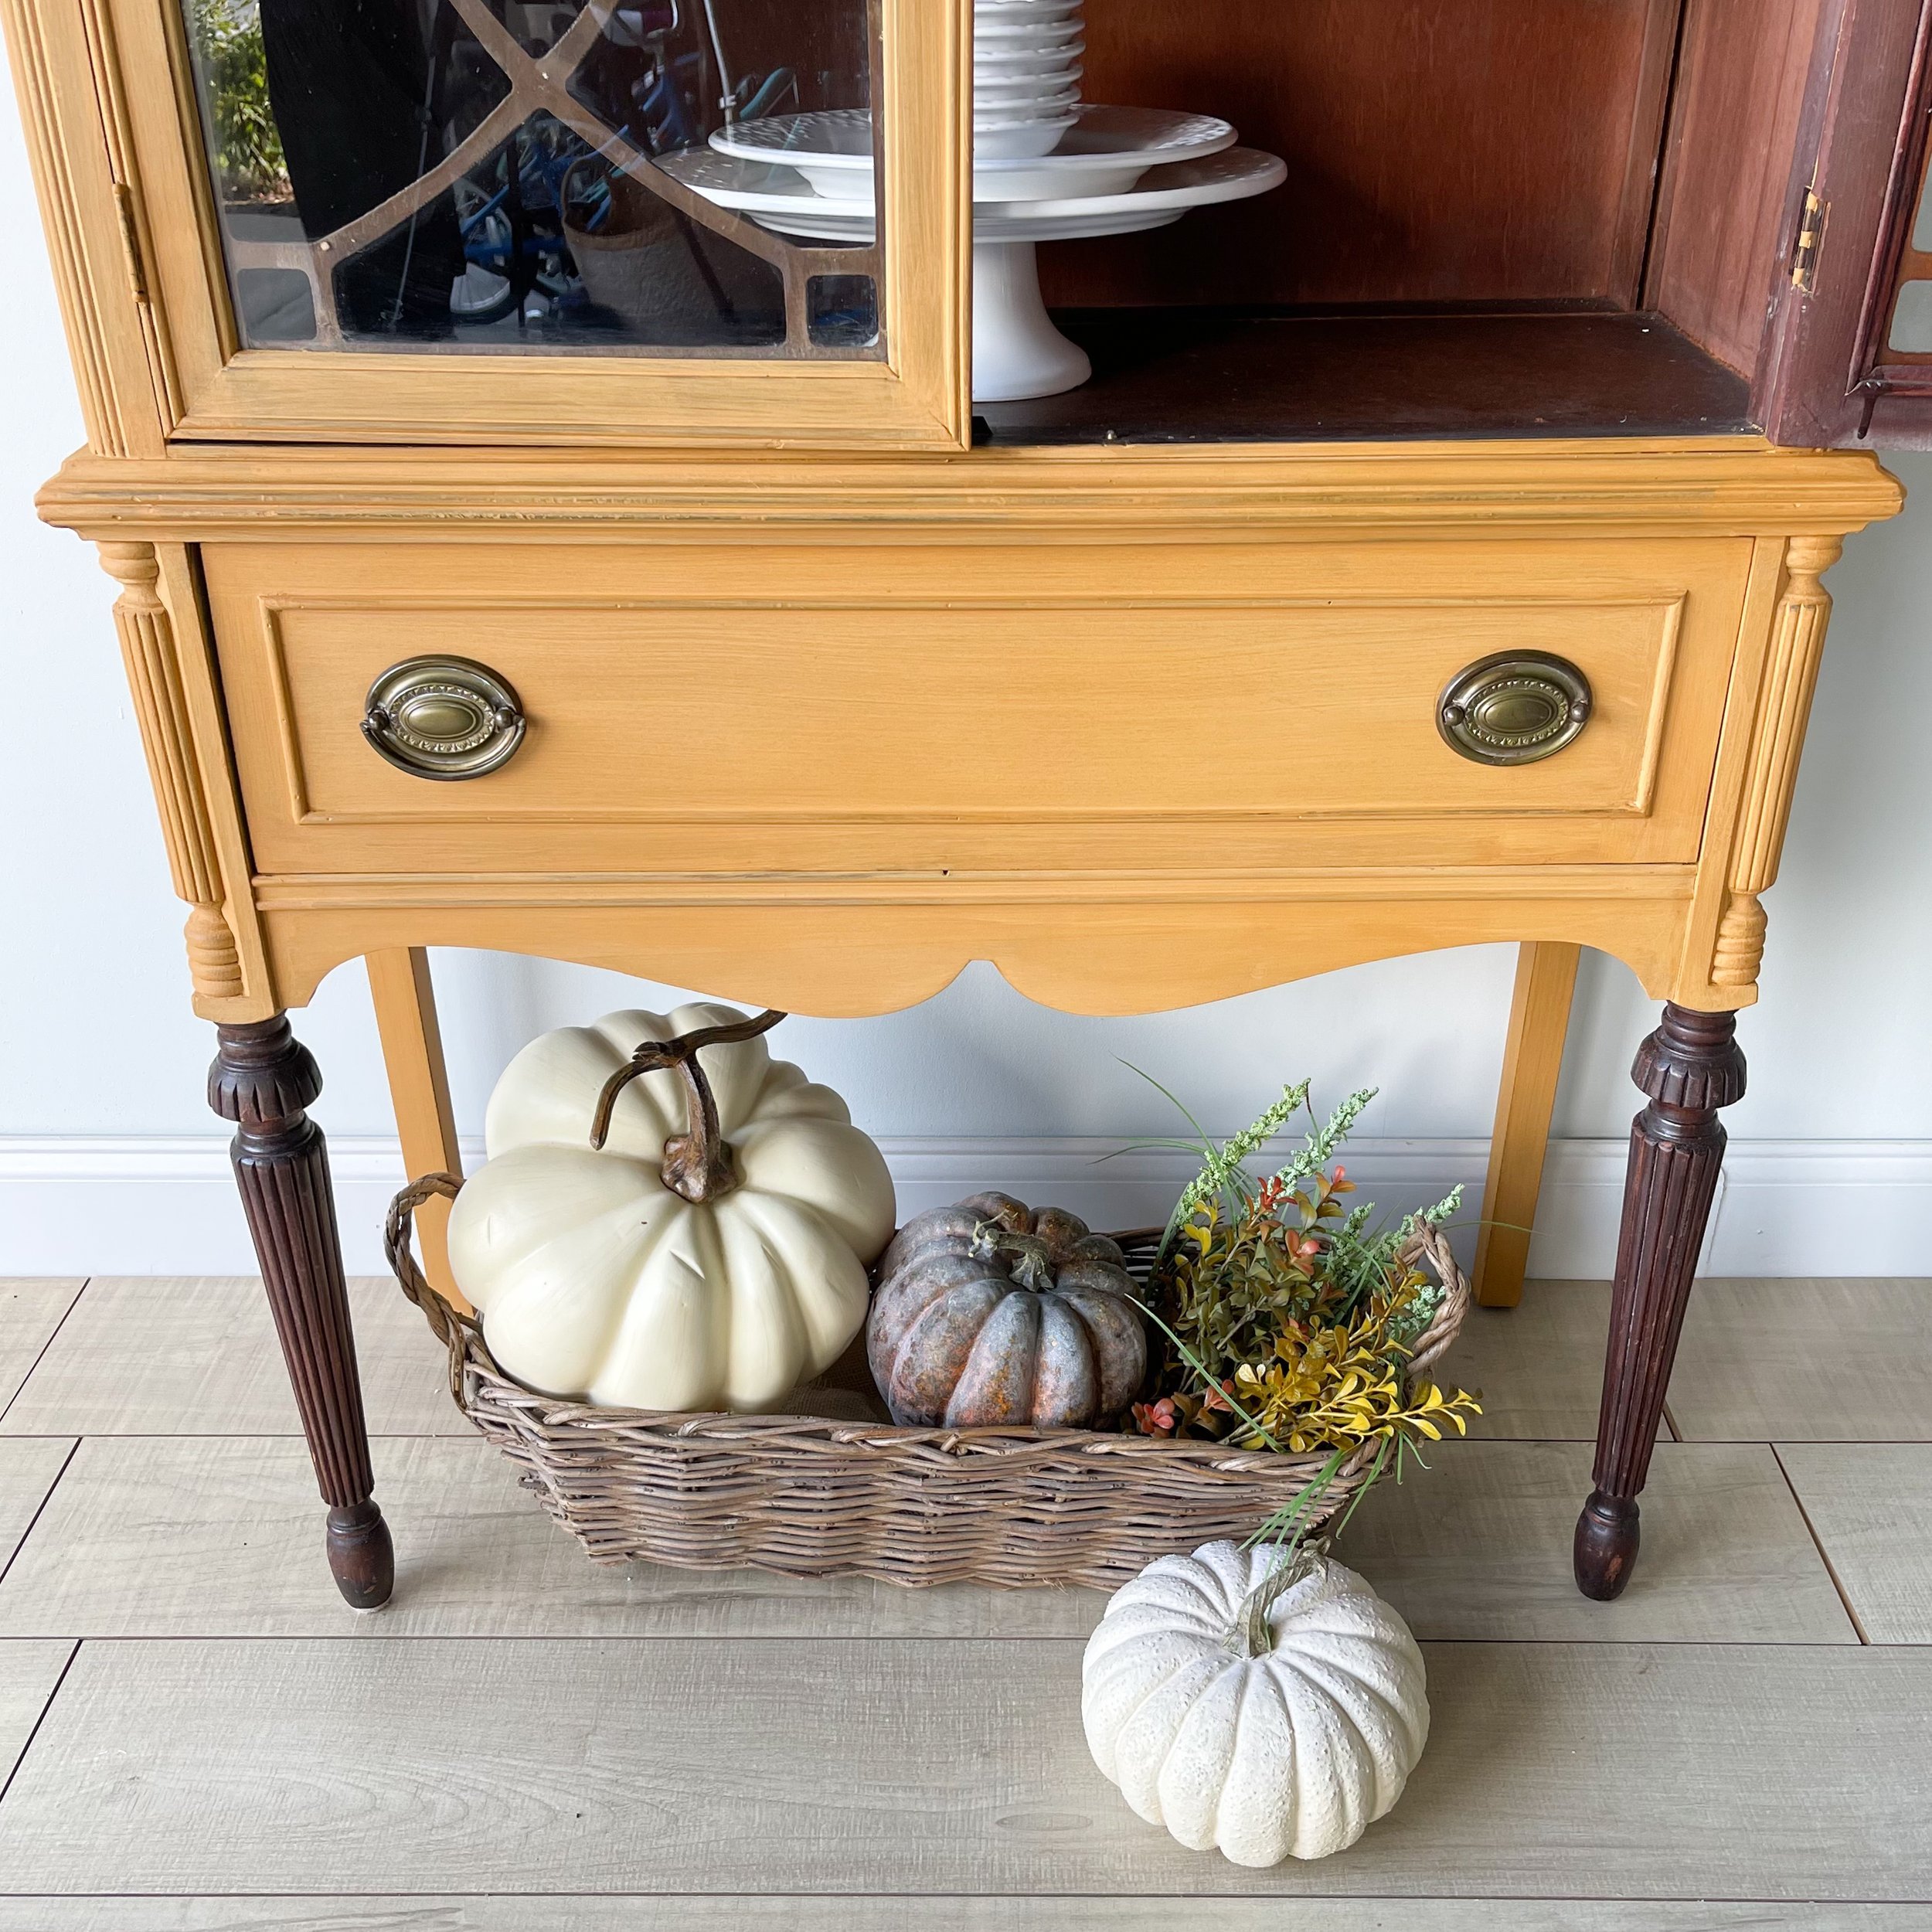
I originally thought I wanted to use this Restore A Finish on the legs, but I kind of like the distressed patina on the legs and how it looks with the yellow color, so I'm going to just leave those alone.
I used a wet rag to wipe back any of the paint that I don't want on this bottom before I go ahead and seal it. After the fourth coat, I can still see some of that original finish poking through, which is exactly what I wanted. It's going to look great when I add the wax.
Apply the Wax
The Real Milk Paint Company’s soft wax is made out of bees wax and carnauba wax, and it has a tiny bit of odorless mineral spirits in it which helps it spread. You can apply this with a brush or rag. I like to use a brush on detailed pieces like this, because it helps me get in all those little nooks and crannies.
Now that I've got the wax on, the original finish is poking through. It's kind of naturally distressing it, and it came out looking amazing. A little bit of this wax goes a long way and because the milk paint is so porous, it soaks it right up.
I also sealed the shelves with wax after the Restore A Finish dried.
Note: this wax may start out by making your paint really dark, but don’t worry. Once it dries it actually gets a lot light.
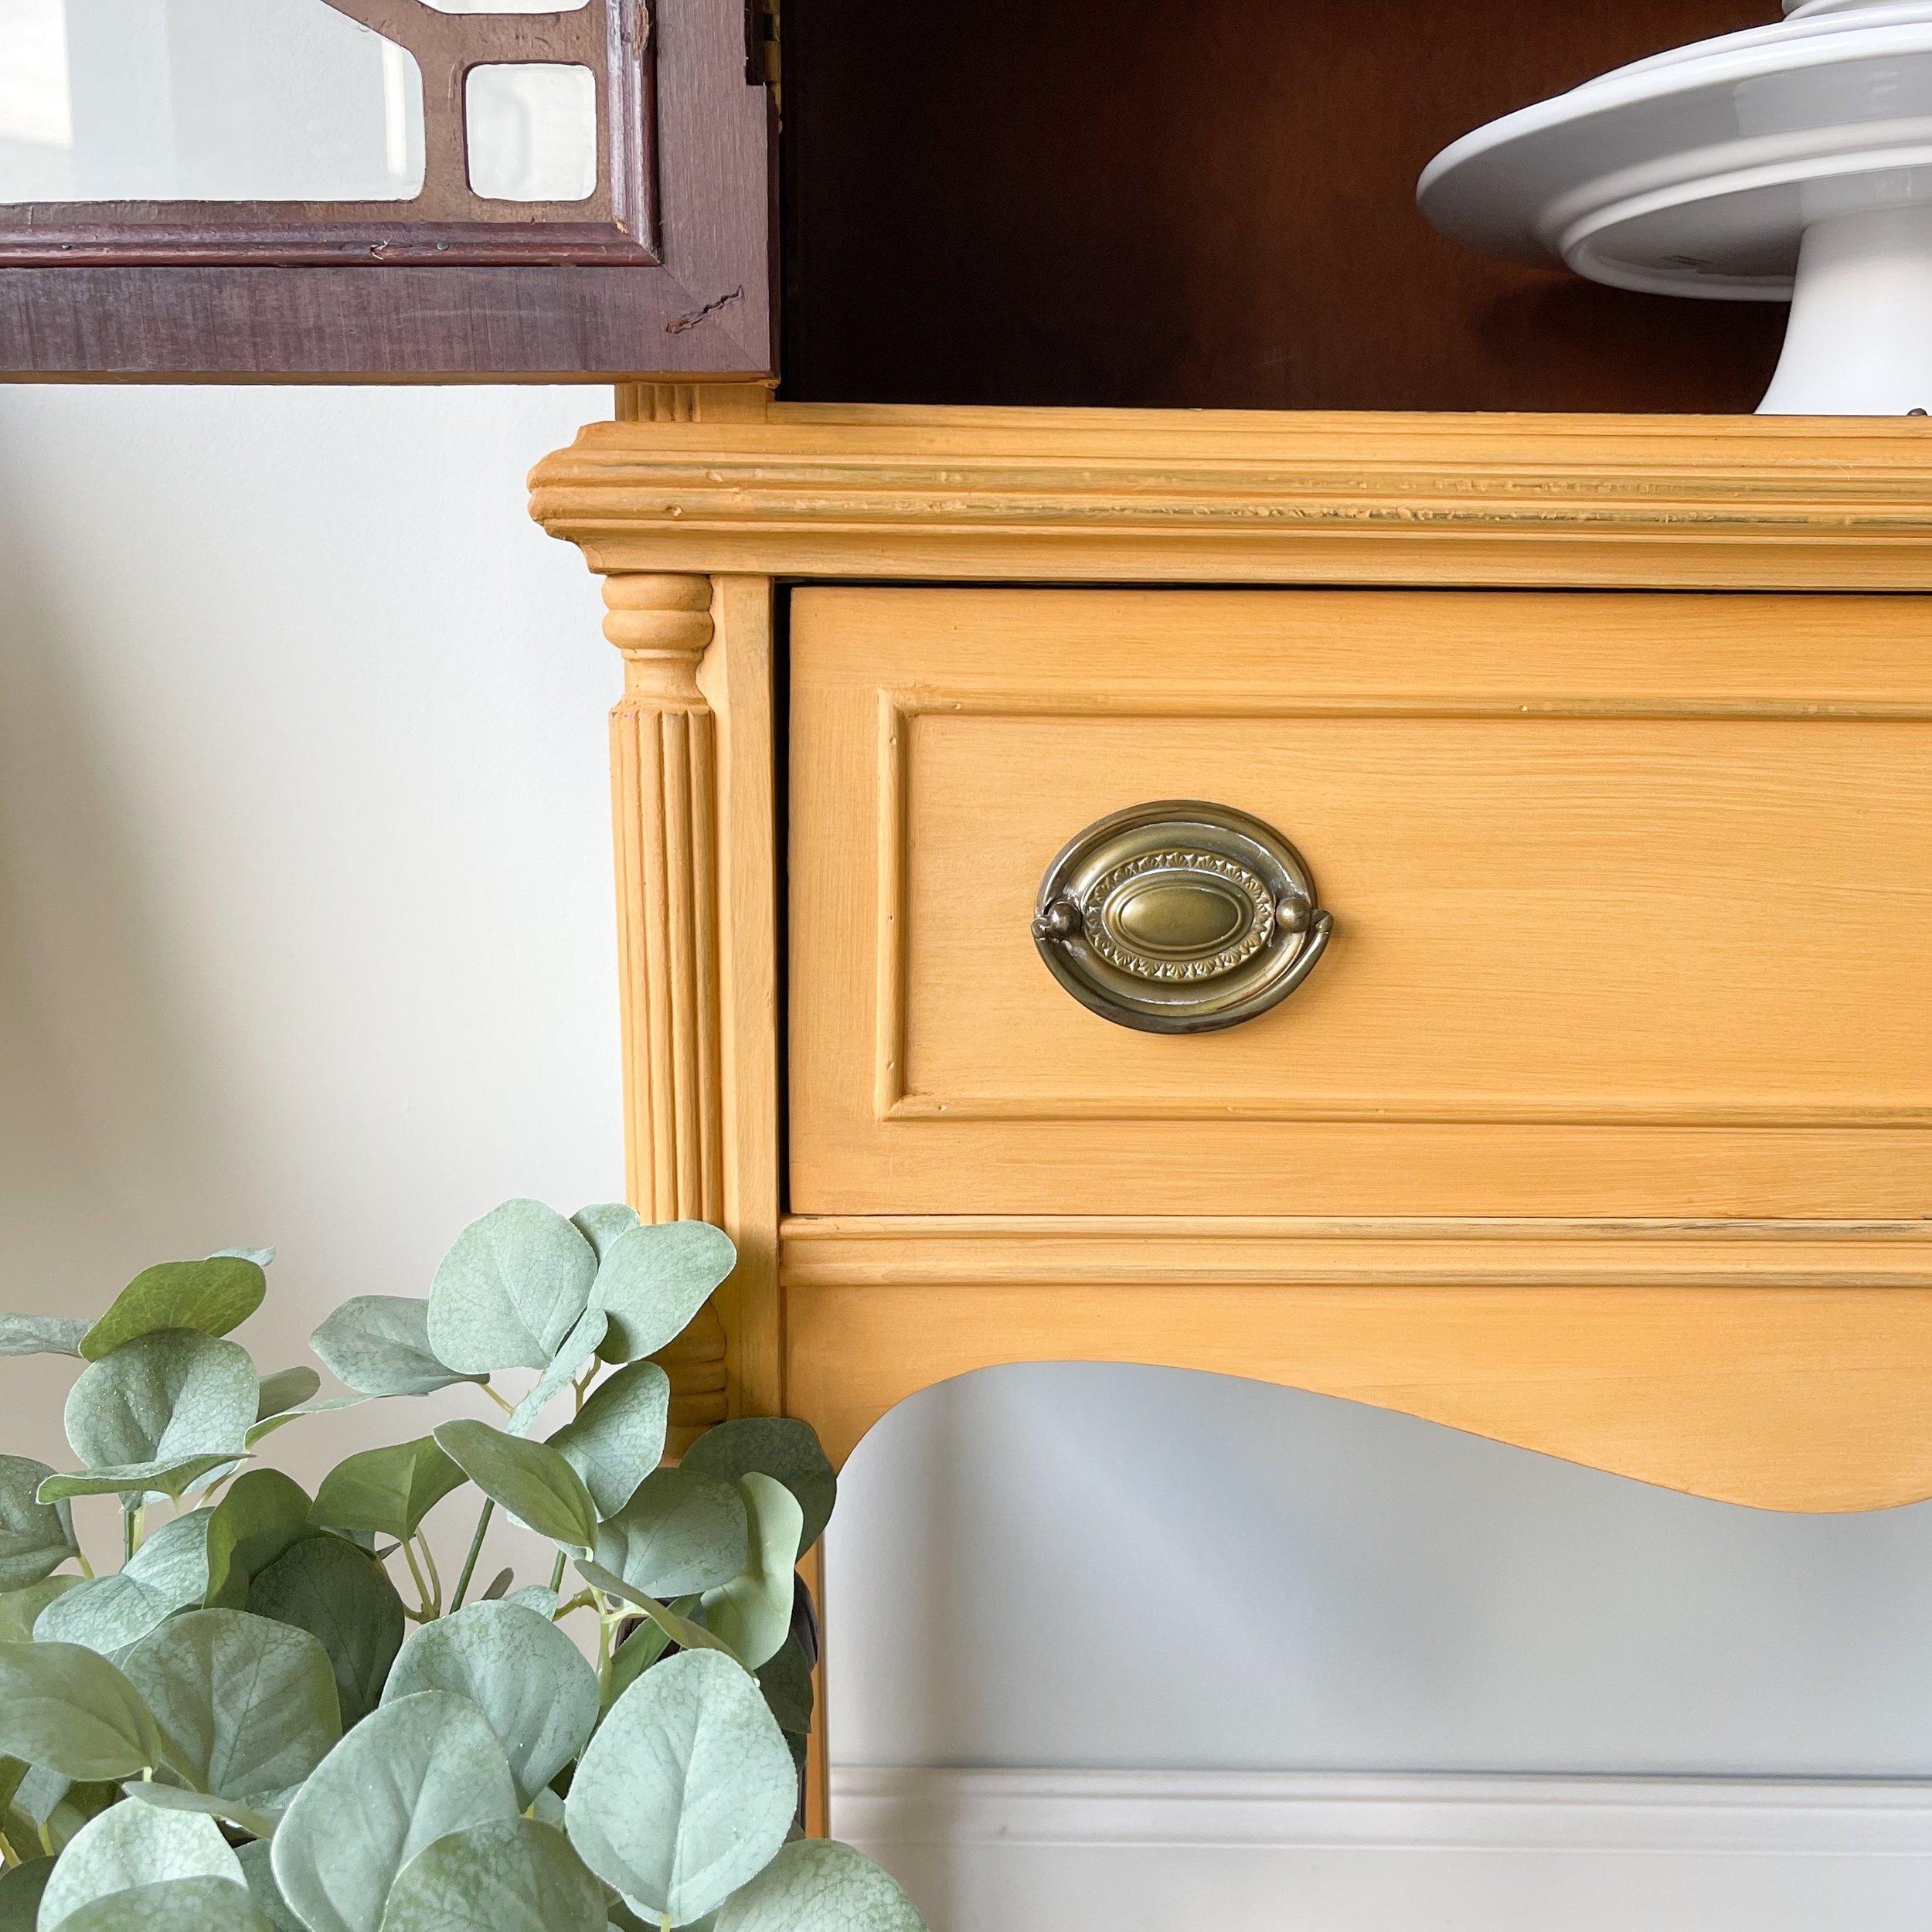
Reassemble
So I let the paint and wax set overnight. So now it’s time to reassemble. I added back on the hardware and put my shelves back in. I did seal these with wax after they dried. I just forgot to film that part and these shelves getting them back in, they gave me a real run for my money.
And the finishing touch, I just cleaned up this glass a little bit with a microfiber towel.
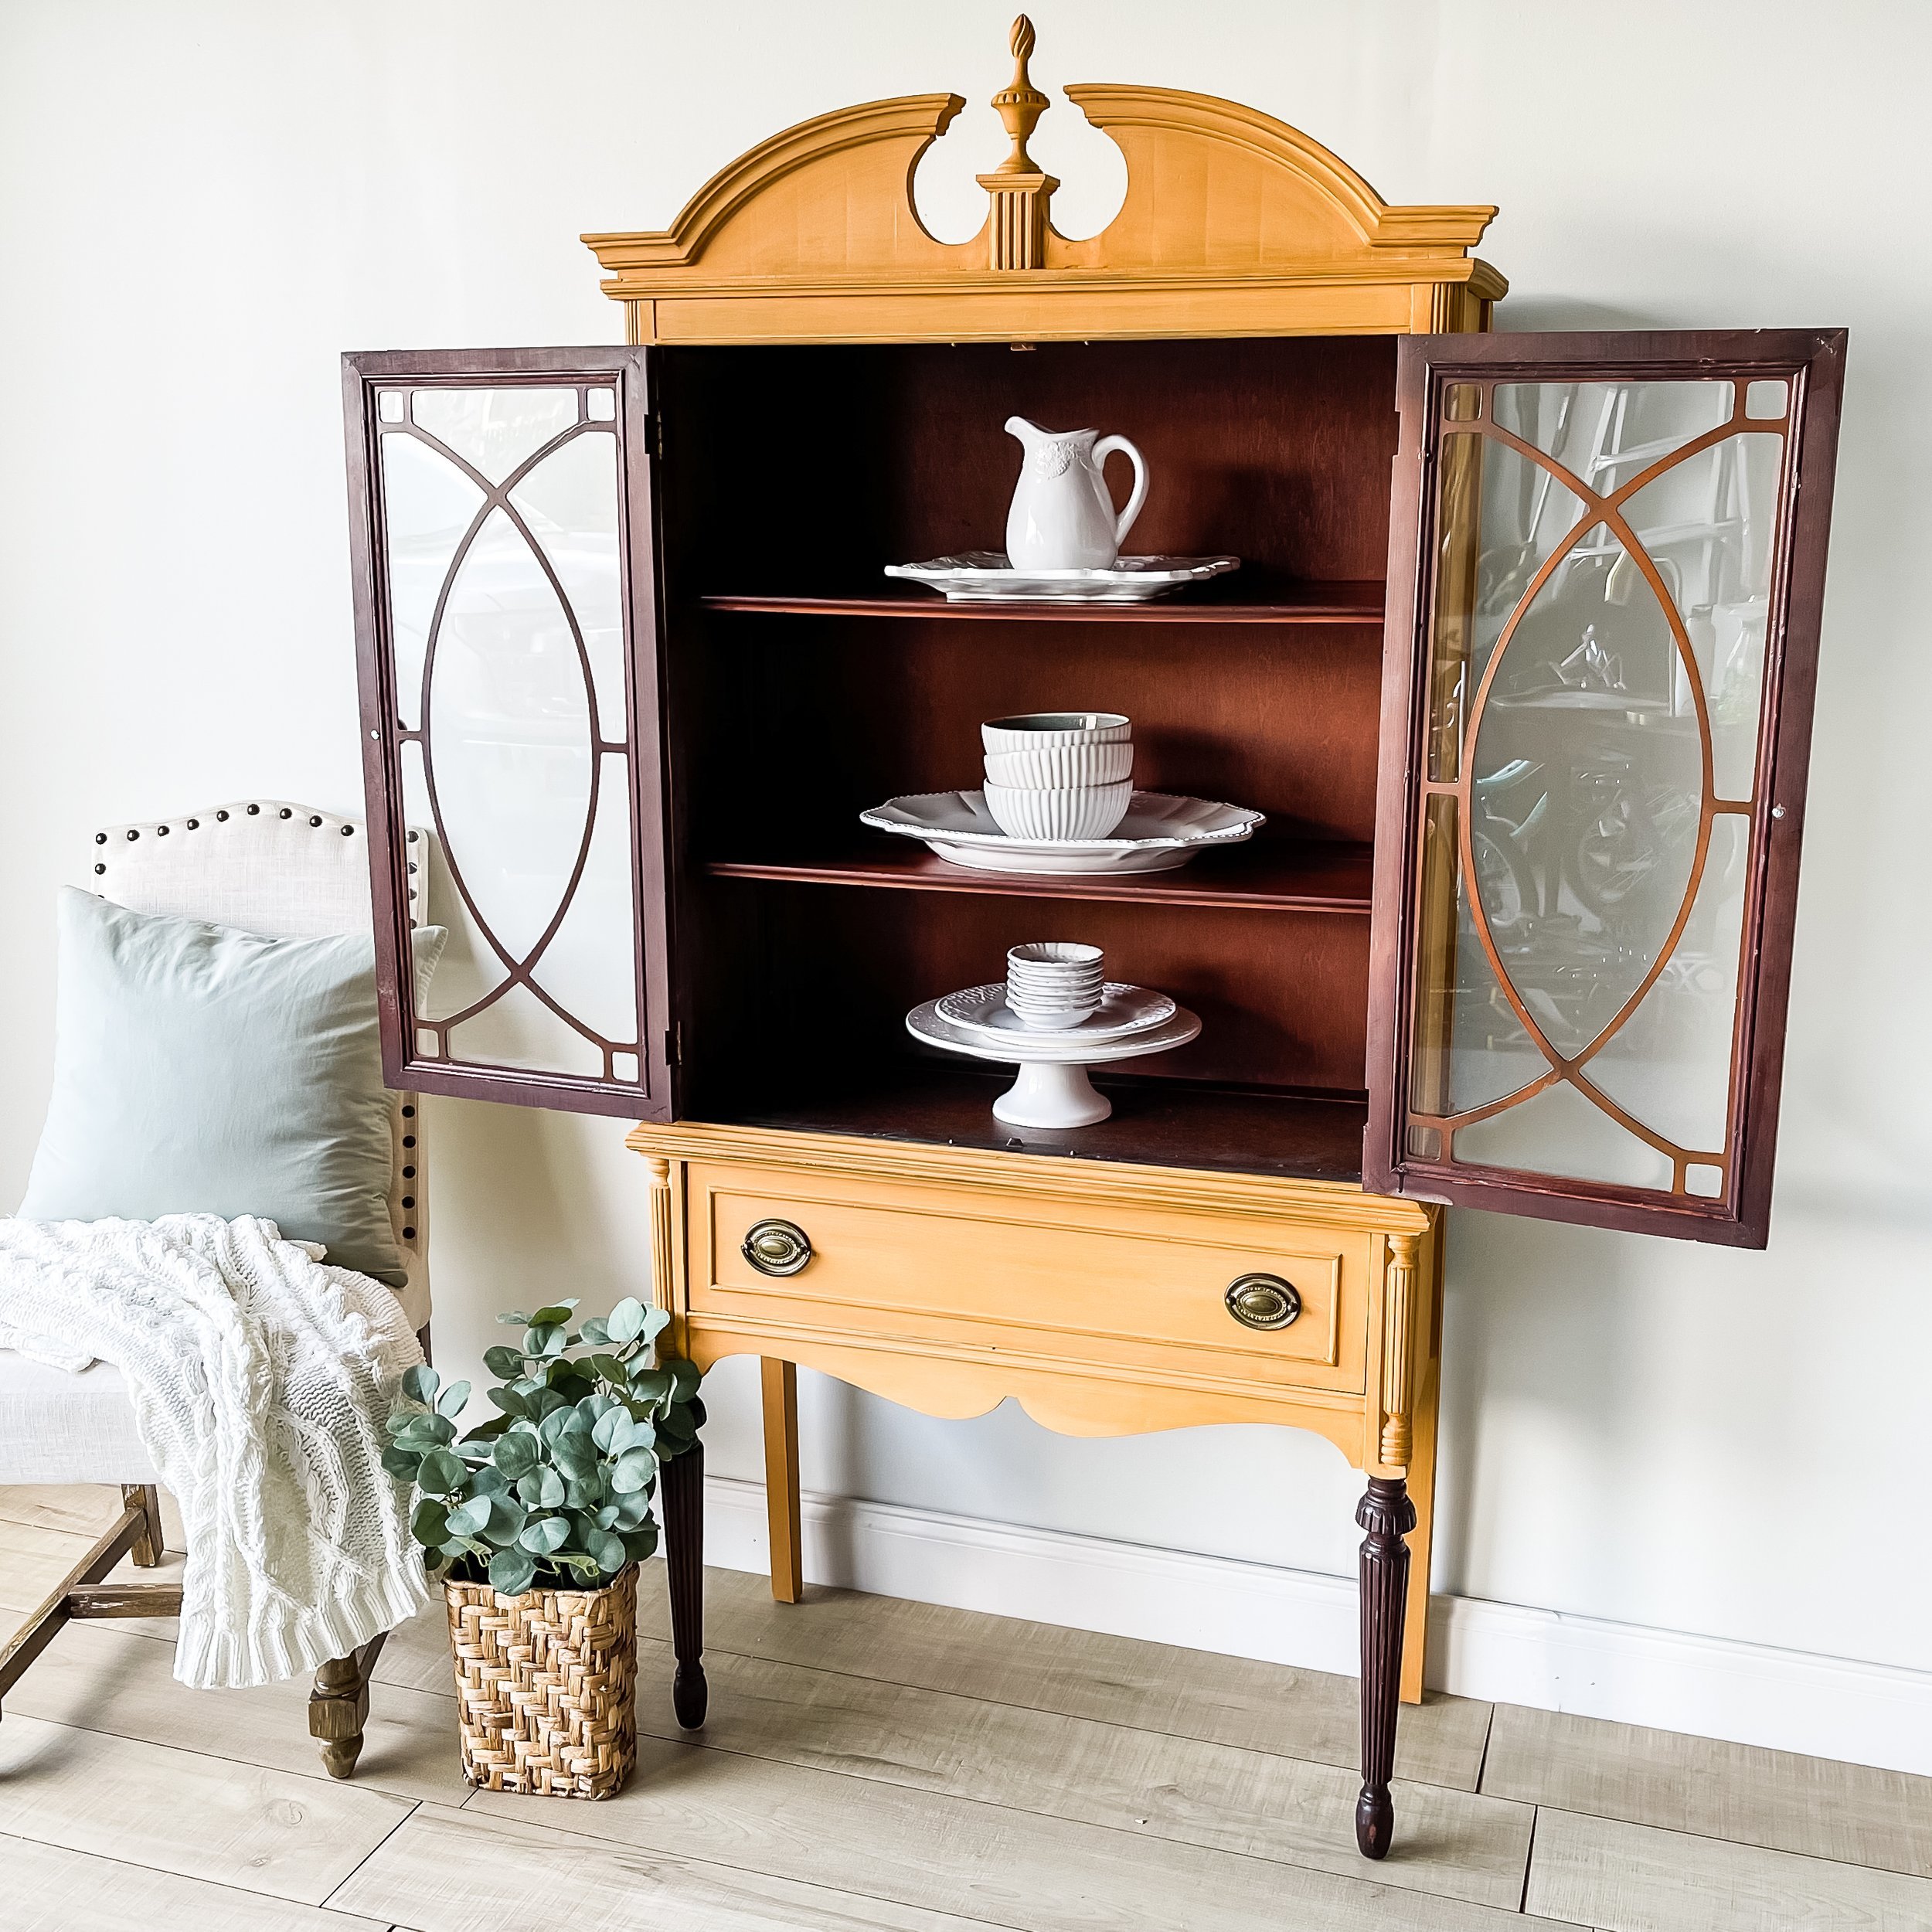
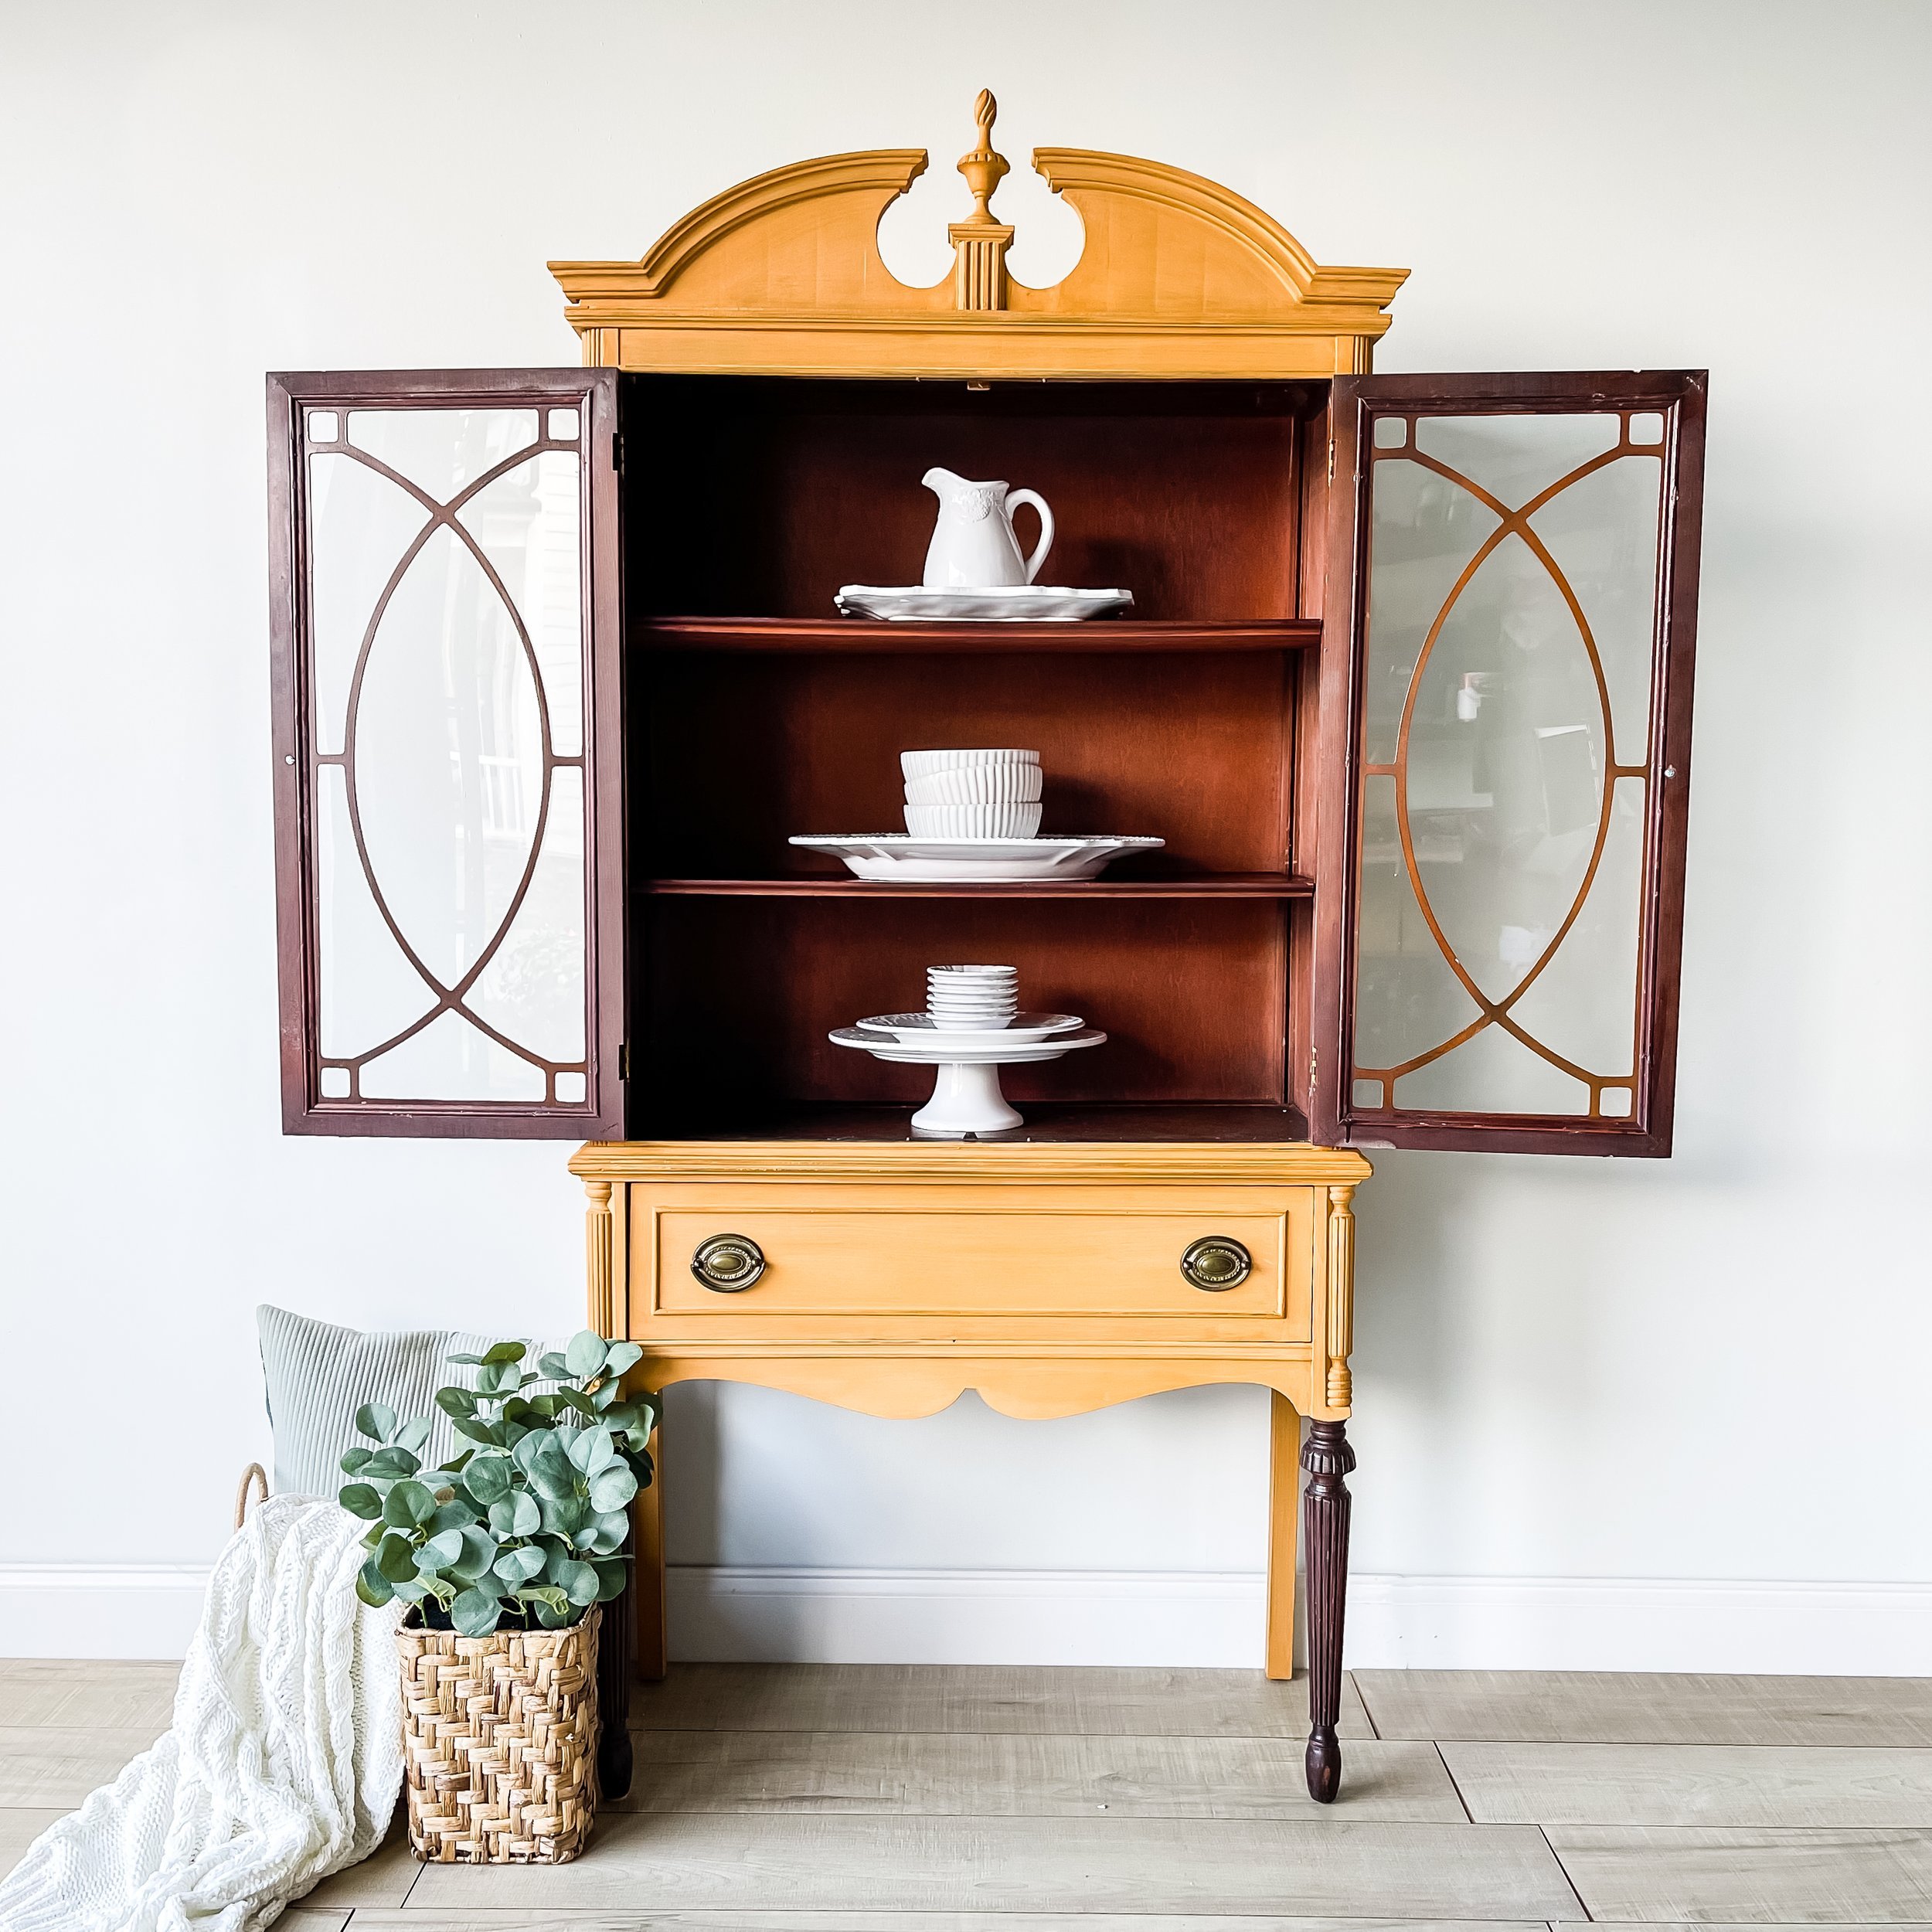
This Milk Paint Furniture Makeover Reveal!
I loved this makeover!
This is a really bold color, but it pairs so well with the natural finish of the inside of the cabinet and the legs. The milk paint finish is perfect for this piece. It has just enough natural distressing coming through, and it just blends so seamlessly with it.
I'm obsessed.