One Step Paint Dresser Makeover: Furniture Painting For Beginners
Disclosure: This blog contains affiliate links. I will receive a commission for items purchased through these links at no extra cost to you. I appreciate your support. Please read all labels and follow all manufacturer safety recommendations when working with paints, stains, and other equipment.
Tell me if this is you... You’ve got your picture-perfect Pinterest Board full of furniture refinishing project ideas. You may even have the pieces in your home already and have been saving up ideas for how to get to painting. It’s possible you’ve been browsing YouTube for tips and tricks too! But, in the end, it all seems like too many steps. Which paint do I pick? And what about the paintbrush? Do I need a topcoat...which one? It’s a lot...and I get it. And that’s why I did this one-step paint project. And the best part is that all you need is a chip brush and roller to put it on.
I promise it’s going to be a piece of cake and exactly what you need to finally tackle that project of yours. And bonus: not only is this one-step paint perfect for furniture painting beginners, but it’s also a time saver too. This project will only take you ONE DAY.
What is One-Step Paint?
An All-in-One (or One-Step) paint doesn’t mean that you won’t have multiple steps to complete your project. But when it comes to the painting portion of it, you can take all of the guesswork out, my friend. A one-step paint has primer, paint, and sealer all in one.
This is a little different than what I usually use, but it’s the perfect way to start if you are a furniture painting beginner. And all you’re going to need with this paint is a chip brush and a roller. My partner for today's blog is Beyond Paint.
Here are the Materials You’ll Need:
Optional: Wood Filler (if you need repairs)
Optional: Sand Paper (if the piece you have has a sleek finish or to sand down repairs from wood filler)
Option (for hardware): Rustoleum Flat Black Spray Paint
Finding the Right Piece of Furniture for One-Step Paint
This is the piece that I tackled for this project (here is a before picture).
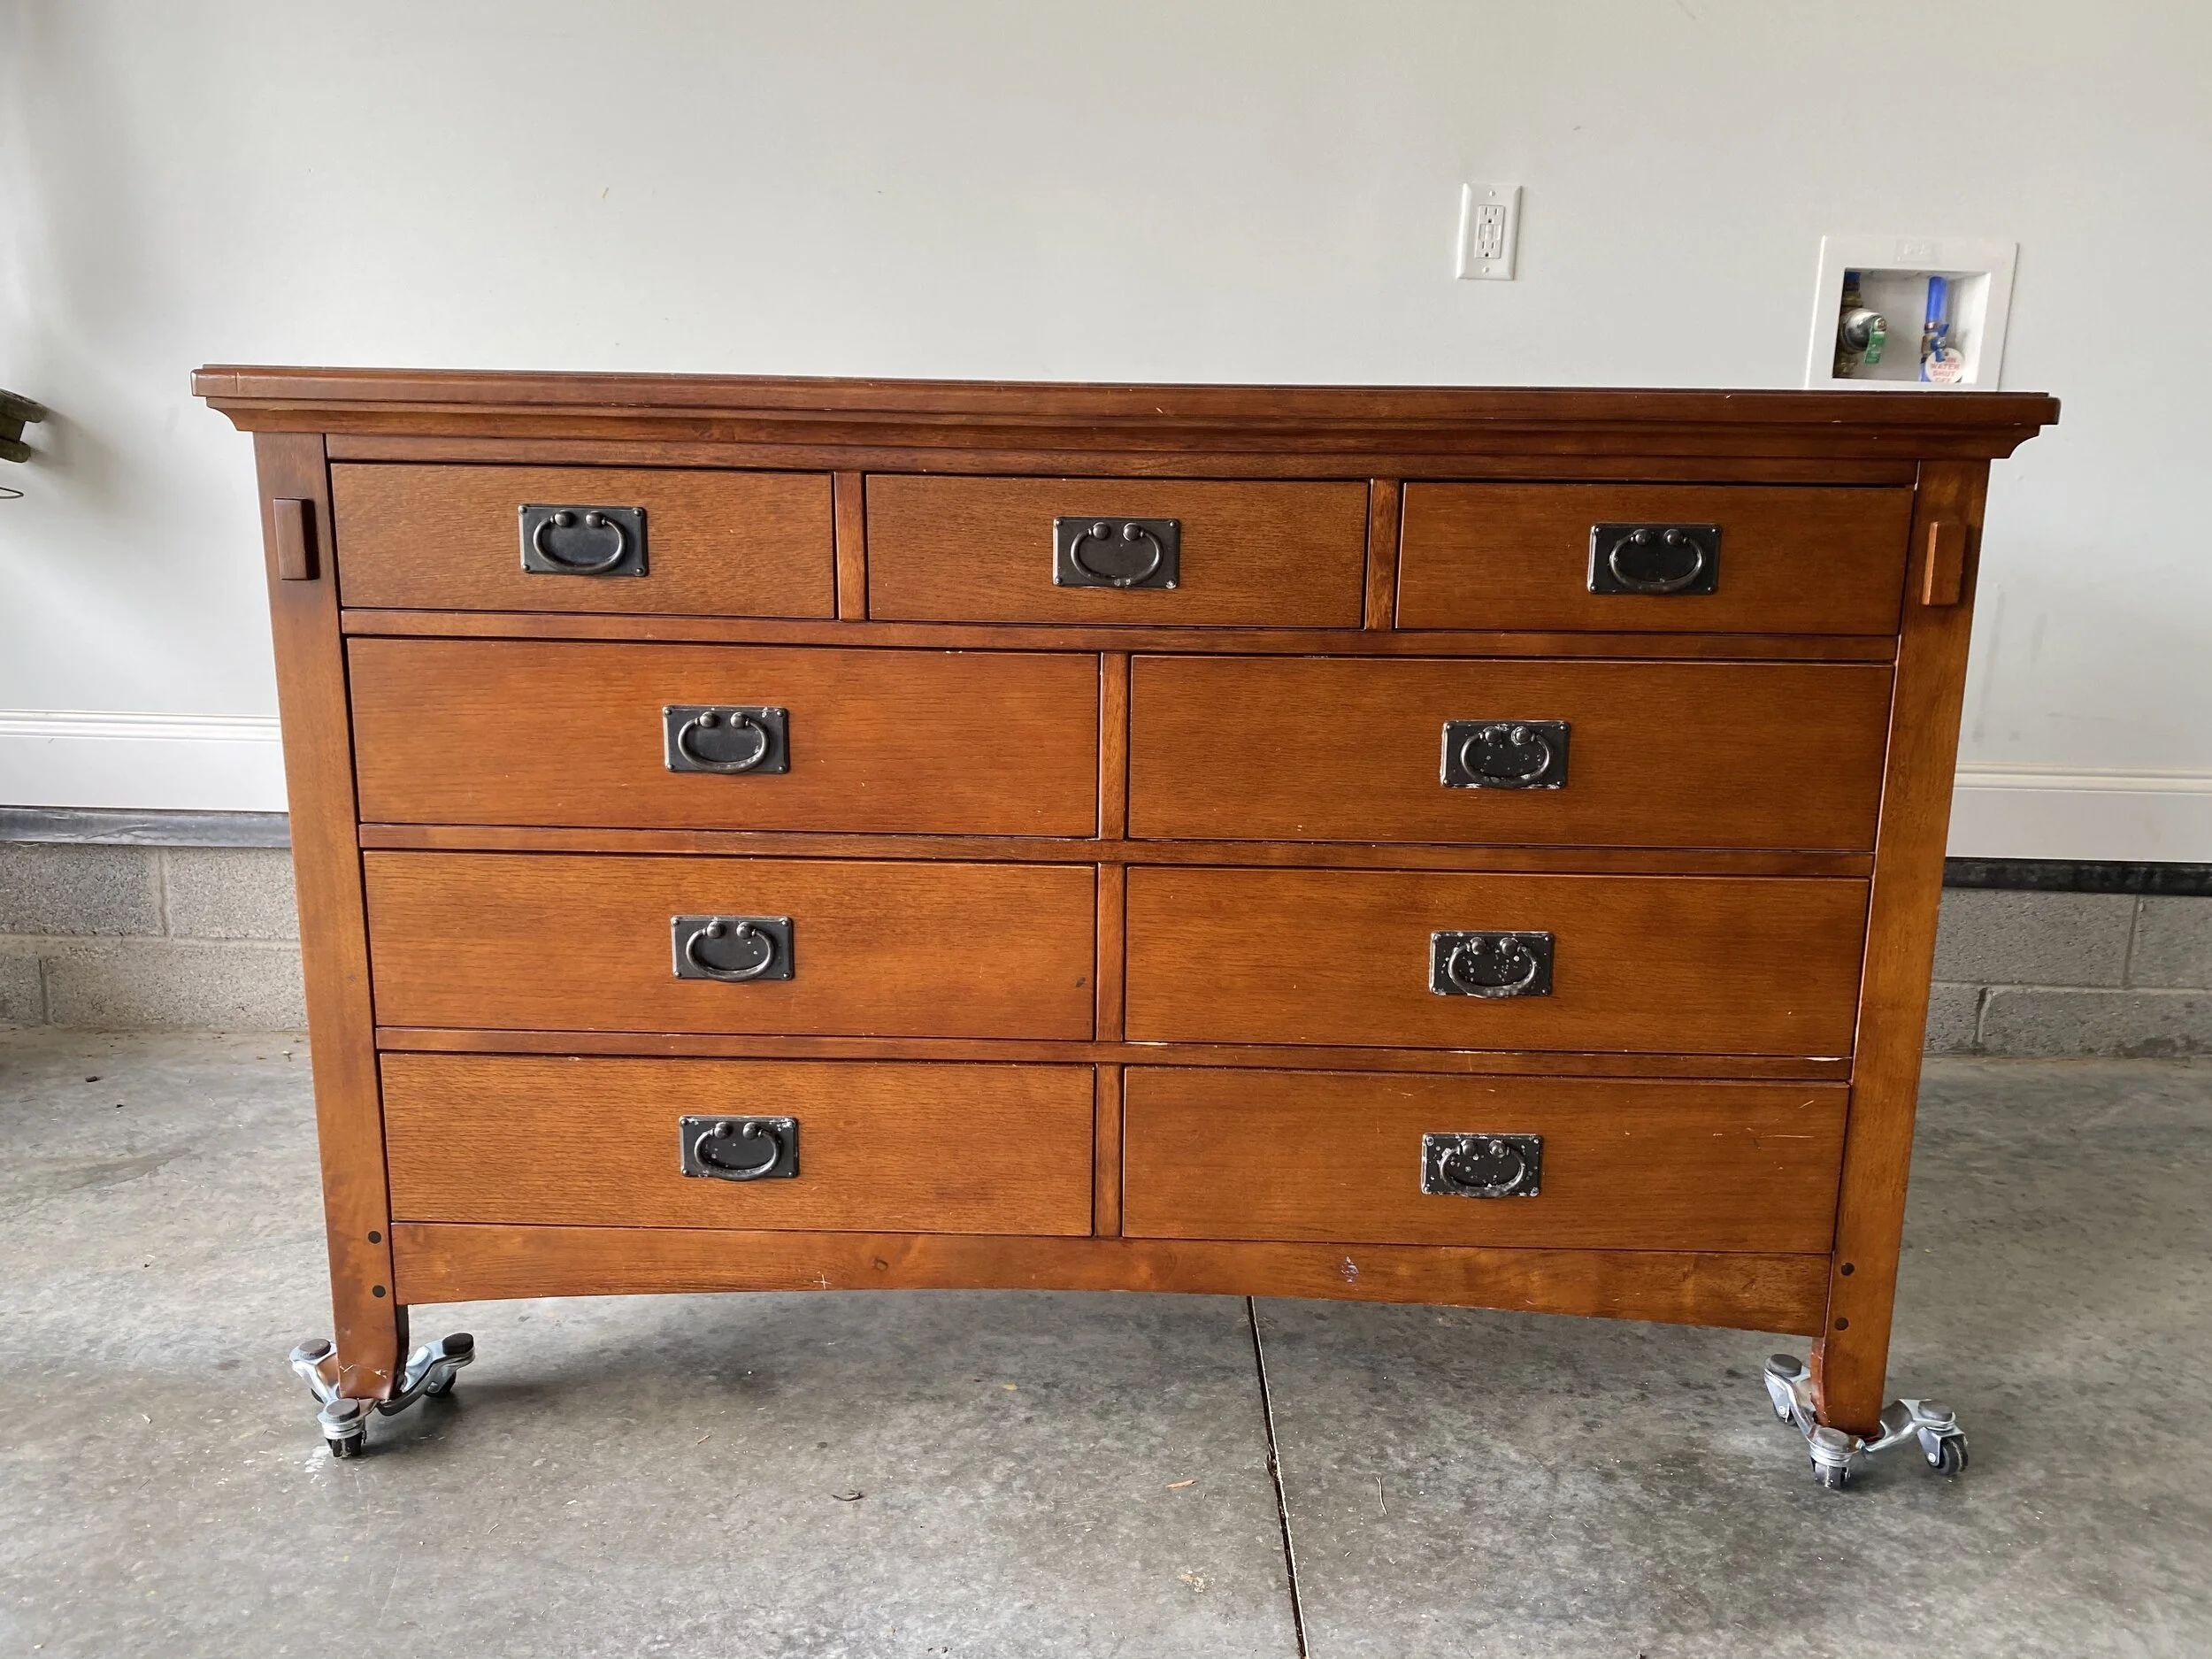
I thought this piece was going to be perfect for this paint because it's really flat and it was going to be easy to roll out. Another thing to consider if you’re looking for a quick 24-hour makeover is to pick a piece that doesn’t have a lot of repairs to minimize the prepping process.
My One-Step Paint Dress Makeover: Step by Step
Step 1: Prepping the Piece
Remove the Hardware
I tried to keep this makeover as affordable as possible, so I'm going to save the hardware and try to clean it up. I really like the way it fits this piece…it just needs a little TLC. So for my piece, I opted to remove the hardware to make the painting process easier and to spruce them up a bit.
Clean Your Piece
Because of our one-step paint, we are not going to prime our piece, but we definitely do need to clean it. For the paint to adhere, it needs to be free of oils, direct, and grease.
For this, you can use mineral spirits, a water and vinegar mix, or a degreaser. I opted to go with this Simple Green Degreaser, and it worked like a charm.
After cleaning your piece, wipe it down with some clean water for a good rinse.

Bonus Tip #1:
Let your degreaser set for a little bit to really cut that grease. Then you can come back in with a cloth or a scrubby sponge to get off the really stubborn areas.
Fill in Any Holes or Gouges
My last step in prepping is to fill any holes or gouges I have on my piece. If you have any small repairs, go ahead and use some wood filler, let it dry, and sand it down to make it smooth.
Final Dusting/Cleaning
The last prep step is to use a tack cloth to remove any dust that may have kicked up during the process of repairing. And then I'm gonna use a tack cloth to remove any dust that I kicked up.
Step 2: It’s Time To Paint!
First Coat of One-Step Paint
All right, now it's time for the fun part. Let's paint! On the Beyond Paint Website, you can actually purchase this tool kit and it comes with a roller, a paint pan, and a chip brush to complete your project.
Notes about this paint: With this one-step paint, you do not have to stir it. It is going to be a super thick, puddy-like consistency. So don't let that throw you off… no need to add any water either.
This paint is going to adhere to almost any surface. You can apply it to Rockwood painted wood, whether it's oil, latex, polyurethane, varnish, or a poxy. It's also going to stick to metal for Mica laminate, which is a huge one. If you don't know if your piece is real wood or not plastic linoleum, masonry tile and even glass. So this paint can basically go on anything. This paint does go on at very texture, but it levels down a little bit as it dries, but it is meant to fill little Nicks and dings. So it's not going to be a completely smooth surface. It looks smooth, but it does have a little bit of a textured feel to it.

Bonus Tip #2:
I love to use foil on the pan to speed up the clean up process.
(Optional): Fix up Hardware if Needed
While the first coat of paint was drying, I worked on my hardware. It had a lot of corrosion damage on there, and I tried a bunch of stuff to get it off, but it was just not working. So I decided to paint these guys. So prepped them by sanding them down and getting all the corrosion off.
I used a spray paint to finish these off in a flat black. I opted for this Rust-Oleum that has a primer in it.
As long as you sand and prep it well, it should hold up on the hardware. I did three coats of spray paint and let them set overnight…that worked out nicely.

Bonus Tip #3:
I like to screw hardware that I’m refinishing onto a cardboard surface like this so that it won’t stick to my drop cloth. Try it!
Second Coat of One-Step Paint
I'm really impressed with the way that it looks after just one coat, but I went for the second coat anyway. So this second coat goes on just the way the first coat went on. Again. I want to show you that stippling motion you do with the brush in the places you can't reach with the roller, and then you roll out everything else. Rolling. The furniture actually does save you a lot of time. I think it only took me about 30 minutes to get each coat on.
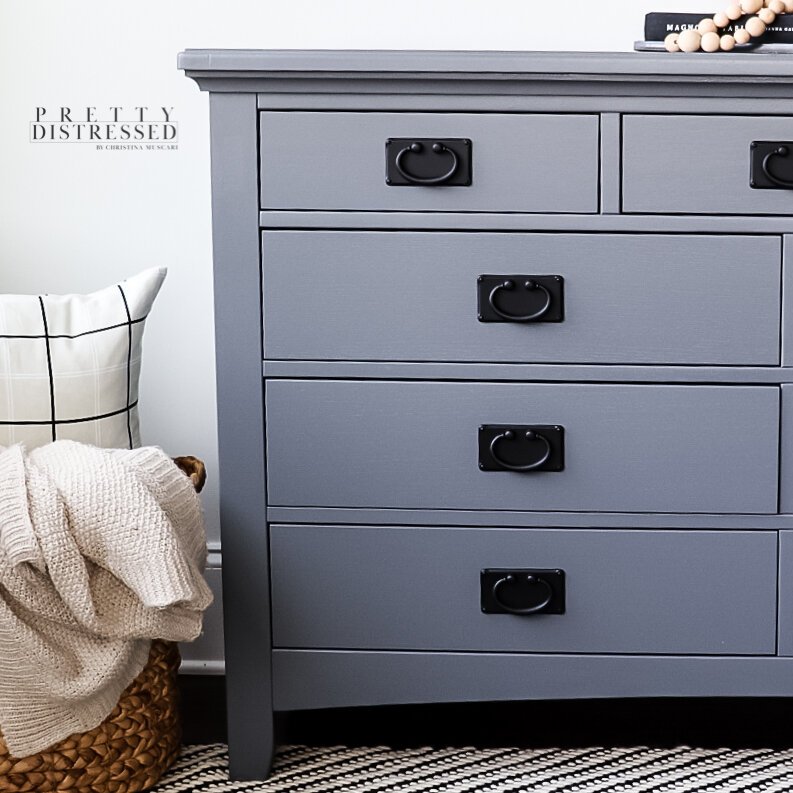
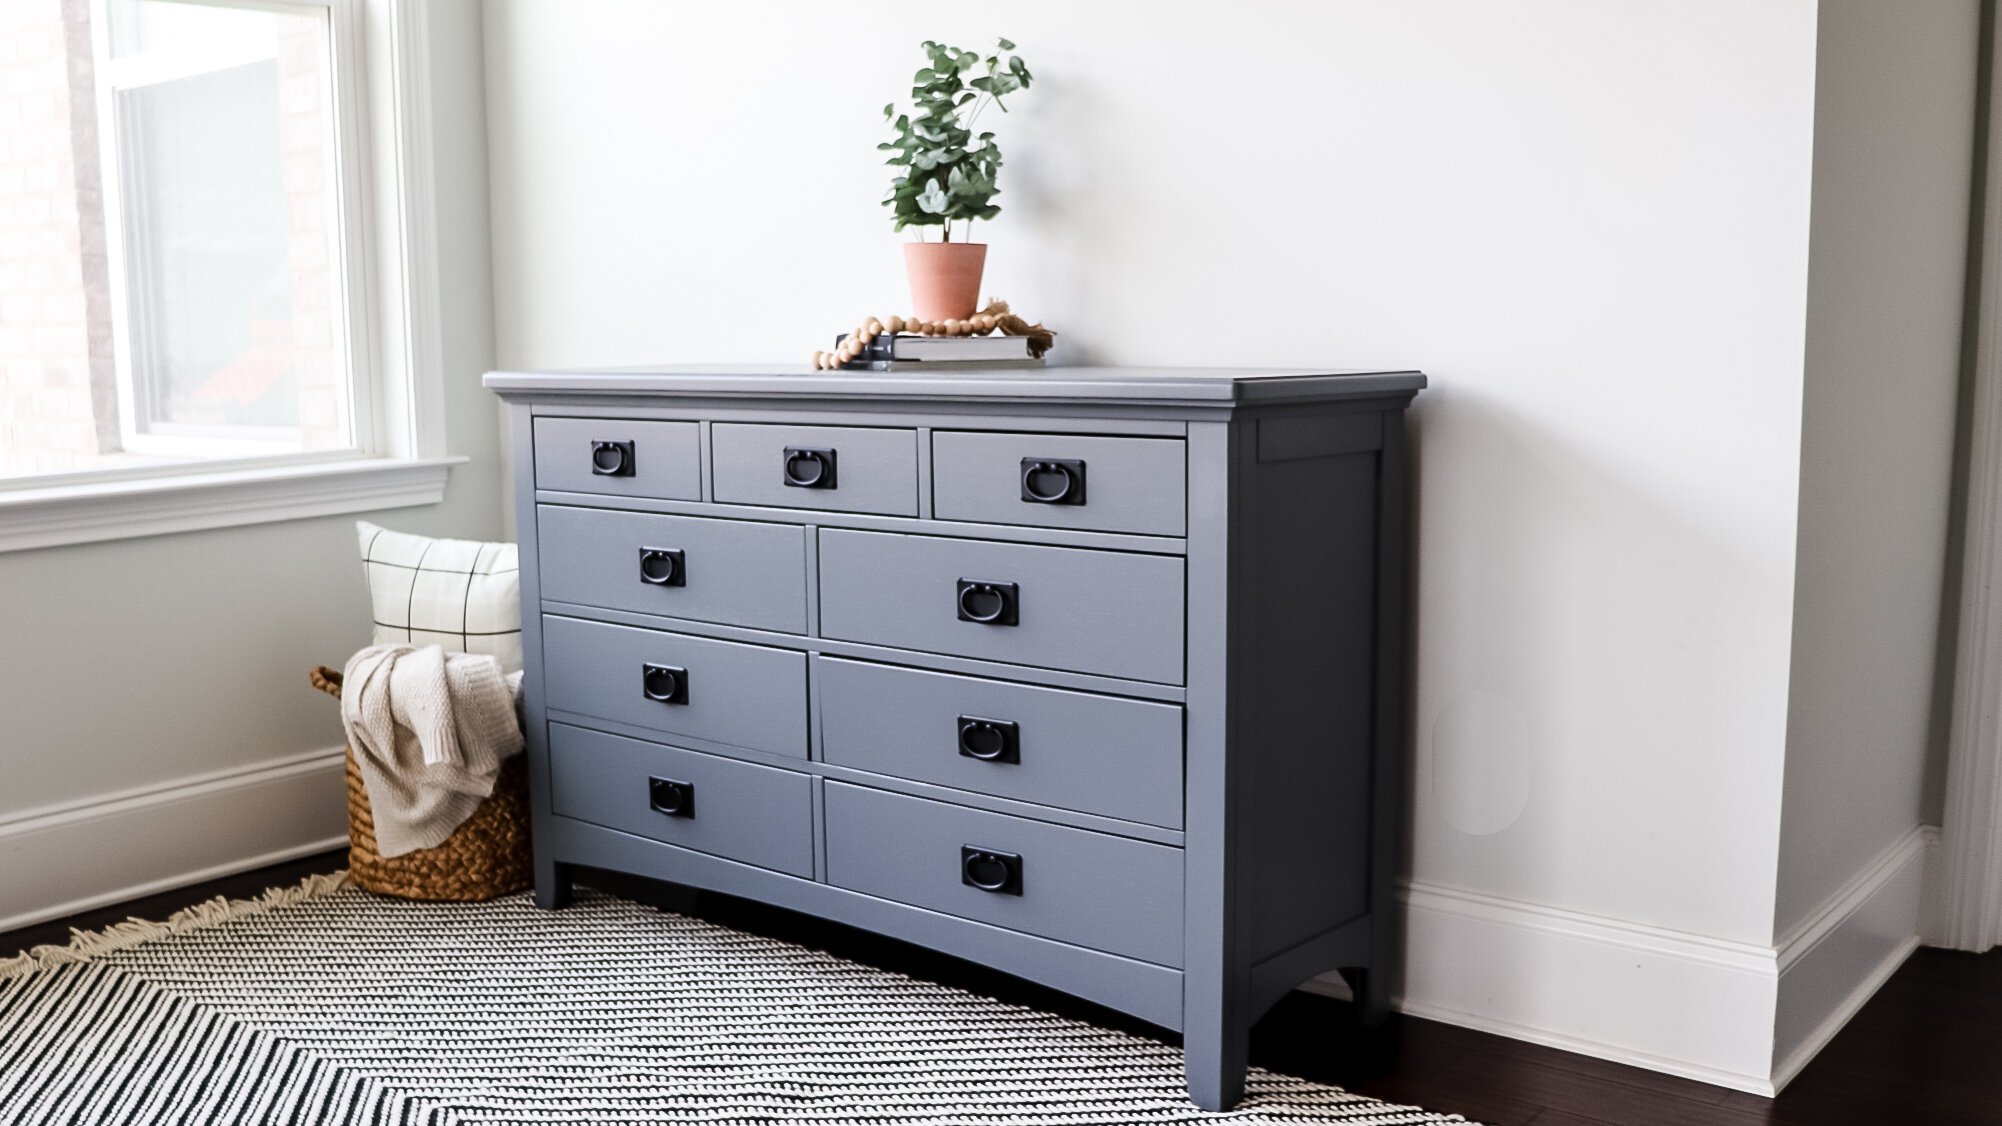
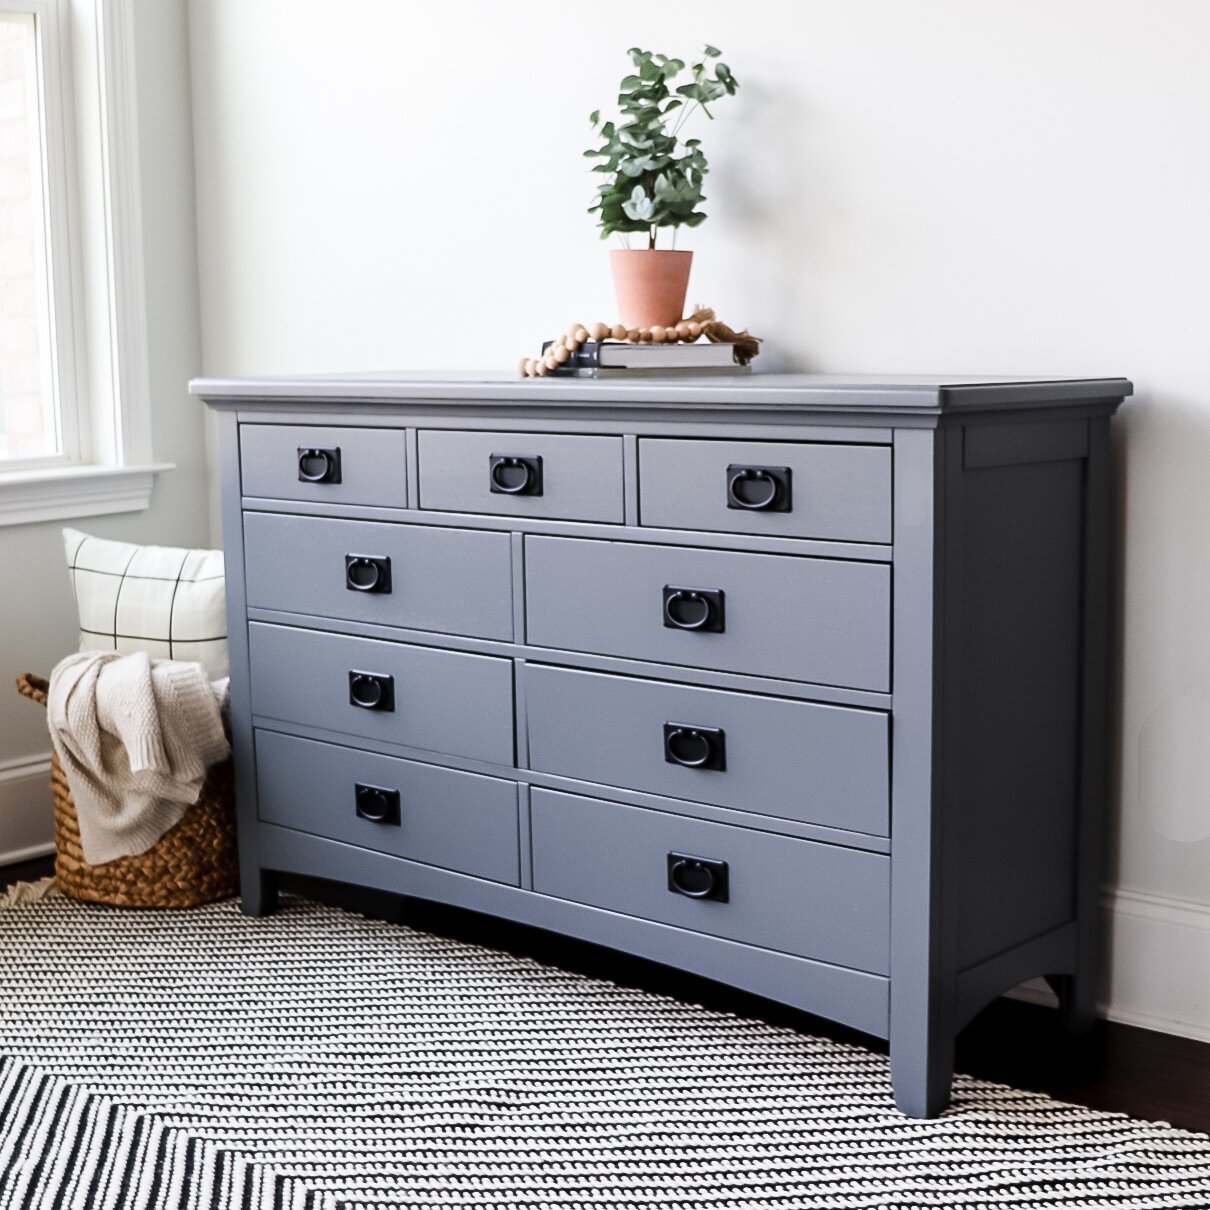
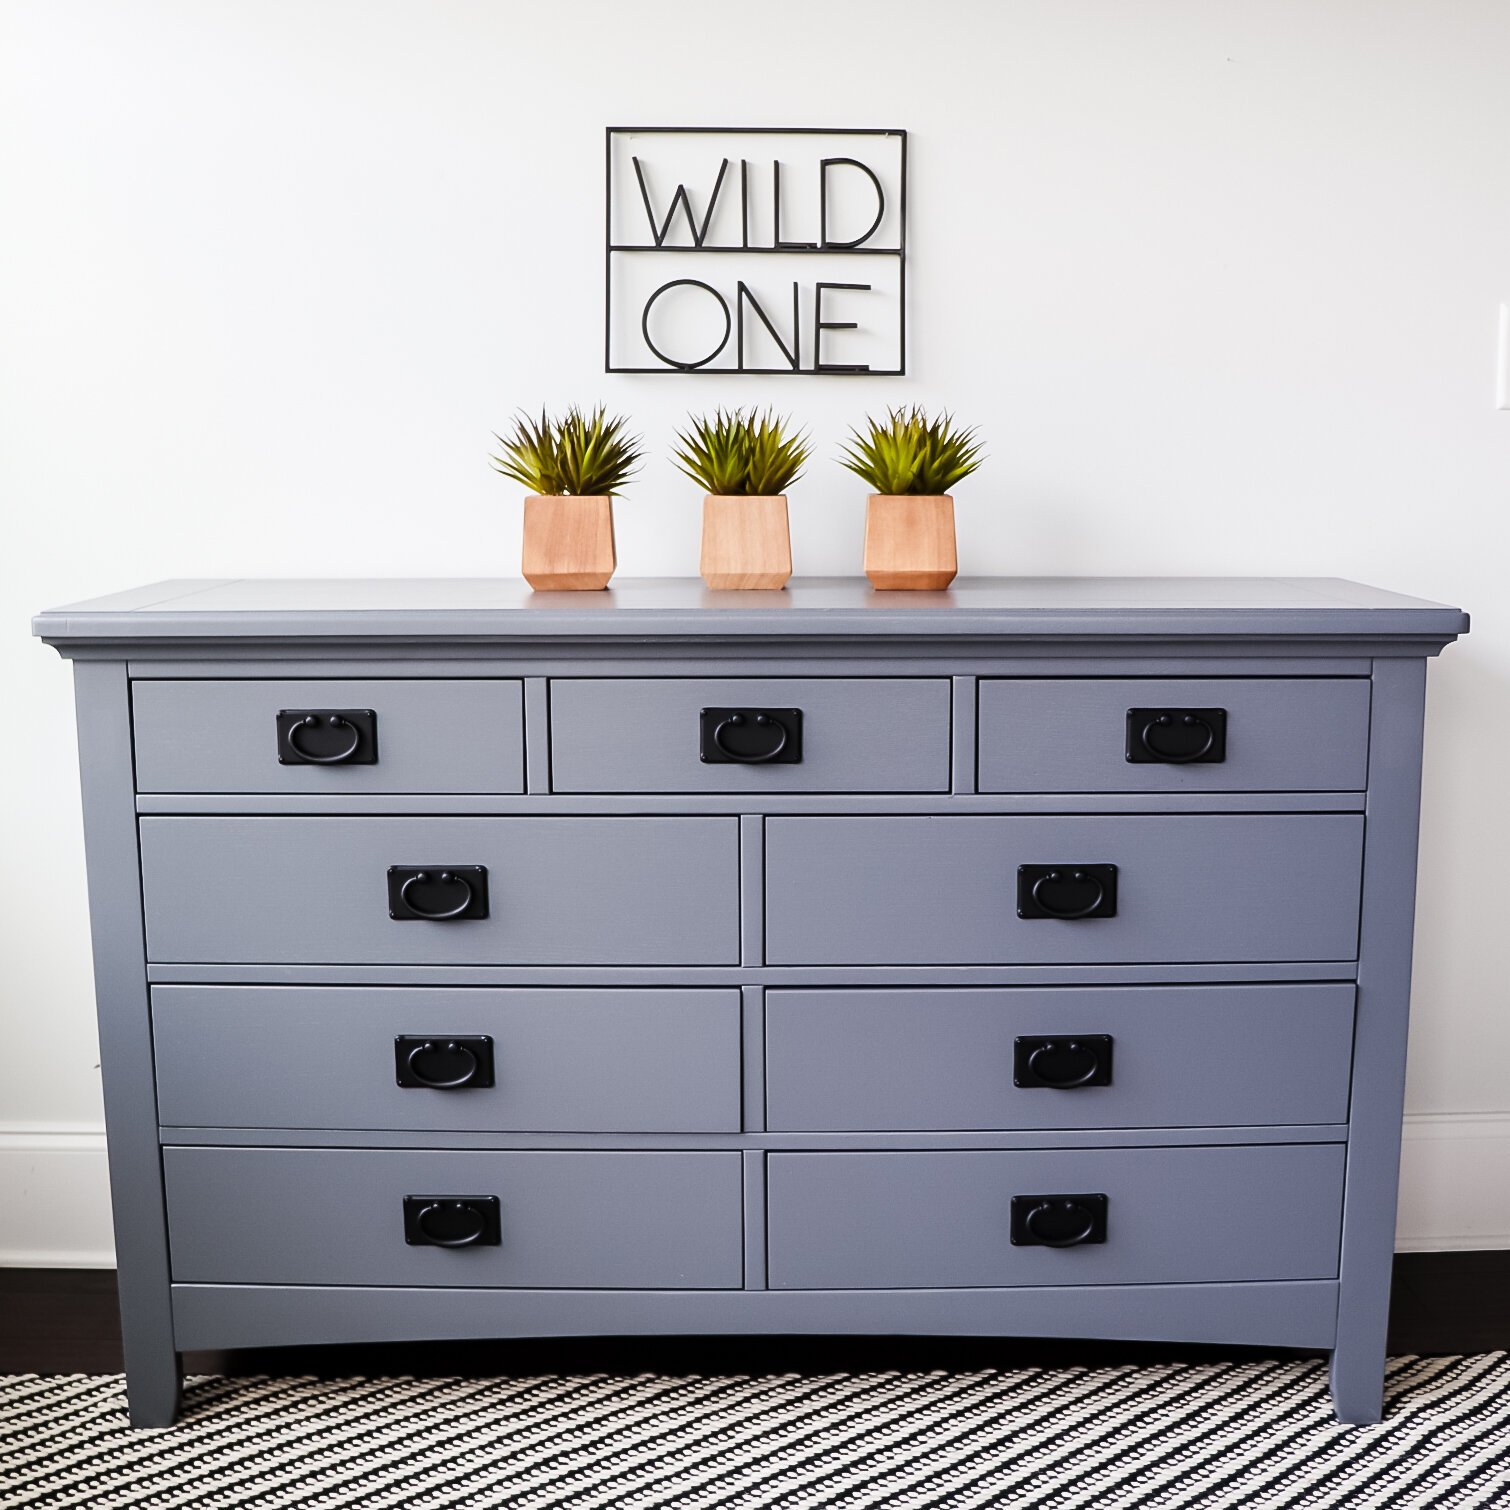
More Notes About the Paint: I don't think I mentioned this yet, but the Beyond Paint color I used is called pewter. And I had the quart size, which covers 50-100 square feet in two coats. And that's about 10 to 12 cabinets. I think for a dresser, all you're really going to need is a pint that covers 25-50 square feet
And that's it. We’re done with the painting portion, because like I told you, this is a one-step paint. And bonus… it even has some UV protection in it.
Step 3: After-Care
You want to let it cure for two to three days before you're really moving it around the house. And then it takes 30 days for it to cure completely before you can clean it with soap and water.
I love the way this project turned out for my dresser makeover…and I’m glad I went with the time-saving one-step paint. Honestly, it’s not only the perfect option for furniture painting for beginners…I think I’m going to be using it more often for myself! Check out the finished product below!