One Step Paint MCM Makeover: Beyond Paint Review
Disclosure: This blog contains affiliate links. I will receive a commission for items purchased through these links at no extra cost to you. I appreciate your support. Please read all labels and follow all manufacturer safety recommendations when working with paints, stains, and other equipment.
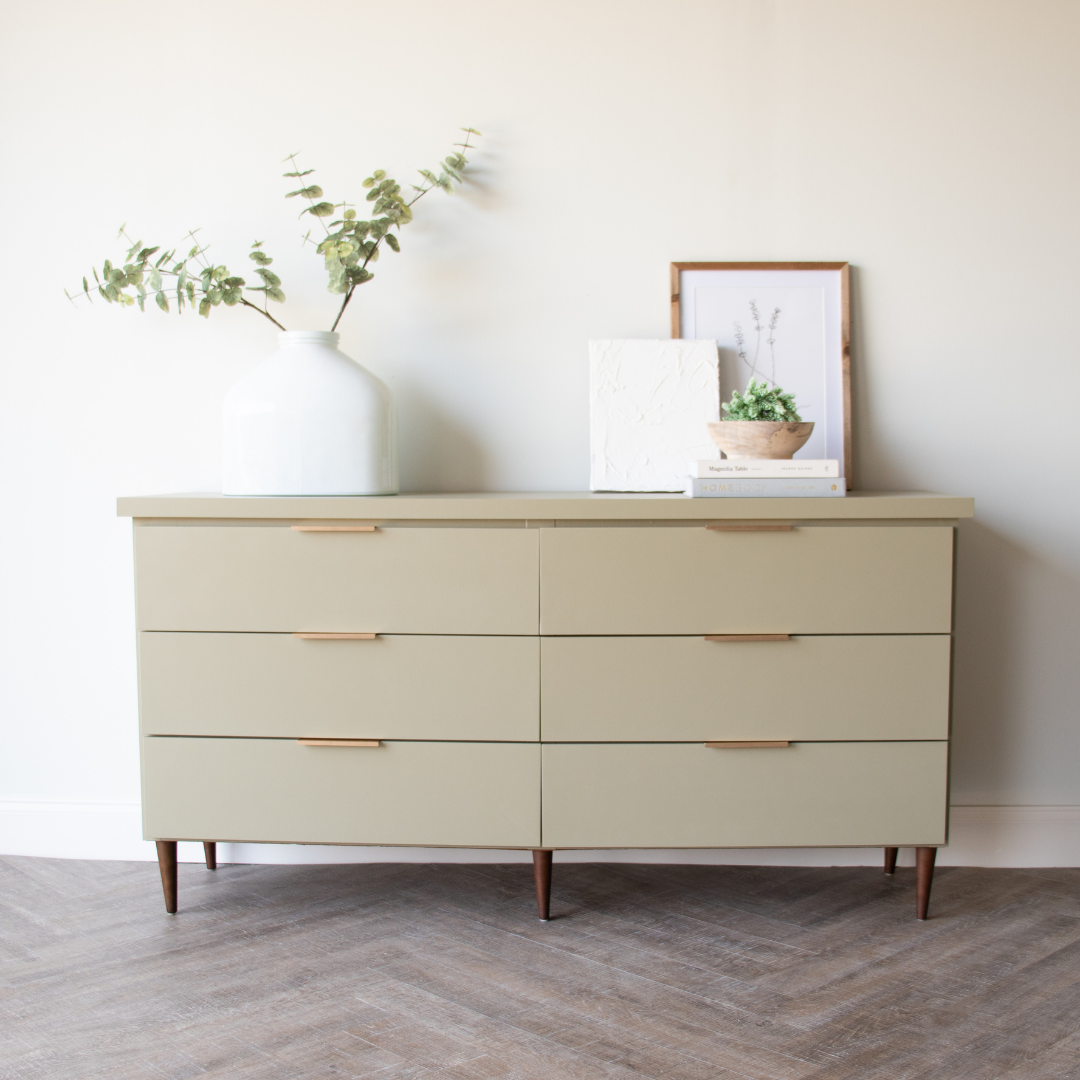
I love a good one-day makeover. And today’s MCM dresser makeover was done in one day thanks to Beyond Paint’s one step paint.
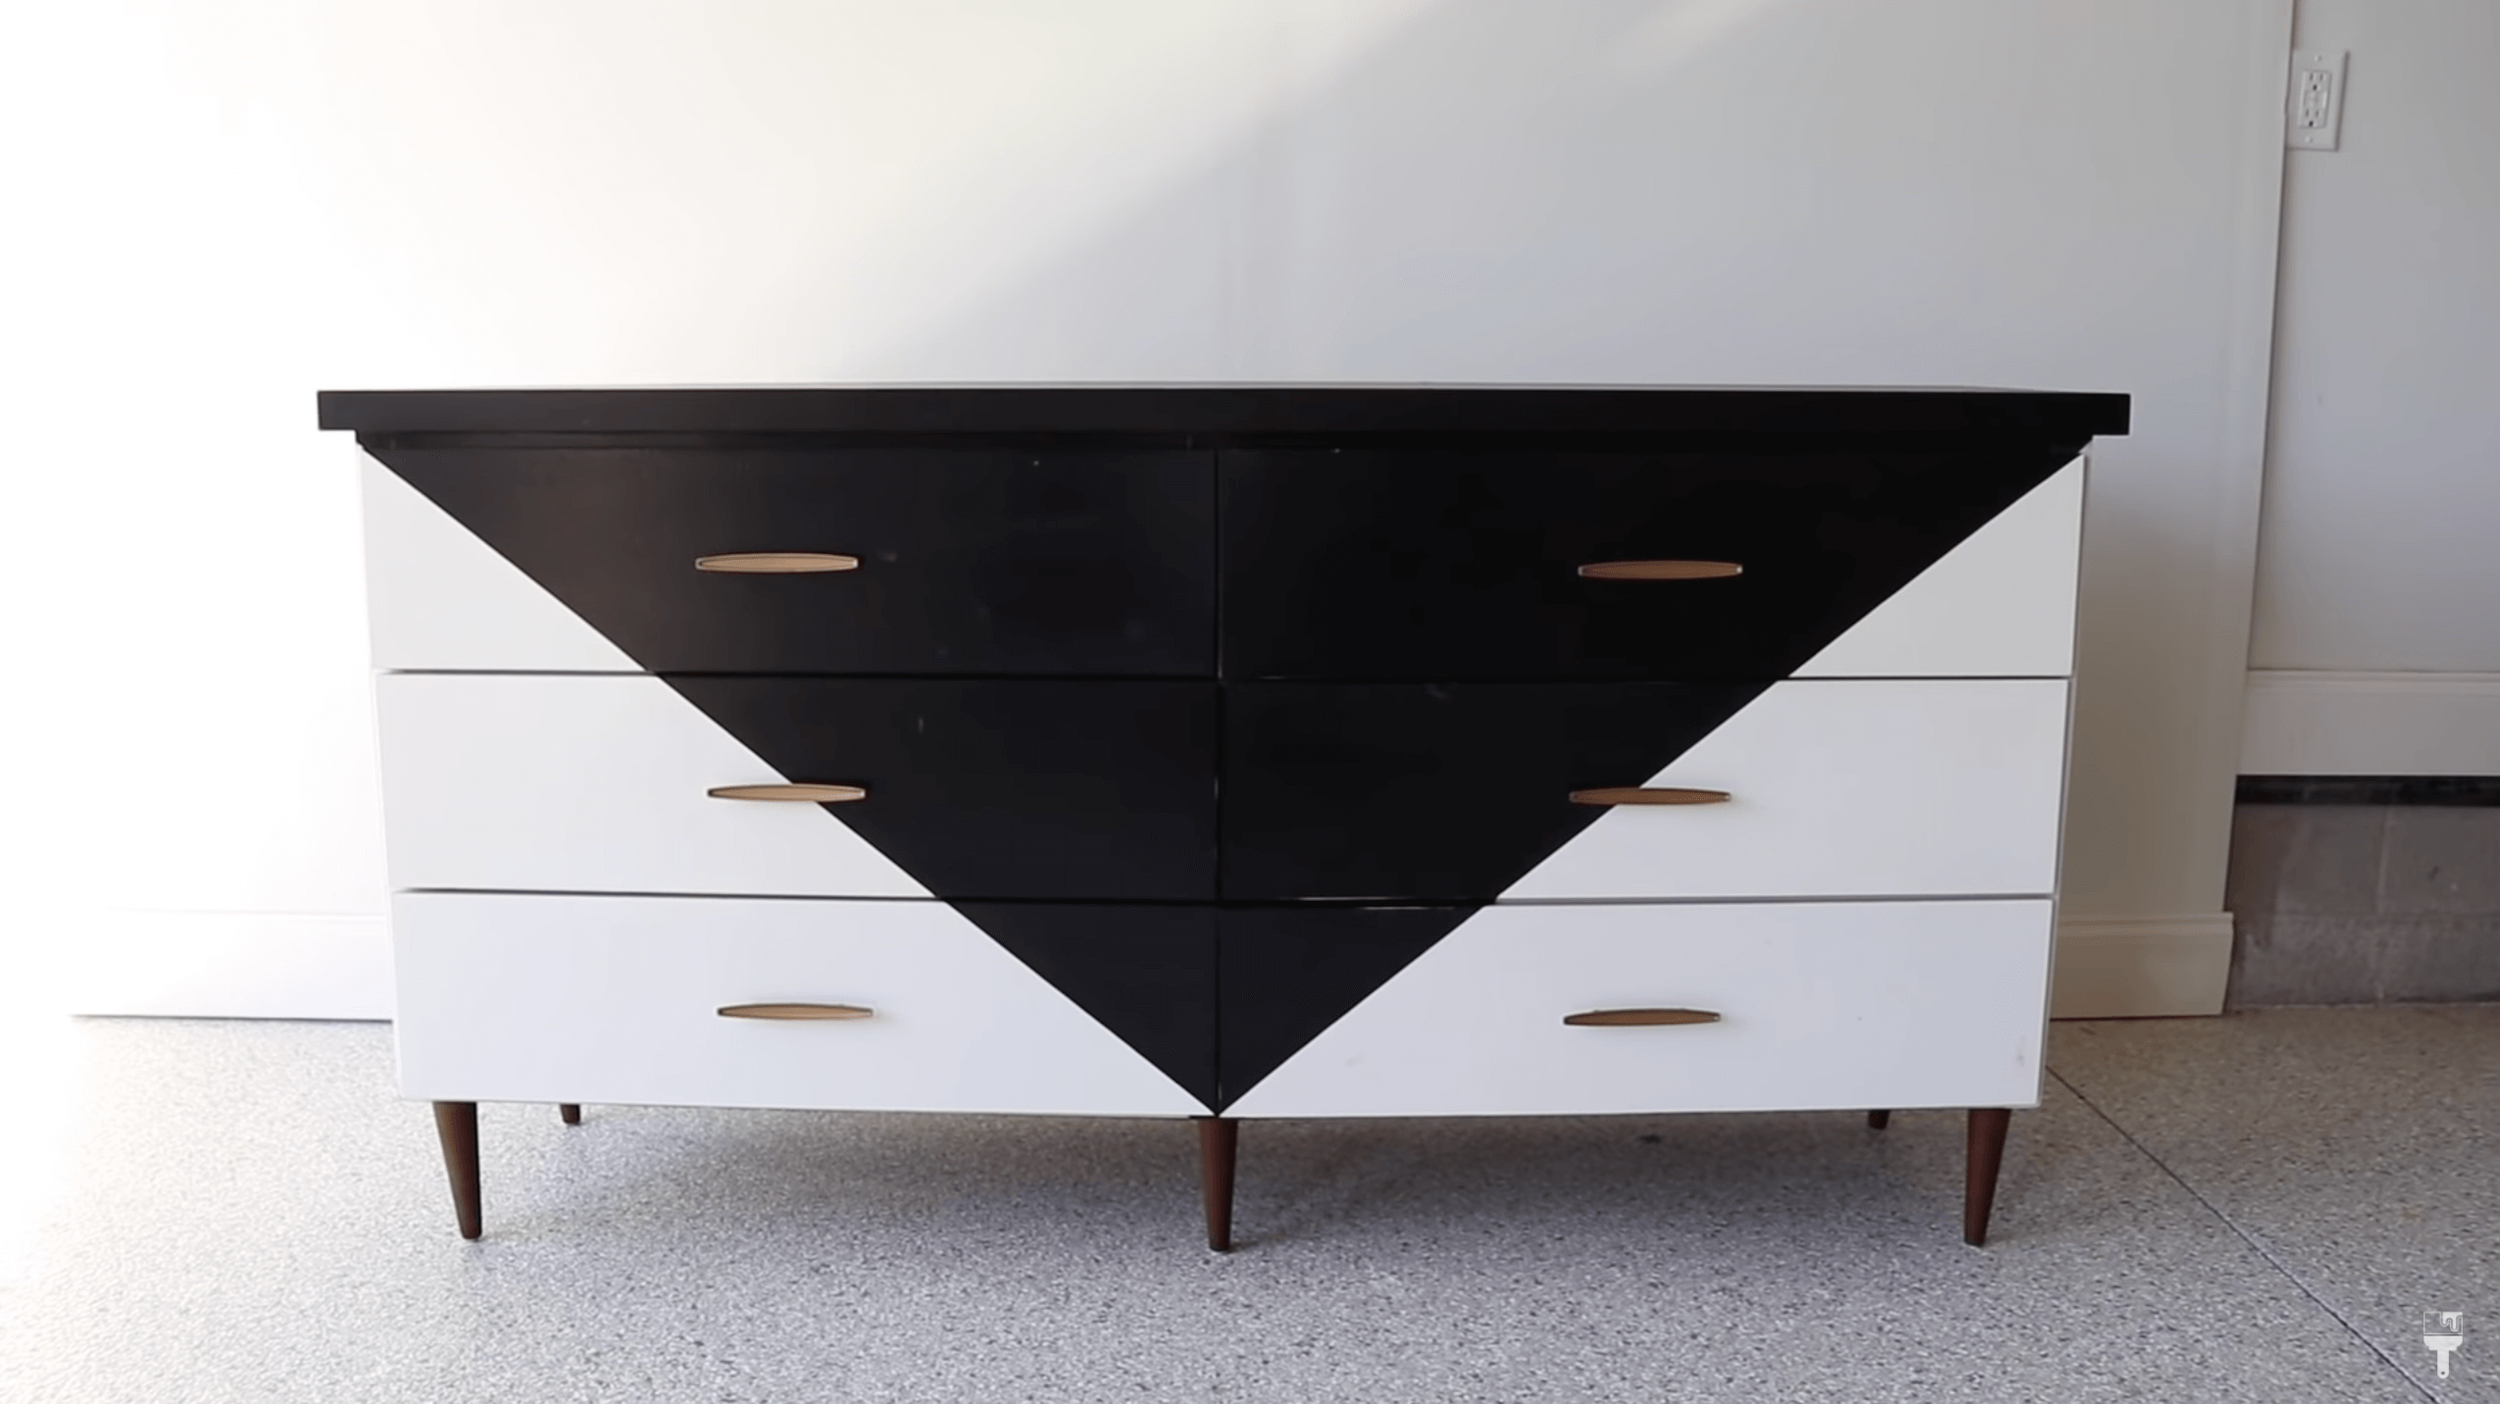
I got this MCM beauty for $50, and while someone put a lot of effort into painting this, it’s just not my style. I’m going to be making it a bit more earthy and neutral. If you’re looking for a beginner-friendly furniture flipping paint, Beyond Paint is where it’s at. One step paint allows you to get to painting without stripping, sanding, or priming!
Check out this dresser before I took my Beyond Paint to it. And stay tuned to learn more about this one step paint.
Products Used in this One Step Paint Makeover
Beyond Paint All in One Paint (Sage)
**Save 10% with code CHRISTINA**
Clean Your Piece
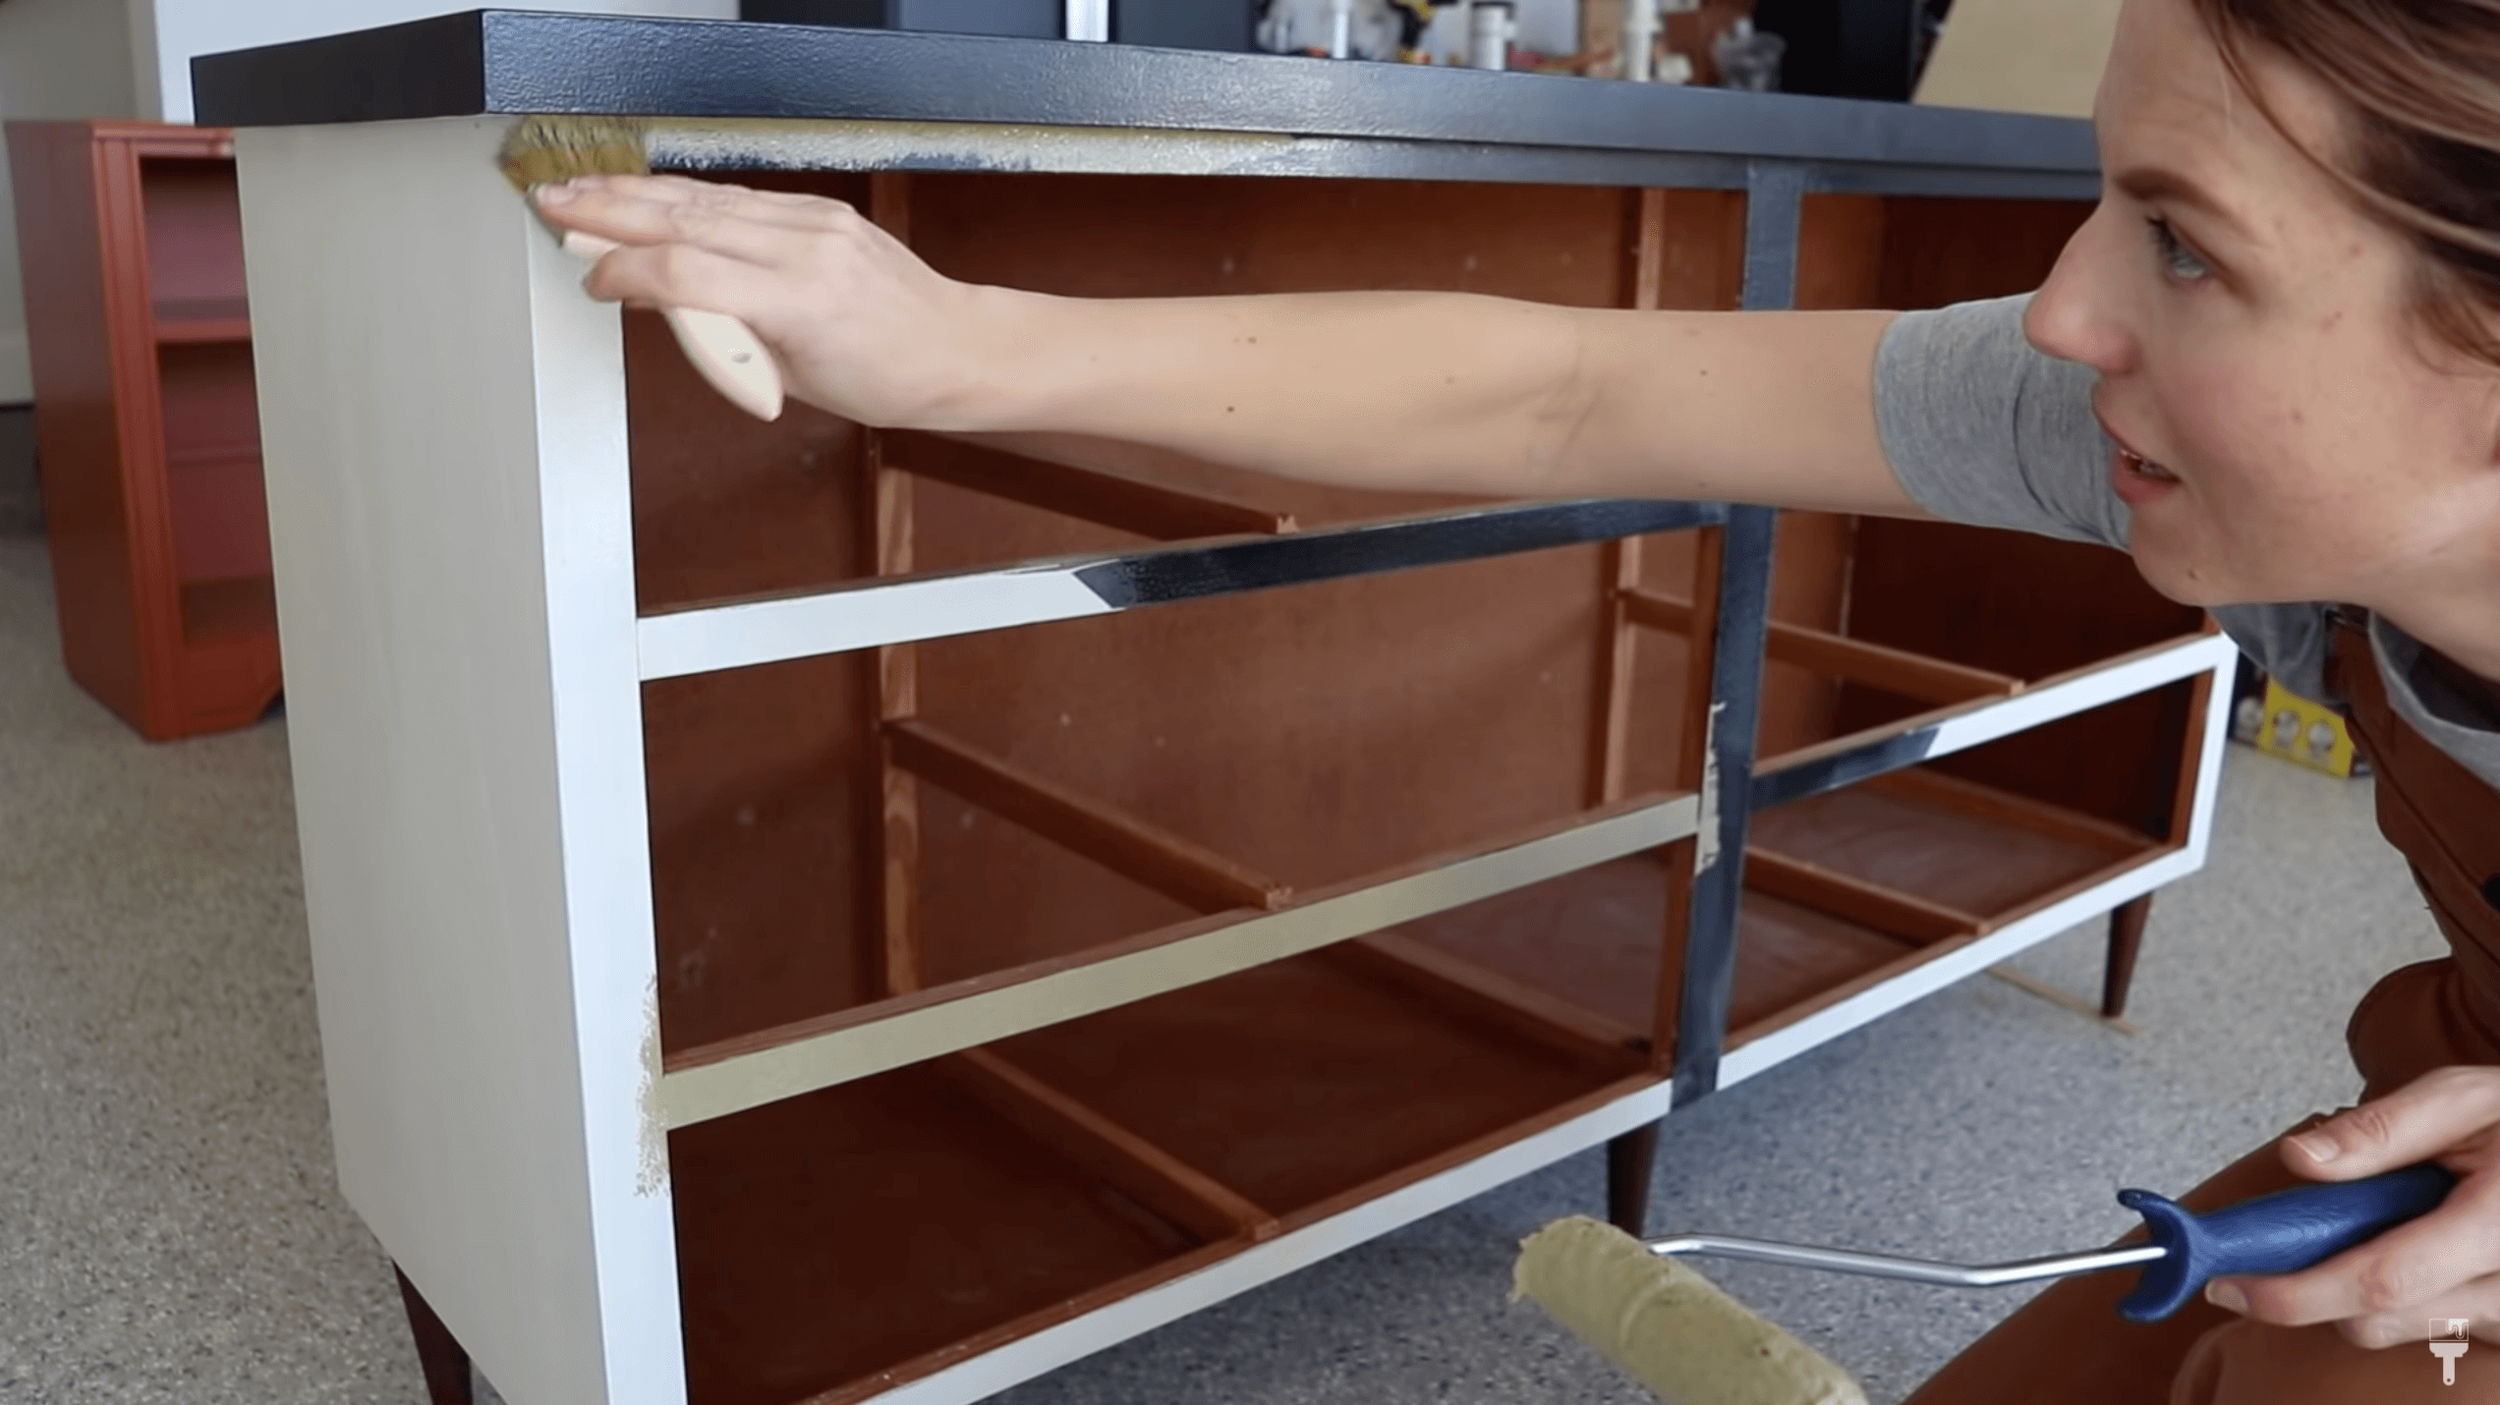
As I mentioned, prepping for a Beyond Paint project is super easy. You literally only have to clean! No sanding or priming is necessary.
The person who previously refinished this did a great job. It looks really good. It's clean. The finish is not failing at all. So I can actually paint right over the top of this. I'm not a fan of the hardware though, so I will be removing that and filling in those holes in a minute here.
To clean this piece, I used Simple Green. I gave it a good scrub and then went back over it with some clean water to rid any of the residue. Cleaning the piece is a very important step in getting this one step paint to adhere, so don’t skip this part!
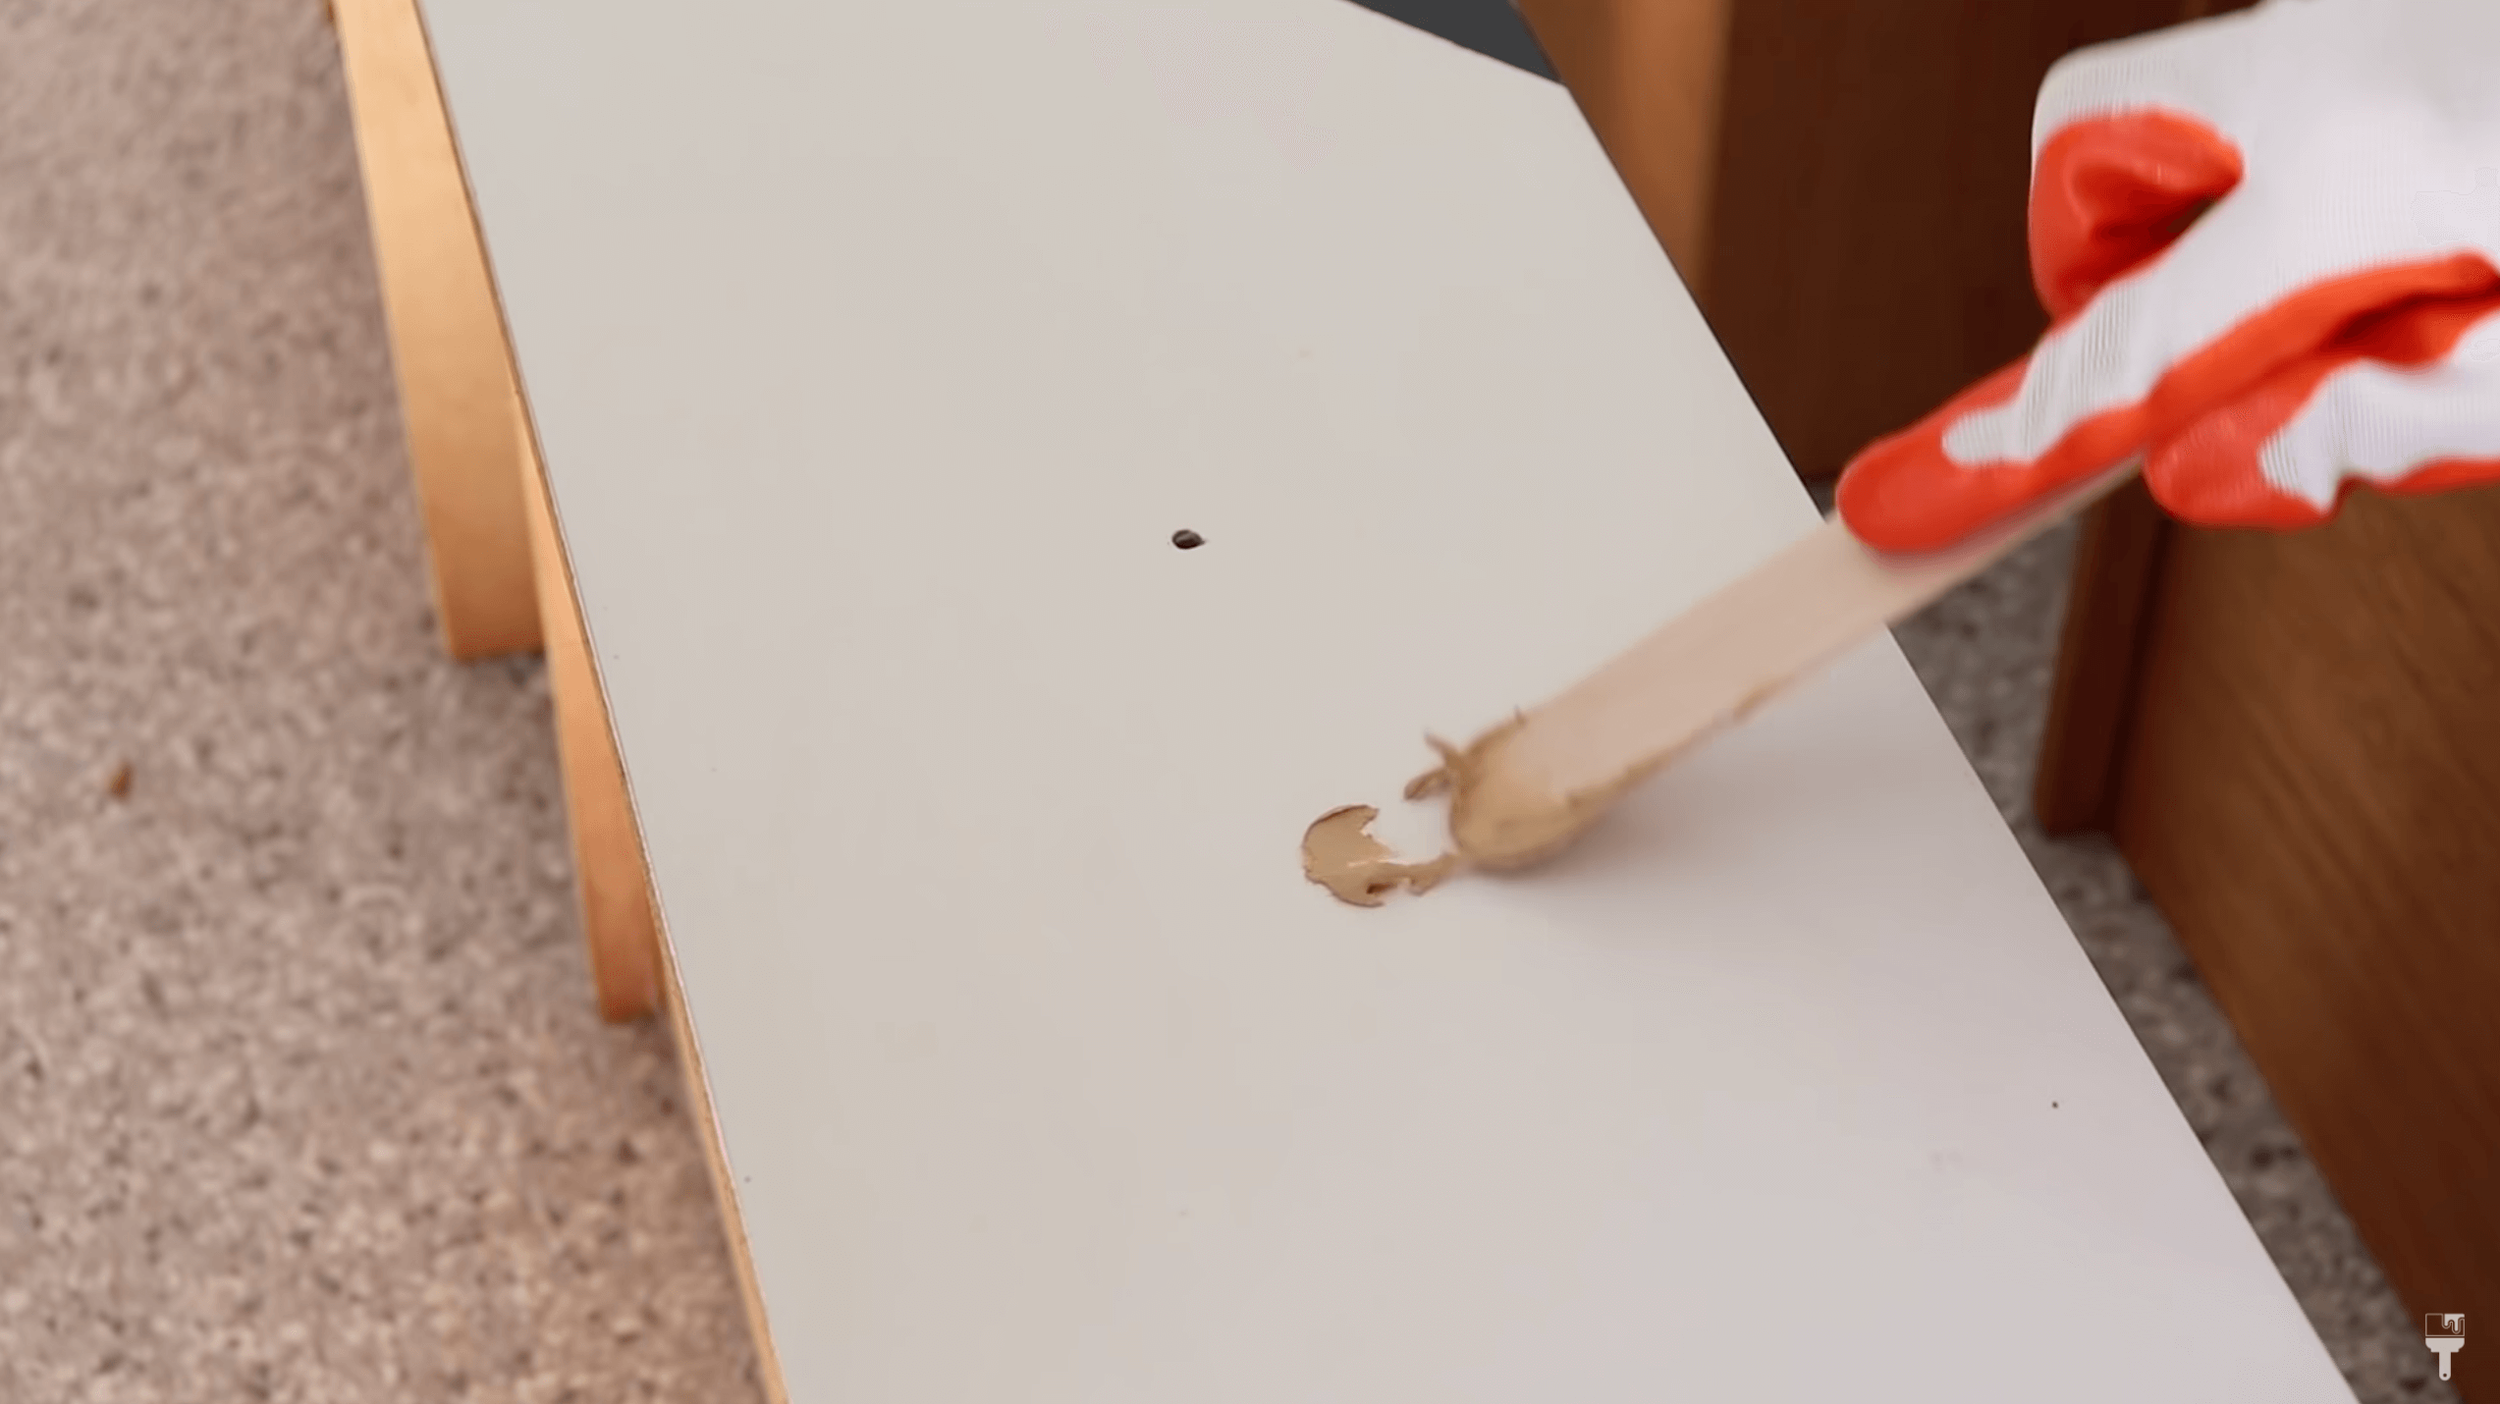
Remove Hardware & Fill in Hardware Holes
As mentioned, I removed the hardware, and I used my heavy-duty wood filler, DAP Plastic Wood Filler, to fill in the holes.
I love this wood filler because it dries in 15 minutes, so I can sand it down quickly!
More about Beyond Paint One Step Paint
No Scuff Sanding…WHAT?!
If you’ve seen any of my other makeovers, you know that I love to scuff sand my pieces to help my paint adhere. I always recommend it. But with Beyond Paint, you don’t have to! What a time saver!
A quick note here. I did a test drawer with my Beyond Paint, and because of the previous makeover, the black portion was a bit raised. I did have to take my sander to those sections to smooth it down a bit.
No Primer or seal needed
Priming and sealing are one of the more time-consuming parts of furniture flipping. And because of the “hurry up and wait” drying time, it’s impossible to get a project done in just one day. So this is definitely a huge bonus to using a one step paint like beyond paint.
Paints on a lot of surfaces
The great feature about this paint is that it literally can be painted on anything. Wood, linoleum, glass laminate, plastic varnish, tile, masonry metal, and like I'm doing today, a painted surface. It’s literally a one-stop shop.

Pudding Consistency
Beyond Paint has a very pudding-like thick consistency. Don’t worry about it, it’s totally normal. I’m going to give you a few tips on how to apply it.
No Stirring
Usually, when I open a can of paint, you see me do a lot of stirring and mixing. No need for that here. Pour it right into your paint tray.

Truly a one day one step paint makeover
Beyond Paint One Step Paint is truly a one day, one step paint makeover. If you’re looking for a simple beginner friendly flip, or if your pressed for time, it’s the way to go. I’m always impressed with the results.
Tips on Painting with Beyond Paint One Step Paint

I'm going to be using this beautiful Sage color to give this more of a neutral look. You guys know green is so on-trend right now, and I'm just obsessed with it. I'm going to be using the toolkit to apply everything.
Line the Tray
I like to line my tray with foil to make cleaning up a little bit easier. But this paint does clean up with soap and water, which is a really nice feature. So the lining of the tray is just my preference.
Use a Roller
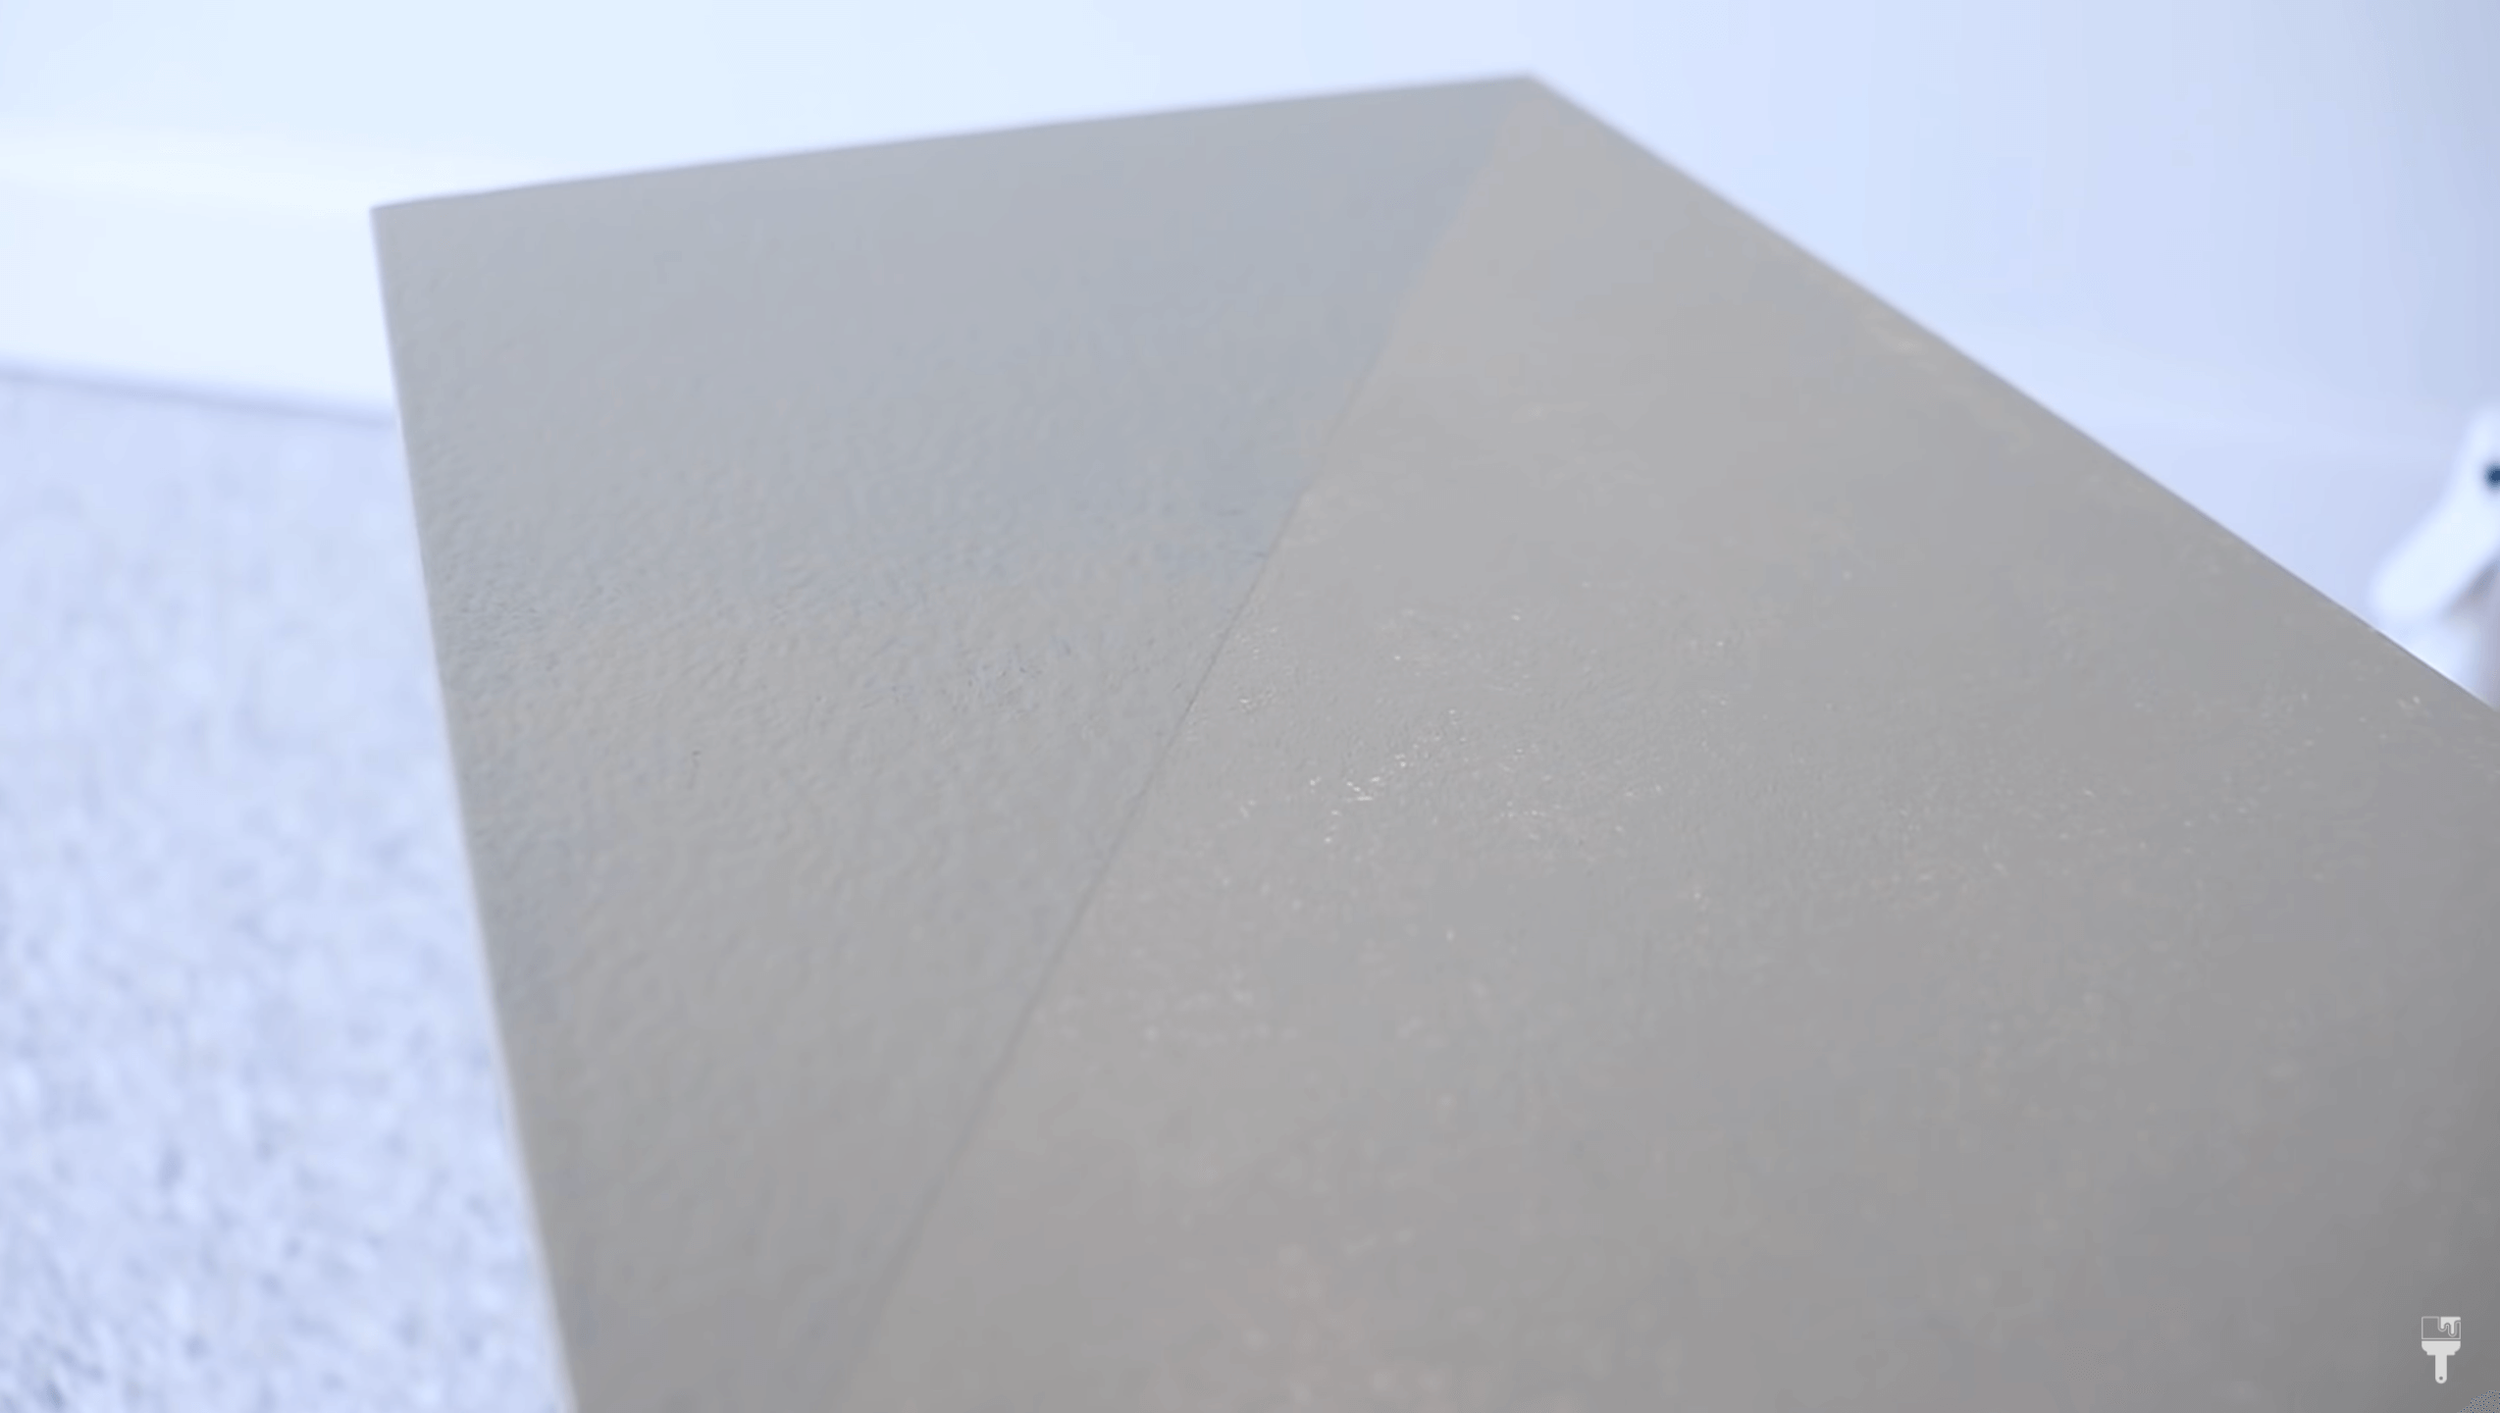
If your piece is flat like most of mine is, you’re going to use a roller. Because the paint is thick you’ll see a lot of texture as you are rolling it on. That will flatten out when it dries down.
Chip Brush Stippling Motion
If you have to use a chip brush in details or up close to the trim, you are going to do a stippling motion. Beyond Paint doesn’t like the smooth side-to-side motion. After getting in the details, you can use your roller to smooth it out a bit.
2-3 coats
The first coat of your one step paint is going to prime and bond to the piece. The second coat is going to give you a lot more coverage. If you are working with a lighter paint color, you may even need a third coat. I only needed two coats.
In between coats, you’re going to need about 2-4 hours to let it dry. While I wait to put on my second coat I like to wrap my roller in cellophane so that it doesn’t dry out. I also throw my foil away to start with a fresh bit of paint.
Finishing Touches
Now for some finishing touches! While this paint does dry in 2-4 hours, it takes 7 days to fully bond, so you want to be careful during those 7 days. It’ll take 30 days to completely cure, so no cleaning until those 30 days are up.
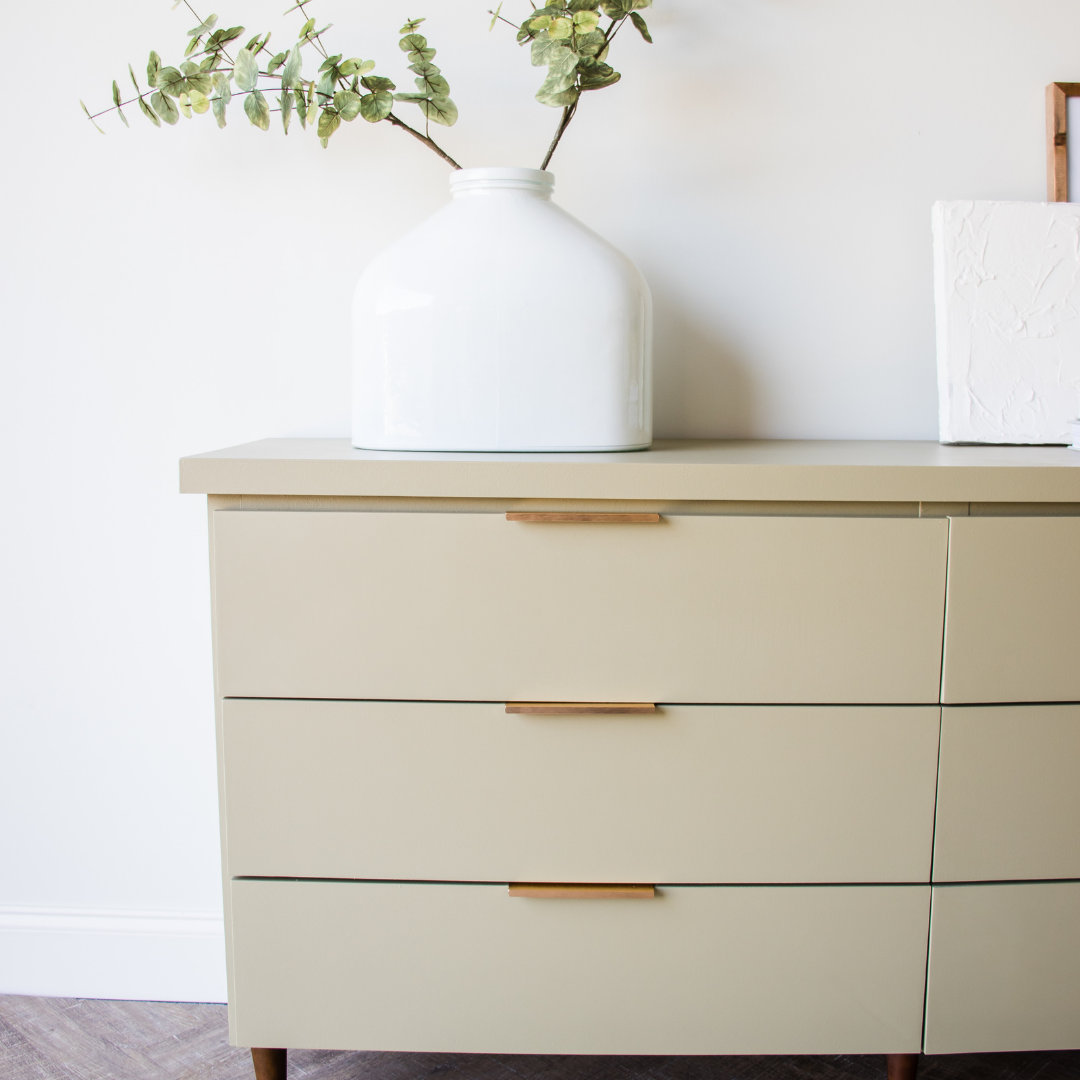
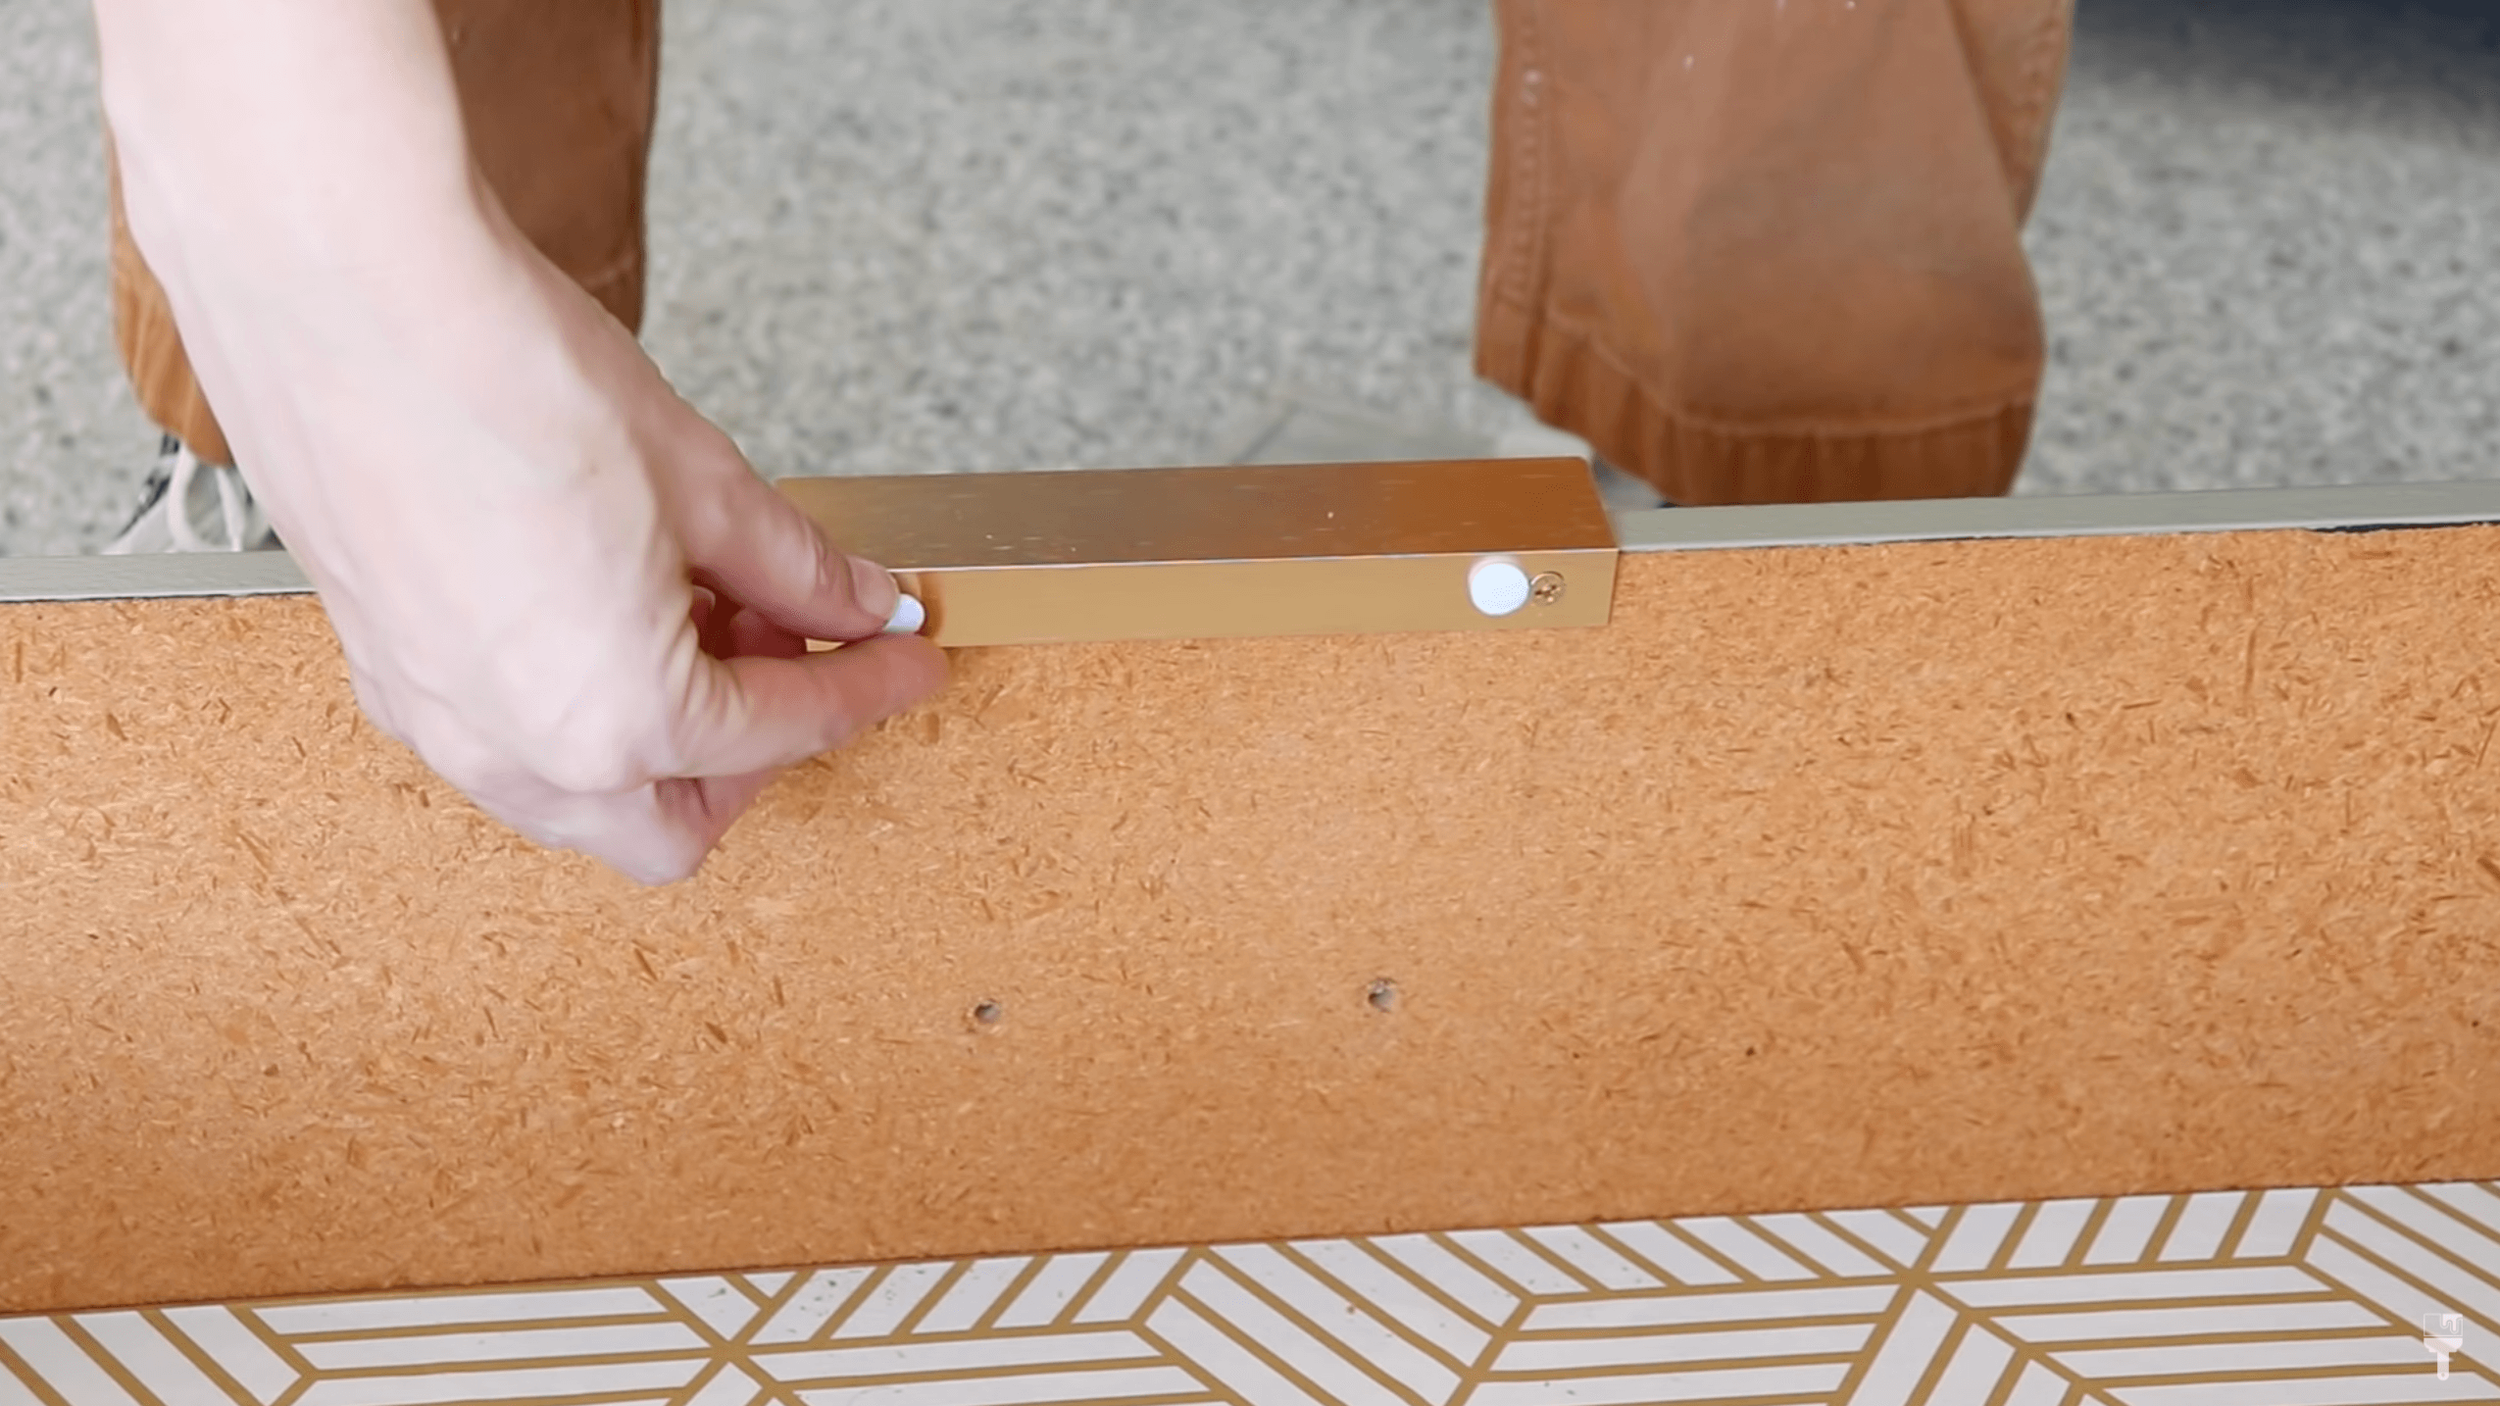
After I let my piece dry, I applied the new hardware. I got these really cool finger pulls from Amazon, but the screws that it came with were too long. Make sure to always measure up the screws! You don’t want those busting through the drawers.
I also put little felt pads next to the screws and on the corners of the drawers so that they don’t chip up the paint that’s on the frame.
The last bit of business is the legs of the piece. I actually really love them and they are in pretty good shape and go great with my sage colored paint. So I just cleaned them up and rinsed them with some water. I have this DAP repair stick that has a marker on the end, so I just did a little touch-up on the little scuffed spots on the legs. Super easy!
Beyond Paint One Step Paint Reveal
Thanks for hanging out with me for this beginner-friendly one step paint makeover. This gorgeous MCM piece got a whole new look. I hope this inspires you to give Beyond Paint a try if you haven’t yet!
Make sure to watch the full tutorial of this makeover to see how it all came together.