Bold Furniture Makeover for My Mom: DIY Basic to Bold
Disclosure: This blog contains affiliate links. I will receive a commission for items purchased through these links at no extra cost to you. I appreciate your support. Please read all labels and follow all manufacturer safety recommendations when working with paints, stains, and other equipment.
This makeover is a long time coming and is a super special one. I’m flipping a furniture set for my mom! This is a basic to bold furniture makeover, and I’m excited to share the finished product with you.
My mom originally painted this dresser and nightstand set a couple of years ago, and she’s ready to give them another makeover with a bold sapphire color. If you’ve seen my other projects, you know that bold colors are out of my comfort zone, so I’m super excited to get to it!
But before we get started, take a look at this set and get ready for it to go from basic to bold! It’s going to be fun.

Products Used for this Bold Furniture Makeover
Silk All In One Paint Cape Current
Wanger Flexio 3500 Paint Sprayer (Detail Finish Nozzle)
Dixie Belle Gilding Wax (Gold)
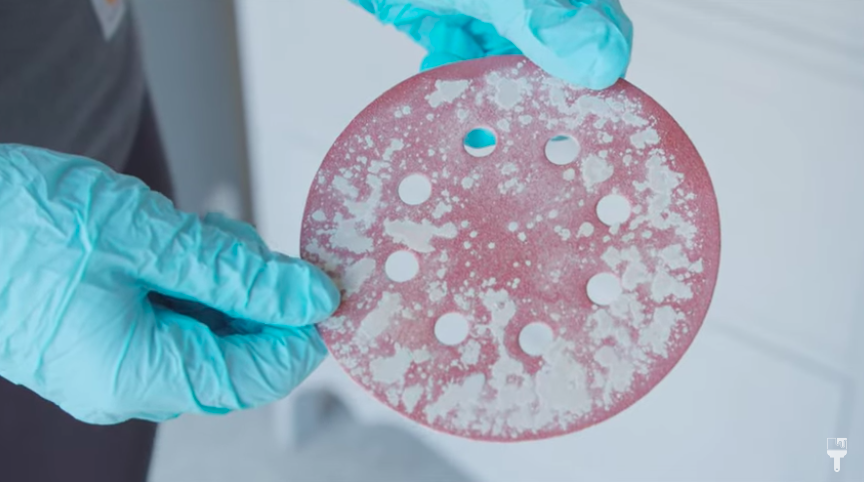
Surf Prep 3" x 4" Electric Ray (Use Code PRETTYDISTRESSED10 for 10% off your order)
Step 1: Remove Wax with Mineral Spirits
When my mom originally made these over, she sealed them with furniture wax, so I'm going to use some mineral spirits to start off this project. If you don't remove the wax, it will gunk up your sandpaper. Using a solvent like mineral spirits, vinegar, or denatured alcohol to remove that wax.
Now that I have all that removed, I want to make sure that my dresser and nightstands are really clean before I start applying the paint. So I'm going to mix up some White Lightning which a TSP cleaner. I'm mixing it with some warm water and washing everything down. Make sure to get some clean water to rinse with after cleaning!

Step 2: Sand and Wipe Back the Dust
When my mom painted this, she used a brush and did the really textured look that I really liked a couple of years back. But I want a smooth finish today, so I'm going to take some 220 sandpaper and smooth out all of those brush strokes.

Step 3: Use Dixie Belle B.O.S.S.
So I went a lot further than I thought I was going to have to sand to smooth it out, and what happened was that I had a lot of exposed wood. I’m also seeing some staining on the top surface, so before I paint, I'm going to use this go-to problem solver… Dixie BOSS.
Dixie BOSS will help prevent bleed-through from exposed wood and will help block any stains. I’ll be using the Dixie BOSS in my sprayer, so I taped the drawers off and then got to it.

Getting a coat of Dixie BOSS on the furniture is going to act as a nice primer. Even though the paint I’m using is an all-in-one paint, it’s always nice to have that extra insurance coat.
Now that that’s on, I let it dry for 2 hours and put on a second coat. And to give you an idea, after both coats I ended up using about 28 ounces of primer. I get asked that question a lot, so hopefully, that helps.
After the 2nd coat, these need to set overnight for all of those stain-blocking properties to really set it.

Step 4: Spray Paint with Silk All-in-One Paint- try a bold color like Cape Current!
The first thing I did on day two was sand down the primer a bit to get that smooth finish I’m going for. I can’t wait to get this beautiful blue into the sprayer to start painting!
My mom picked this amazing bold color called Cape Current in the Silk Line, and it’s definitely going to make for a bold furniture makeover.

To prep my paint for the sprayer, I strained it and added some water. However, you can’t water down the Silk paint as much as you do a traditional chalk-style furniture paint, so I only used 1 ounce per 16 ounces of paint.
I love that spray painting my furniture helps me get my projects done in no time. It only took me 20 minutes to get the paint on the dresser and nightstands. I used about 20 ounces of paint, so I still have 10 ounces left in my gun. I’m going to let this dry for about an hour and come back to do the 2nd coat.

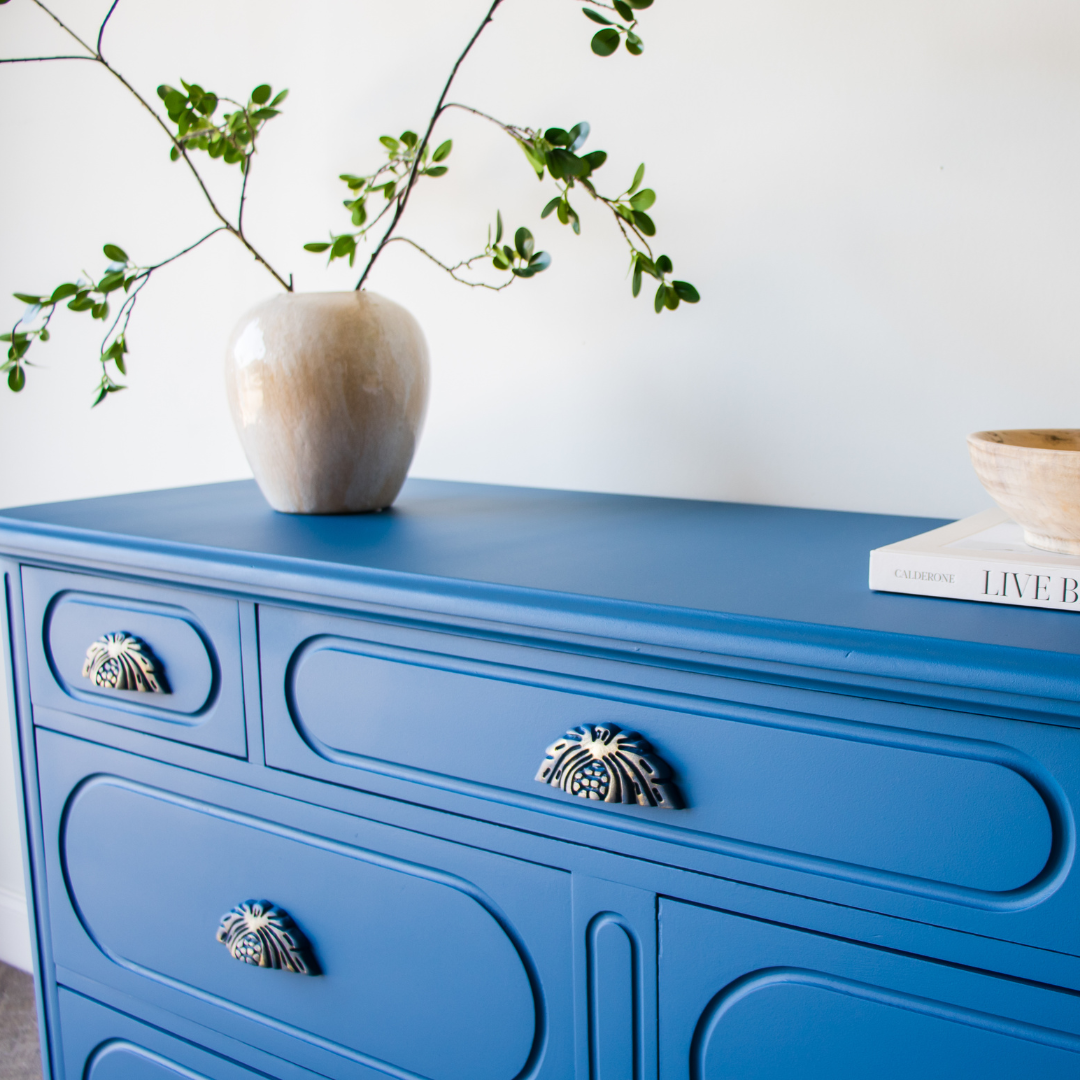
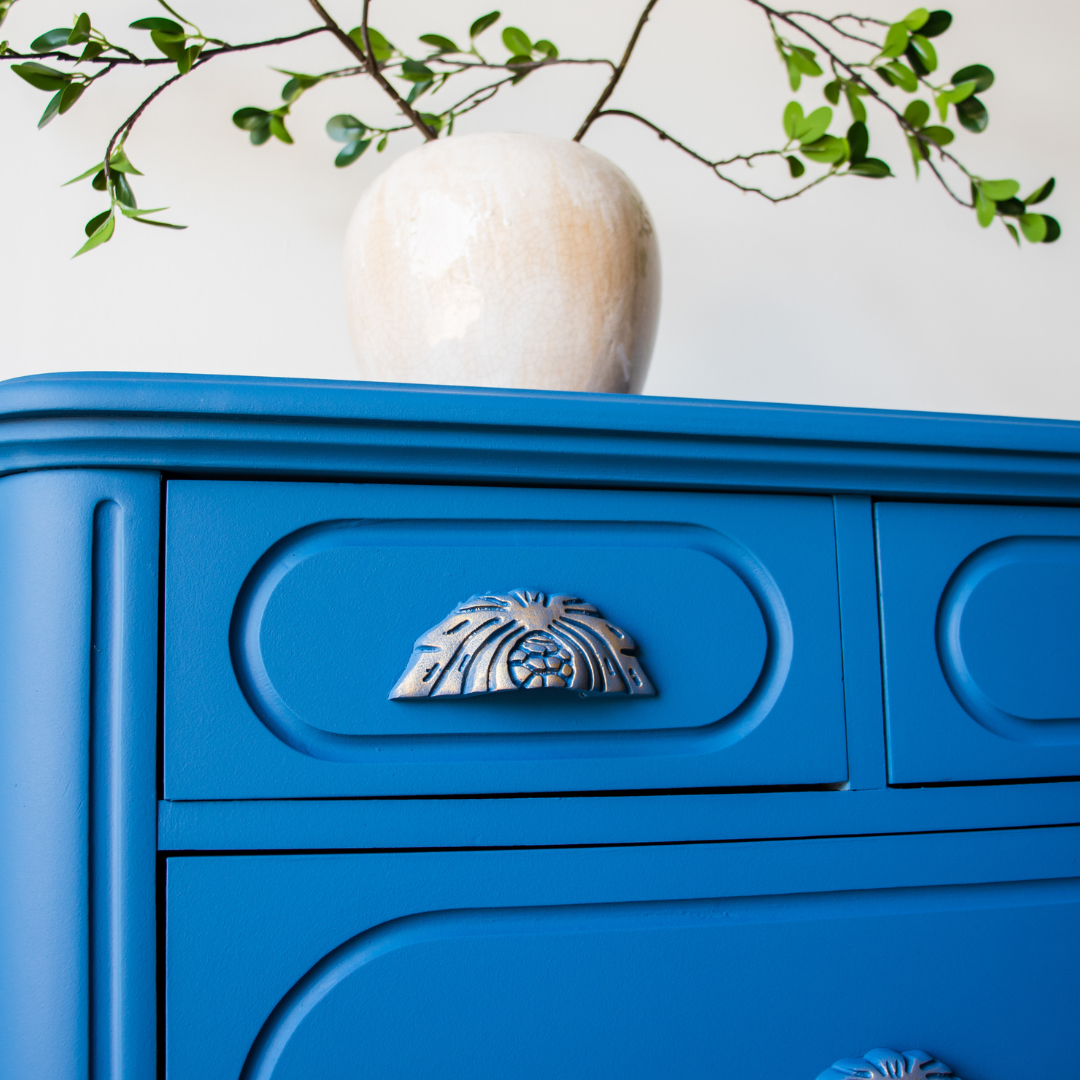
Step 5: Bling Handles with Gilding Wax
This bold furniture flip is looking so good, and if this were my piece, I’d probably stop here. But my mom is all about the bling, so I want to make these handles pop! I’m going to be using my favorite gold Gilding Wax and giving these handles some sparkle.

Step 6: Apply Mama’s Butta in Orange Grove to Drawers
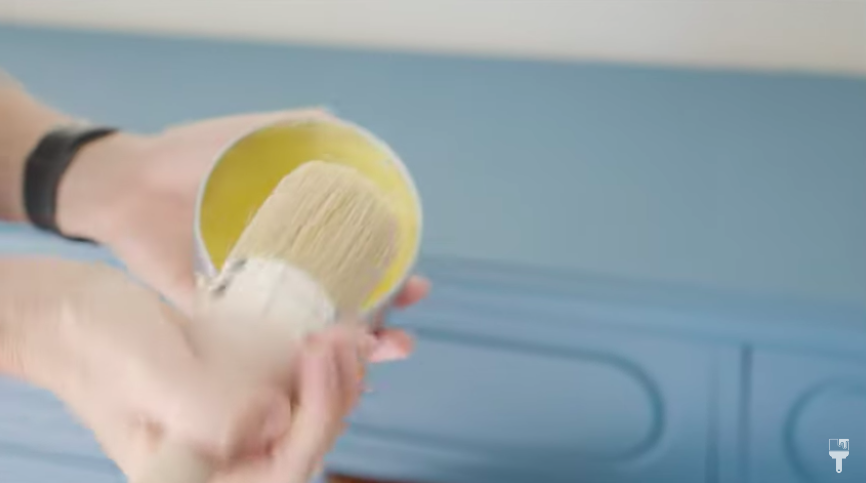
Okay, the last touch. This is a pretty old piece, so I want to freshen up the drawers for my mom. I’m going to use Big Mama’s Butta in my favorite scent, Orange Grove. I have the Best Dang Wax Brush to apply it. Smells SO good!
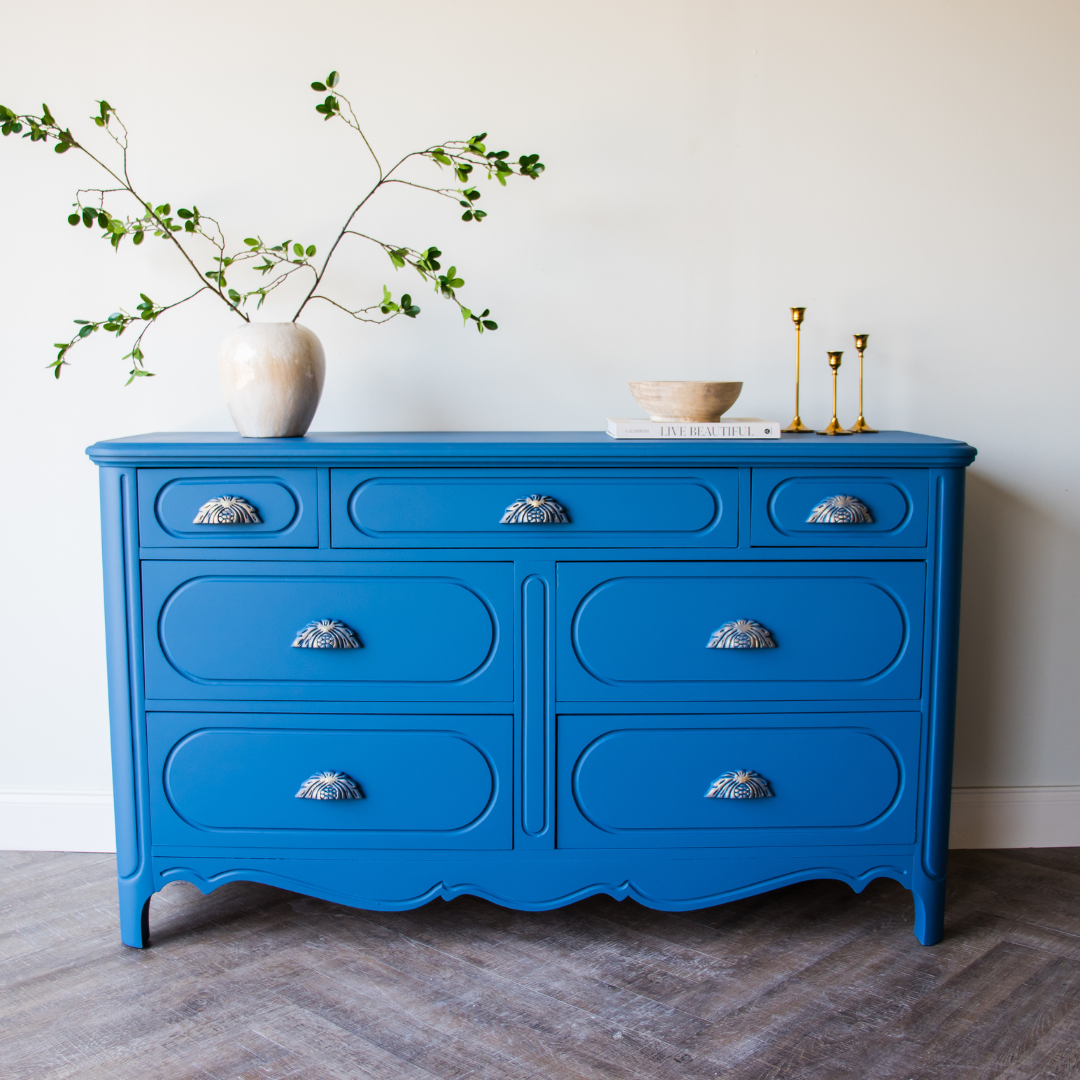
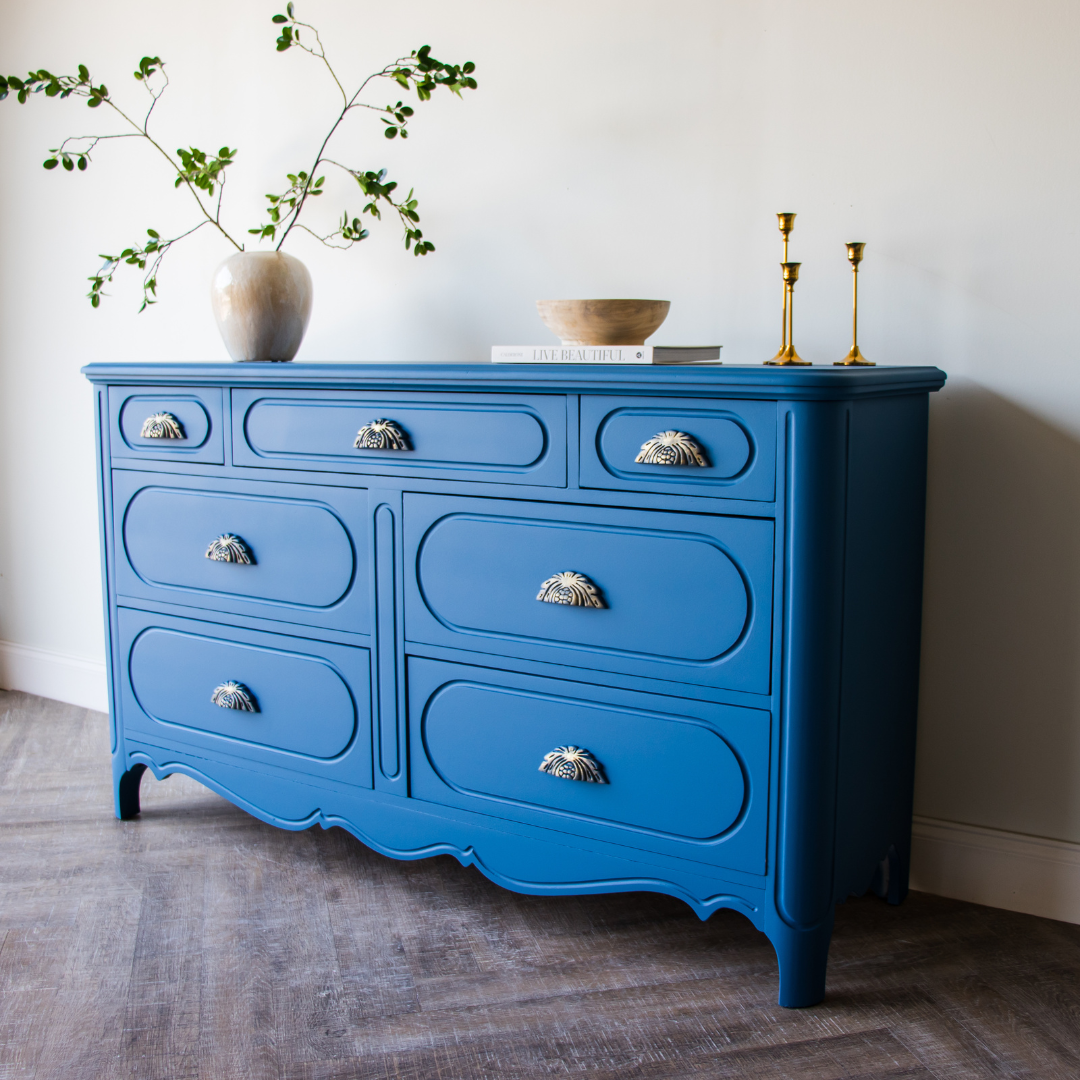
Bold Furniture Makeover Reveal
I love the way this bold furniture makeover for my mom turned out. I’m so glad she wanted to go bold because I would never do this color… but it’s SO BEAUTIFUL!
For being a three-piece furniture set, this only took me two days to complete, and that’s only because I let the Dixie BOSS set overnight. And because the Silk Line paint is all-in-one, I didn’t have to seal it.
And we all know how I feel about spray painting these days. I’m kind of obsessed. Haha. But I’m even more obsessed with this makeover, so take a look at the finished product, and make sure to watch it all come to life on the full YouTube tutorial.