Desk Makeover: Going Bold, Emerald, and Finding Joy Again!
Disclosure: This blog contains affiliate links. I will receive a commission for items purchased through these links at no extra cost to you. I appreciate your support. Please read all labels and follow all manufacturer safety recommendations when working with paints, stains, and other equipment.
Well, let me tell you, content creator burnout is a real thing. I’ve been feeling a little humdrum about refinishing furniture lately, so today, I’m focusing on stepping outside of my comfort zone and having FUN! I’ll be taking on a desk makeover with a bold emerald green twist.
I got this piece for free, and whenever I get a free piece of furniture, I love to play and have some fun with it. This is the time to experiment! So with this desk makeover, I’m not putting any pressure on myself. I’m not going to worry about the profit, the social media views, or what anyone thinks of the finished product. I’m just going to find joy today, and I hope you have fun with me. 🙂
Before we get started, let me show you what we’re starting with.

Clean: Dixie Belle White Lightning

The first step to furniture flipping, as always, is to clean! So today, I’m using my Dixie Belle White Lightning to get the job done. This is a TSP soap that comes in powder form. You simply mix it with hot water and scrub away.

The cleaning process is where your piece will show its true colors. If you find your finish coming off on your cleaning rag, it’s a clear sign that you’ll need to prime your piece. I was hoping that I wouldn’t have to prime this piece, but my dirty rag is telling me otherwise.
I went ahead and rinsed the desk with clean water (very important!) before moving onto my next step.
Scuff Sand: 220 Grit Sandpaper

A quick pit stop in this desk makeover before I start priming. The top is damaged with some water spots and failing finish, so I decided to give it a scuff sand before I add the primer. I did this with a 220 grit sandpaper. Easy peasy!
Prime: BOSS Clear
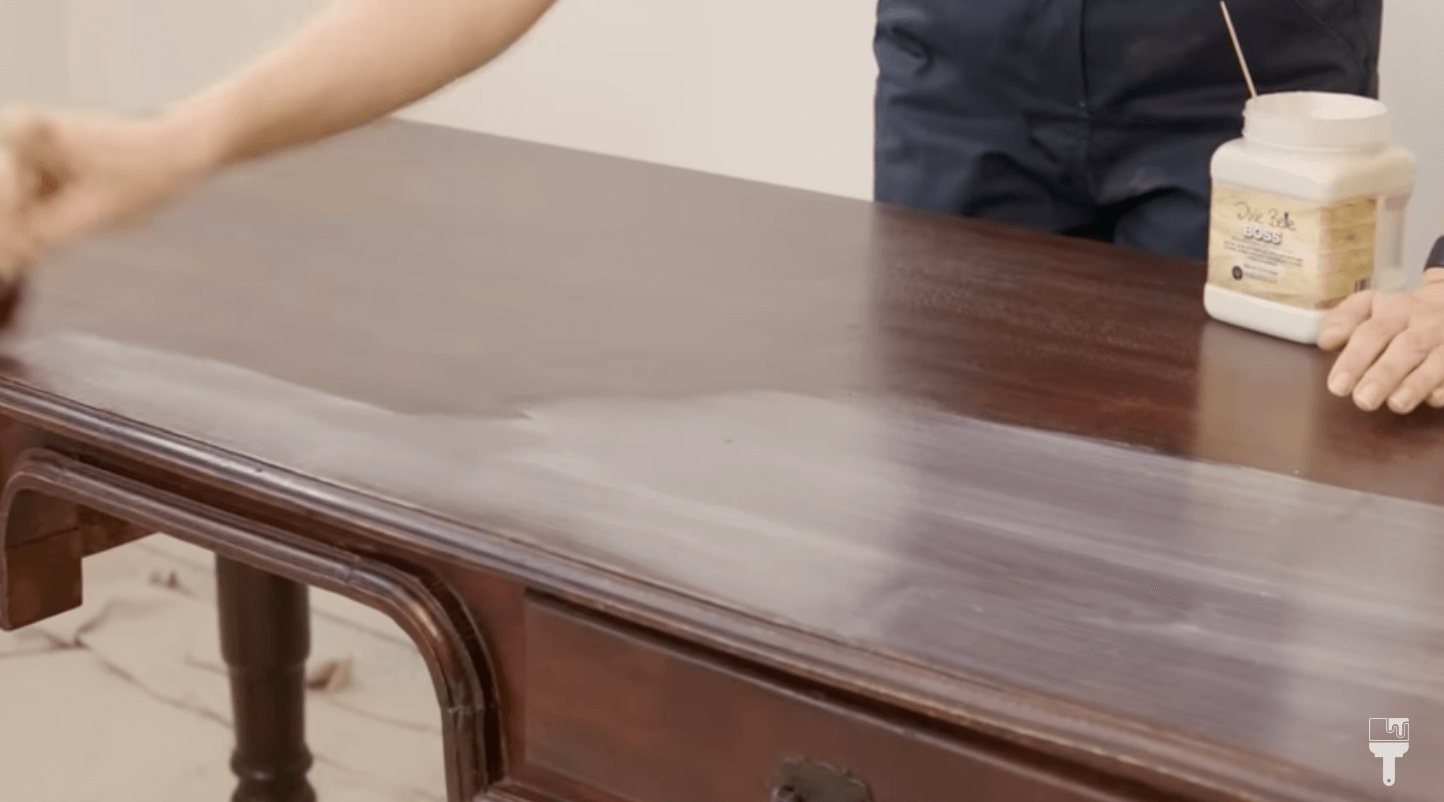
As I mentioned, I was getting the stain bleed through during the cleaning process, so I want to make sure I block that in before I start painting.
To do this I grabbed my Dixie Belle BOSS in Clear. I chose this primer because the desk is dark, and the paint I’m using is dark, so I didn’t want to work with a white primer. BOSS also comes in gray if you’re working with darker colors, but because I wanted some of the wood texture to show through, clear was the best choice for me.
You want to do two coats of your primer. Let it dry in between coats for about 2 hours. But after that second coat, it’s best to let it dry overnight so those stain blocking properties can really go to work.
Paint: Dixie Belle Terra Clay Paint in Malachite (Emerald Green)
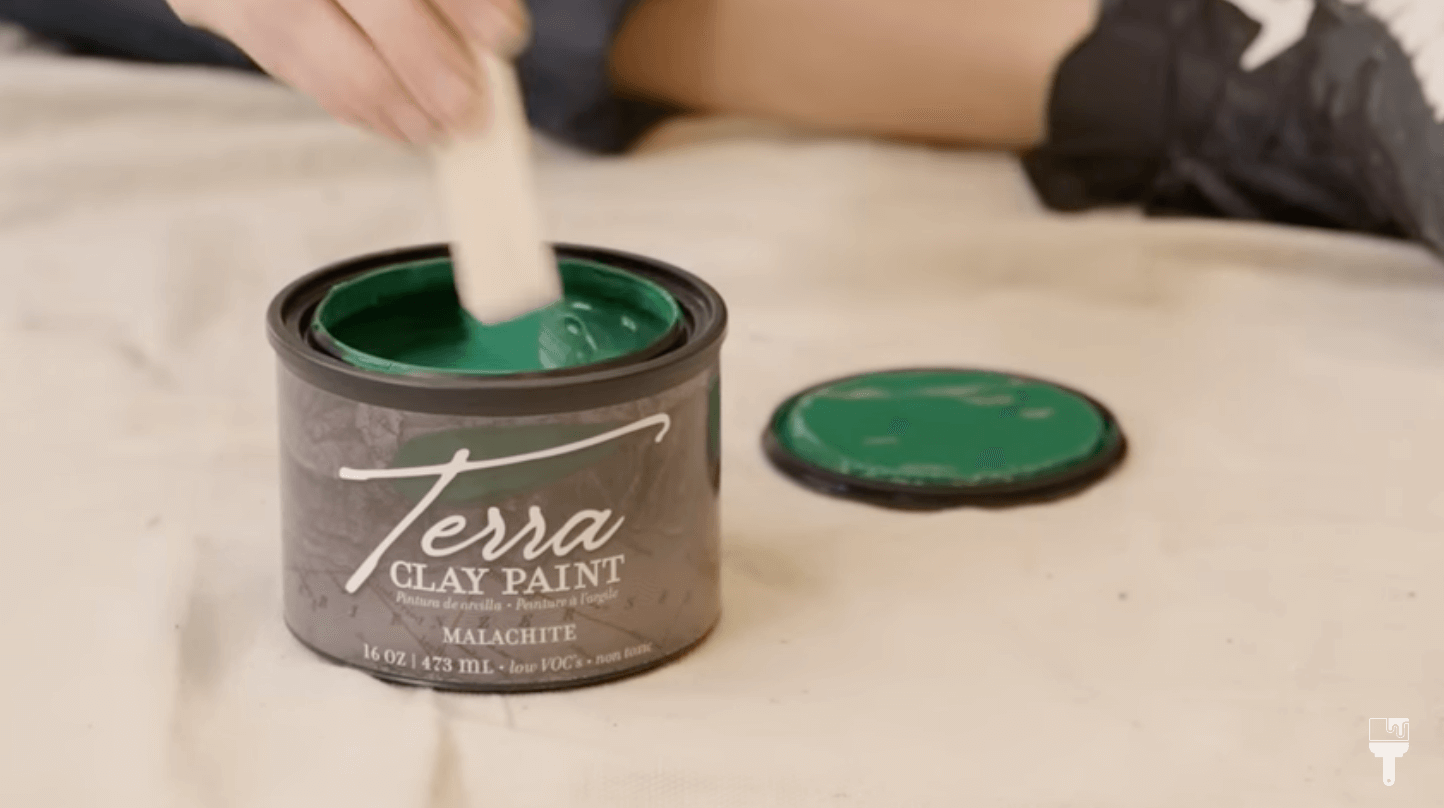
This desk has a very rustic look and is from World Market. It’s not the finest piece of furniture and isn’t very smooth, so I’m going to go for a textured look.
Dixie Belle Terra Clay Paint
I recently used the Dixie Belle Terra Clay line with a Roman Clay and Arch Furniture Makeover. Because this paint is so thick, I find that it can take a little longer to dry since I was being pretty liberal with the amount of paint I was applying (more on that in just a second). I let it dry for about 4 hours before going in with the second coat. And after I finished the second coat, I let it dry overnight before sealing it.
Textured Finish

Let’s talk about texture. The Terra Clay Paint is definitely going to help me get the texture I want, but I’m also going to use a natural bristle brush (The Best Dang Brush) to accomplish this look. I love this brush because it’s so big and gives great coverage.
When you’re doing a textured look, your brush strokes don’t have to have any pattern. So I applied by brushing in every direction to give the paint some movement. To get into the nooks and crannies, I used my Premium Chip Brush. These have the same natural bristles as the first brush, so it blended well.
I have to say, I’m definitely feeling the furniture painting blues disappear because I can’t help but smile! This emerald green color was the perfect choice for this fun desk makeover!
Seal: Dixie Belle Terra Seal Matte

After my two coats of paint were completely dry, it was time to seal everything to protect it. You have a couple of options when you're working with Terra seal. They have Terra Tough, they have a wax sealer, and then they have a matte sealer. For this desk makeover, I’m using the matte sealer.
Unlike some of the other paints that you see me work with, Terra Clay Paint does need to be sealed. If it gets wet at all, it'll reconstitute, so sealing the finish is super important.
This goes on easily, and since I have a textured finish, I'm not really worried about brush marks. It’s going to absorb right into the paint and all the texture will continue to shine. As a quick note, this coat goes on milky white, but it dries down clear and flat.
You’ll want to do 2-3 coats for the best protection. You also want to wait at least 2 and a half hours in between coats making sure it’s dry to the touch before going in with another coat.
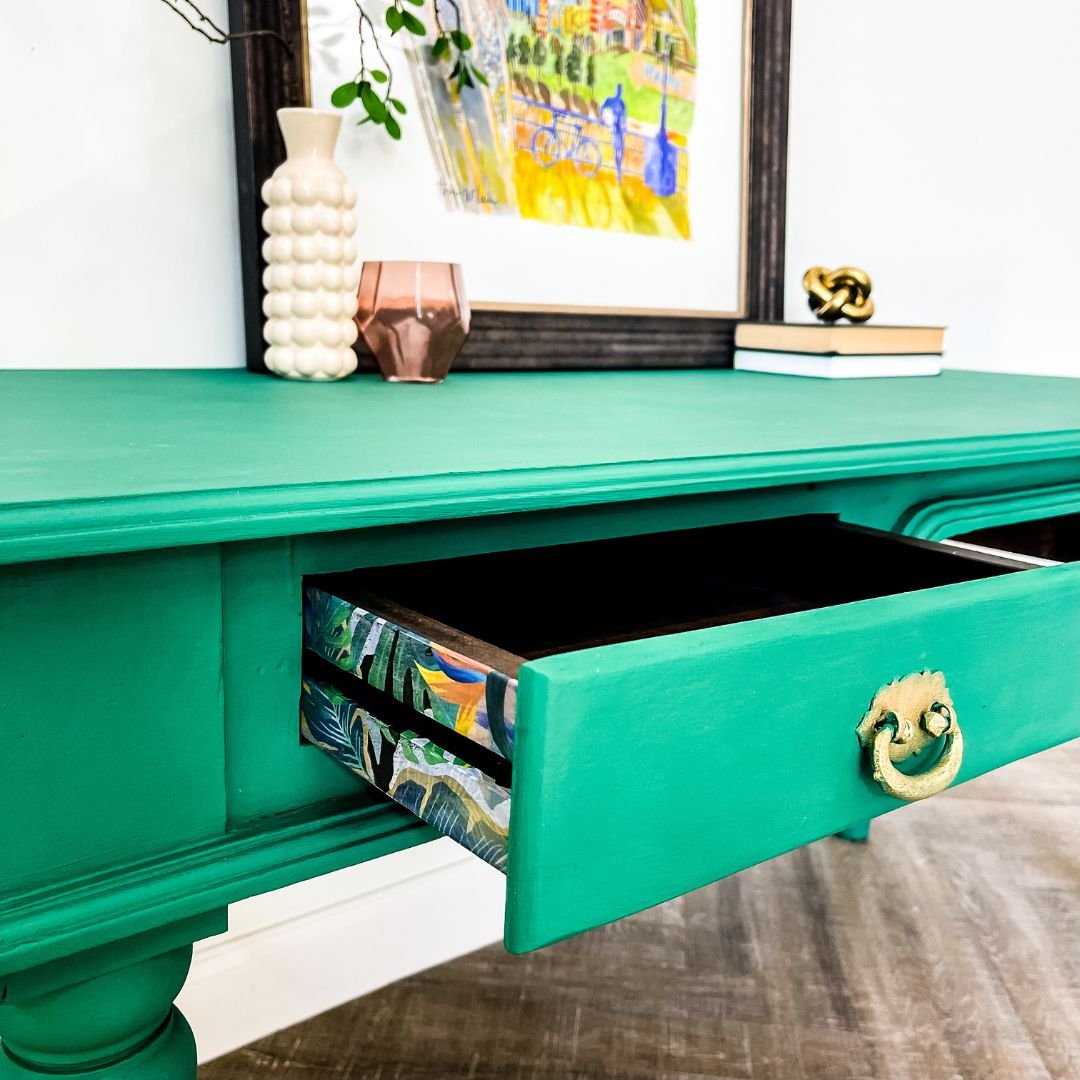
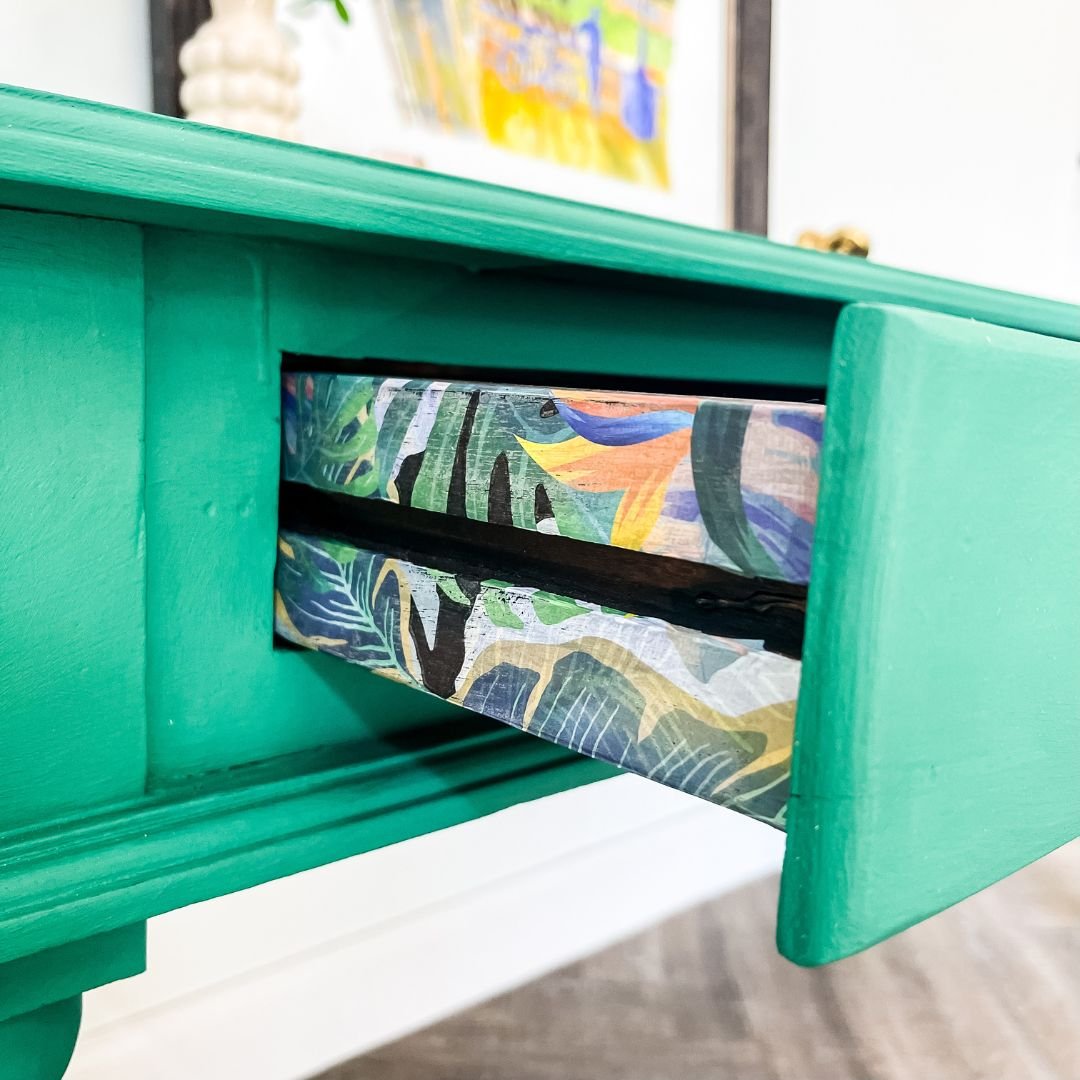
Furniture Transfers: Tropical Leaves

Now for some more FUN! I’m going to be using the Belles and Whistles transfers to get a pop of design on the sides of the drawers. The tropical leaves design was perfect for this beautiful emerald green.
If you’ve never used transfers, it’s super easy! They come with a protective layer on the back. You’ll simply cut your transfer paper to the size you need, remove the protective layer, and apply it to your piece!

Once I got my transfer cut, I placed it in the side of the drawer and got out my burnishing tool to adhere it. You’ll want to peel it up slowly to make sure it’s sticking to your surface. If it starts to pull you, set it back down, burnish that area some more and then try again. Once my design was on the piece, I took a clean lint-free cloth and rubbed it along the design to make sure it was completely adhered.
I took the same sealer I used on the paint and sealed up my transfers! I had so much fun with this out of the box design.
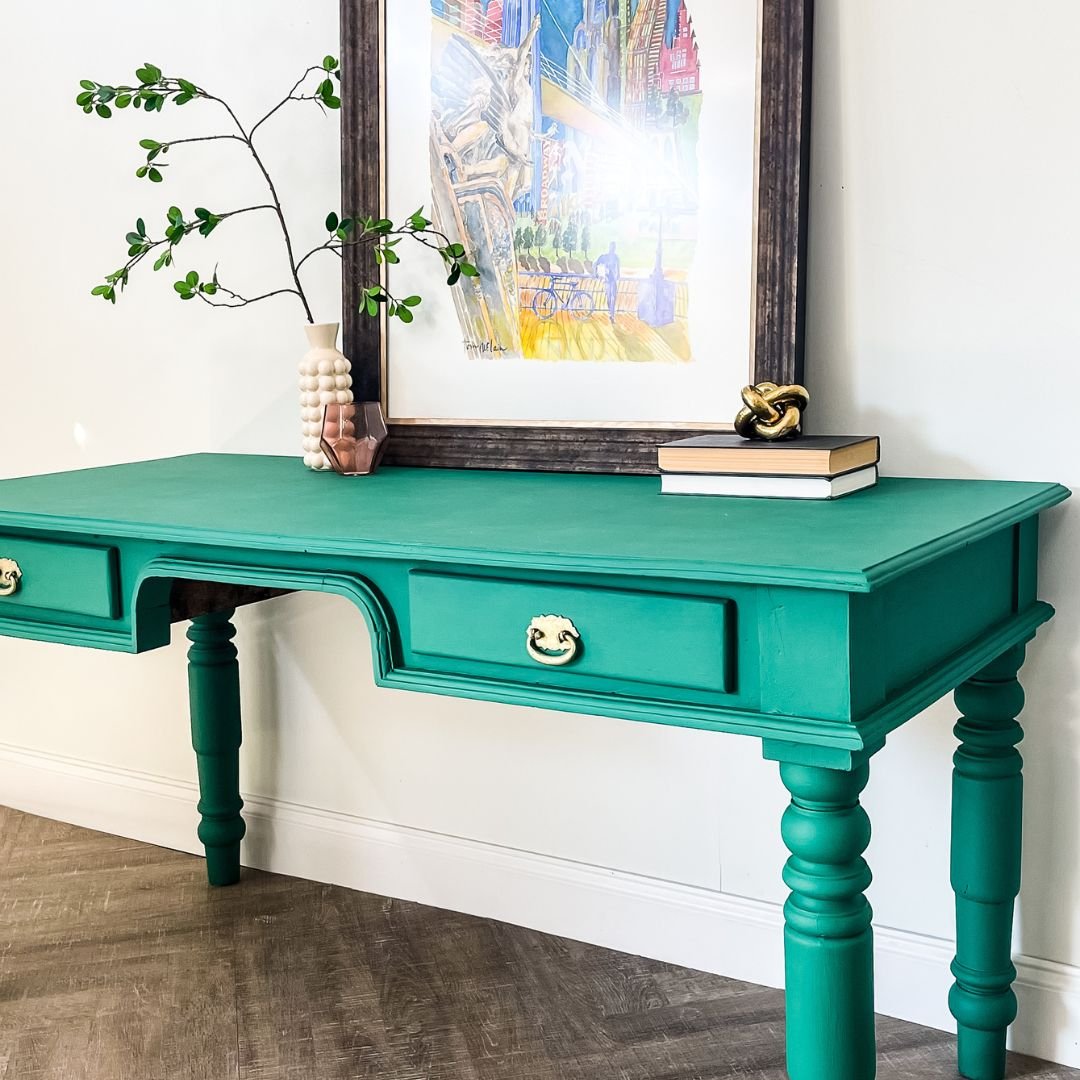
Gold Gilding Wax

For my last step, I wanted to get a little more pop on the front of the desk, so I decided to use my gold gilding wax to bring some metallic finish to the hardware. I always let my gilding wax dry overnight, and then I come back in with a lint-free cloth to buff it up and remove any excess.
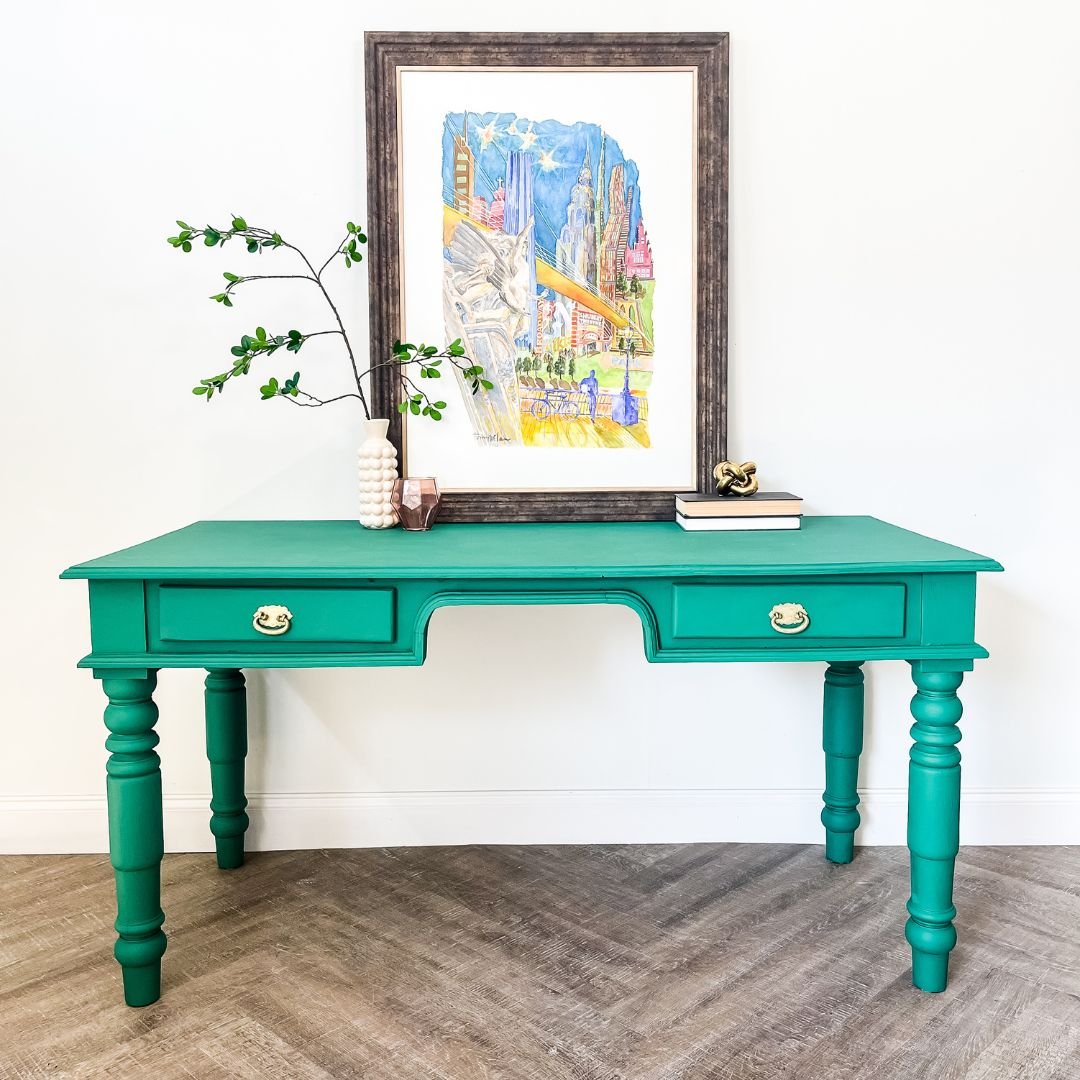
Emerald Green Desk Makeover Reveal!
Well friends, I think I got my joy back! I had so much fun working with this bright, beautiful color. It’s not too crazy, but I do think I pushed myself out of my comfort zone, and I had so much fun doing it. That was the whole purpose of this project!
If you want to see me in action with this desk makeover, check out the full YouTube™ tutorial. I hope you love this bold furniture flip as much as I do!
Of course, the very first step of my project is to clean and rinse the piece. I grabbed my trusty Dixie Belle White Lightning to get the job done. After scrubbing with the TSP solution, I gave it a good rinse with some clean water.