HomeRight Sprayer Makeover with Dixie Belle Silk Oyster
Disclosure: This blog contains affiliate links. I will receive a commission for items purchased through these links at no extra cost to you. I appreciate your support. Please read all labels and follow all manufacturer safety recommendations when working with paints, stains, and other equipment.
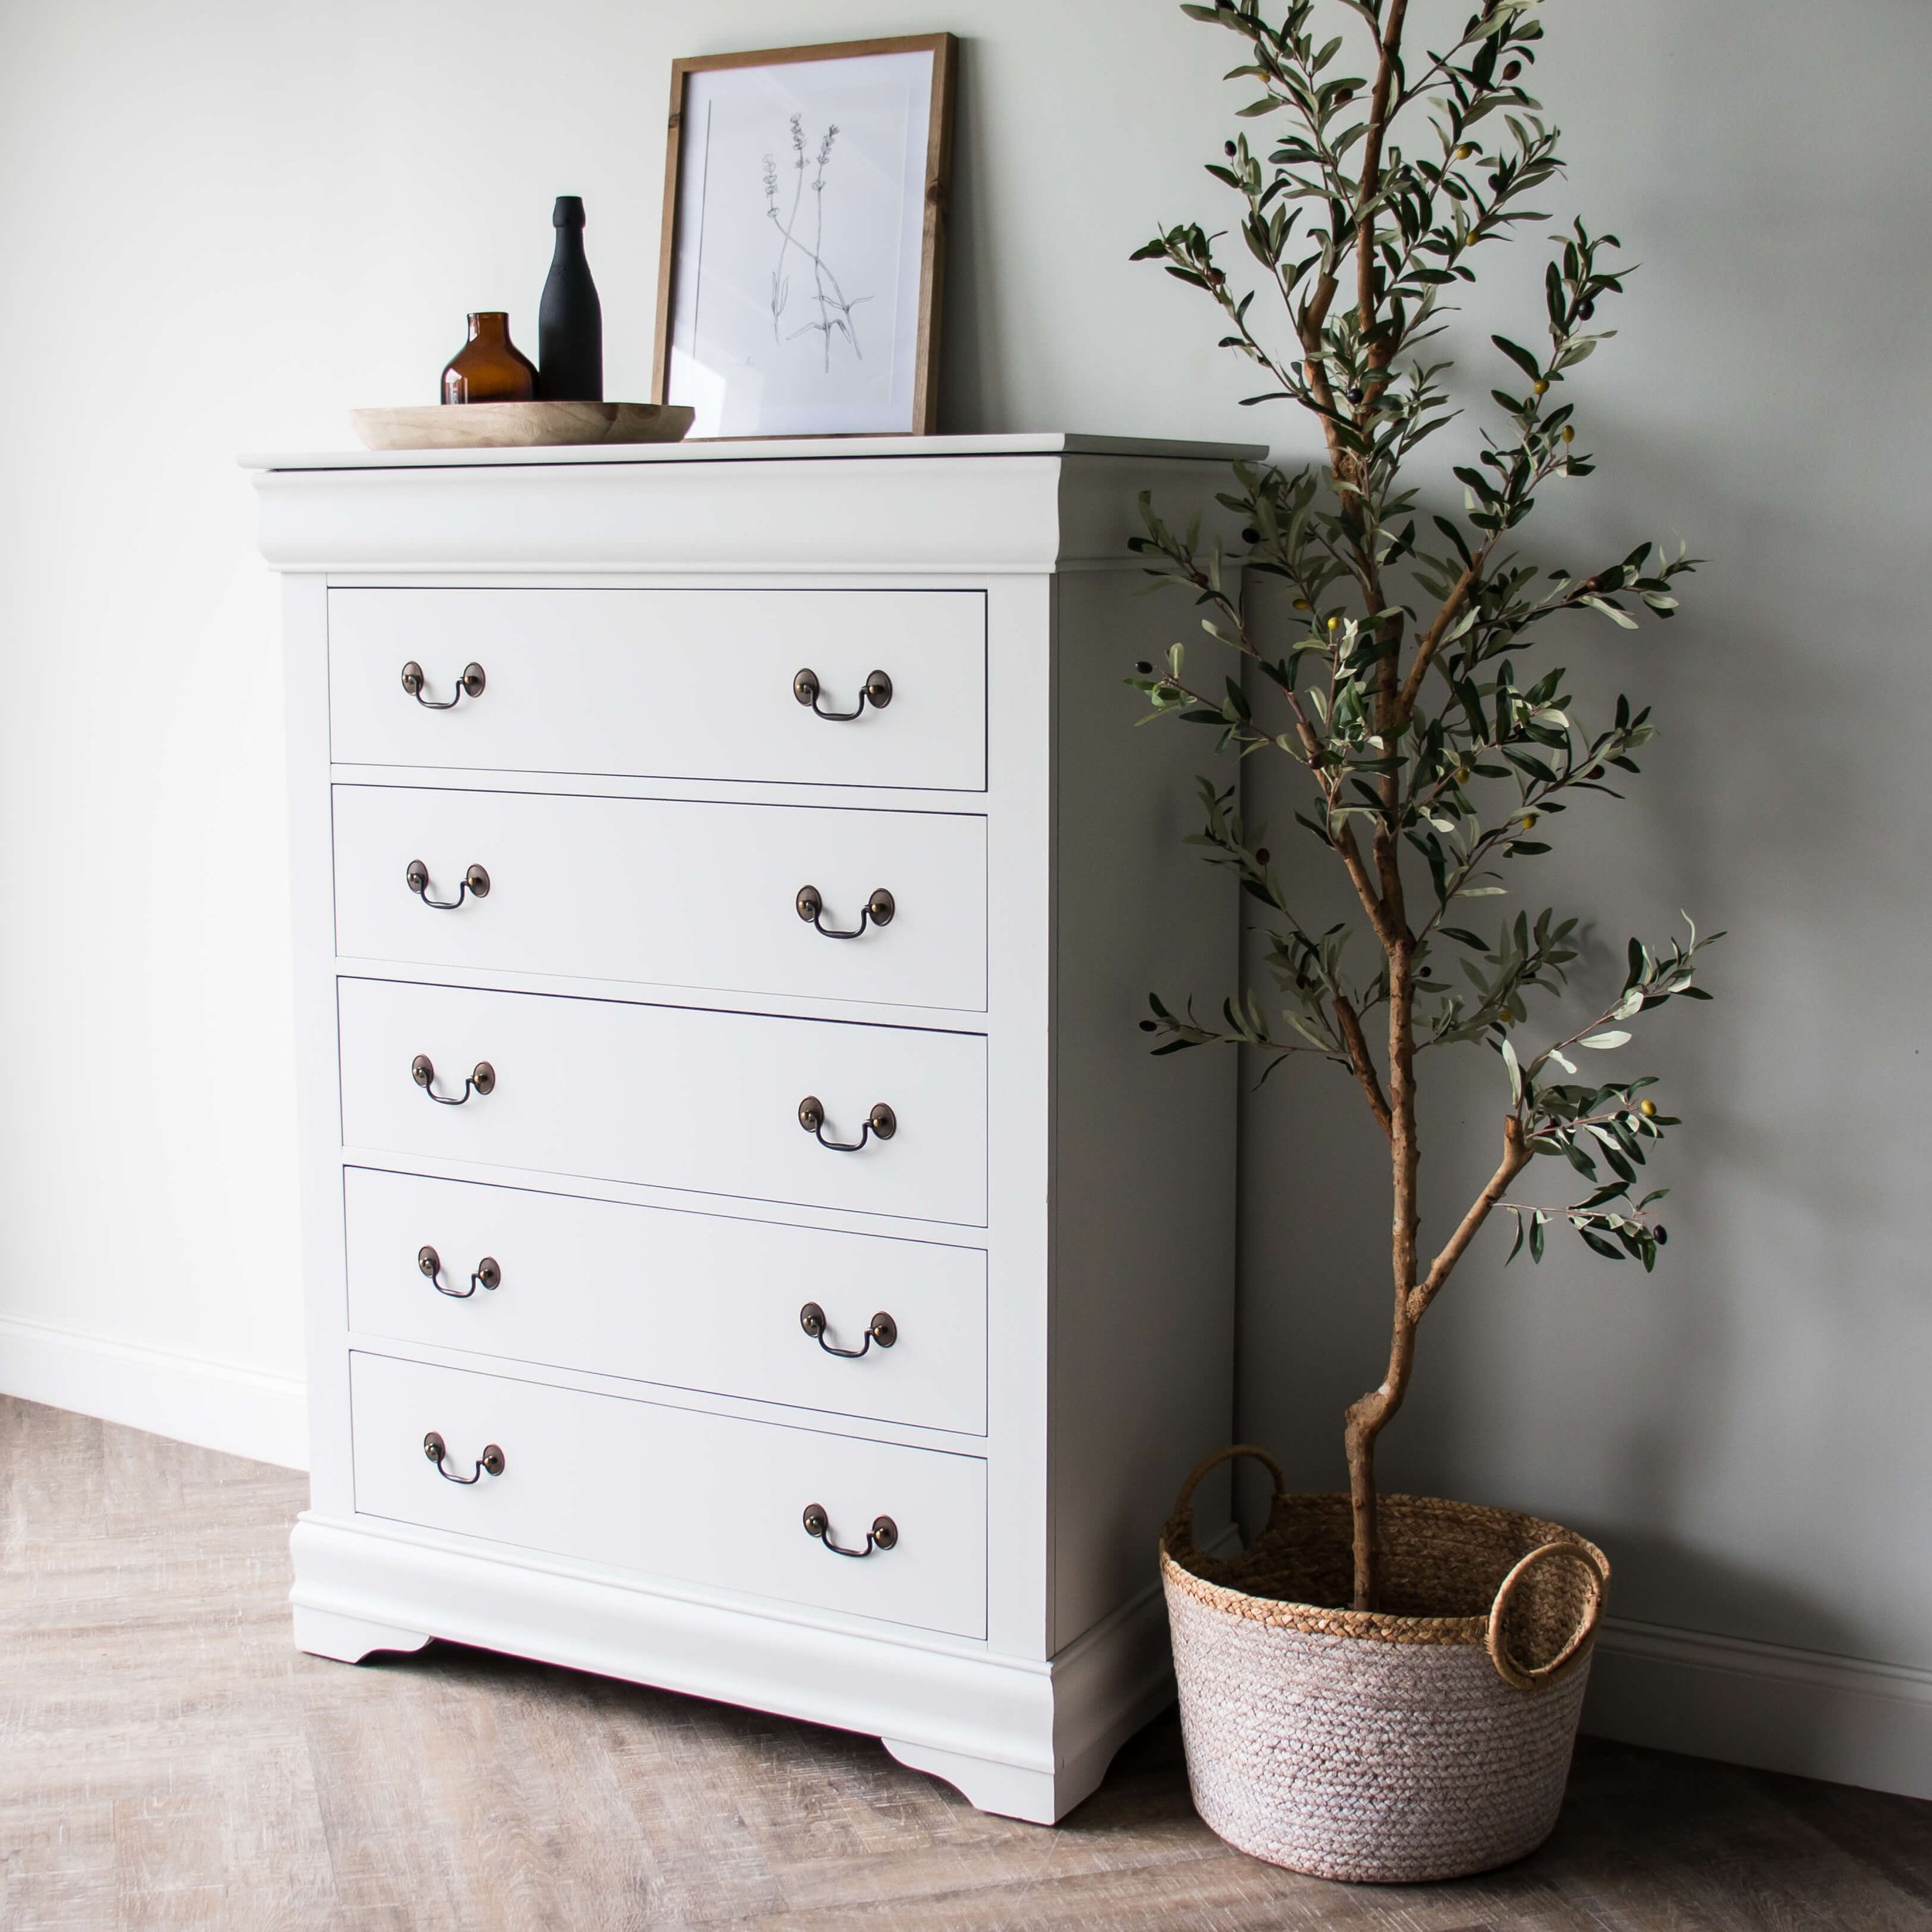
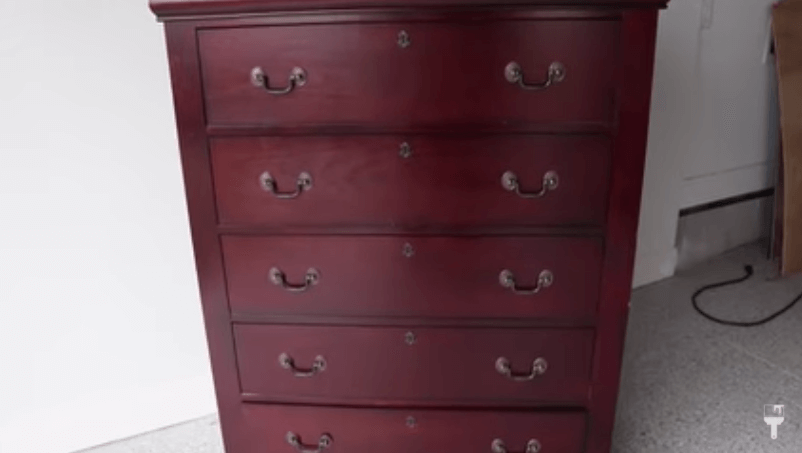
One of my favorite things to do is repurpose existing pieces in my home. It’s a way to get creative, save money, and give your home a facelift. That’s exactly what I helped my friend do. My neighbors were going to donate a chest of drawers to me, but then they decided they wanted to keep it for their son’s big boy room. They didn’t have plans for the room yet, so we kept it really neutral so it’d fit in the space.
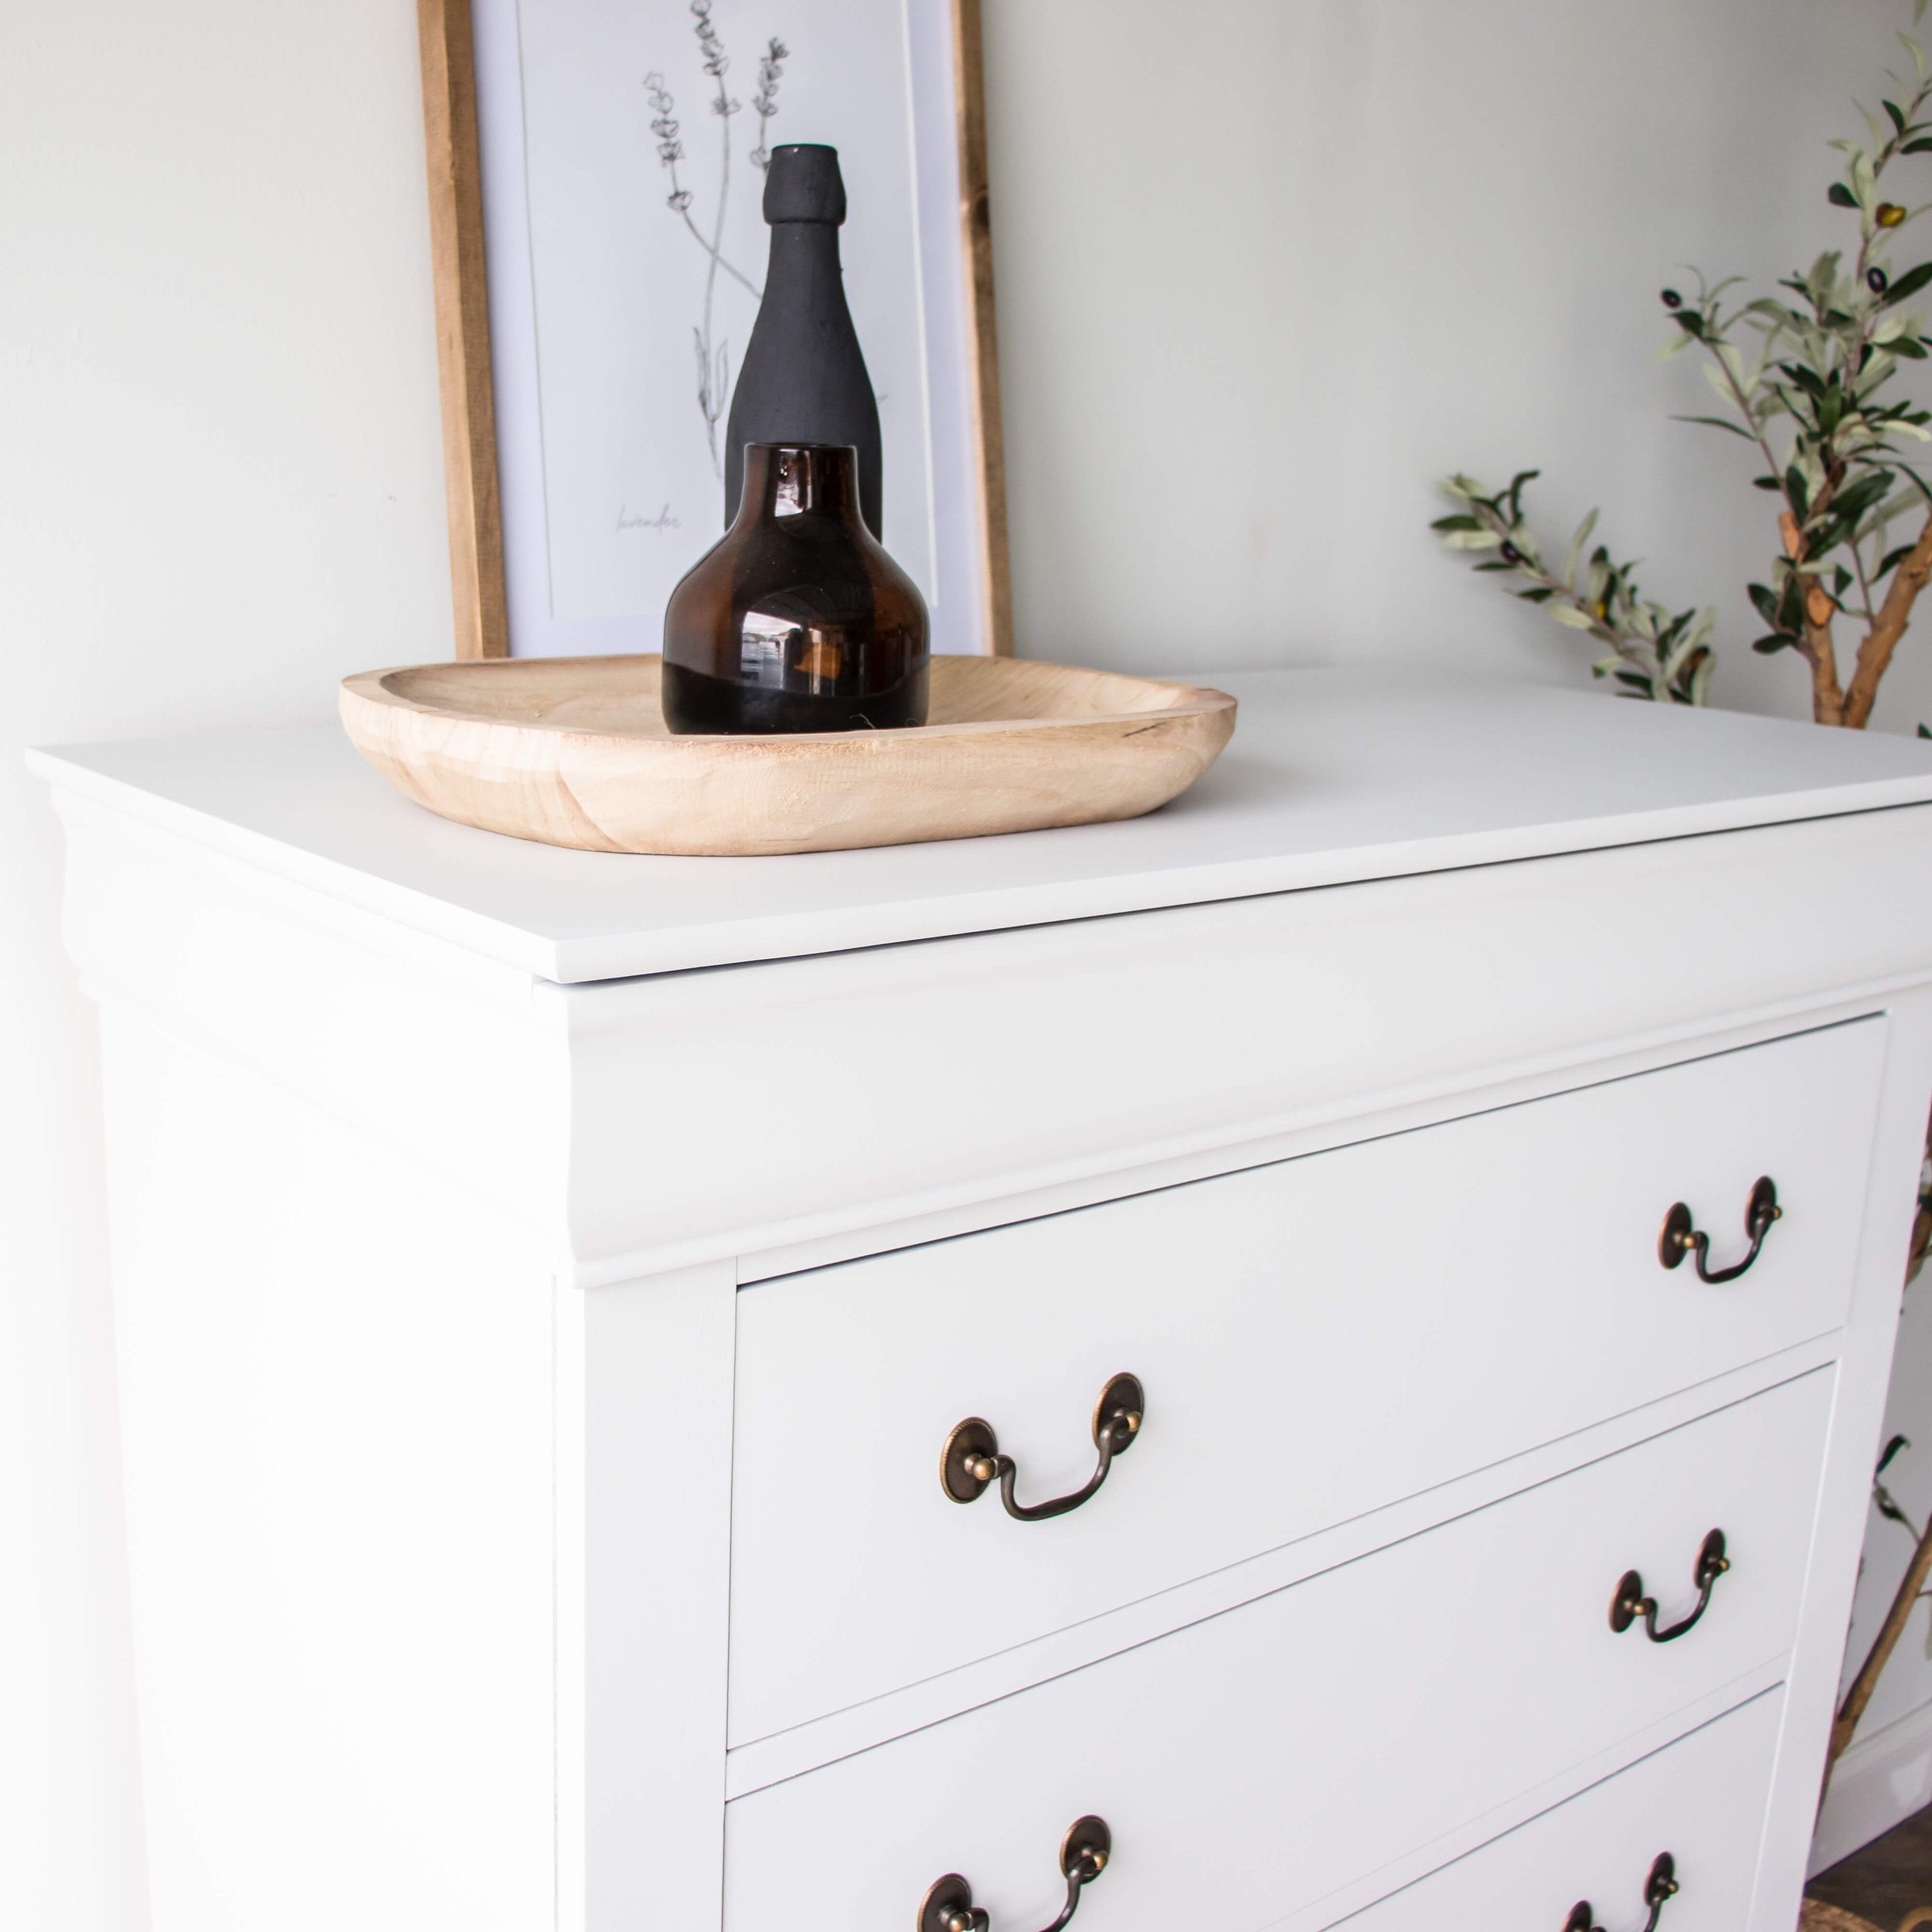
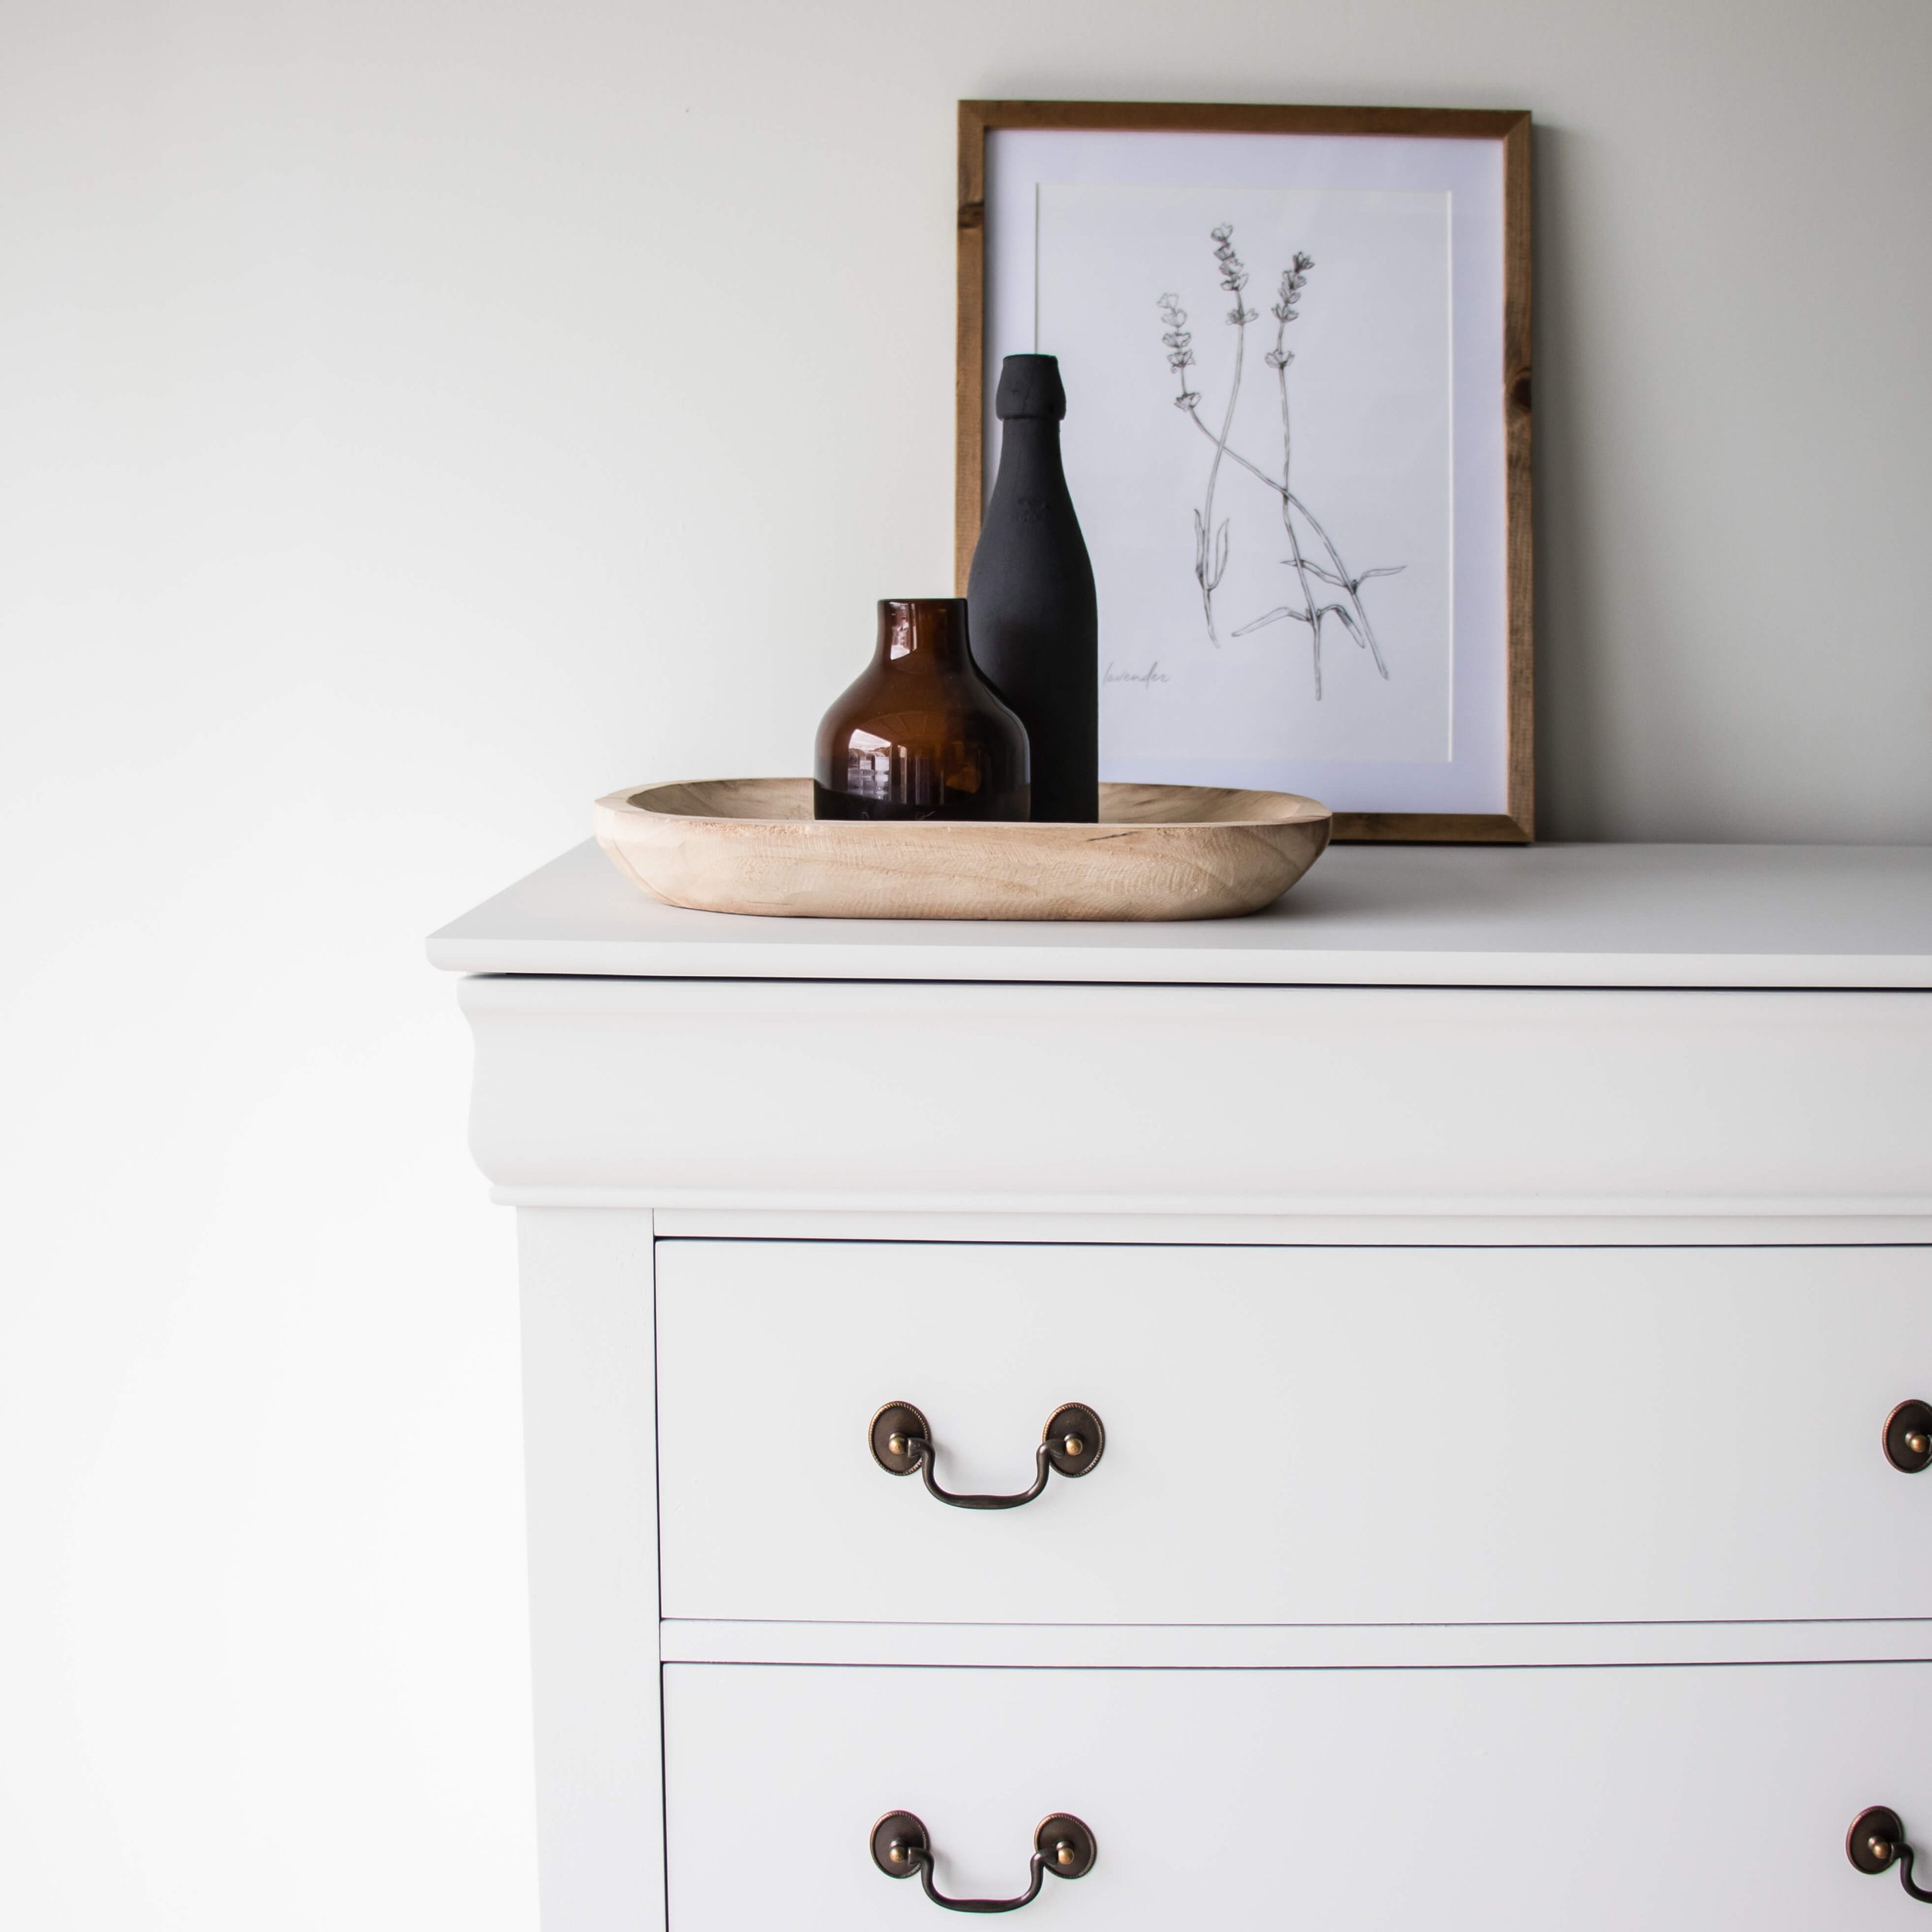
We ended up picking Dixie Belle Silk in the color Oyster. It’s a beautiful white with just a little bit of a gray undertone.
This furniture makeover is very beginner-friendly because I’m using the Homeright Sprayer today. It’s affordable, easy to use, and with the all-in-one paint that I’m using today, it’s a makeover that can be done quickly!
Let’s take a look at this piece before taking the HomeRight Sprayer to it!
Materials for this HomeRight Sprayer & Dixie Belle Makeover
Silk All In One Mineral Paint (Oyster)
HomeRight Super Finish Max HVLP Paint Sprayer
Dixie Belle White Lightning Cleaner
Prep Piece for HomeRight Sprayer
Clean
There aren’t a lot of steps in prepping this piece because I’m using an all-in-one silk paint, but as you know, cleaning is ALWAYS a must-do prep step. I cleaned it with one of my favorites, Dixie Belle White Lightning Cleaner. You simply mix up the powder with water in a spray bottle and it helps you get to all of the dirt and grime.

And remender, rinsing is just as important as cleaning. Get some clean water to get rid of any soap residue on the piece.
Remove Hardware
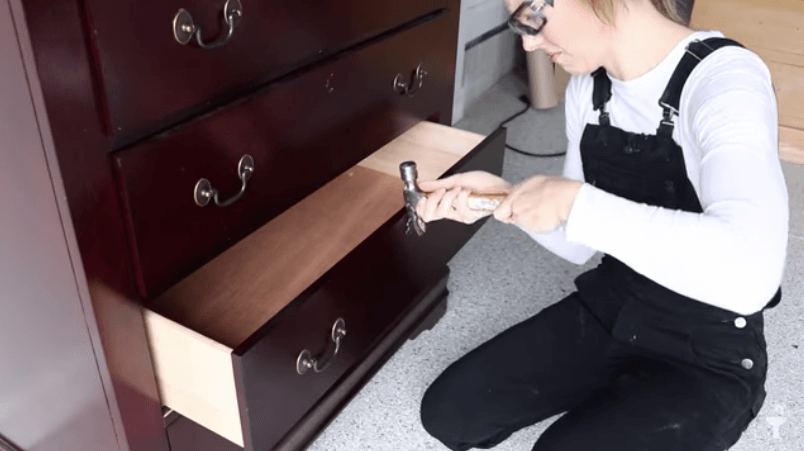
I decided to keep the original hardware because it’s in really good shape and fits this piece well. It’s also a funky size, so this is going to save us money with this project. I removed the hardware and placed it in a plastic baggie to keep all of the parts together.
There were, however, decorative keyholes, so I’m going to remove those to give it a more modern look.
Make Repairs
This dresser is in really good shape, so the only repairs I made were filling in the keyholes that I removed. I sanded the surface a little bit to prep it and then used some Dixie Mud to repair those holes.

Scuff Sand
Once my Dixie Mud was dry, I came in with a very fine Surf Prep Rad Pad and smoothed out that area. And while I was at it, I went ahead and scuff-sanded my entire piece.
This is just a very light sanding where you’re not going to stripe back the finish. This is just a necessary step when you're using the silk all-in-one paint to help it adhere.

Once I finished scuff standing, I removed all that dust with a Tack Cloth. Wiping it back with a damp towel will also work!
Setting up your HomeRight Sprayer for Beginners
Prep for Spray Painting
Spray Tent - When I’m spraying, I always set up my Wagner Spray Tent to protect the area around my workspace. Make sure you are in a ventilated area or outside and that you are wearing your protective gear.
Tape areas you want to protect - This piece is nice and flat, so instead of removing the drawers, I decided to tape off an area inside to protect it from any overspray. Assess your piece and decide if you need to tape off any areas you want to protect from the paint.

Use Painter’s Pyramids - When I’m spraying a tall piece like mine, I like to lay it on it’s back because it’s easier to get into every nook and cranny. I also like to prop it up on some Painter's Pyramids so that my piece doesn’t stick to the ground.
Best Paint Spray Gun for Beginner
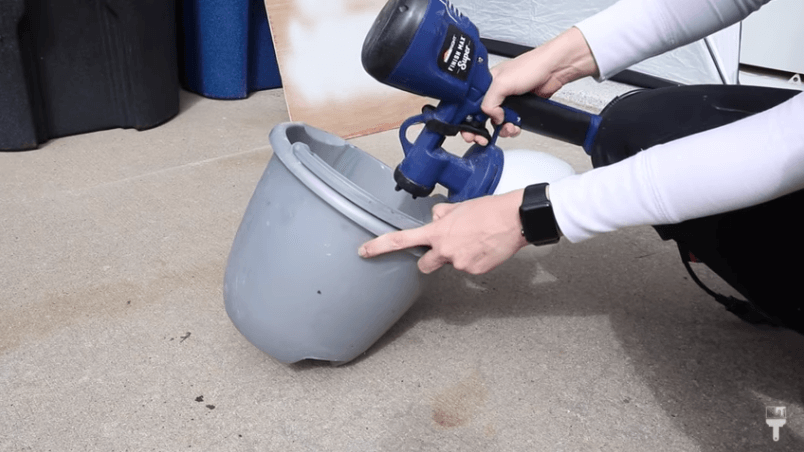
First I want to talk about the brand of spray paint gun that I’m using today because I think it’s the best one for beginners. I love the HomeRight Super Finish Max HVLP Paint Sprayer because it’s very affordable and very popular in the DIY community. And it’s actually owned by Wagner which you’ve seen me use a lot.
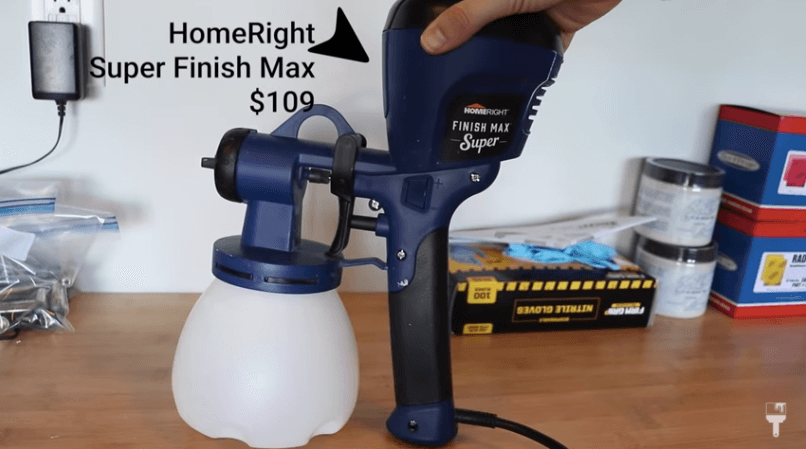
It’s also very basic and easy to use. There is only one adjustment to make on it and that’s your flow level. There is a plus and minus dial that adjusts the flow.
It’s really light and easy to handle, however, you will need an extension cord because the one it comes with is short.
If you want any bonus tips on how to spray as a beginner, I go into more detail here!
Painting with the HomeRight Paint Sprayer
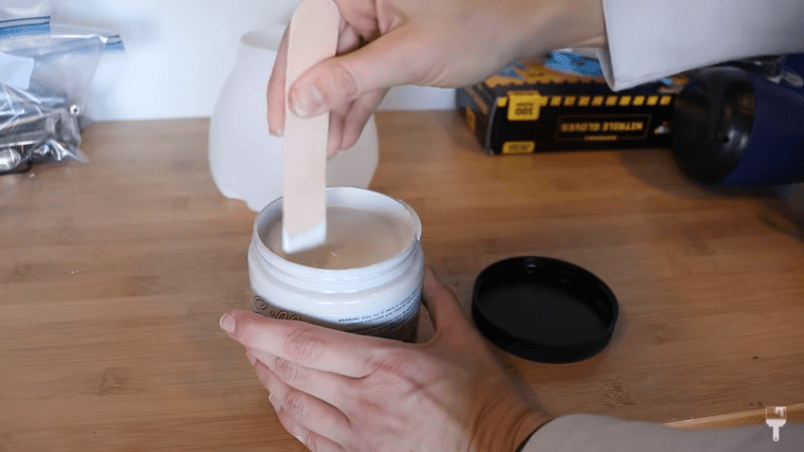
So let’s talk paint… I absolutely love spraying with Dixie Belle’s Silk All-in-One Paint because it’s one-step paint, it’s really thin, and it sprays beautifully. Very beginner friendly.
To start off you want to strain your paint to make sure there are no little bits in there that are going to get stuck in the gun. And with this paint, you can water down 1 ounce to every 16 ounces, so I added a bit of water to thin it out even more. That’s just my preference.
The HomeRight sprayer comes with multiple tips, so I used the green one that is for fine finishes and furniture. I also pointed the intake tube forward because most of my spraying is going to be in a downward motion.
As I mentioned before, there is only one adjustment you can make and that’s your flow level. I suggest starting out with it turned all the way down and work your way up. TESTING OUT YOUR SPRAYER IS KEY! Even if I’ve used a sprayer 500 times, I always test it out on a board to make sure the flow is exactly where I want it. Start low and work your way up until you get it perfect.

Some Paint Spray Gun Tips
Once I got the flow right, I moved to my piece. Here are some quick tips for spraying if you’re a beginner.

This spray gun in particular had a little bit more overspray than I was used to with my other Wagner sprayers. So just be aware of that as you get started.
Don’t be freaked out about overlapping your paint. It really smooths out and levels out as it dries. I basically overlapped by about 50%. You’ll see splatter, but again, it all levels out.
12 inches is a great and safe distance to be from your piece. It’s hard to maintain that consistency but try your best. The silk paint is very forgiving.
Bonus tip: I highly recommend going with Dixie Belle’s Silk All-in-One if you’re a beginner. This prevents you from needing to do primer before your paint or sealer after.
Typically, I would have to do 3 coats if I brush a light paint on, but with the sprayer, 2 coats were sufficient.
Make sure to switch the nozzle if you change from a side to side motion to an up and down motion.
After my two coats, I let it dry for about 2 hours and then went in to buff any imperfections with a super fine Rad Pad. Then I just dusted off the whole thing, and wrapped up the hard part of this project!
Cleaning your HomeRight Sprayer
Okay. The part that everybody dreads. Now it’s time to clean your paint spray gun. And with the HomeRight Sprayer it’s actually not that hard. I honestly think it took the same amount of time as it would have cleaning paintbrushes.
Here’s a quick breakdown of cleaning the HomeRight Sprayer:

First step…unplug!
Remove the can holding the intake tube over your paint container, and squeeze the trigger to let out any paint still in the tube.
Take the remainder of paint from the sprayer can and pour back into the paint container.
Add soapy water to the emptied spray container and reattached it back to the spray gun.
Plug the gun back in and spray the soapy water into a bucket for a few seconds.
Bring everything back inside or to a sink and detach all of the parts (canister, nozzle, intake tube, etc)
Clean all parts with soapy water. The spray gun comes with handy brushes so you can get in those hard-to-reach areas.
The gun also comes with a little wrench to remove the spray tip to clean in there as well. Note: Do not submerge into the water as it’s attached to a motor.
As part of my clean-up process, I picked up my paper from the ground and I took down my tent.
Finishing Touches
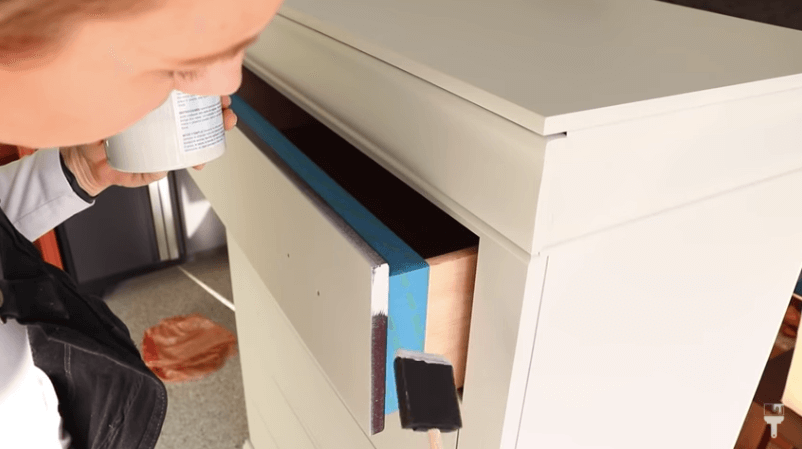
Now with the finishing touches. The sides of the drawers still needed to be painted, and I like to do that touchup with a sponge brush rather than removing the drawers and having to tape them off. Do what works best for you, but this is usually the way I go.
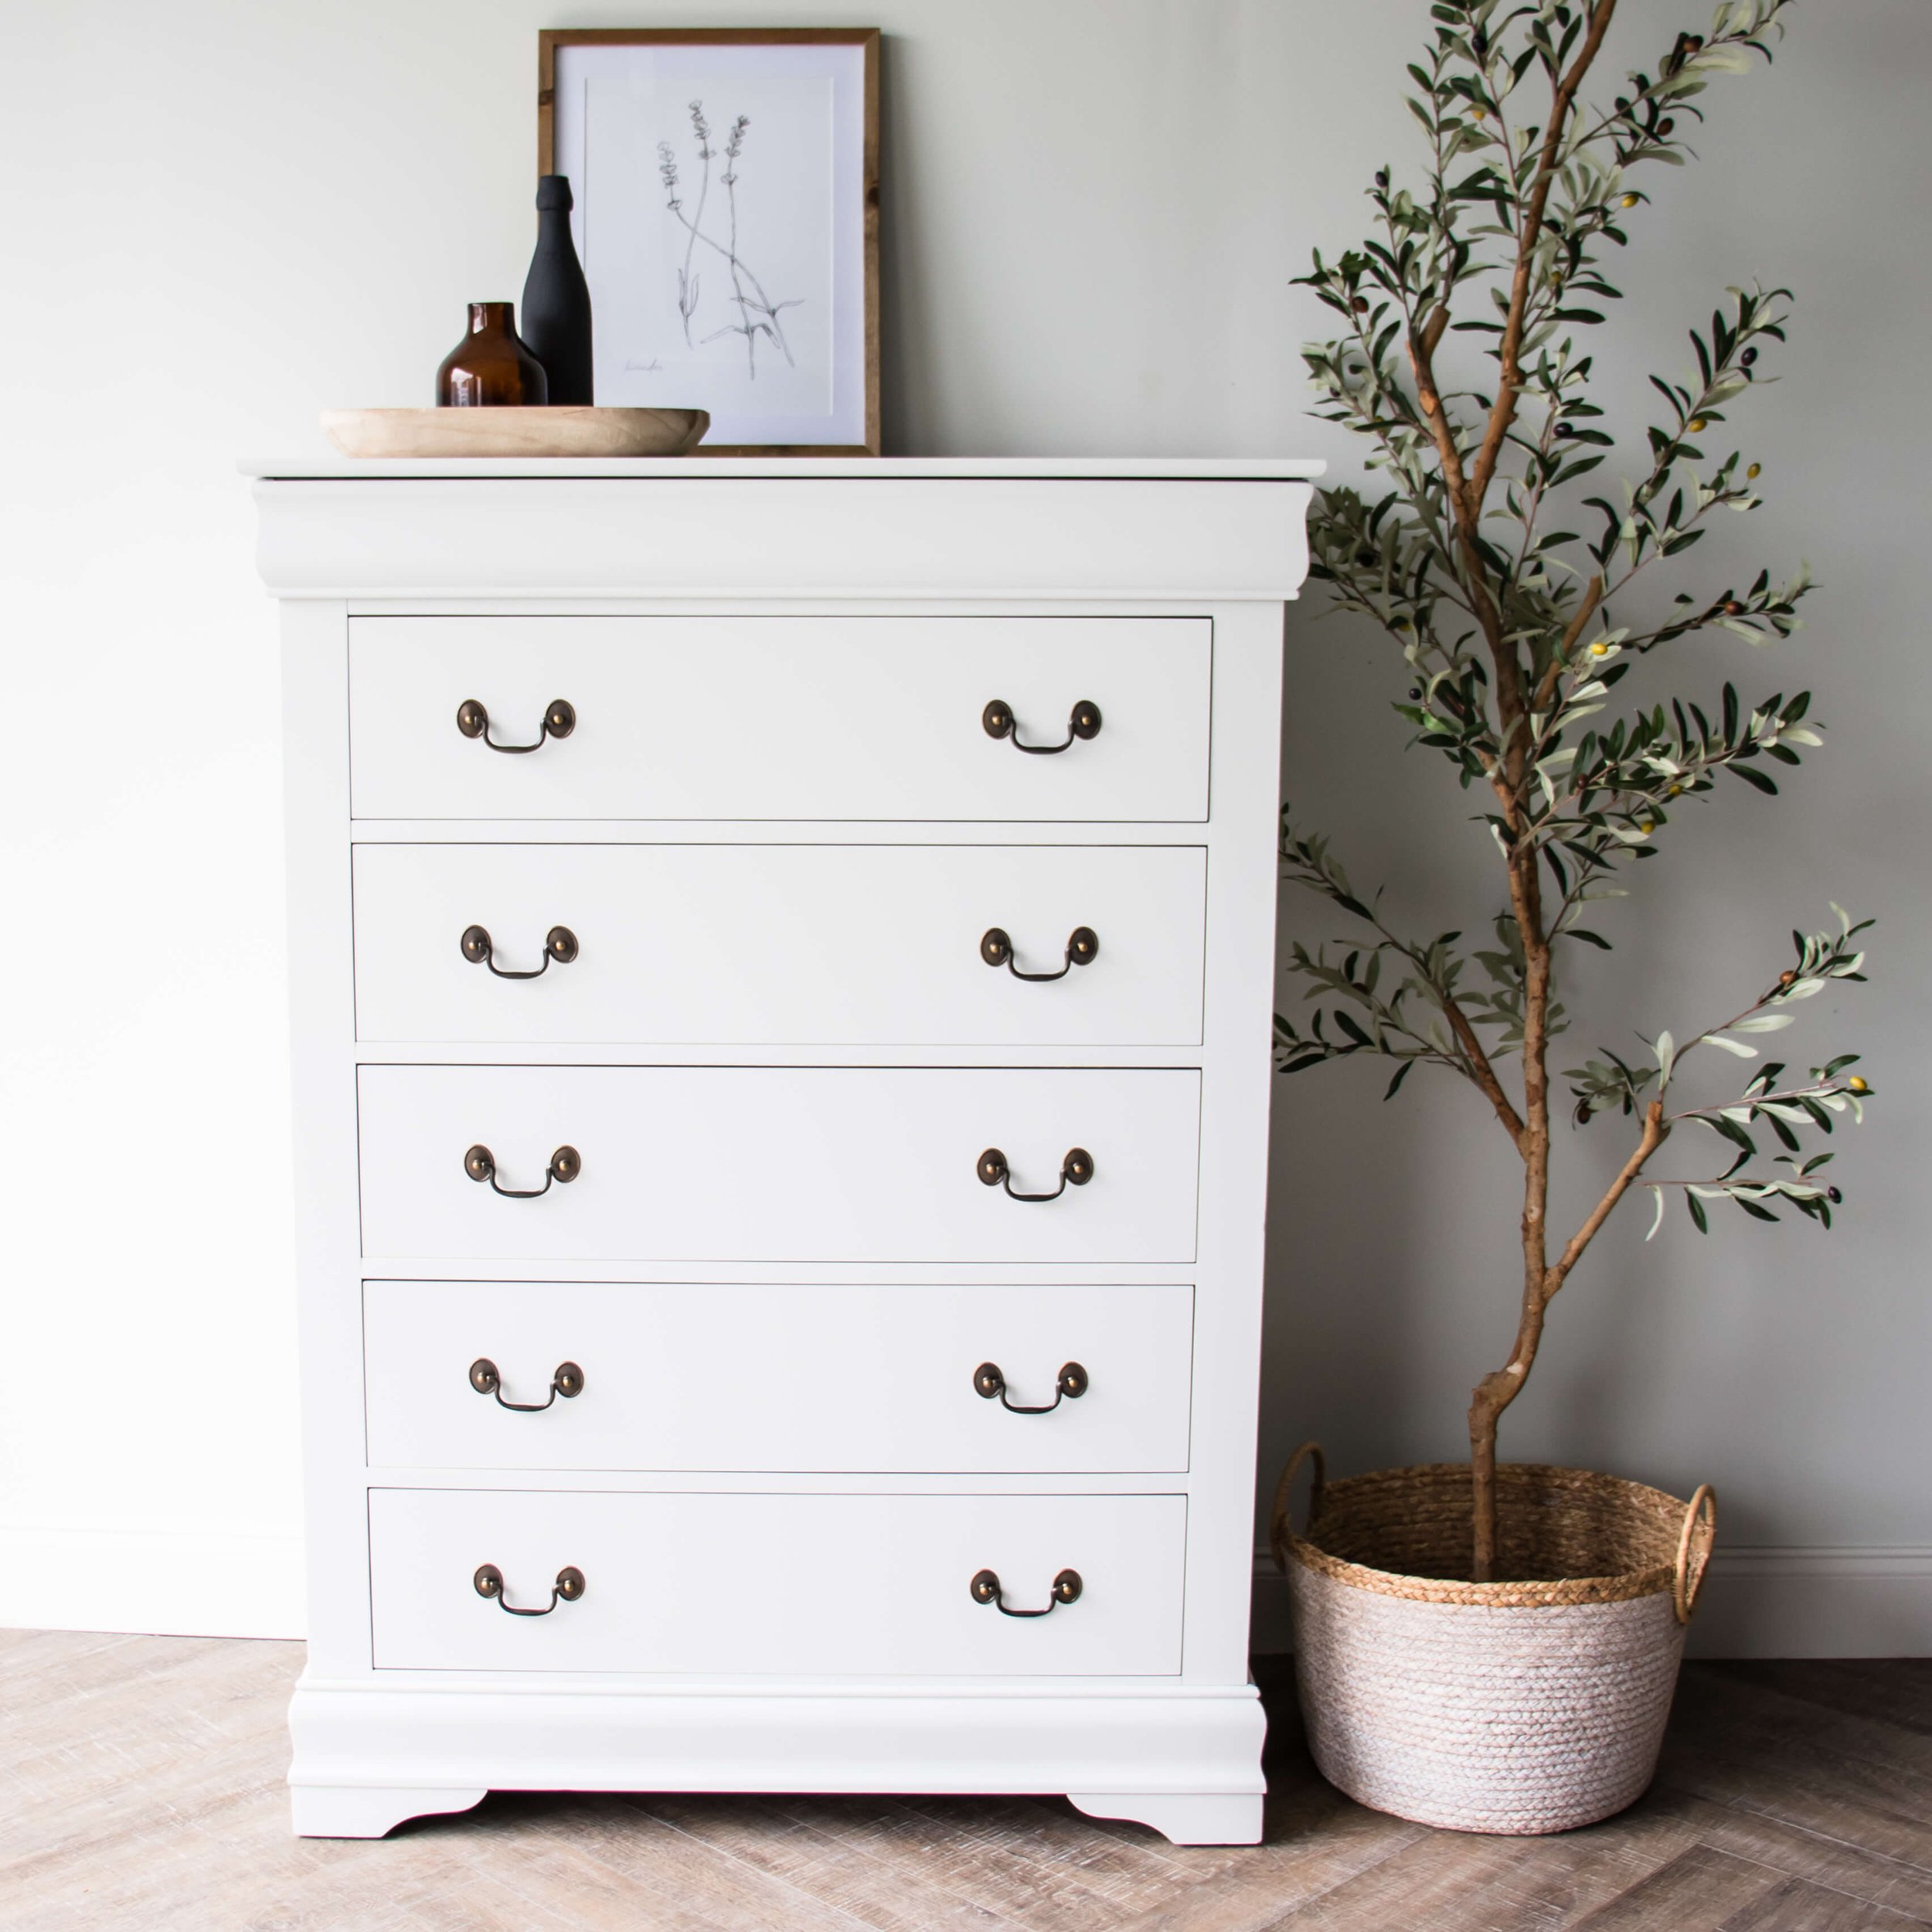
I let everything dry overnight and was ready to reassemble my hardware. I thought about making the hardware black, but it looks so good in its original finish… It's so sophisticated and fits the piece so well. And bonus, we saved some time and money.
HomeRight Sprayer Project Reveal
So this was a super quick makeover that only took me two days. A sprayer saves you so much time. You should definitely try it, and if you’re a beginner, try out the HomeRight… it’ll be perfect for your first go.
I LOVE the way this turned out, and I’m so excited that my neighbors decided to repurpose this piece for their son’s room. No matter what they choose to do, it will fit in perfectly.
Take a look at the result and comment below if you plan on spraying your next piece! Also, as always, if you want to see this makeover in action from beginning to end, check out the tutorial on my YouTube channel.