
Why I Use a Paint Sprayer
Disclosure: This blog contains affiliate links. I will receive a commission for items purchased through these links at no extra cost to you. I appreciate your support. Please read all labels and follow all manufacturer safety recommendations when working with paints, stains, and other equipment.
I love a good comparison blog, and today I’m going to share with you why I’ve been reaching for my paint sprayer more often than a paint brush these days. I got two identical nightstands on Facebook™ Marketplace and will be painting one with a brush and the other with a sprayer so you can see a head-to-head comparison. (I think you’ll see by the end why I love to use a paint sprayer!)
The two nightstands I got aren’t high quality pieces, so it will be a great way to show how a sprayer performs vs a paint brush. I’ll be using the Wagner Flexio 3500 for this project and will give you the good and the bad! So let’s get to it! Take a look at what I’m starting with.

Tools and Materials Used
Dixie Belle Silk All-One-Paint Mojave
Ryobi Orbital Sander (220 Grit)
Wooden Pulls - Hobby Lobby
Wagner Flexio Paint Sprayer
I’ve talked a lot about this paint sprayer lately because it’s been my go-to. I go into great detail on how to use it in my “Paint Spray Gun For Beginners” blog post. I’ll be giving some tips a bit later as well, but if you’re brand new to spraying, you might want to head over there to check it out. :)
Wagner was kind enough to send me a brand new one for this project! Mine is well loved, so I wanted to show you what a brand new one looks like and everything that comes with it.
This is what comes in the Wagner 3500 Paint Sprayer kit.

Sprayer console with on and off switch and an air control on top.
Two canisters and nozzles.
One for bigger projects like painting walls, outside decks, or fences.
The second is the one I use most suitable for smaller projects. It’s the detailed finished nozzle that gives me a fine finish and is perfect for furniture.
Nozzle details
The only control the nozzle has is the material flow that you can adjust.
You can turn the nozzle straight up and down for horizontal motions. You can turn it to the side for a vertical application. And you can even turn it diagonally which helps with getting in the details of your furniture pieces.
Prepping Your Piece
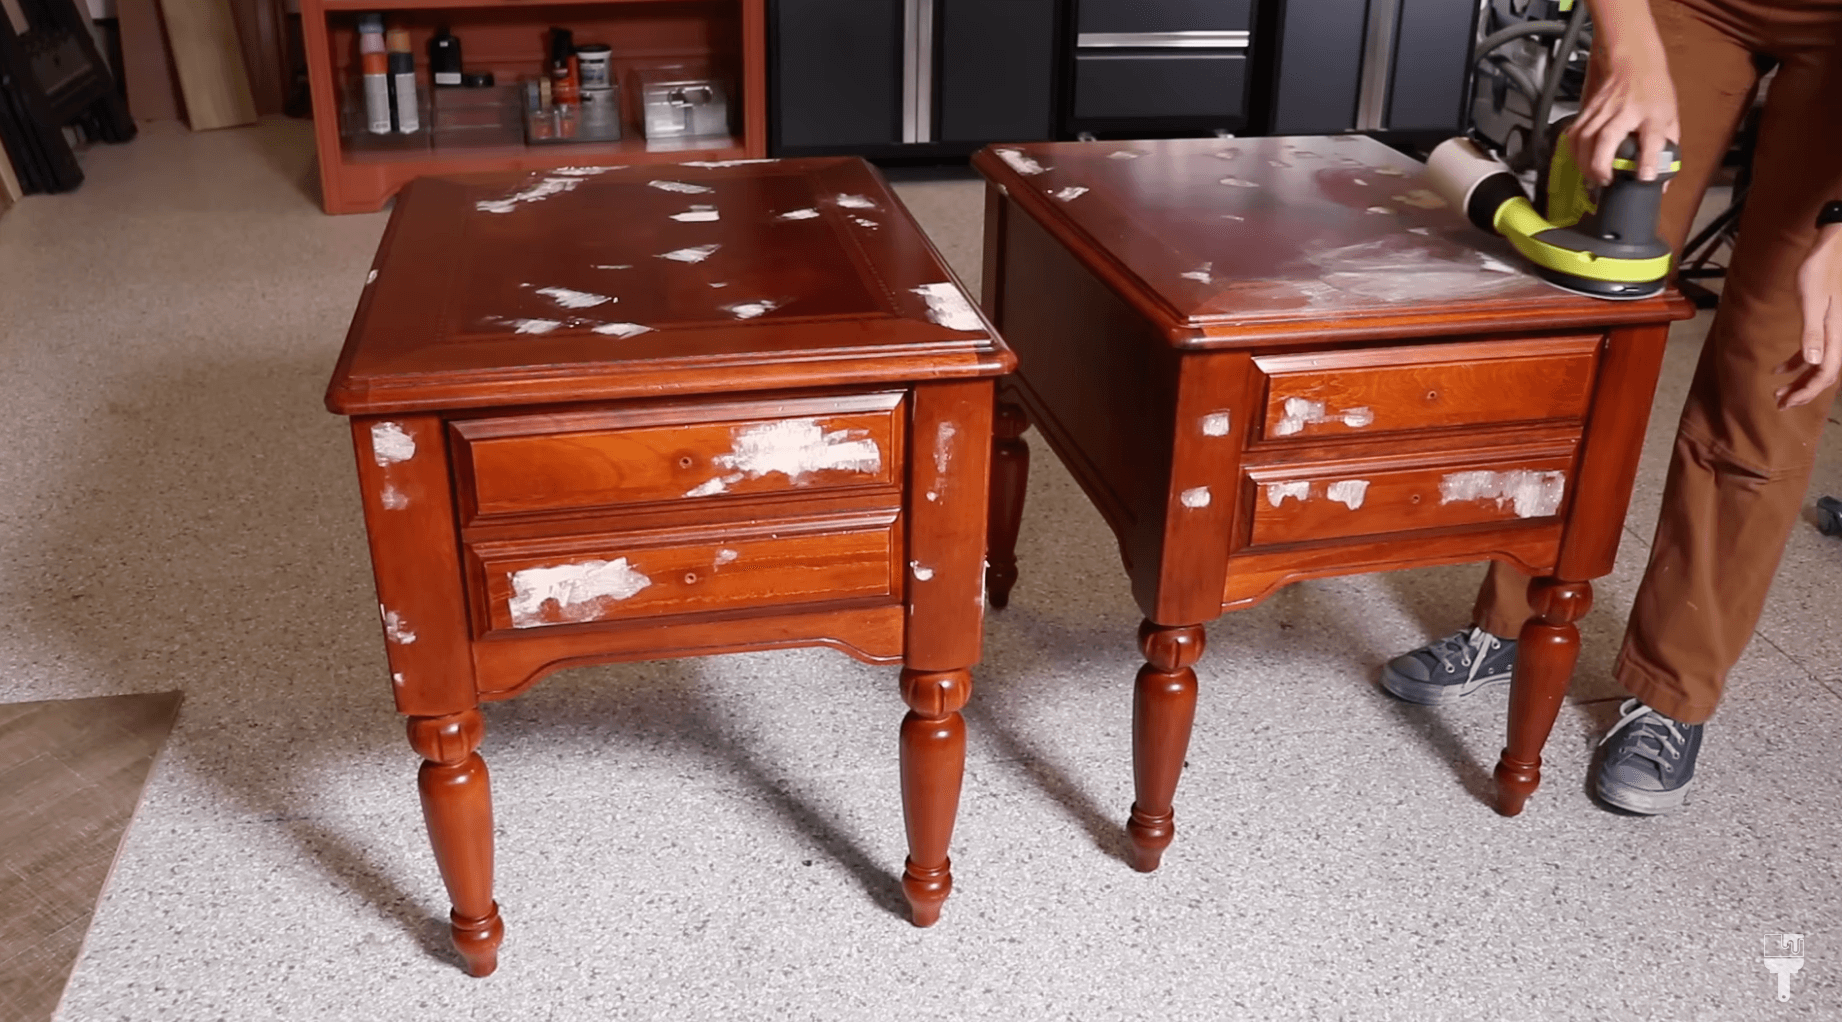
Okay, so let's get into these furniture makeovers. Whether you're using a brush or using a sprayer, you're always gonna start the same. It’s so important to prep your pieces by cleaning them and rinsing it back with clean water. Starting with a degreaser is a good idea to remove all of the dirt, grime, and dust.
I removed the hardware and did some repair sanding which was only a little spot on the top. But there were some smaller knicks and dings on the top, so I used some wood filler to cover those up and sanded it all back with a 220 sandpaper.
I then scuff sanded both pieces completely because it really does help your paint adhere better.
Lastly, I used lint free cloth and some water to wipe it down to get rid of all that dust.
Paint Sprayer vs Brushing
Next is painting the pieces! This is where we will start to see some side-by-side action. I’ll break down in this section prep time, coverage, painting time, and amount of paint required with both methods.
Prep Time


Paint Sprayer: The paint sprayer does take some extra prep time here. I like to spray with the drawers in, so I taped off the inside of the drawers to prevent paint from getting on the inside. I also wanted to protect my garage, so I used my Wagner popup tent. Now that I’m used to setting this up, it only takes me about 5 minutes!
You also have to strain your paint and connect the canister to the sprayer which I’ll consider prep time as well.
Lastly, I always test my settings on a piece of cardboard before, and that takes just a bit of time to do before starting on your piece.
Brush: There’s really no extra prep when it comes to using a paint brush. Once you’re done with the main prep, you’re ready to paint your first coat.
Painting time
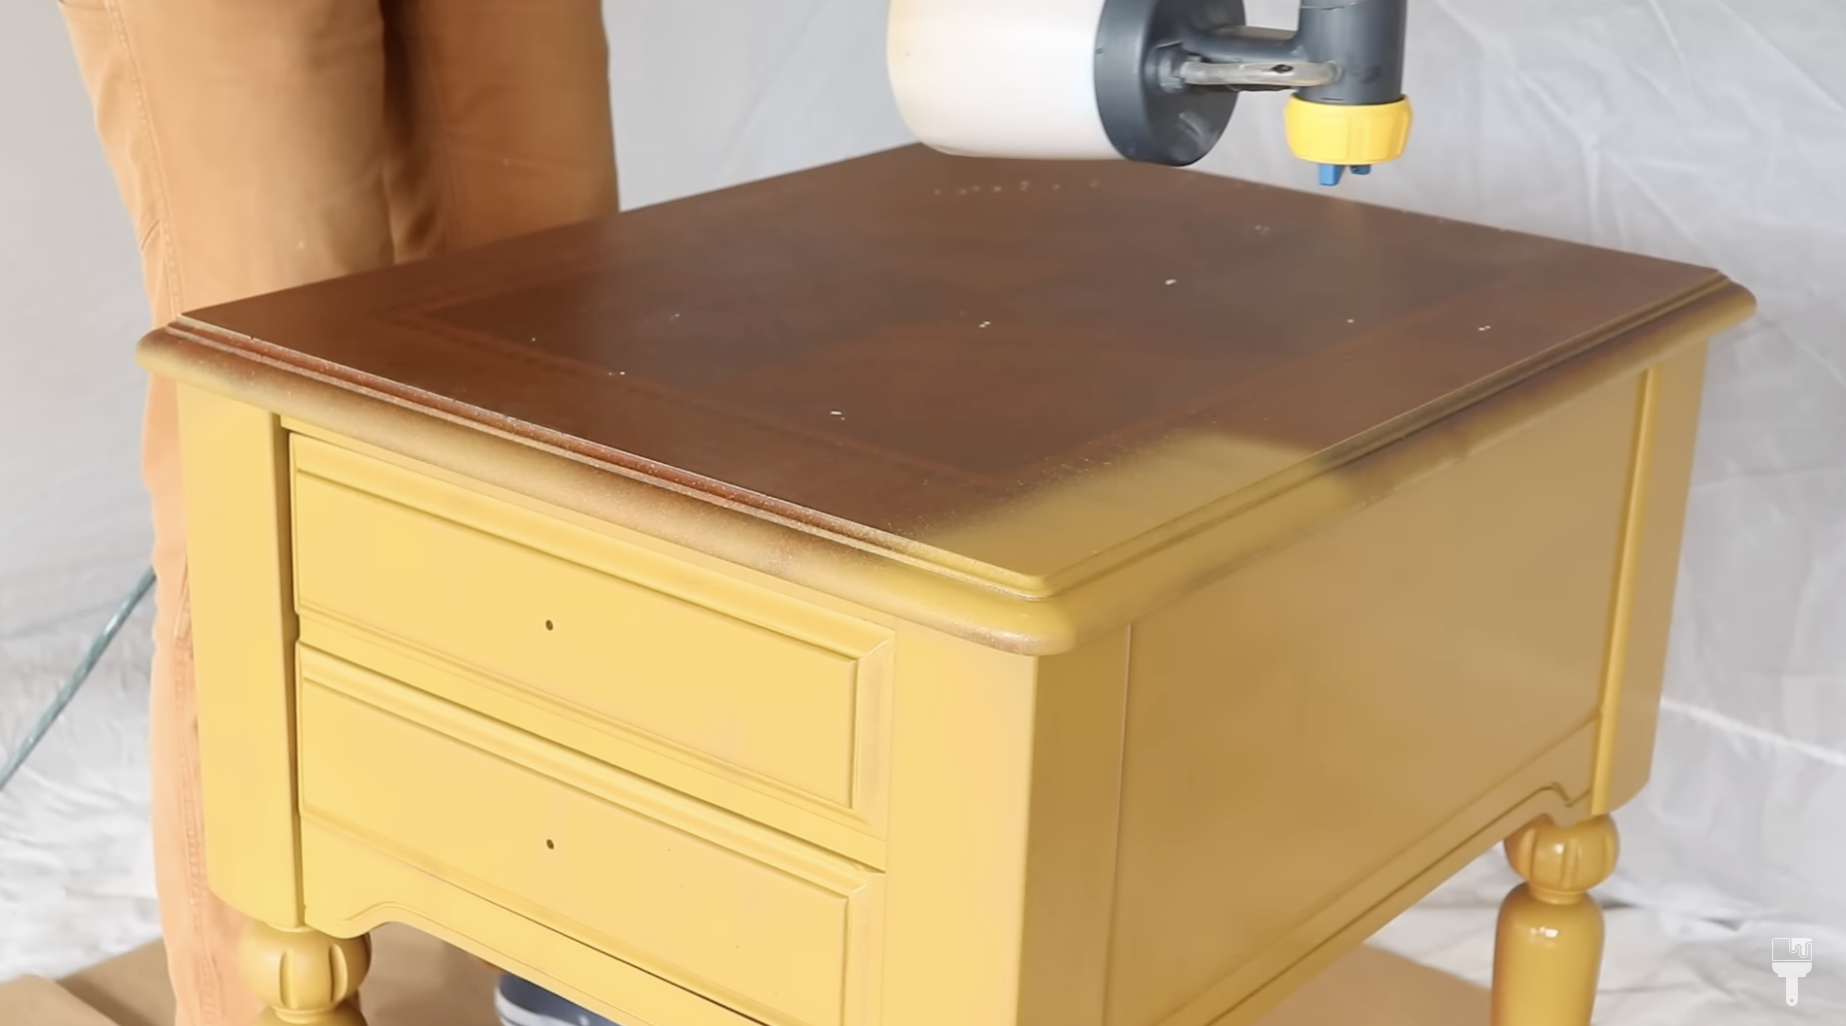
Paint Sprayer: I do have some tips on how to use a paint sprayer below, so in this section, I’m just going to focus on the time that it took me to paint. Because I’m using yellow paint, I know I’ll definitely need two coats of paint. The first coat for the spraying took me about 8 minutes. I know, insane right? This is where we start to see the benefits of spray painting your pieces.
The second coat was much like the first. I pulled out the drawers a bit this time to get the sides of them. This coat took another 8 minutes to paint. So this was just 16 minutes total!
Brush: For the brushed nightstand, I decided to use a synthetic oval brush which is a popular one among furniture refinishers. I watered the paint down just a bit (not too much because it’s all-in-one paint). I painted making sure I was doing my brush strokes in the same direction. One thing that’s time consuming with brush painting is watching out for the drips around the corners and edges.

The first coat took me 25 minutes. The second one took me 35 minutes. It’s normal for the first coat to take longer than the second one. So the total time for the brush painting was 60 minutes.
It doesn't really like that cuz it has a top coat in it as well. So just added the same amount of water that I did with the sprayer and then I'm just brushing this on trying to keep my brush strokes in the same direction, watching out for those drips. That is the number one killer with using a brush, especially on a piece like this where you have tons of edges, you're gonna get lots of drips and this was just gonna take forever if I had a normal time. So I have sped this up two times speed and we'll see how this goes.
Paint used

Paint Sprayer: It’s true. You definitely use more paint in a sprayer. I used a total of 12 ounces for this night stand.
Brush: For the two coats, I used about 203 ounces of paint. However, I’d probably do one more coat because I’d like to get more coverage.
Coverage


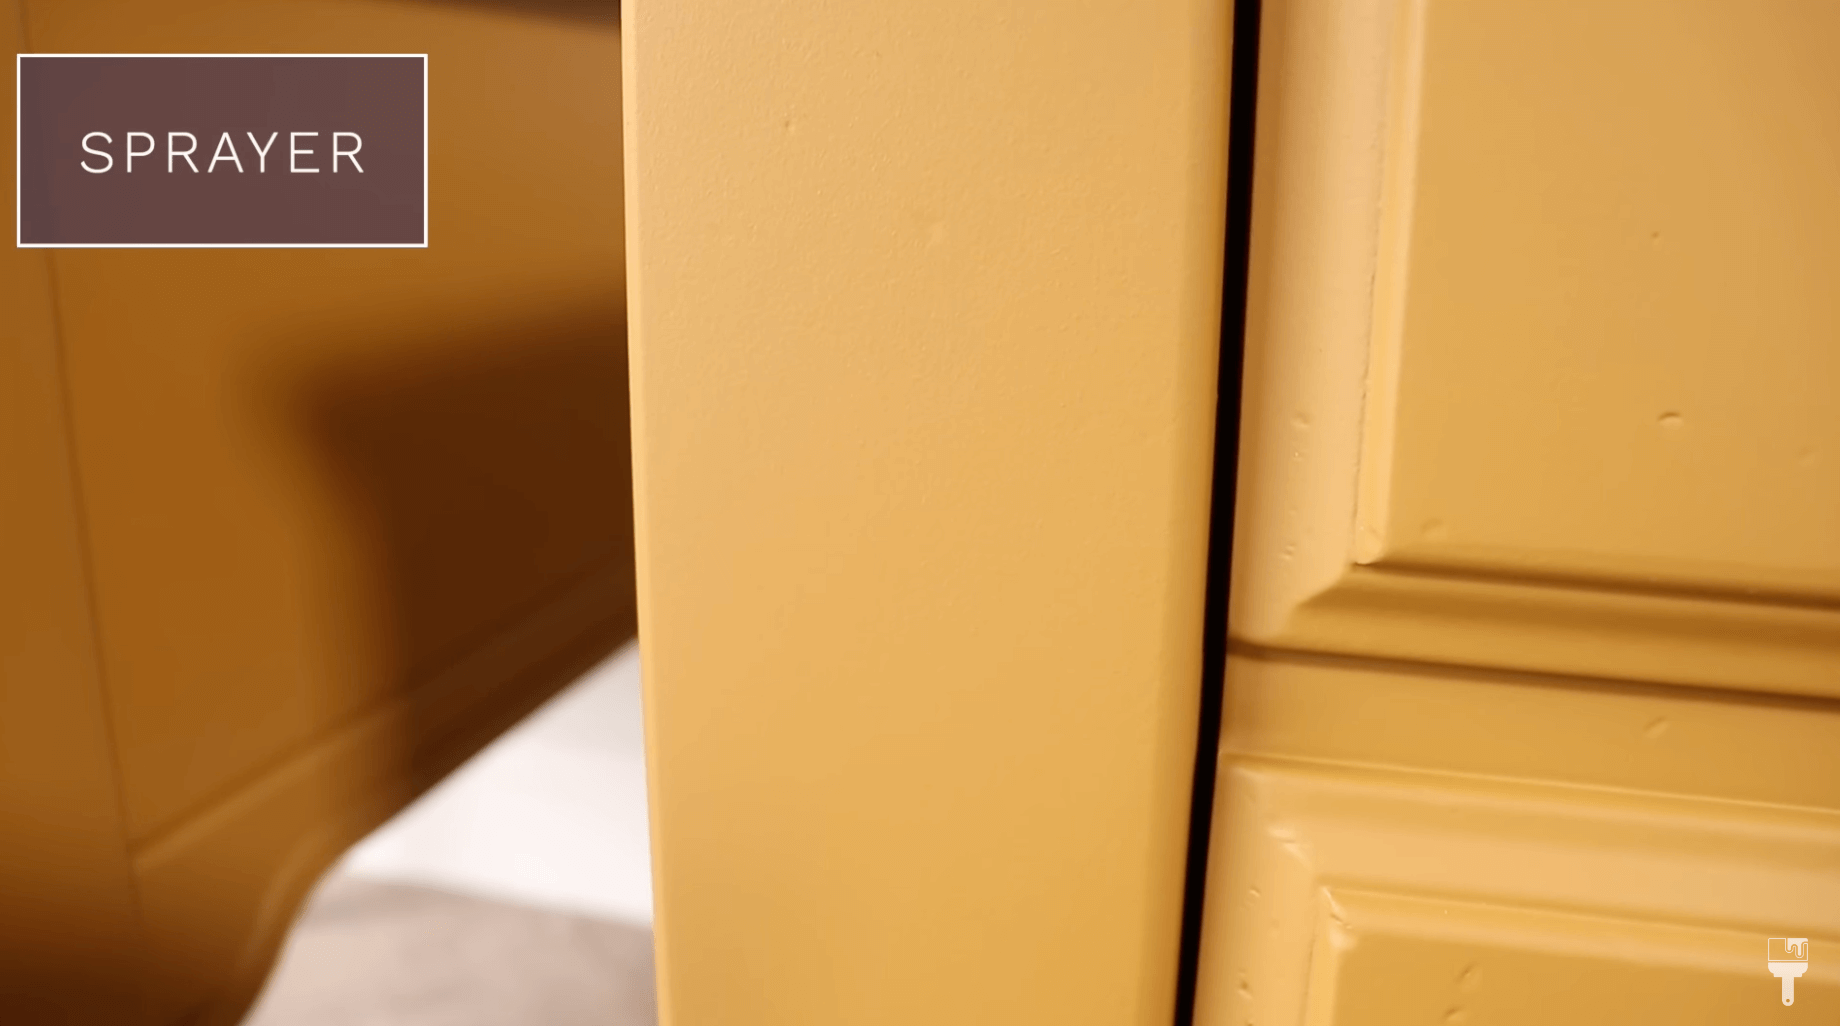
Paint Sprayer: I think, other than time, one of my favorite parts about using a sprayer is the coverage. It goes on so smoothly and the finish is seamless. The coverage is unbeatable honestly.
Brush: On the flip side, one of the main downfalls of brush painting is that the appearance of brush strokes are inevitable. As I mentioned, I’d probably prefer to do a third coat here.
So which one wins out for me? I think we all know, it’s the sprayer. For me, the time I save painting and the near flawless coverage, it’s worth the cost.
Tips for Using a Paint Sprayer

Now that we have that settled, I just wanted to give a few simple tips for when you’re ready to use a paint sprayer.
If you’re using all-in-one paint, I like to have my air setting around a 4 or 5 on the air setting and my material flow pretty open.
Always test on cardboard and adjust settings accordingly before painting your furniture piece.
Go slow and steady.
Stay 6-8 inches away from your piece. Any further than that, and you’ll start to see an uneven finish.
Overlap your passes by about 50%.
Honestly, the best thing that you can do is just get practice. Go for it and don’t be scared!
Paint Sprayer FAQs
I get a lot of questions regarding paint sprayers, so I wanted to answer of a few of them here before the big reveal.
1) And the first one I got is what do you do with a sprayer that gets jammed?
My best advice here is to not have the jam in the first place. So always use a strainer and water down your paint to avoid it clogging.

2) How hard is it to clean the sprayer, particularly with an all-in-one paint?
My best advice to you is that you need to clean your sprayer right away. The longer you let it set, the more the paint is going to dry and kick up in there. It’s much easier than you might think. It takes me only 5 minutes to do.
3) Doesn't a sprayer use a lot more paint? The paints are so expensive. What are your thoughts on that?
Yes, you do use a lot less paint when you're brushing, but because the coverage is less you have to do more coats. When I broke it down by ounces in this project, the difference in price is about $10-$15, and to me, that’s worth it.
4) Does the cost and complexity justify the speed and finish achieved?
And in my opinion, it absolutely does. And what I'm basing that off of is that 9 times out of 10, I'm reaching for my sprayer to refinish projects versus a brush, and that is a huge change for me. So I know that there's value in it.
Finishing Touches & Painter Sprayer vs Brush Reveal
Now, it’s time for the finishing touches! For me, that’s just adding this super cute hardware I bought a while ago at Hobby Lobby.
Just a final note here … I had to mention that, even after prep time, spraying was about 7 times faster than painting with a brush. To me, that’s beyond worth it, because time is my most precious resource.
Here’s the big reveal! And if you want to see this makeover in action, head over to the Pretty Distressed YouTube™ channel and check it out!

