Accidental Faux Wood Finish: Dixie Belle Hutch Makeover
Disclosure: This blog contains affiliate links. I will receive a commission for items purchased through these links at no extra cost to you. I appreciate your support. Please read all labels and follow all manufacturer safety recommendations when working with paints, stains, and other equipment.
Today, I’m bringing you a Bob Ross moment…a good ol’ happy mistake! With this makeover, I’m back in my dining room and will be making over this hutch that I’ve had since 2014. I’ve been slowly updating my farmhouse look, including my recent dining room table makeover. And in today’s makeover, I accidentally create an awesome faux wood finish, and I can’t wait to show you how it turned out.
To make this classic hutch more modern, I’ll remove the piece's top portion and only refinish the sideboard. So let’s get to it.

Products Used for Faux Wood Finish Hutch Sideboard
Shop Dixie Belle Paint Company
Silk All In One Mineral Paint Mojave
Silk All In One Mineral Paint Fiery Sky
Silk All In One Mineral Paint Anchor
Blue Hand broom brush (for making lines)
Foundational Prep Work
This project has A LOT of prep work before I get into the actual painting portion. Here’s a breakdown of the foundational work I did to prepare my piece for success.
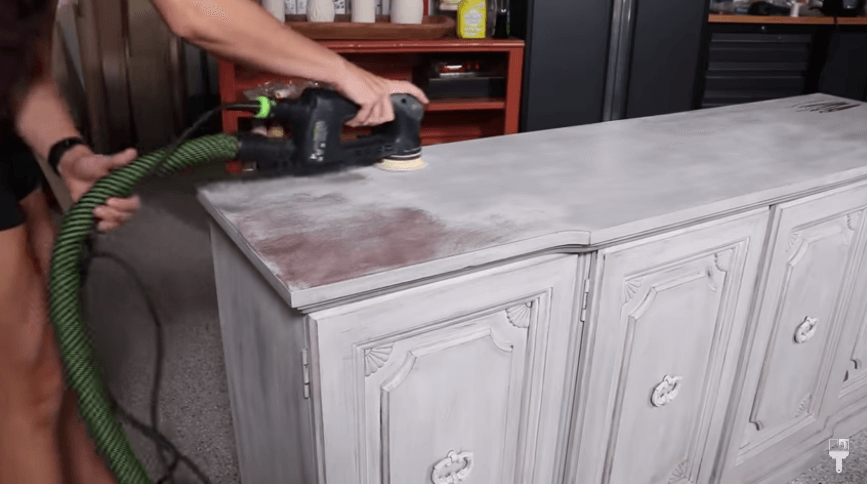
Heavy Duty Sander to remove paint
When I originally did this piece, I used wax to seal it and dark wax to add some detailing. So I need to get that all off. The easiest thing for me to do is to use my heavy-duty sander to get most of the paint off. This is going to give me a clean surface to start with.
Removing Hardware and Decorative Detailing
These decorative doors were really cute for my French country farmhouse look that I was going for, but I want this to be modern. So I'm going to remove all the detailing and panels from this sideboard. Once I pried off the panels, there were a bunch of little nails sticking out, so I took my crescent nail removers to remove all of those.

Sanded off laminate down to particle board
This piece has a lot of laminate, but after removing the panels, you can see that underneath all of the laminate is particle board. I sanded down the excess paint and glue that was left on the doors.

Two Part Epoxy to fill hardware holes and level out the surface
My last piece of prep is taking a two-part epoxy to repair the hardware holes and gouges from ripping the panels off. This epoxy dries quickly, so it was ready to sand in 15 minutes. I used a medium grit sandpaper to smooth it all out.

Cleaning
Usually cleaning is the first thing I do to a piece, but there were so many foundational steps that needed to happen first. So now, it’s time to clean what I’ve got left here to prep for the paint.
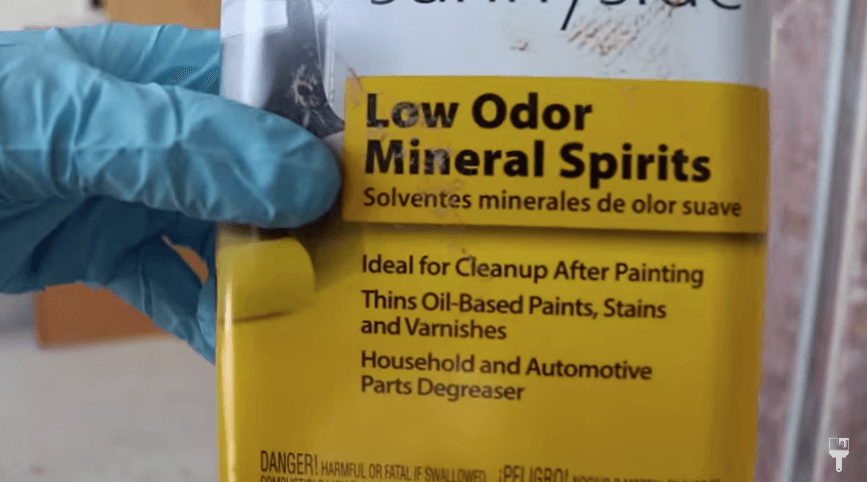
Low Odor Mineral Spirits for painted sections
Even though I sanded down the paint on a lot of the flat surfaces, there’s still a bit of paint on the piece. Instead of sanding all of it down, I used low-odor mineral spirits to remove the wax from these painted portions so that I can paint right over them.
White Lightning to clean everything but exposed particle board
For the rest of the piece, I mixed up some White Lightning in a bucket of water and cleaned everything that was not exposed particle board.

Seal exposed particle board
Before I can prime with my water-based primer, I have to seal the exposed particle board because it’s really porous. To do this, you have to use a oil-based or shellac-based primer. I got it in a spray can so that it would be easy to apply.

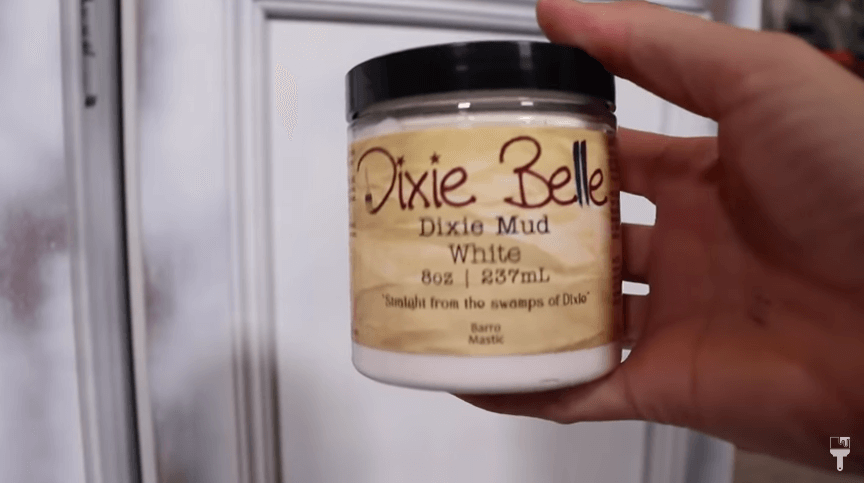
Dixie Belle White Mud
After I primed the doors, I saw that there were some little spots that I missed with my epoxy, so I grabbed some White Dixie Mud because it matches and will blend in really well. I filled in the shallow holes and sanded it back after it dried. Super easy fix.
Dixie Belle Slick Stick
Now that I have all those repairs made, and I have everything sealed that was exposed particle board, I'm going to go in with my Slick Stick on the pieces that still have the laminate intact. This is going to help my paint adhere and set a really nice base for the faux look I’m going for. Originally, I was going to a faux linen look, but as you’ll see, I ended up with an awesome faux wood finish!
Slick Stick is an adhesion primer, so it’s great to use with laminate, metal, glass, and really anything shiny and smooth. It’s going to help the paint stick to those slick surfaces. After applying it, you can wait 2-3 hours before the second coat. After the coat, you’re going to want to let it set overnight so it can really harden and have those good adhesion properties.

Route out finger pull areas
After the first coat, I decided I wanted to get these doors ready for the new hardware that I've selected. I'm doing a fingerless pull so I needed the back panel to be recessed. I grabbed my router and routed out the amount of area I needed. After that, I did my second coat of primer and let it dry overnight.

Prepping the Paint
Because I wanted to create a custom color, there is a little bit of prep work I need to do before I start painting.
Color mix the paints
To get the faux linen (aka accidental faux wood finish) look I’m going for, I’ll be using the Silk All-in-One Paint. I won’t have to seal this piece which will be nice. And although they do have a beautiful color selection for this line, they don’t have this rust-umber color that I’m going for.
So I’m going to have to mix my paint to get what I’m looking for. I did a lot of testing and it looks like my winner is 4 parts Mojave, 1 part Fiery Sky, and 1 part Anchor.

Add glazing medium
Another step that I need to take to get the textured look I want is to add some glazing medium to my paint. I’m using a 1-to-1 ratio for this. I stirred that in, and now I’m finally ready to paint! Phew!

How to get a Faux Wood Finish!
It’s time to paint! The only bit of prep work to do here is to get tape on the sections that you don’t want to get paint on. For this project, I used Delicate Painter's Tape because I’ll be taping over my paint at some points since I won’t want to cover up my faux look on neighboring sections.
Paint on with a chip brush
Once you’ve taped off the section that you're going to work on, it’s time to paint. Don’t worry about it being even at first. The Glazing Medium is really going to help spread it out. You just want to get the paint on pretty quickly so that you can start with the wire brush.

Wire broom brush
As you know, I was going for a faux linen finish to begin with. So I had my clean rag ready and went in with the wire broom brush. You’re going to want to start at one end and make lines from one end to the other as straight as possible.
I like to clean my brush off in between every pass that I’m doing. You’ll want to keep going in the same direction over and over until the paint starts drying enough that the lines stop blending back together. You can get a better idea of what this looks like in my YouTube video.

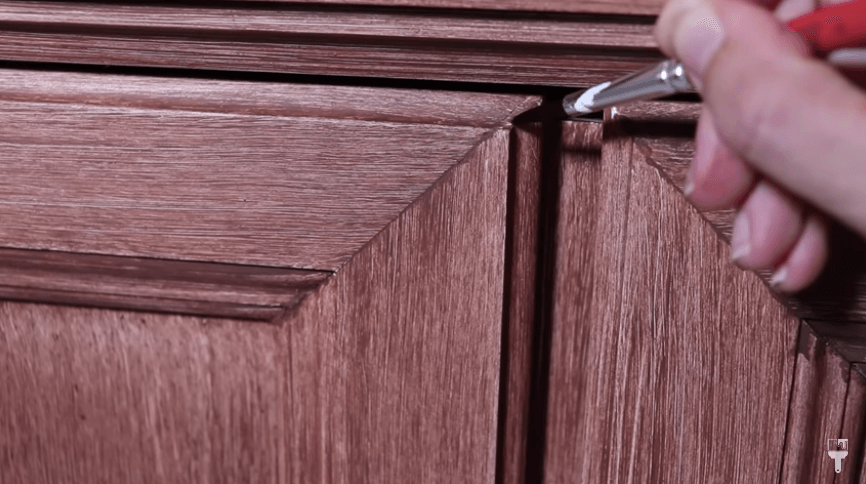
Is that faux wood?
So this is where I started to realize that the single direction lines were starting to look a lot like wood! I really loved the way it was looking, so I decided to go with it. I love that projects can take on a whole new vision part way through.

Corners of doors
I wanted to share with you a little hack I did to make the doors really look like real wood. I taped of a diagonal section to mimic where the wood would be meeting up at the corners. Having the wood lined going in different directions at the corners made it look like a perfect joint wood door!

Finishing Touches
And now for some finishing touches to wrap up this long process!
Touch-ups
Once I finished painting the piece, I took a little artist brush and some leftover paint and touched up any little white areas where that primer was coming through.
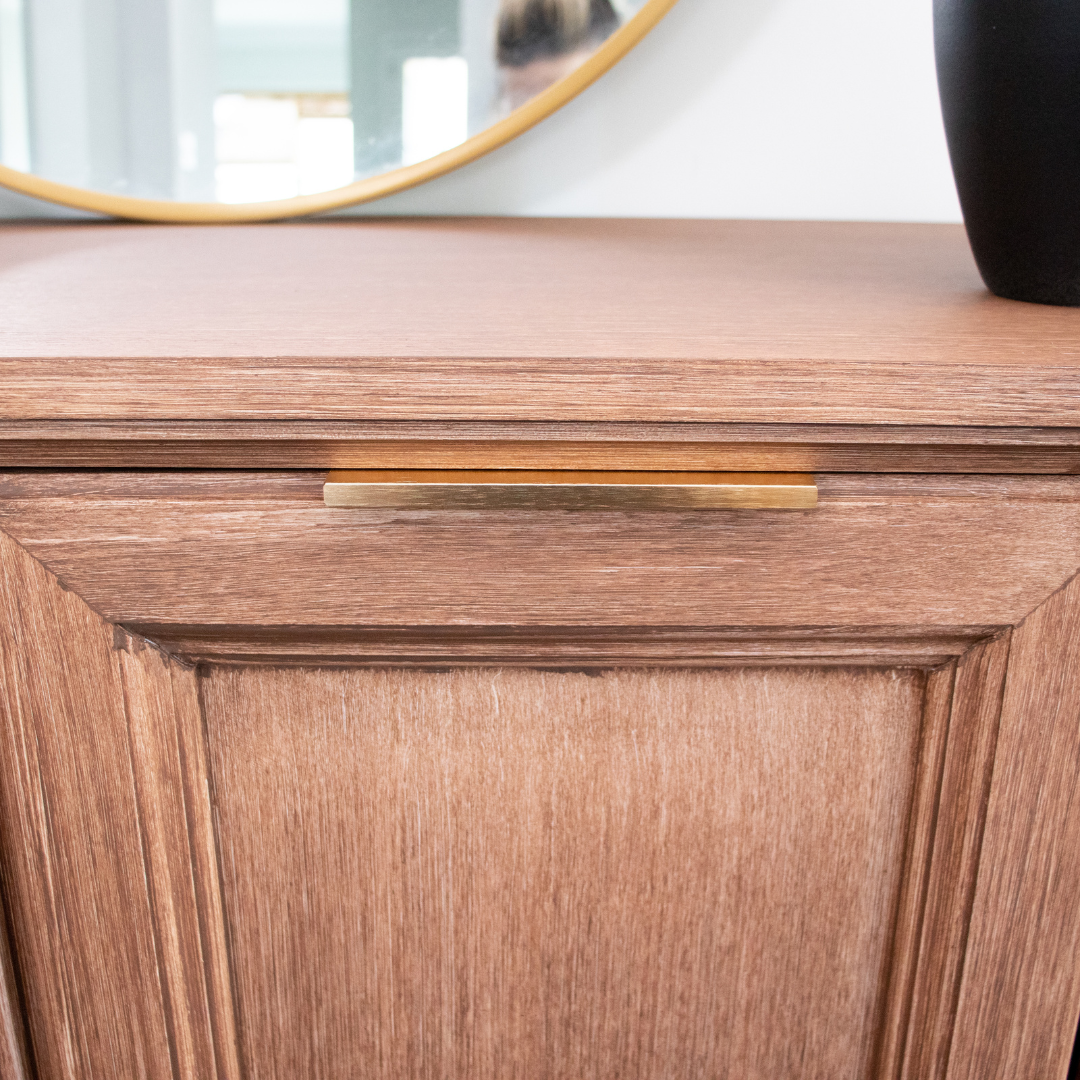
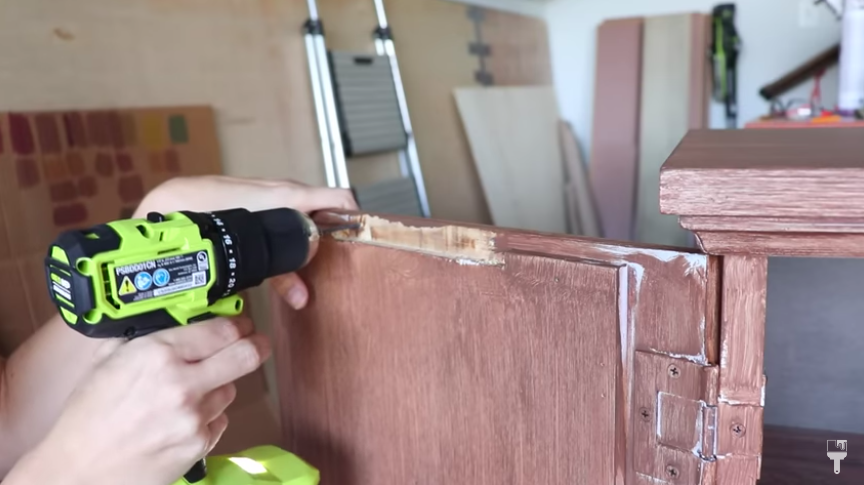
Add finger pulls
I had already routed out the section that my Finger Pulls were going, so I marked and drilled some pilot holes before screwing that hardware one.
Gilding Wax
The original hinges were painted, so I used some Gold Gilding Wax to go over those so that they matched the new hardware.

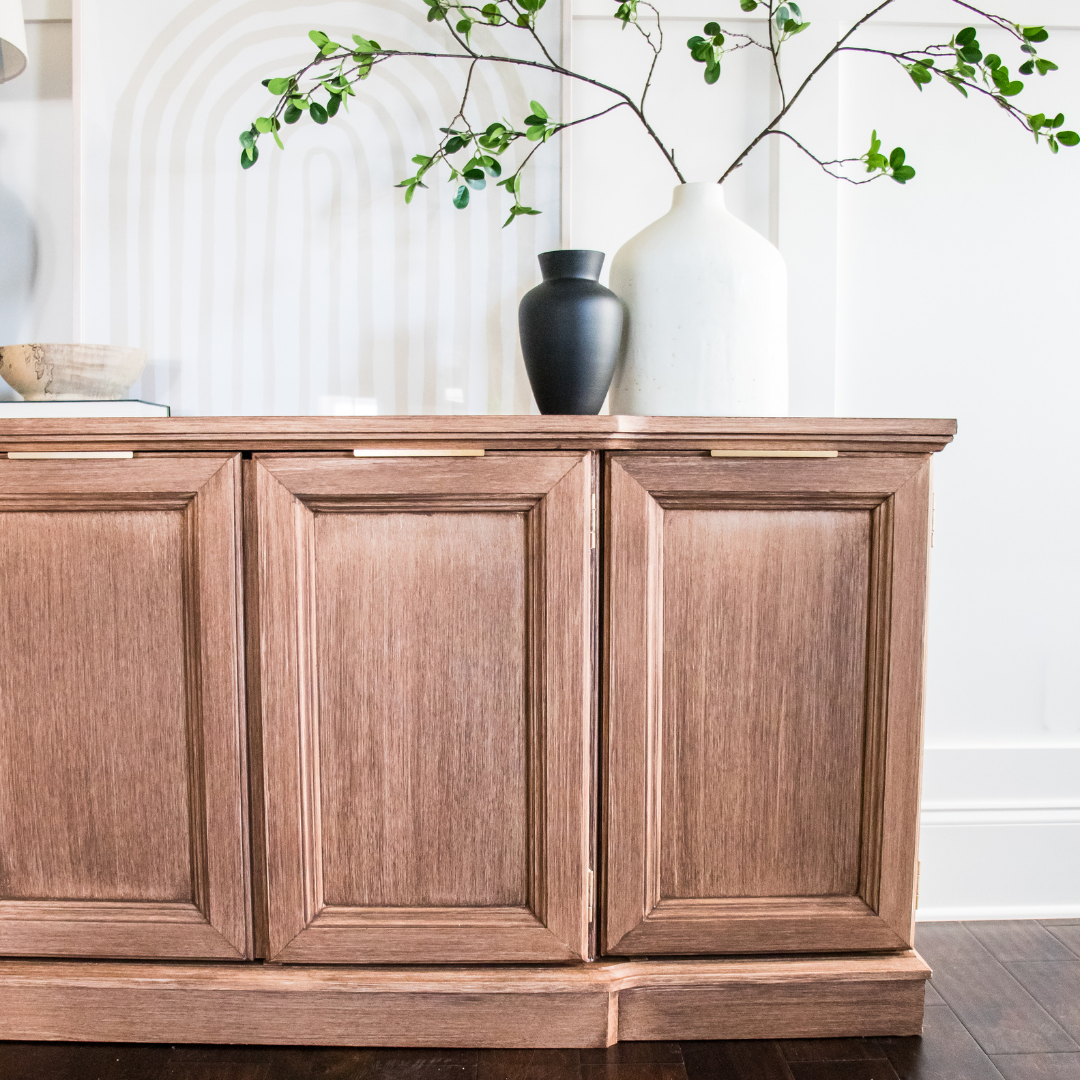
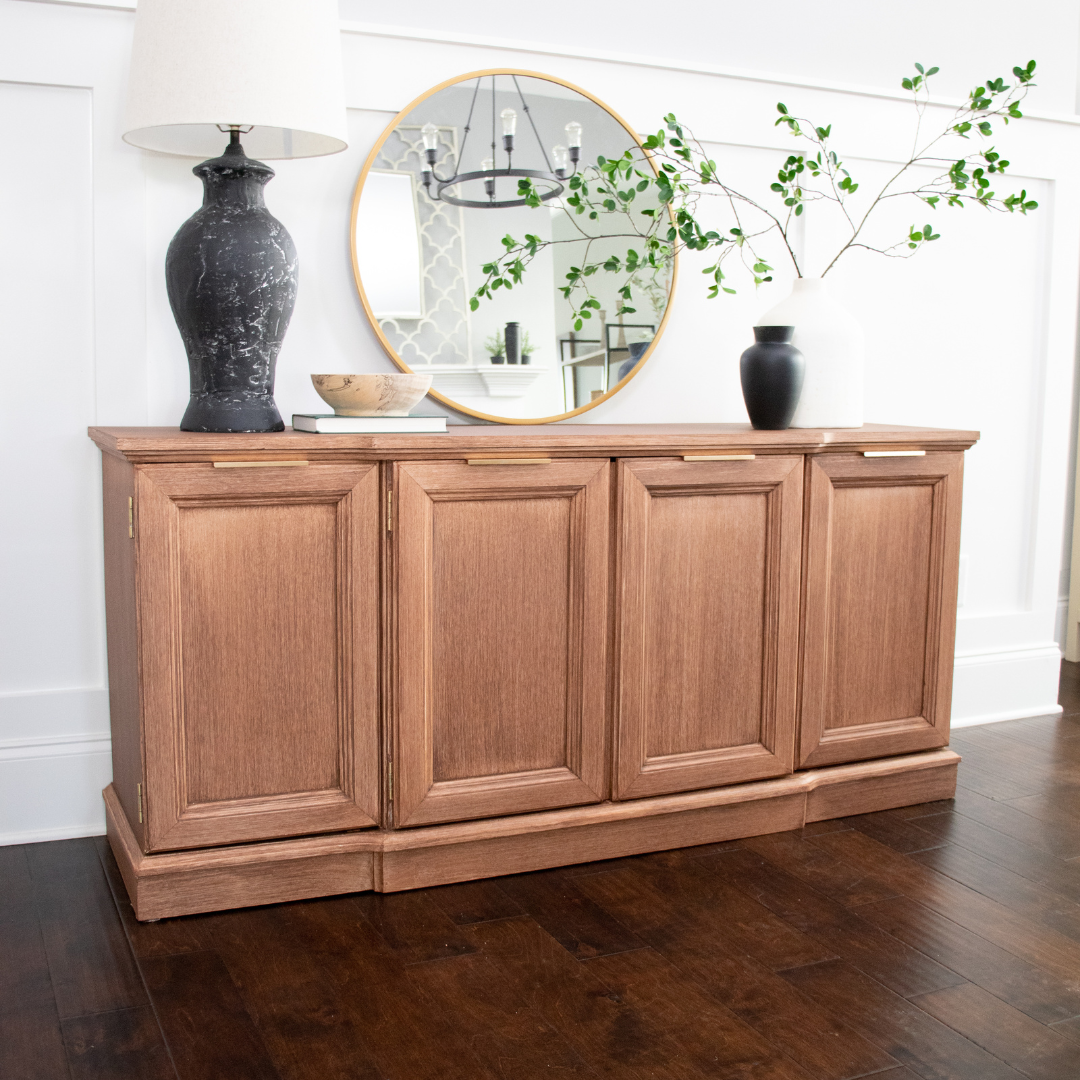
Faux Wood Finish Reveal!
And that’s it my friends! My dining room is becoming more and more modern with every piece that I refinish, and I’m loving it. This faux wood finish turned out even better than I had imagined. By removing the top section of the hutch, removing the outdated decorative details, and adding some sleek hardware, it’s looking like a whole new piece of furniture.
I'm so excited to have this in the dining room and can't wait to finish the rest of it. If you want to see this project in action, check out my full YouTube video tutorial!
I hope you love this finished look as much as I do!