DIY Fluted Dresser: Sherwin Williams Color of the Year 2023
Disclosure: This blog contains affiliate links. I will receive a commission for items purchased through these links at no extra cost to you. I appreciate your support. Please read all labels and follow all manufacturer safety recommendations when working with paints, stains, and other equipment.

I’m excited to bring you this furniture flip today because I’m redoing one of my famous makeovers that has almost 2 million views on YouTube™. But gray is out, so I’m ready to give the piece a new look with Sherwin Williams’ color of the year—Redend Point. Stay tuned to see this DIY fluted dresser come together.
What’s really fun about this project is that I’ll be doing a furniture fluting hack by using some pole wrap. I’ll also be using my sprayer today to move things along quickly!
But first, let’s take a look at this dresser before I get to it!

DIY Fluted Dresser Products & Tools
PRODUCTS:
HGTV Home by Sherwin Williams Trim & Door
Pole Wrap (THIS GOES IN AND OUT OF STOCK A LOT)
TOOLS:
18V ONE+ HP Compact Brushless ½” Drill/Driver Kit
18V ONE+ HP Brushless Airstrike 18GA Brad Nailer Kit
18V ONE+ HP Brushless Sliding Compound Miter Saw Kit (New Model)
Prep Work
There wasn’t too much prep work for this project thankfully. First I removed the hardware (which I will be replacing later with a more modern choice).
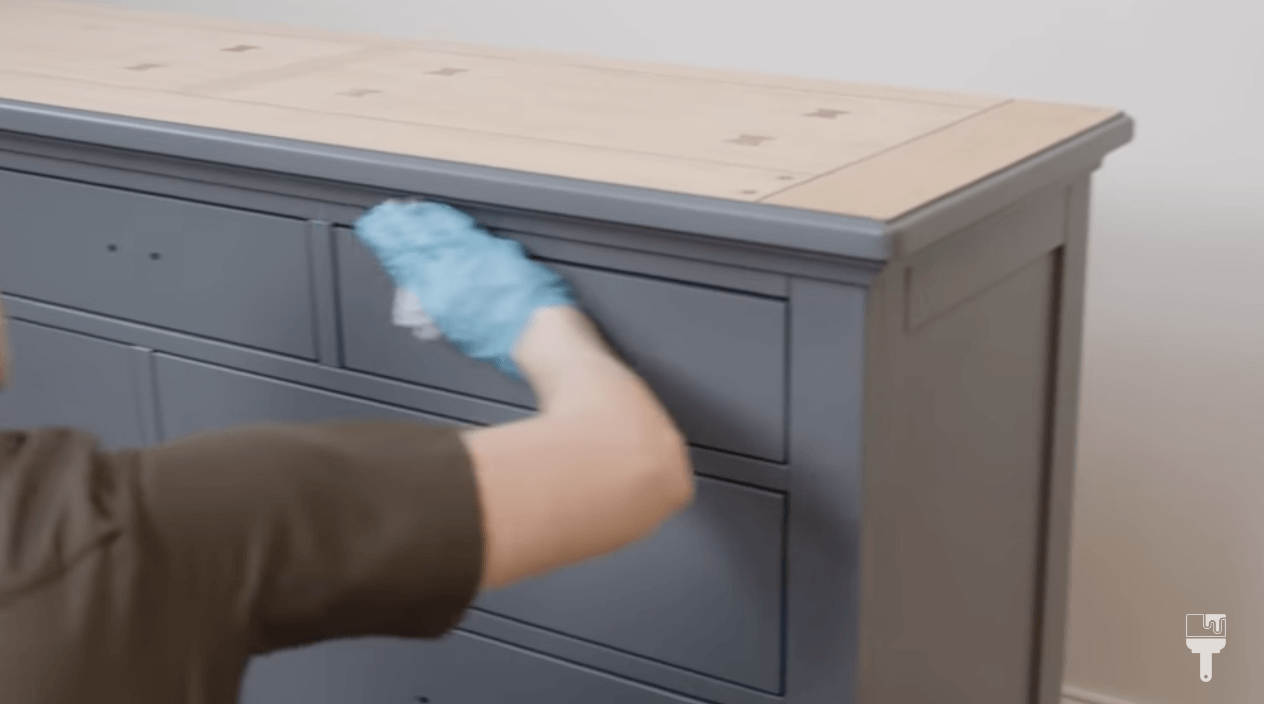
This dresser was in my son’s room for two years, and surprisingly, not very dirty at all. I put a new dresser in his room awhile back, so this one has been in storage, so it was just a bit dusty. I used some cleaner to get the cobwebs off and rinsed with clean water.
I’ll be using a primer for this project, so I don’t need to strip the paint back completely. It is a little textured though, so I definitely wanted to sand it down a bit with a super fine 220-grit sanding pad.
How to DIY a Fluted Dresser with Pole Wrap: Step by Step
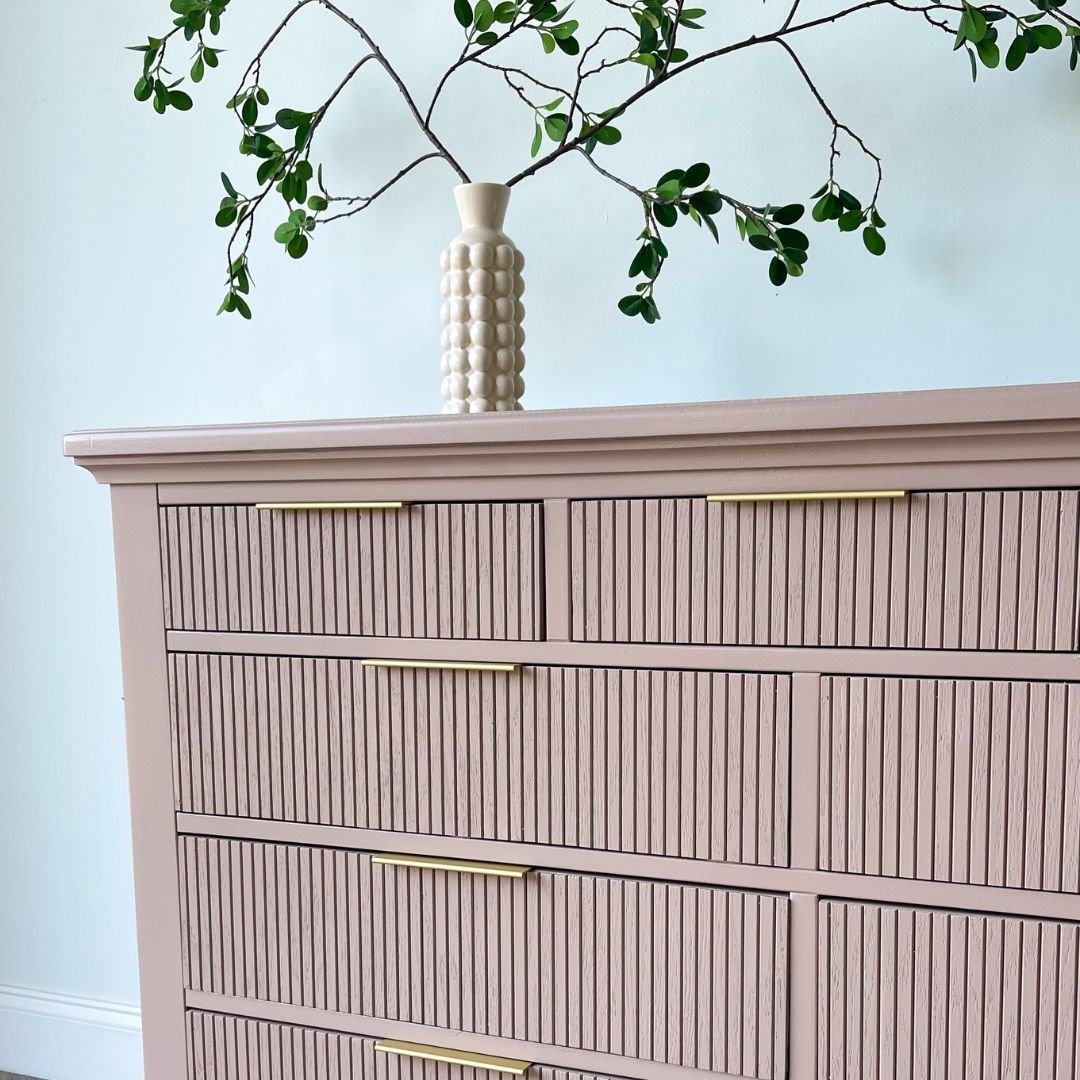
Now comes the fun part. We’ll make this dresser come alive with this DIY fluting hack. I call it a hack because if you caught the first attempt at furniture fluting, it was successful, but it was quite a process. So today, I’ll be using pole wrap for the first time. I'm gonna use pole wrap for the first time. If you guys haven't seen this, it's designed to wrap around poles as a decor feature, but many DIYers use it to get a cool fluting effect. I'll be using it on the front of the drawers for this DIY fluted dresser look.
Because this was my first time using this pole wrap, there was a big learning curve, so I’ll share with you my step by step process to getting this done.
Step 1: Measure the Drawers

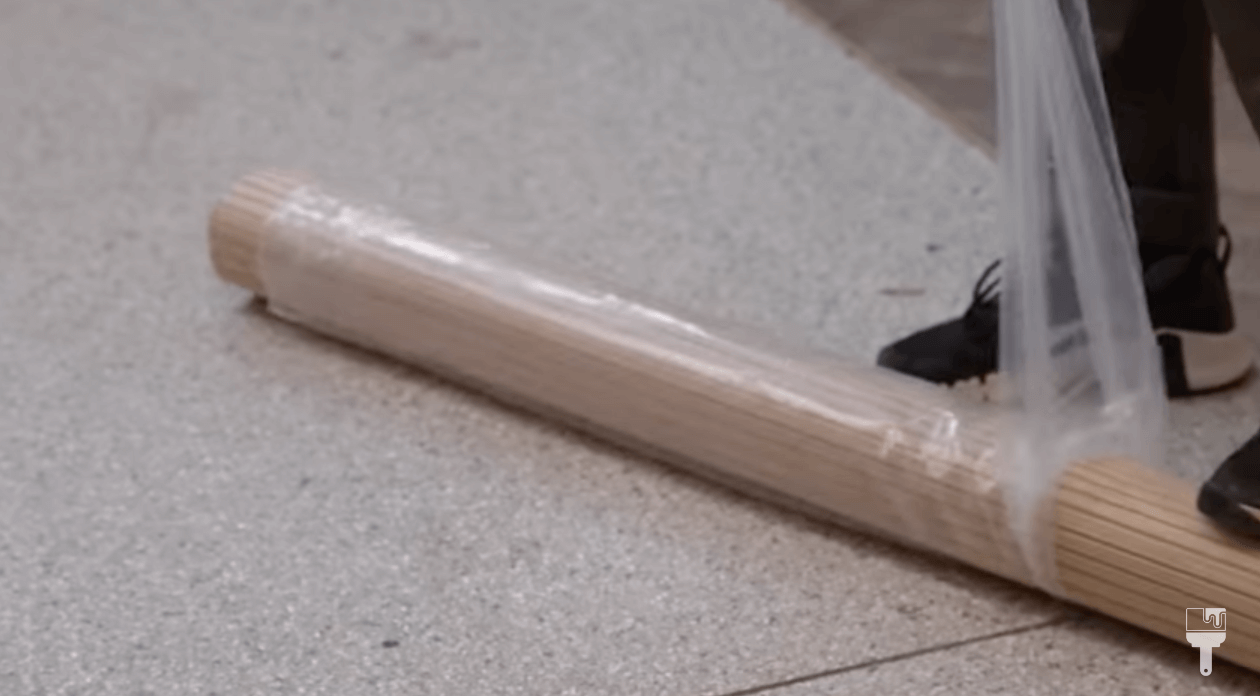
The first step is simply measuring the drawer fronts. Pole wrap comes in a number of lengths, so to save money, I got one that was 48 inches long and 9 feet tall. I made sure my measurements were precise so that I didn’t waste any of my pole wrap roll.
Step 2: Cut with a Miter Saw

I had seen DIYers cut the pole wrap with a miter saw while it was still rolled up. Cutting it this way took a bit of trial and error because my first attempt was a wavy cut. It wasn’t a big deal because I figured I could just use a sander to even out the lines. But I did learn that I was able to get a straighter cut by making the roll tighter before cutting it.
Step 3: Attach Pole Wrap to Drawers With Wood Glue

So attached the cut pole wrap was also more trial and error than I thought. Haha. That’s why I’m sharing this step by step with you! Learn from my mistakes!
For my first attempt I used only a Brad Nailer to attach it to the drawer front. I realized quickly that the nailer alone wouldn’t suffice. I would have to put a ton of nails in to get it to lay flat, so I decided to do a combination of the Brad Nailer and wood glue.
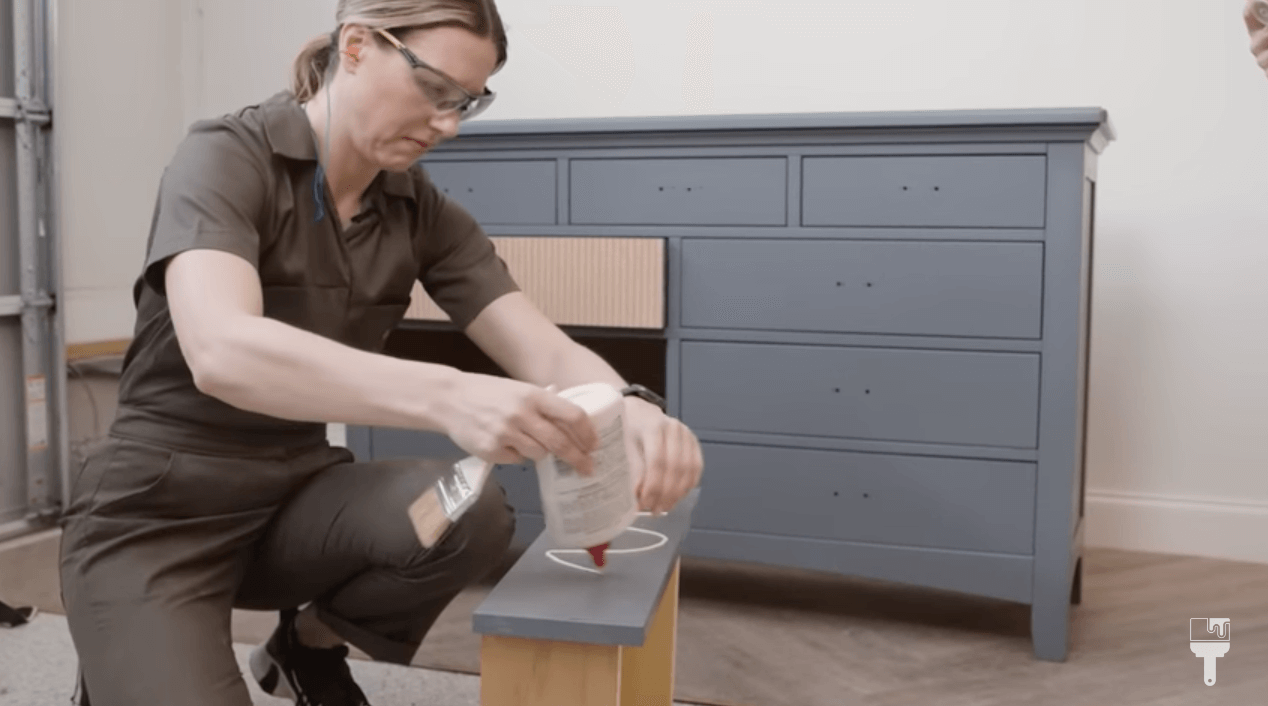
I applied the wood glue with a chip brush (and in hindsight, I would have been more generous with the wood glue). I only use six brad nails per drawer—one in each corner and two in the middle. I tried to aim for the little divots so that I wouldn’t have to fill them. Hopefully they get covered up by the paint!
I wanted to note, too, that you can definitely apply the pole wrap without a Brad Nailer. Just be sure to use enough wood glue to secure it.
Step 4: Use Clamps (or Books) While Wood Glue Dries

After getting your fluting applied, use clamps or even heavy books to keep it flat as the wood glue driest.
Step 5: Sand Down Rough Edges and Face of Pole Wrap
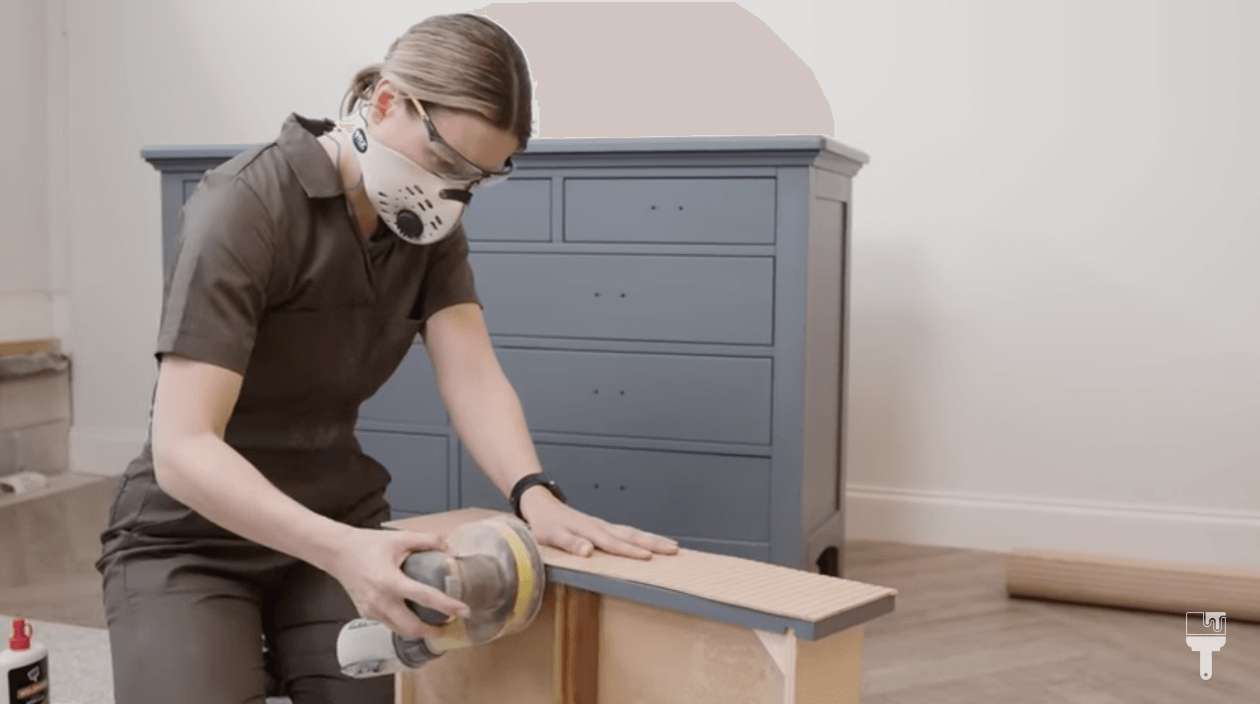
Here’s where future Christina is helping you out here. I had a lot of mistakes throughout the process, and one of them was realizing that I probably should have waited until everything was dry before sanding the pole wrap edges. I originally did the sanding right after attaching them with the nailer. This created some bubbling where some parts of the pole wrap lifted up from the surface a bit. You can see how I fixed that in step 6.
Regardless, if you have uneven edges, you can use a sander with a rough 60-grit sandpaper to shave it down. After sanding it all down, I took a 120-grit sandpaper to smooth it out and sand the surface of the pole wrap to prepare for my primer.
Step 6: Add Additional Wood Glue if Needed

Like I mentioned, there were parts where the fluting lifted from the surface. If this happens to you, simply put some wood glue in a syringe to squeeze in the crack, clamp it down, and let it dry.
Prime with Wagner Flexio 3500 Sprayer
Since this is such a large dresser, I used my Wagner Flexio 3500 sprayer. I got my large spray tent set up and prepared my sprayer with the primer. I won’t get into too many details on how to use the sprayer, so definitely check out my blog on “Paint Spray Gun for Beginners.” Everything you need to know is there!

For my primer, I used the Zinsser 123 water-based primer in gray. This is going to help my paint adhere.
Since I decided to paint my drawers separately, I set up my medium tent and I was able to spray each of them in there and move them to the side to dry. This primer is ready to recoat in an hour and after I got it all on, I decided one coat was going to be sufficient, so I was ready to move on to my paint.
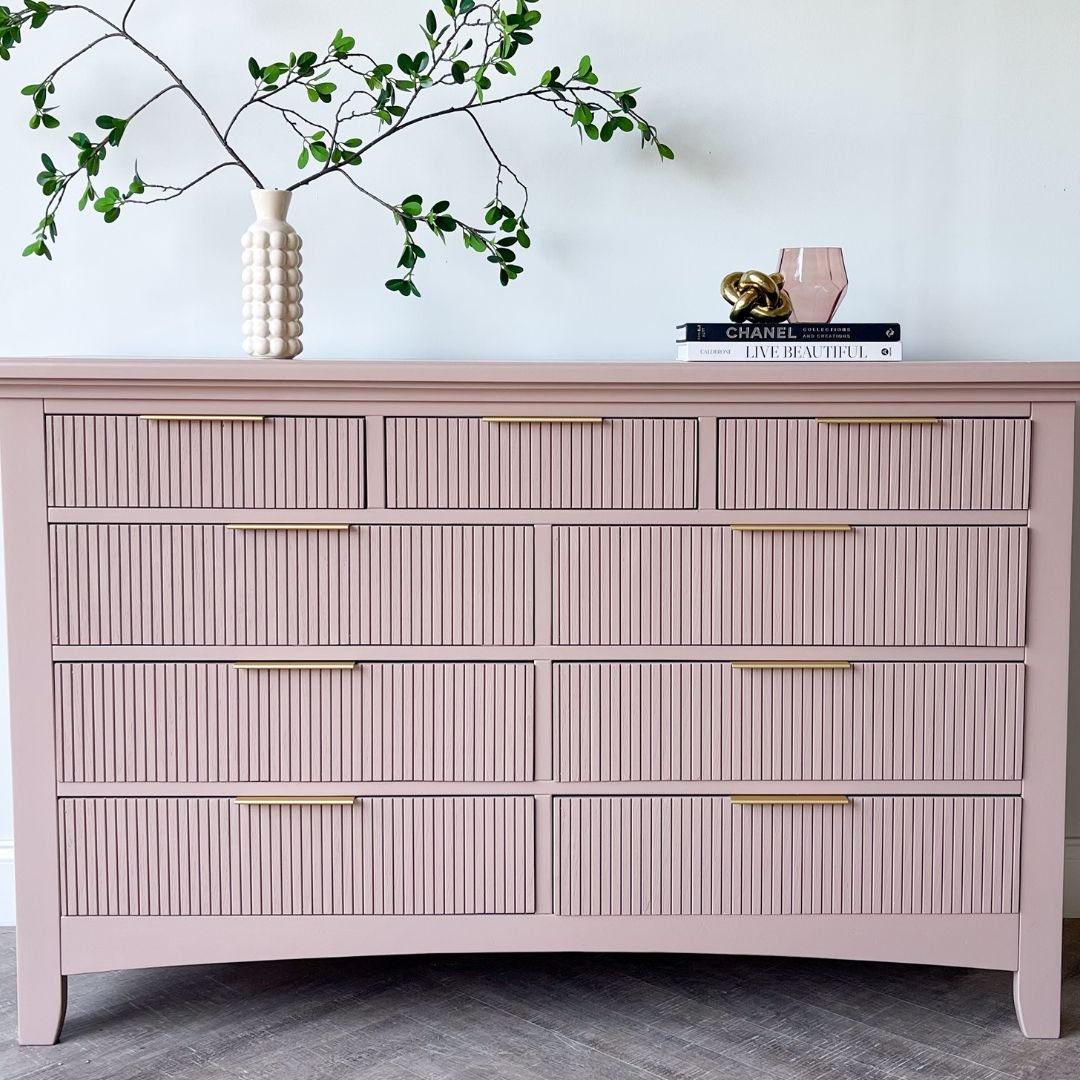
Sherwin Williams Color of the Year 2023: Redend Point
Once your primer is dry, it’s ready to paint! As mentioned, I’m using Sherwin Williams’ color of the year which is Redend Point. I used the interior/exterior door and trim paint. I used this type of paint in my recent closet makeover and really liked it, so I’m trying it in my sprayer today. This paint will be tough, durable, and I won’t need to top coat it.

I didn’t have to thin this paint out from my sprayer because it was thin enough. I also didn’t strain it because it was out of a brand new can.
Using this sprayer was perfect for this project because it was able to get into all of the details of the fluting. Such a time saver! Another thing I want to mention is that I got this whole gallon for $53. I don’t have anything else I want to paint with this at the moment, but I’m sure I will soon! It’s definitely a money saver if you plan on using a neutral color a lot. Just save it for the future.

And there was a fun surprise waiting for me on day two of this project. I thought I would have had to do a second coat, but the coverage on this paint was so amazing that one coat was definitely enough! So it was onto the finishing touches.
DIY Fluted Dresser Finishing Touches
I never do this and I'm so glad I did it this time … I numbered all my drawers so that I wasn’t confused at all about putting them back in. That’s a pro tip for you!

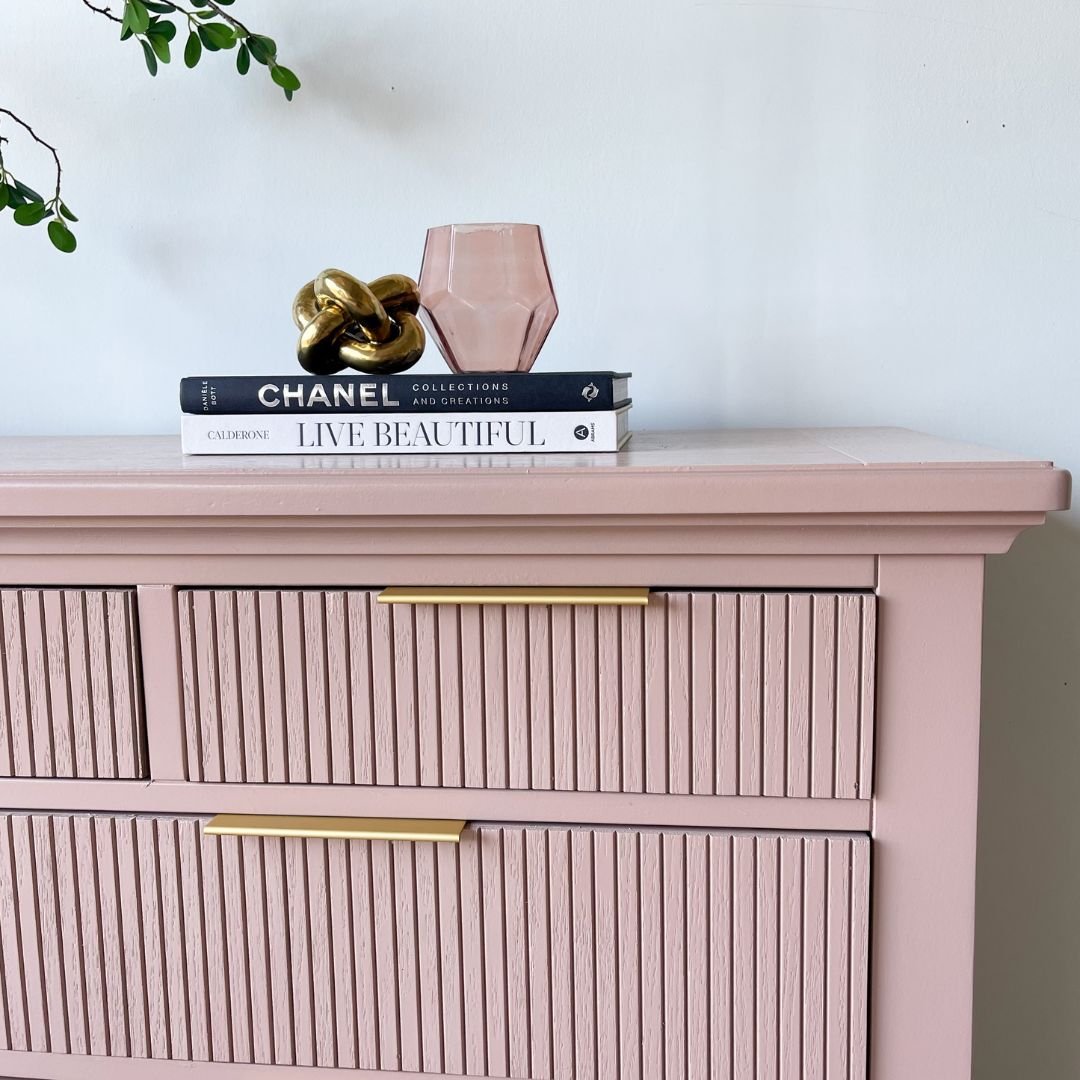
I did decide to switch up the hardware to update the look. I used finger pulls that I thought would go perfectly with this DIY fluted dresser. I drilled some pilot holes and got them all installed for the finishing touch.
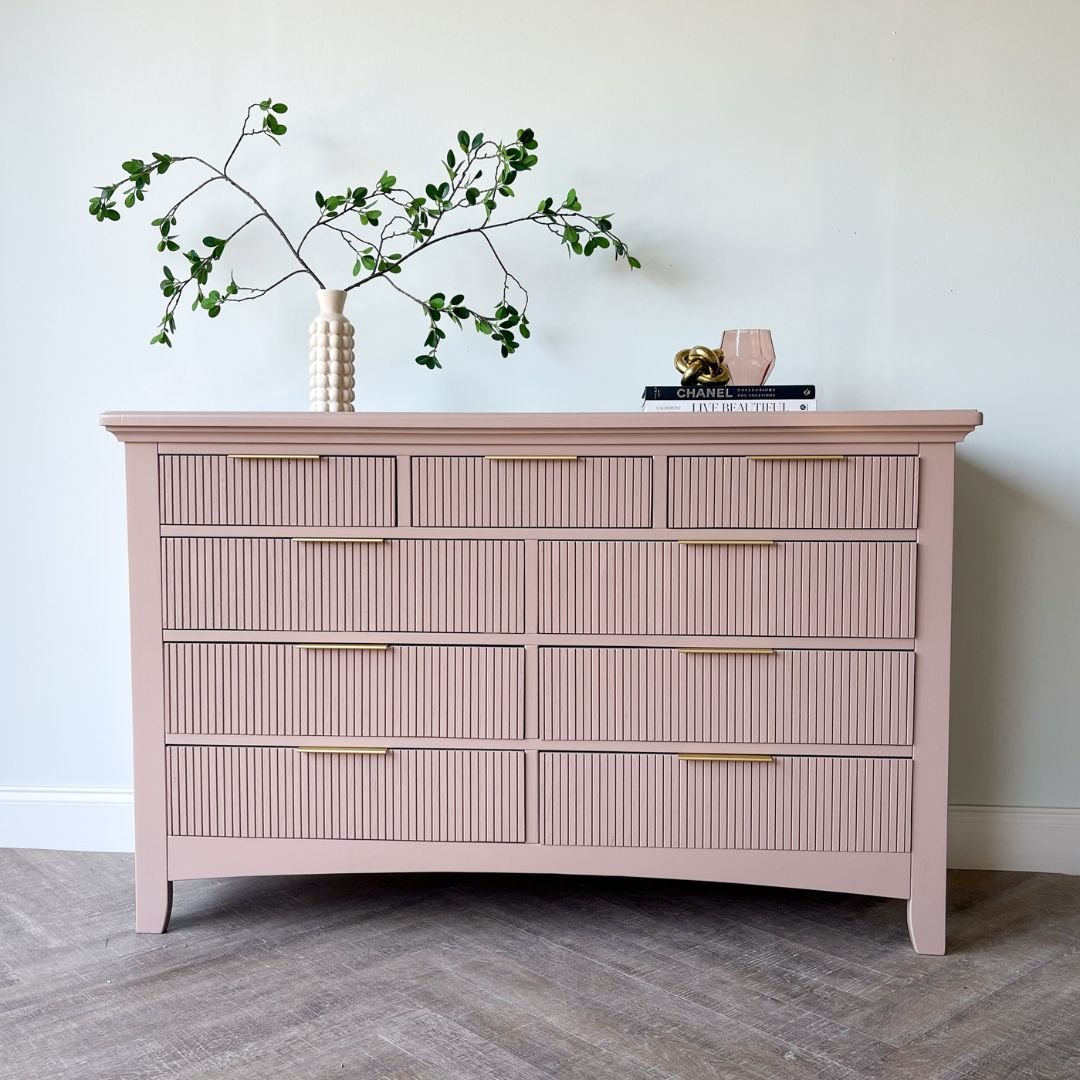
DIY Fluted Dresser Reveal
I have so many thoughts about this dresser. I'm obsessed with the way that it turned out, but let's talk numbers because pole wrap is expensive. I spent $189 on one sheet of pole wrap, but I didn't use all of it. I used about a third of it. So we're probably looking at about $60 worth of product here.
The other thing I want to mention is that my Wagner sprayer saved me so much time on this project. The paint time total was 20 minutes on the primer and then 20 minutes on the paint. If you’ve been afraid to try spray painting, I want to encourage you to step out of your comfort zone. You’ll be so glad you did.
Well, now it’s time to check out this DIY fluted dresser! And remember that you can always check out the full tutorial on YouTube! Until next time!